Repairing a bad connector on the Reention Dorado downtube battery.
2021 Feb 1st
The Reention Dorado removeable downtube battery system is used on many brands of e-bikes including Hilleater, Juiced, surface 604, Volt bike, Smartmotion and Bitrix to name a few. With the Hilleater bikes we have seen no issues with this connection, but as the battery cases have grown bigger and motors more powerful, it can put a strain on the electrical connectors in this system and eventually the connection can become intermittent, or stop working altogether.
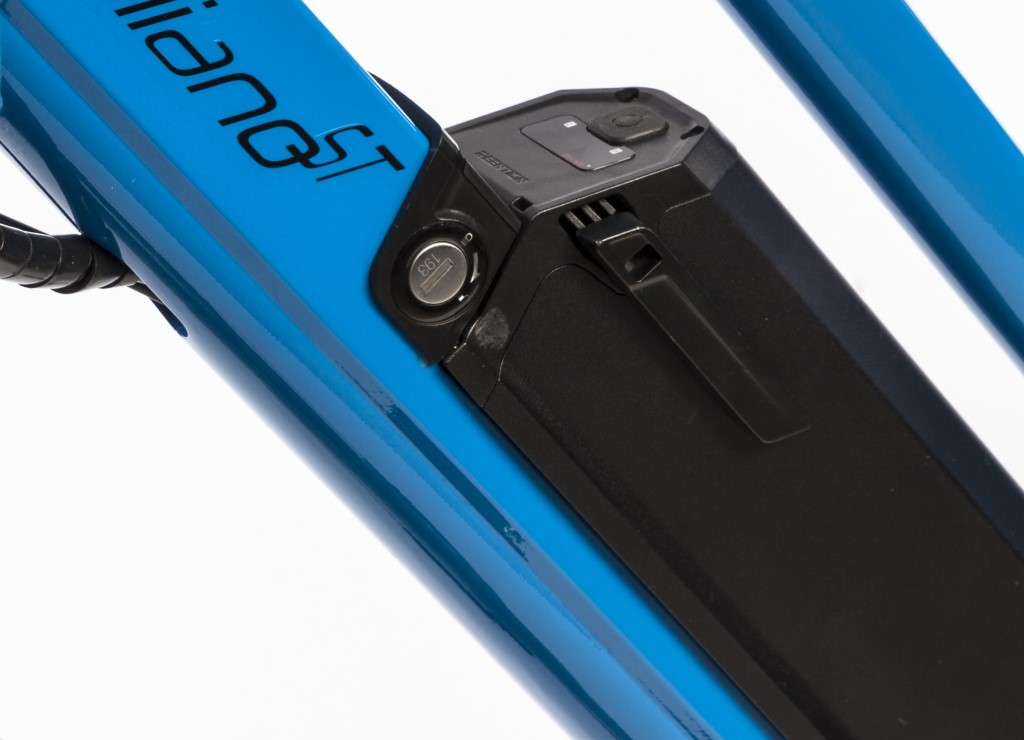
If the power cuts out when you go over a bump, or you have to strap the battery on with Velcro in order for it to work, you may have a bad connection at the battery. The first step in finding out of your bike has this problem is to inspect the connectors on the bike and battery. The metal pins and sockets that make the electrical connection should look perfect, with no discoloration or pitting, and the plastic parts around them should look undamaged. Sometimes the connector is just loose, and snugging up the big silver nut on both sides will solve it. Not too tight, the plastic threads strip out easily.
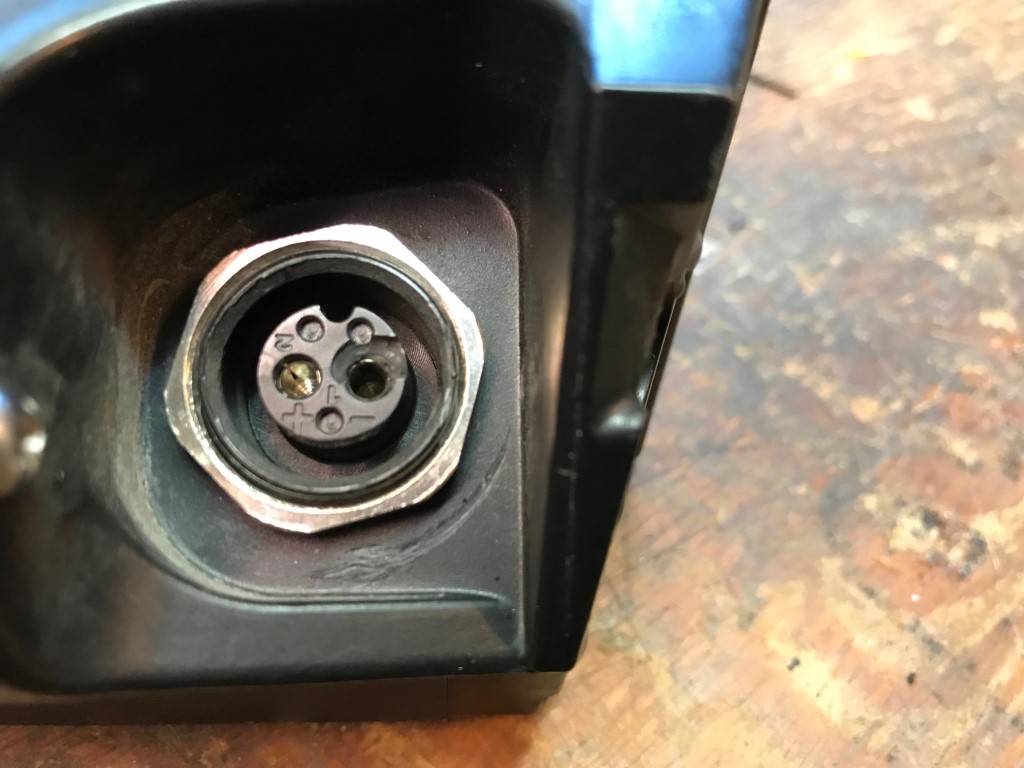
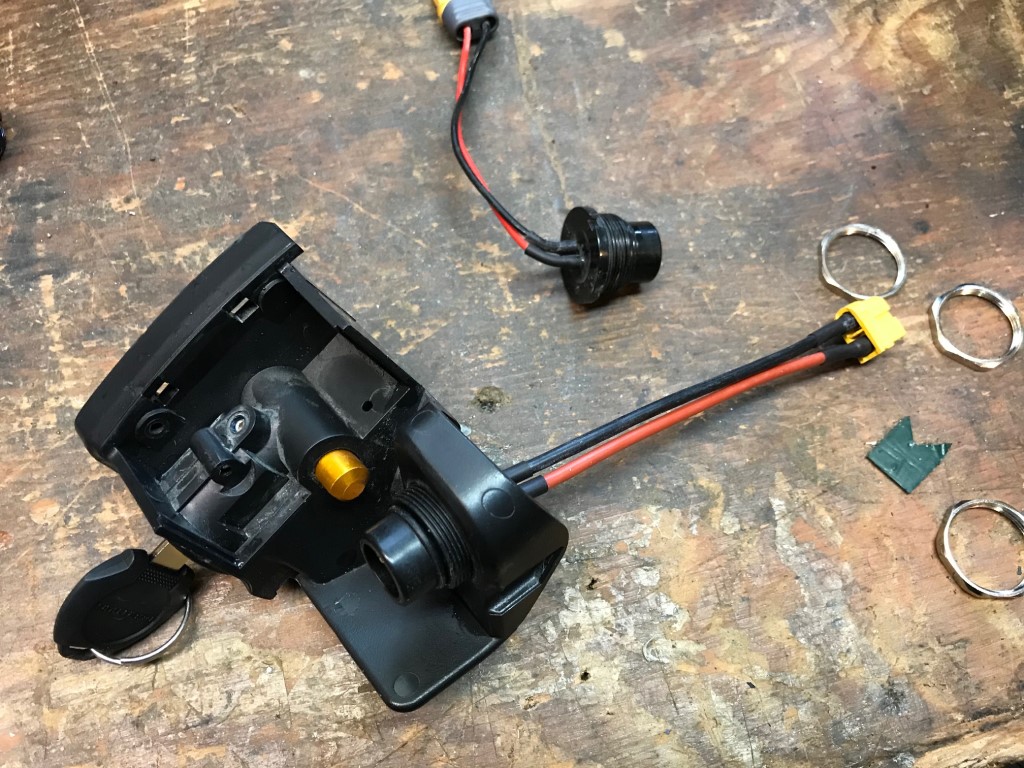
Here is a Juiced battery with a damaged connector. The large 19ah juiced batteries are particularly prone to this. The connector has to be replaced, and it is usually a good idea to replace both the bike and battery sides at once.
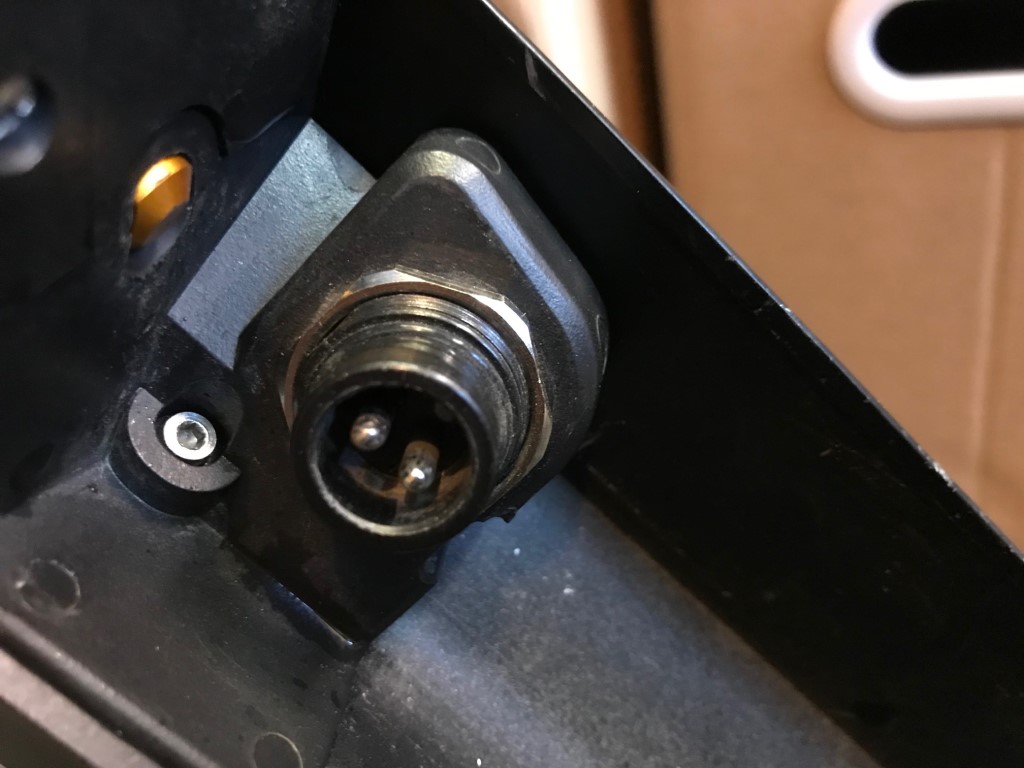
The bike side is easy, just remove the plastic bracket that includes the battery locking mechanism from the bike, there is a vertical screw, visible in this picture, and another that is sometimes under a removable cover. Loosen off the large silver nut on the connector, and press out the connector.
Usually there is a way to unplug the wire attached to the connector from the motor controller. If not, you will need to solder the new connector on, making sure to get the positive and negative leads on the correct pins, the back of the connector is marked for this. Red is usually +.
Note that the connector is keyed, and can only go into the hole in one orientation. Be sure to get the connector fully seated in the bracket before carefully threading the nut on, and just snug the nut up, as overtightening it will strip the plastic threads.
Hilleater now has heavy duty versions of these connectors. The bike side has 12ga wire and an XT60 female connector on it, and the battery side has no wire. These connectors have gold plated pins to resist corrosion, and they have larger solder cups that are much easier to solder wire into. They also have a larger thread on the retaining nut that is to not as prone to stripping out.
A set can be found here, a single male here, and a single female here. These connectors are backwards compatable with the originals, so you don't necessarily have to replace both sides.
Now on to the battery:
For the battery side, first make sure that the battery is turned off. This will disable the output of the battery management system (BMS) so that there is no voltage present at the connector.
Some batteries do not have this switch, and the output connector is always live. Check if there is a fuse that could be unplugged, or if there is an inline connector that could be unplugged.
If you cannot unplug or disconnect and there is no switch, then you will be working with a live connector, and you have to be extra careful to not let the two output wires touch during this repair. I always check for voltage with a DVM or multimeter before proceeding.

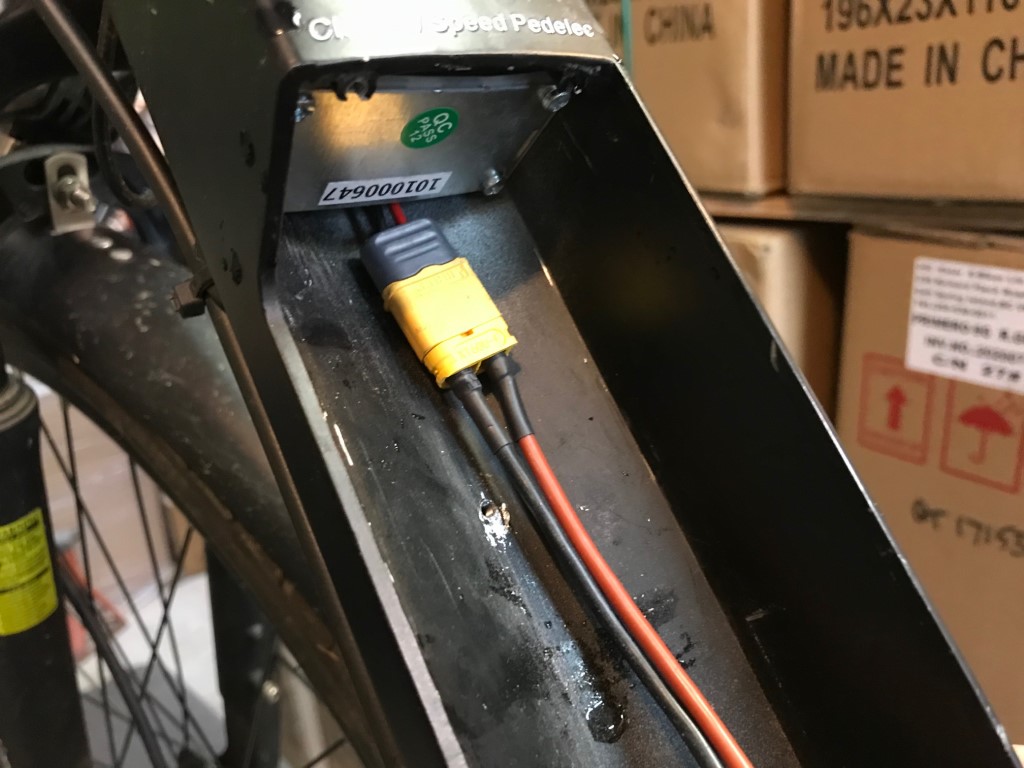
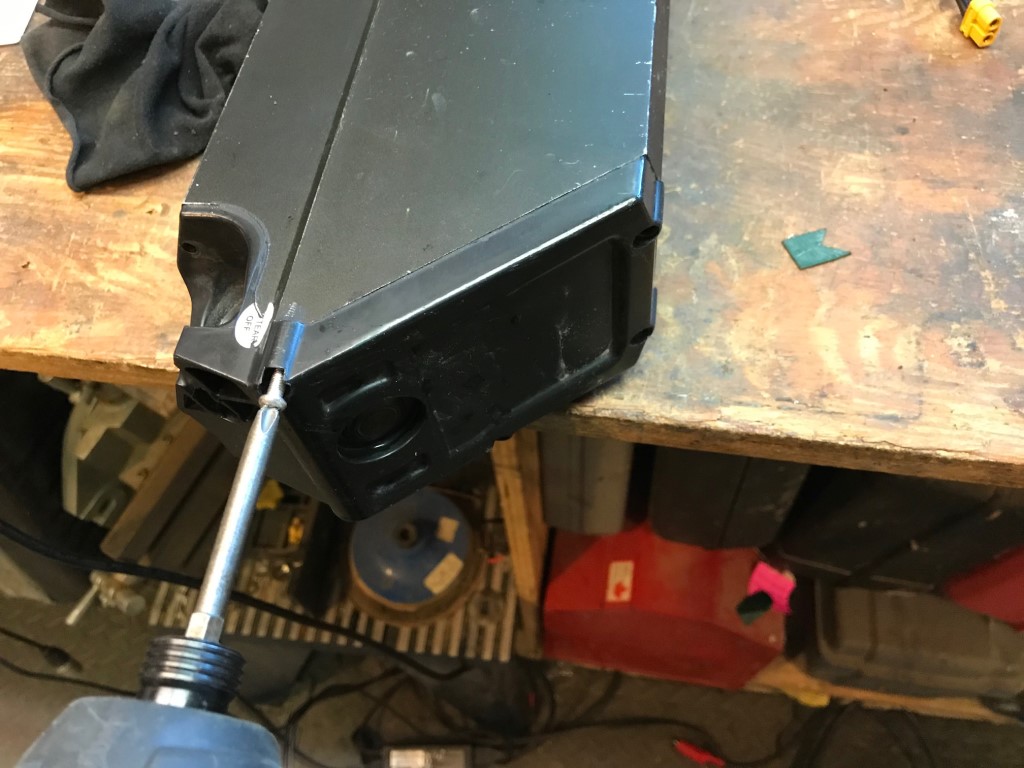
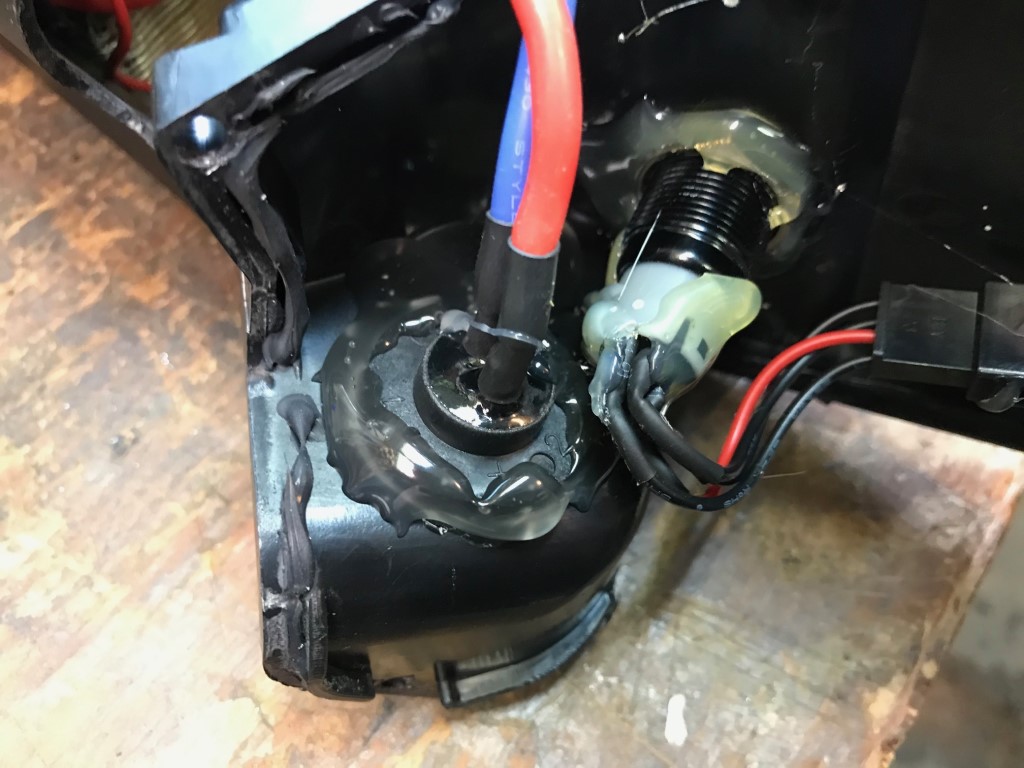
With this Juiced battery the power switch can be disconnected to make the repair easier, just disconnect the black plastic JST inline connector with the four small wires.
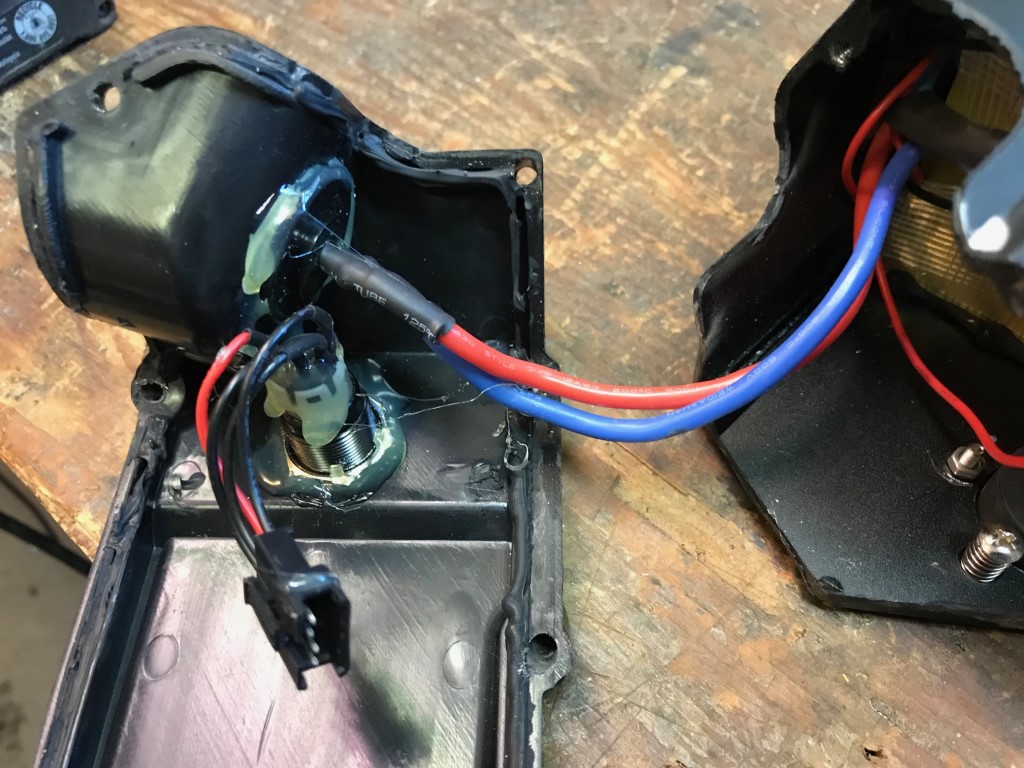
Here the switch connector is removed. Peel off the glue from the back of the output connector before removing the nut on the outside.
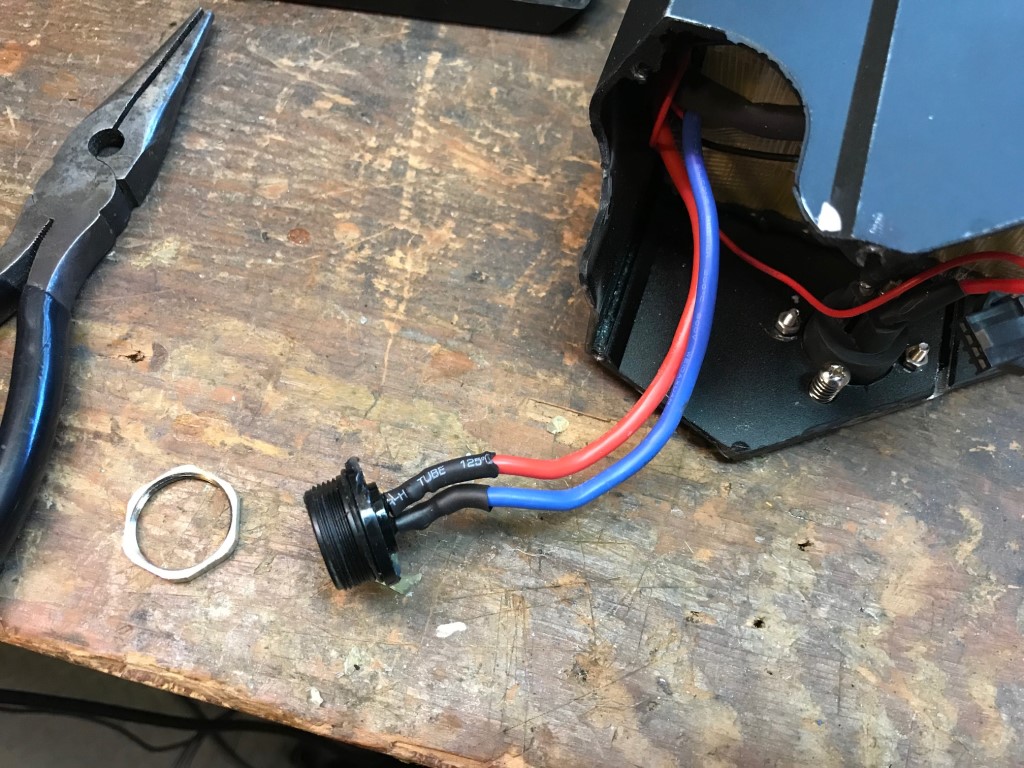
The old connector removed and ready to be replaced.
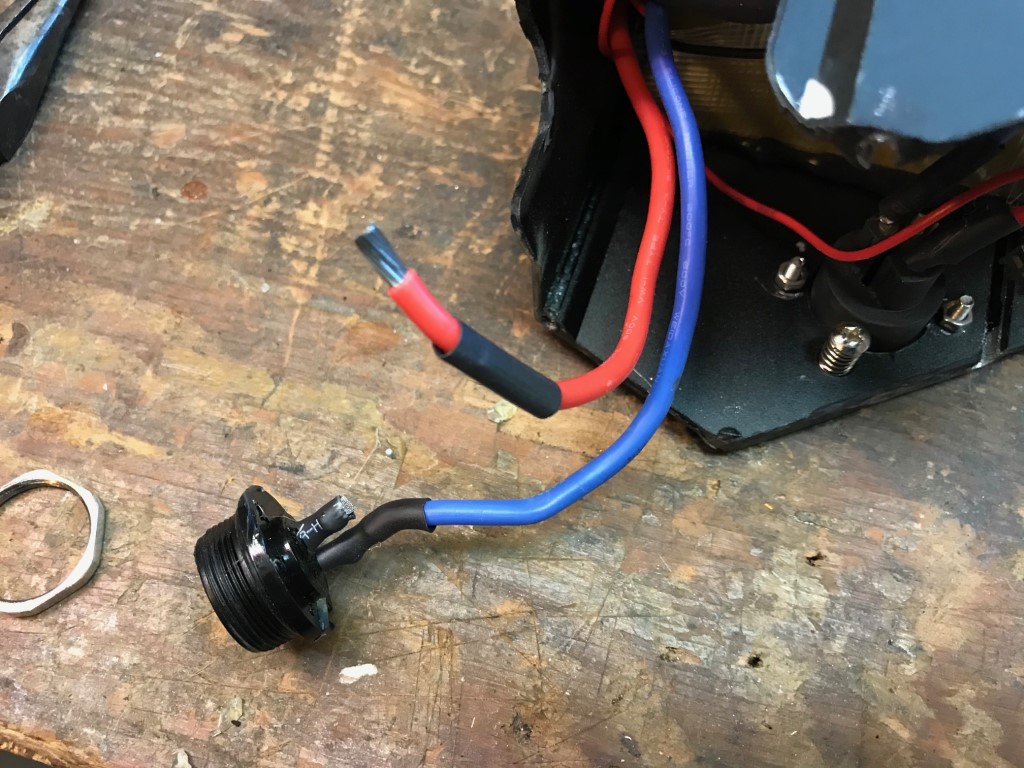
Here I have cut the red wire off, slipped on a piece of heat shrink tubing, and stripped back 1/4" of insulation. Push the heat shrink as far away from the end of the wire as possible, so that it doesn't shrink as you are soldering. To minimize the possibility of a short circuit, never allow even the POSSIBILITY that the red and blue conductors can touch. I do this by completing the repair one wire at a time, and insulating the connections as I go.
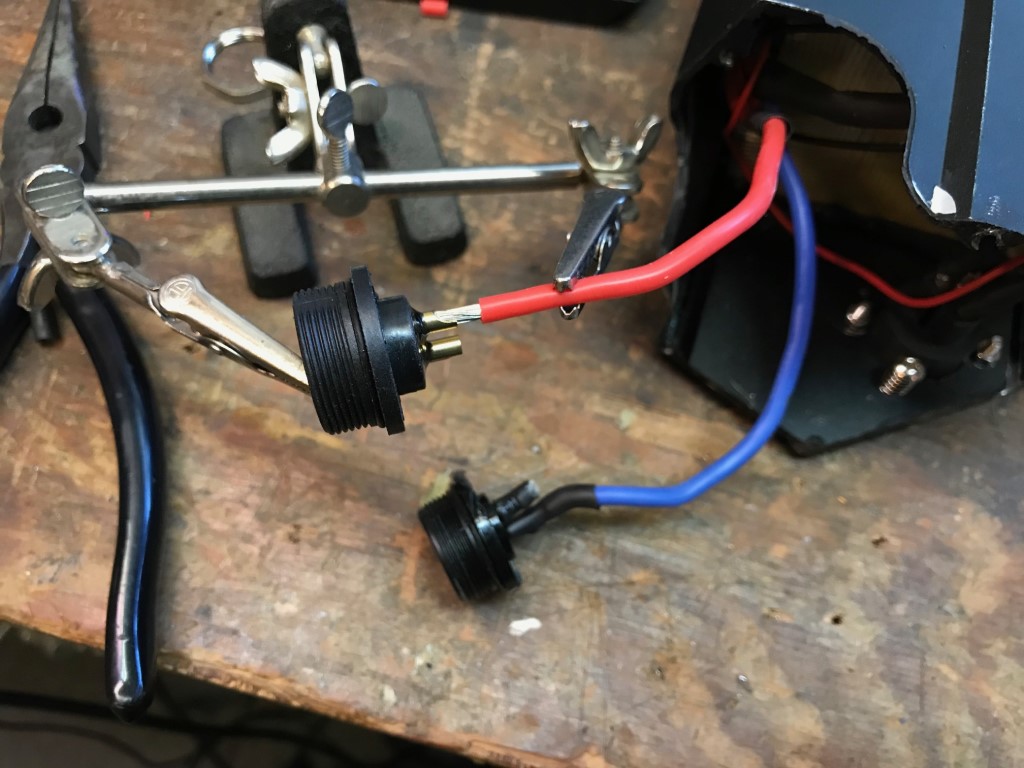
Here I am using a "helping hand" soldering aid to hold the wire in place for soldering. Use a temperature controlled soldering iron, or a soldering gun, and flux core solder.
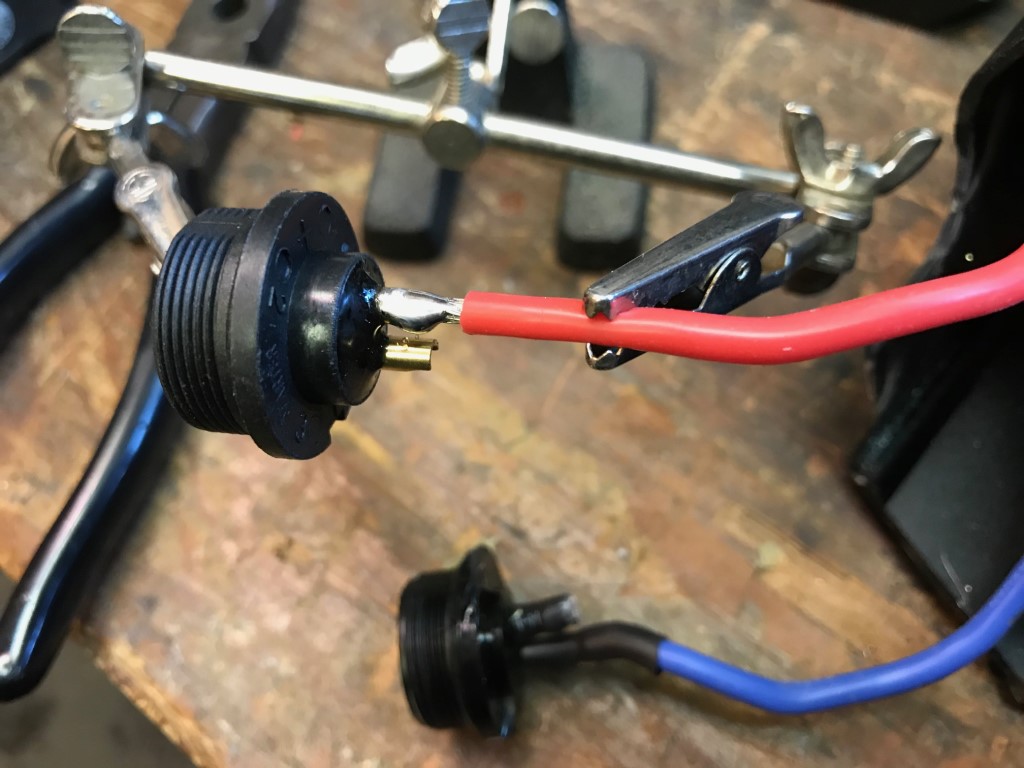
Make sure that the solder joint covers all of the wire, not just one side. Try to do this a quickly as you can so as not to overheat the plastic connector. Start with getting the solder into the wire, then the connector.
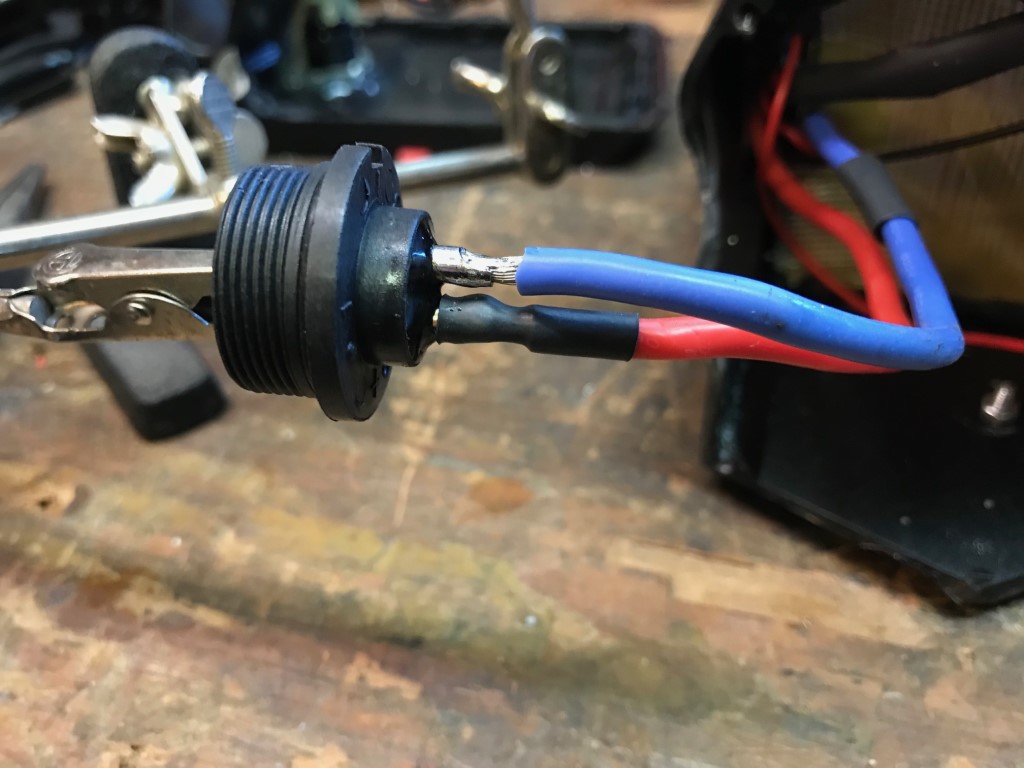
Heat shrink the first connection before moving on to the next to prevent the possibility of a short circuit.. The pins are close enough together that a drip of solder could bridge them when you are making the second connection. If there is no on/off switch on your battery, this would result in at the minimum a blown fuse, but possibly a fried BMS, or a battery fire.
I apply hot glue around the back of the connector to help prevent water ingress.
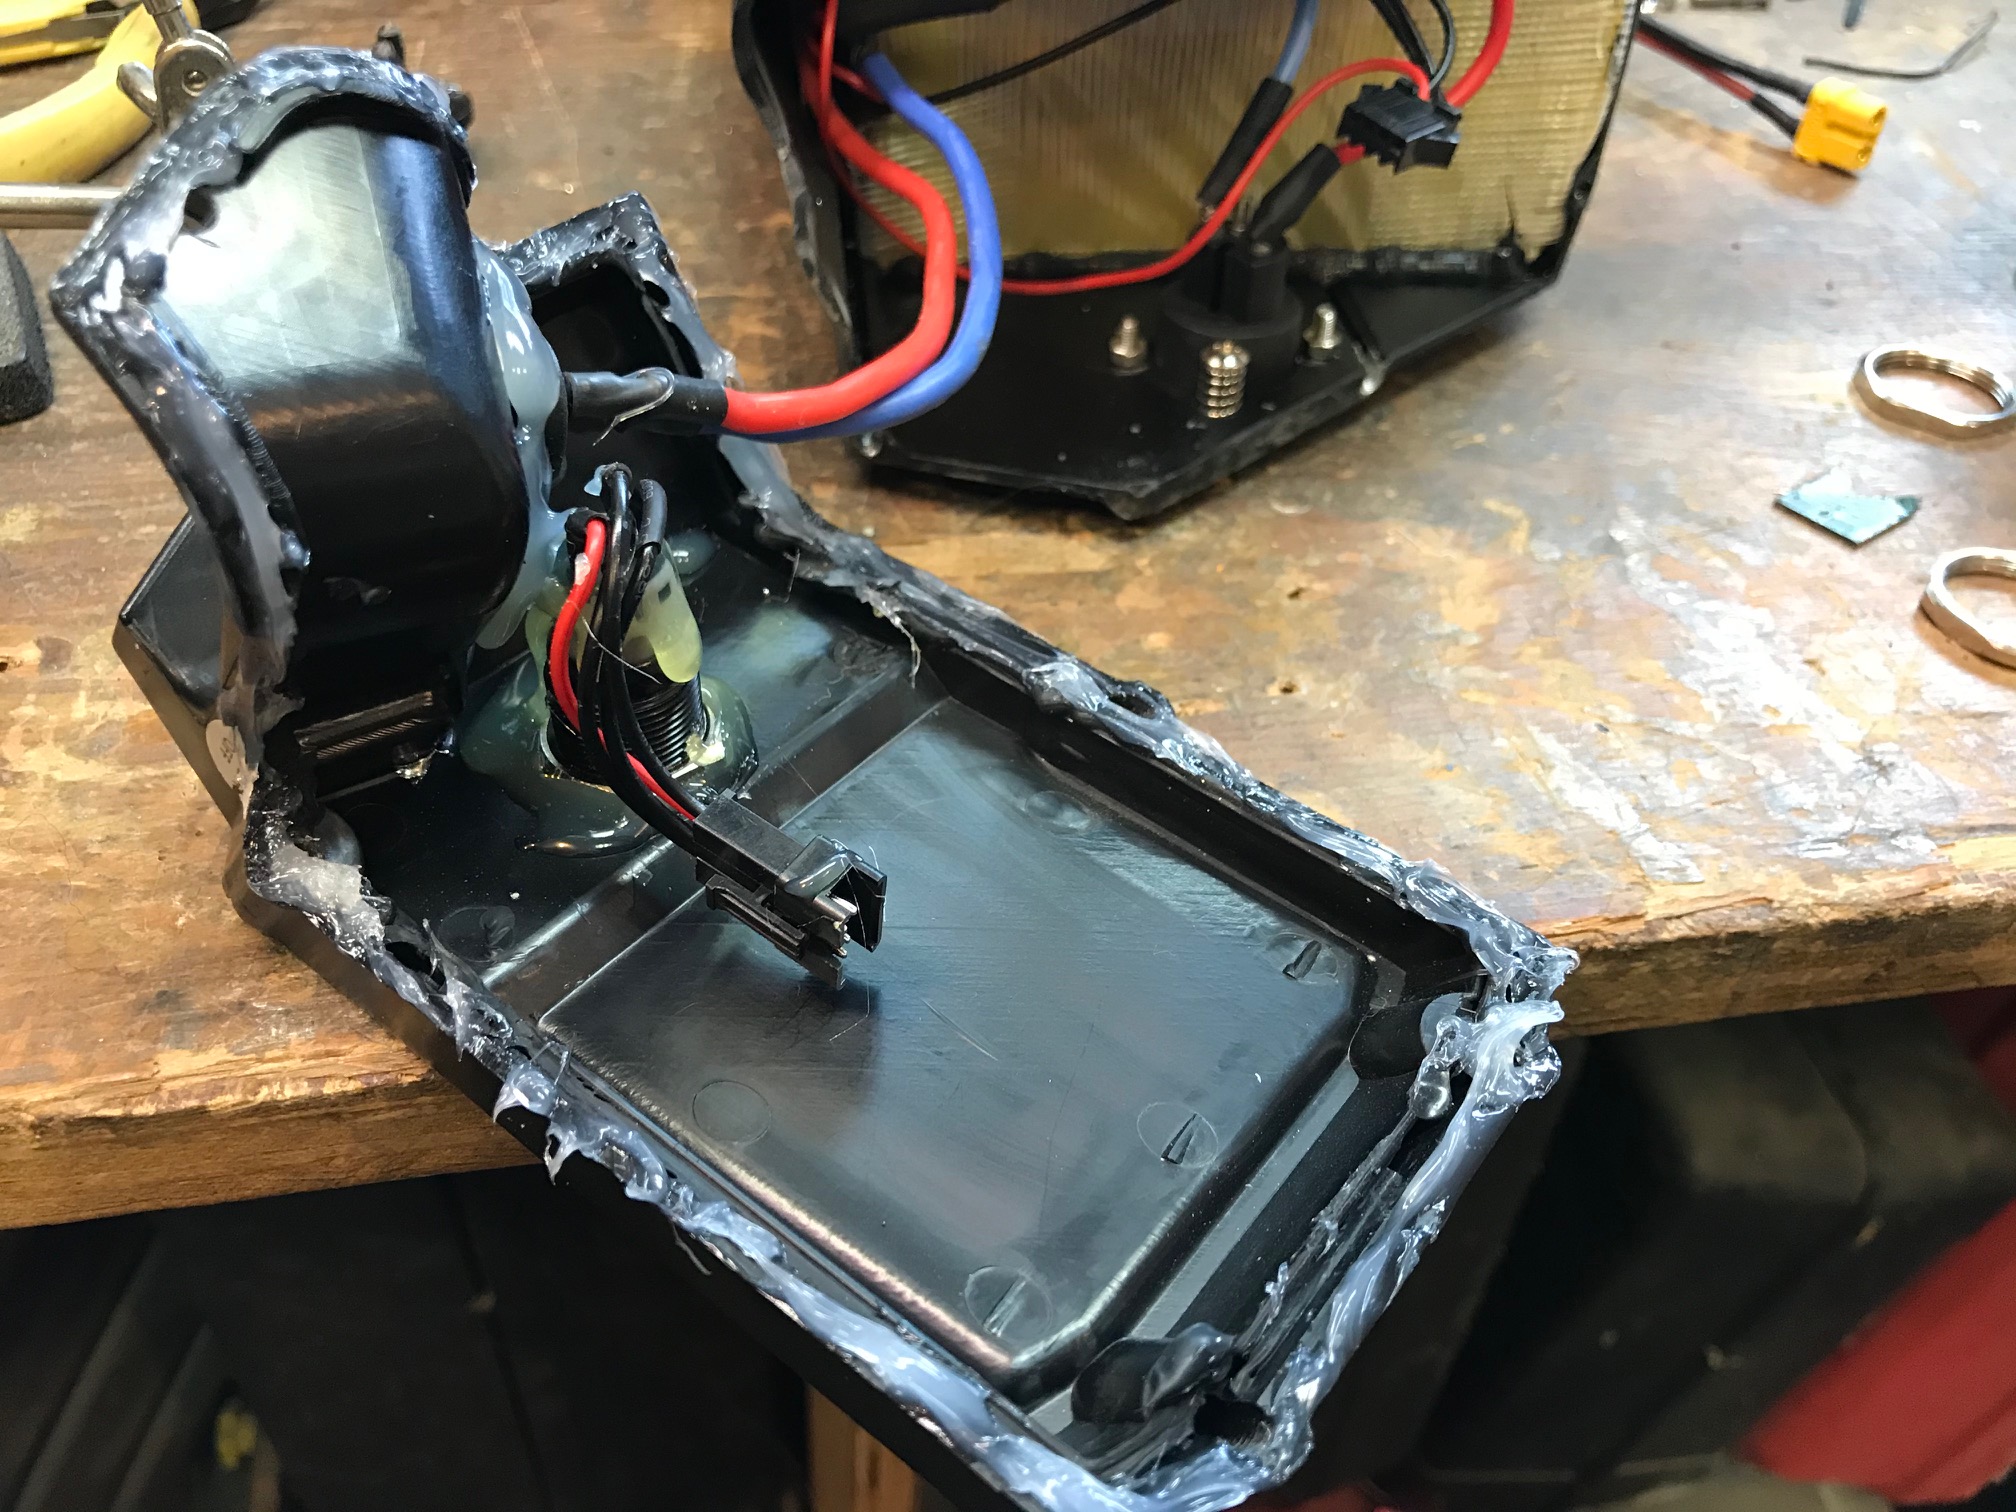
Don't forget to re attach the switch wires. I apply a bead of silicone on the Juiced batteries before re assembling the top cap, as there is no gasket to keep water out. On the Hilleater batteries there is a gasket, so this is not necessary. Wear gloves, and wipe off the excess as soon as the screws are tightened. Its hard to get all the silicone off, but persistence pays off. I have found that if you let the silicone dry, then try to cut or peel it off, it can come right out of the seam. Test the battery voltage output to make sure that you got the polarity correct before installing it back on the bike.
Finished!