Installing the Hilleater/Grin tech GMAC upgrade kit on the Juiced Crosscurrent series bikes
2022 Feb 11th
For a basic description of the kit see our product listing here.
Begin the installation by removing the stock controller, motor, and display.
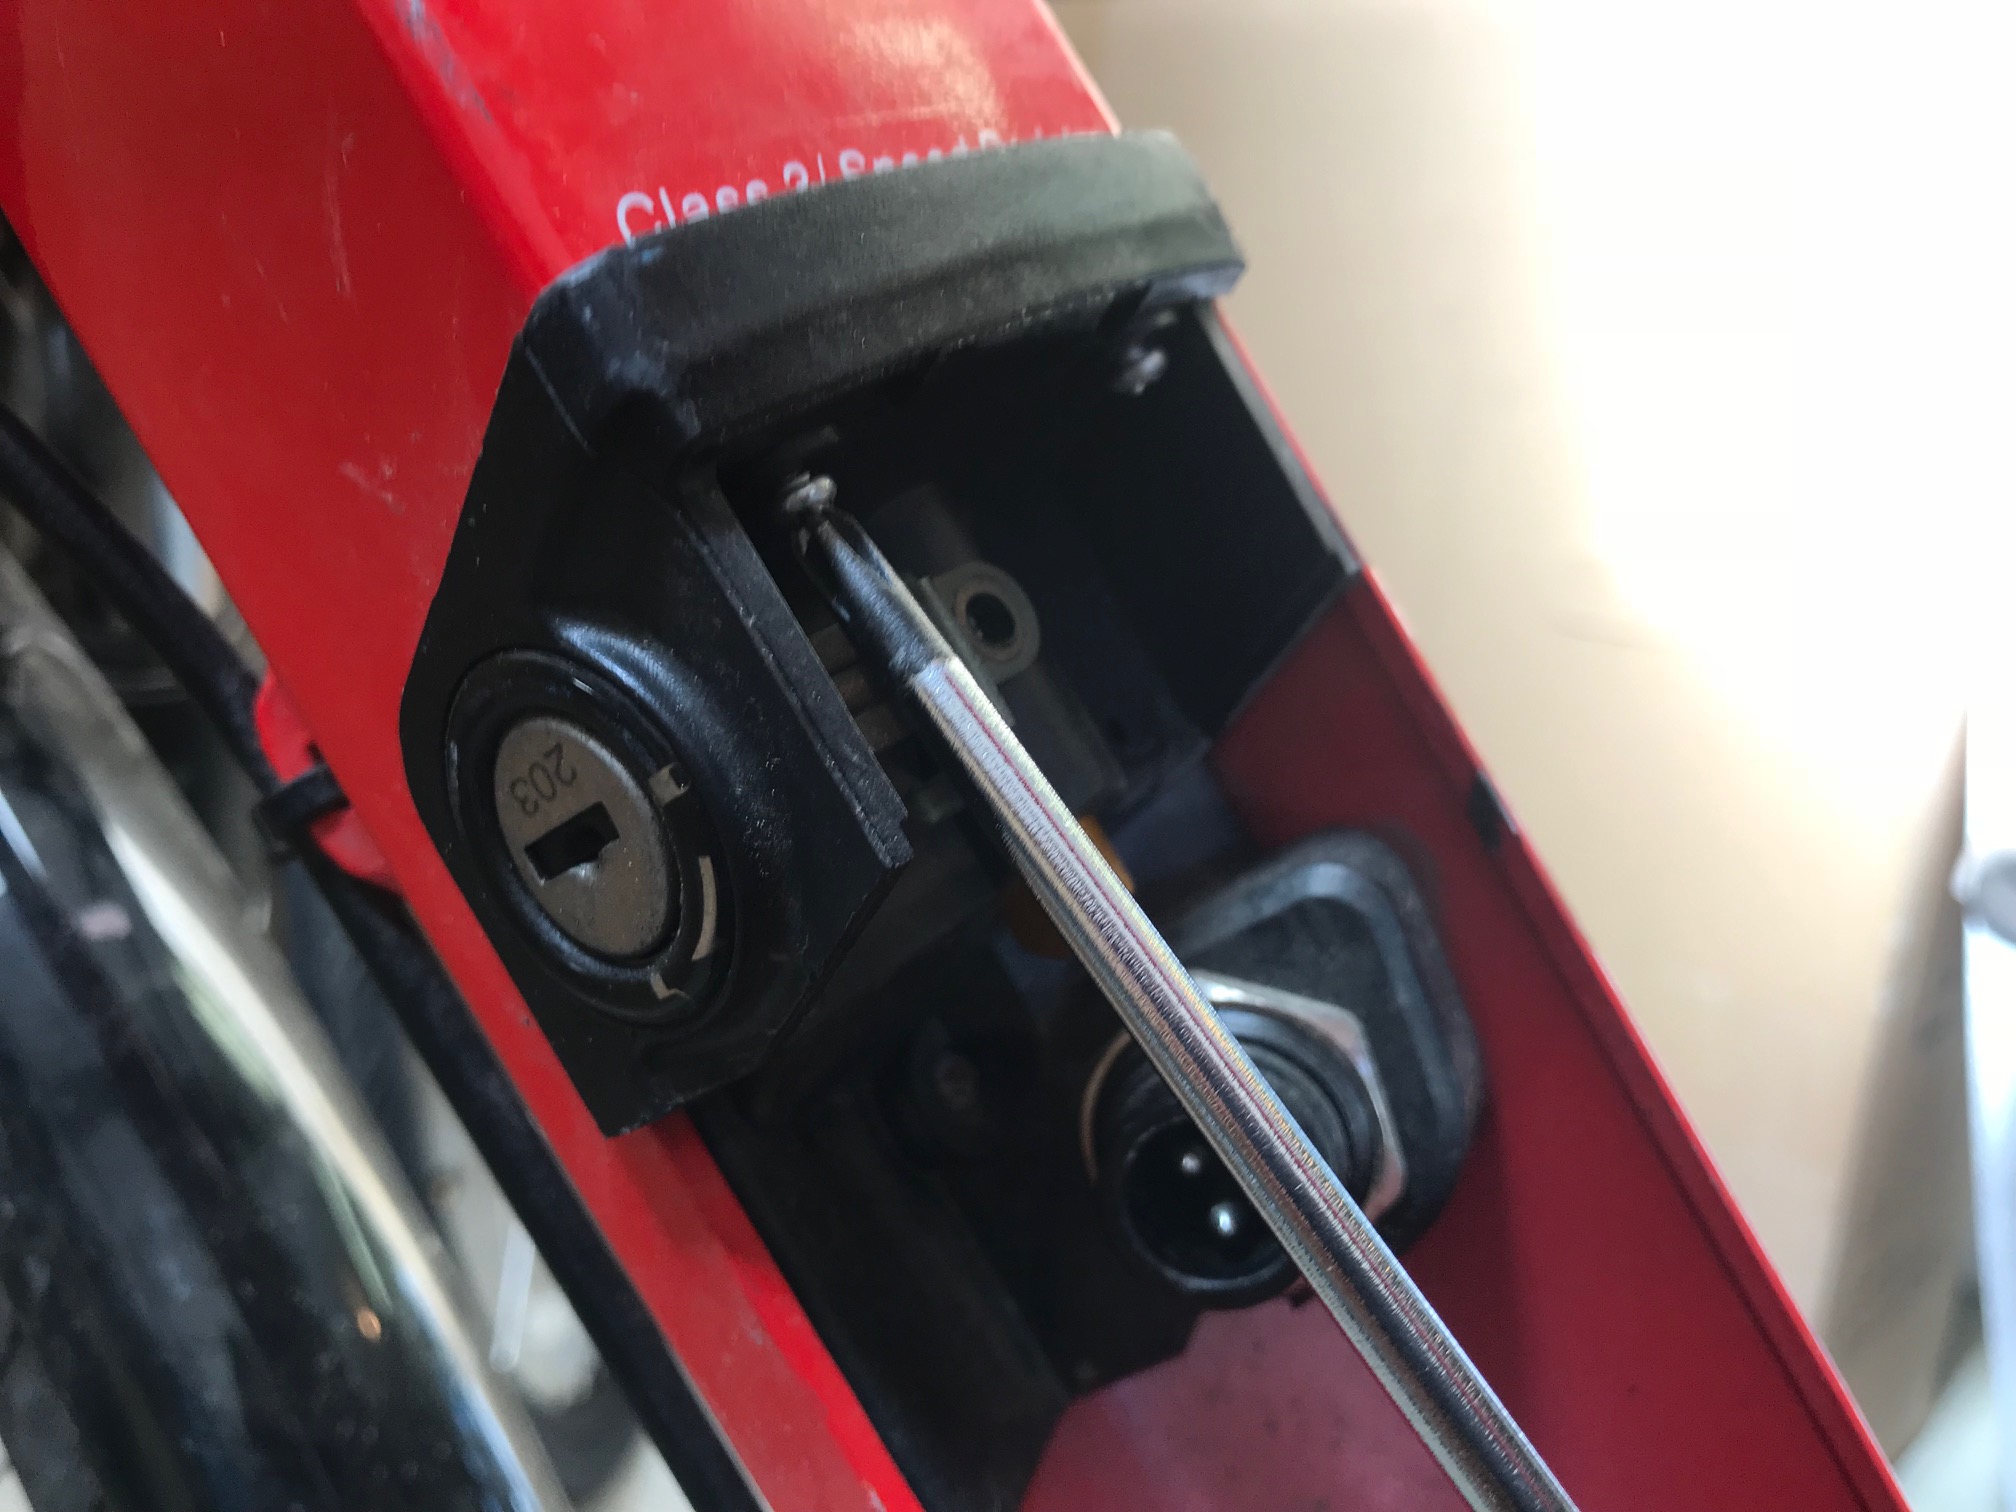
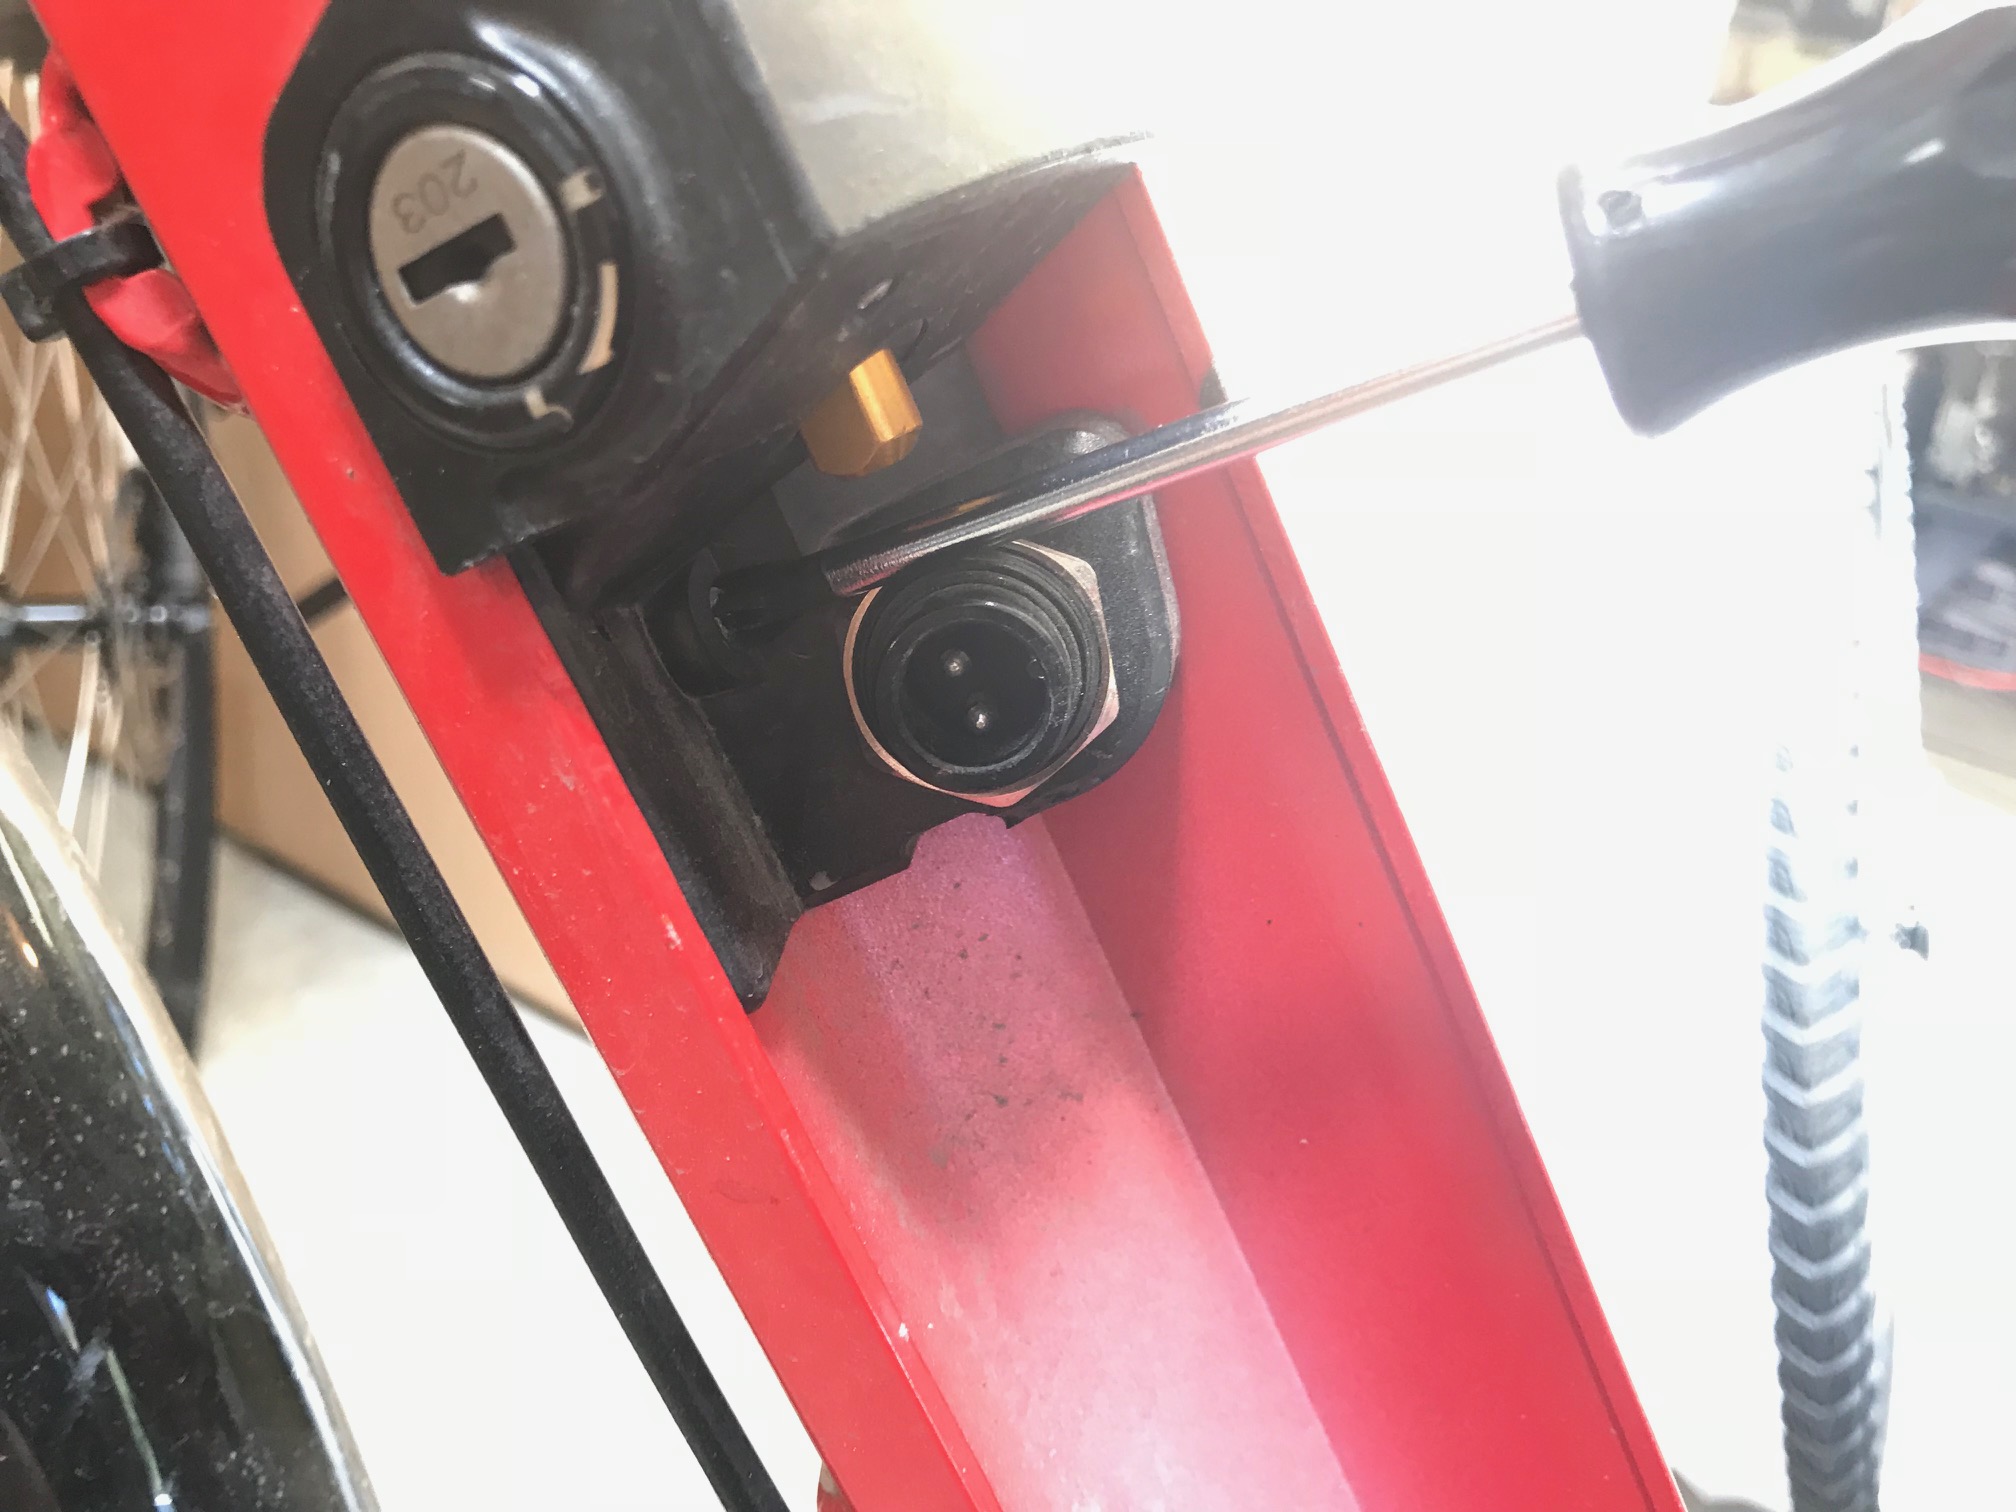
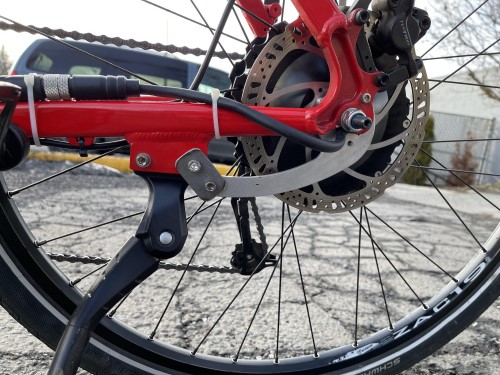
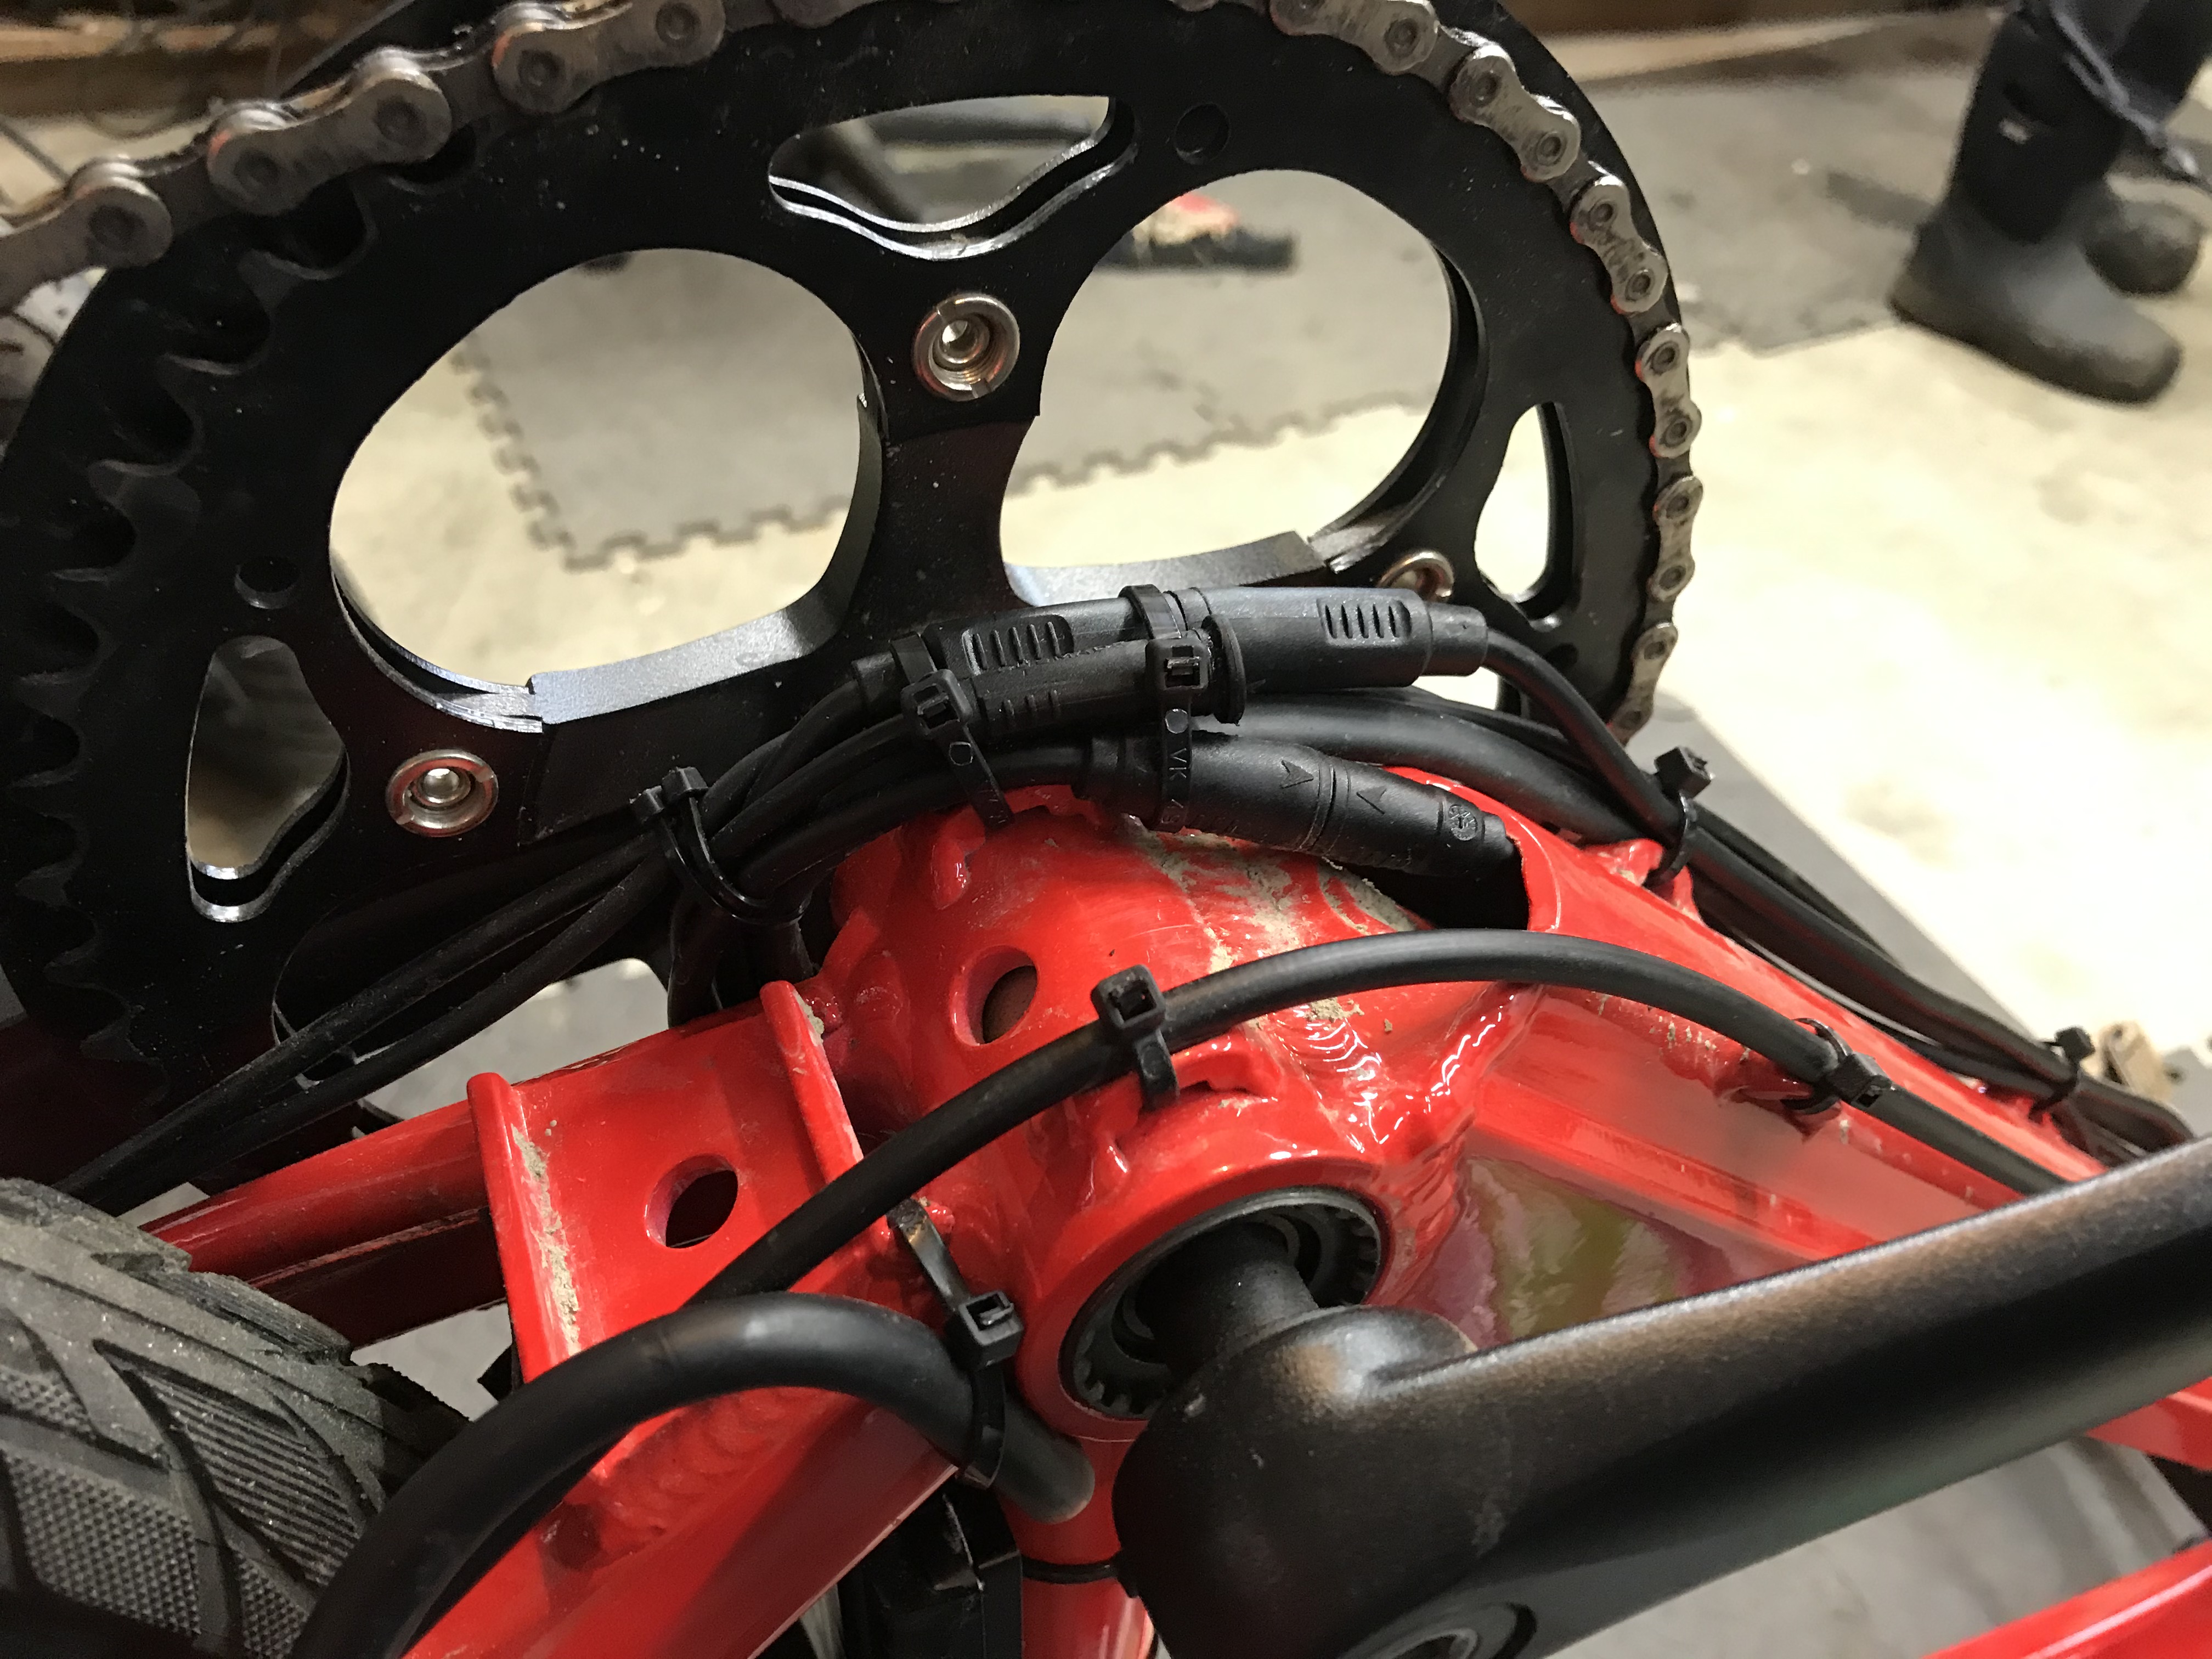
Unplug all of the connectors, including the two down near the motor for the motor and torque sensor.
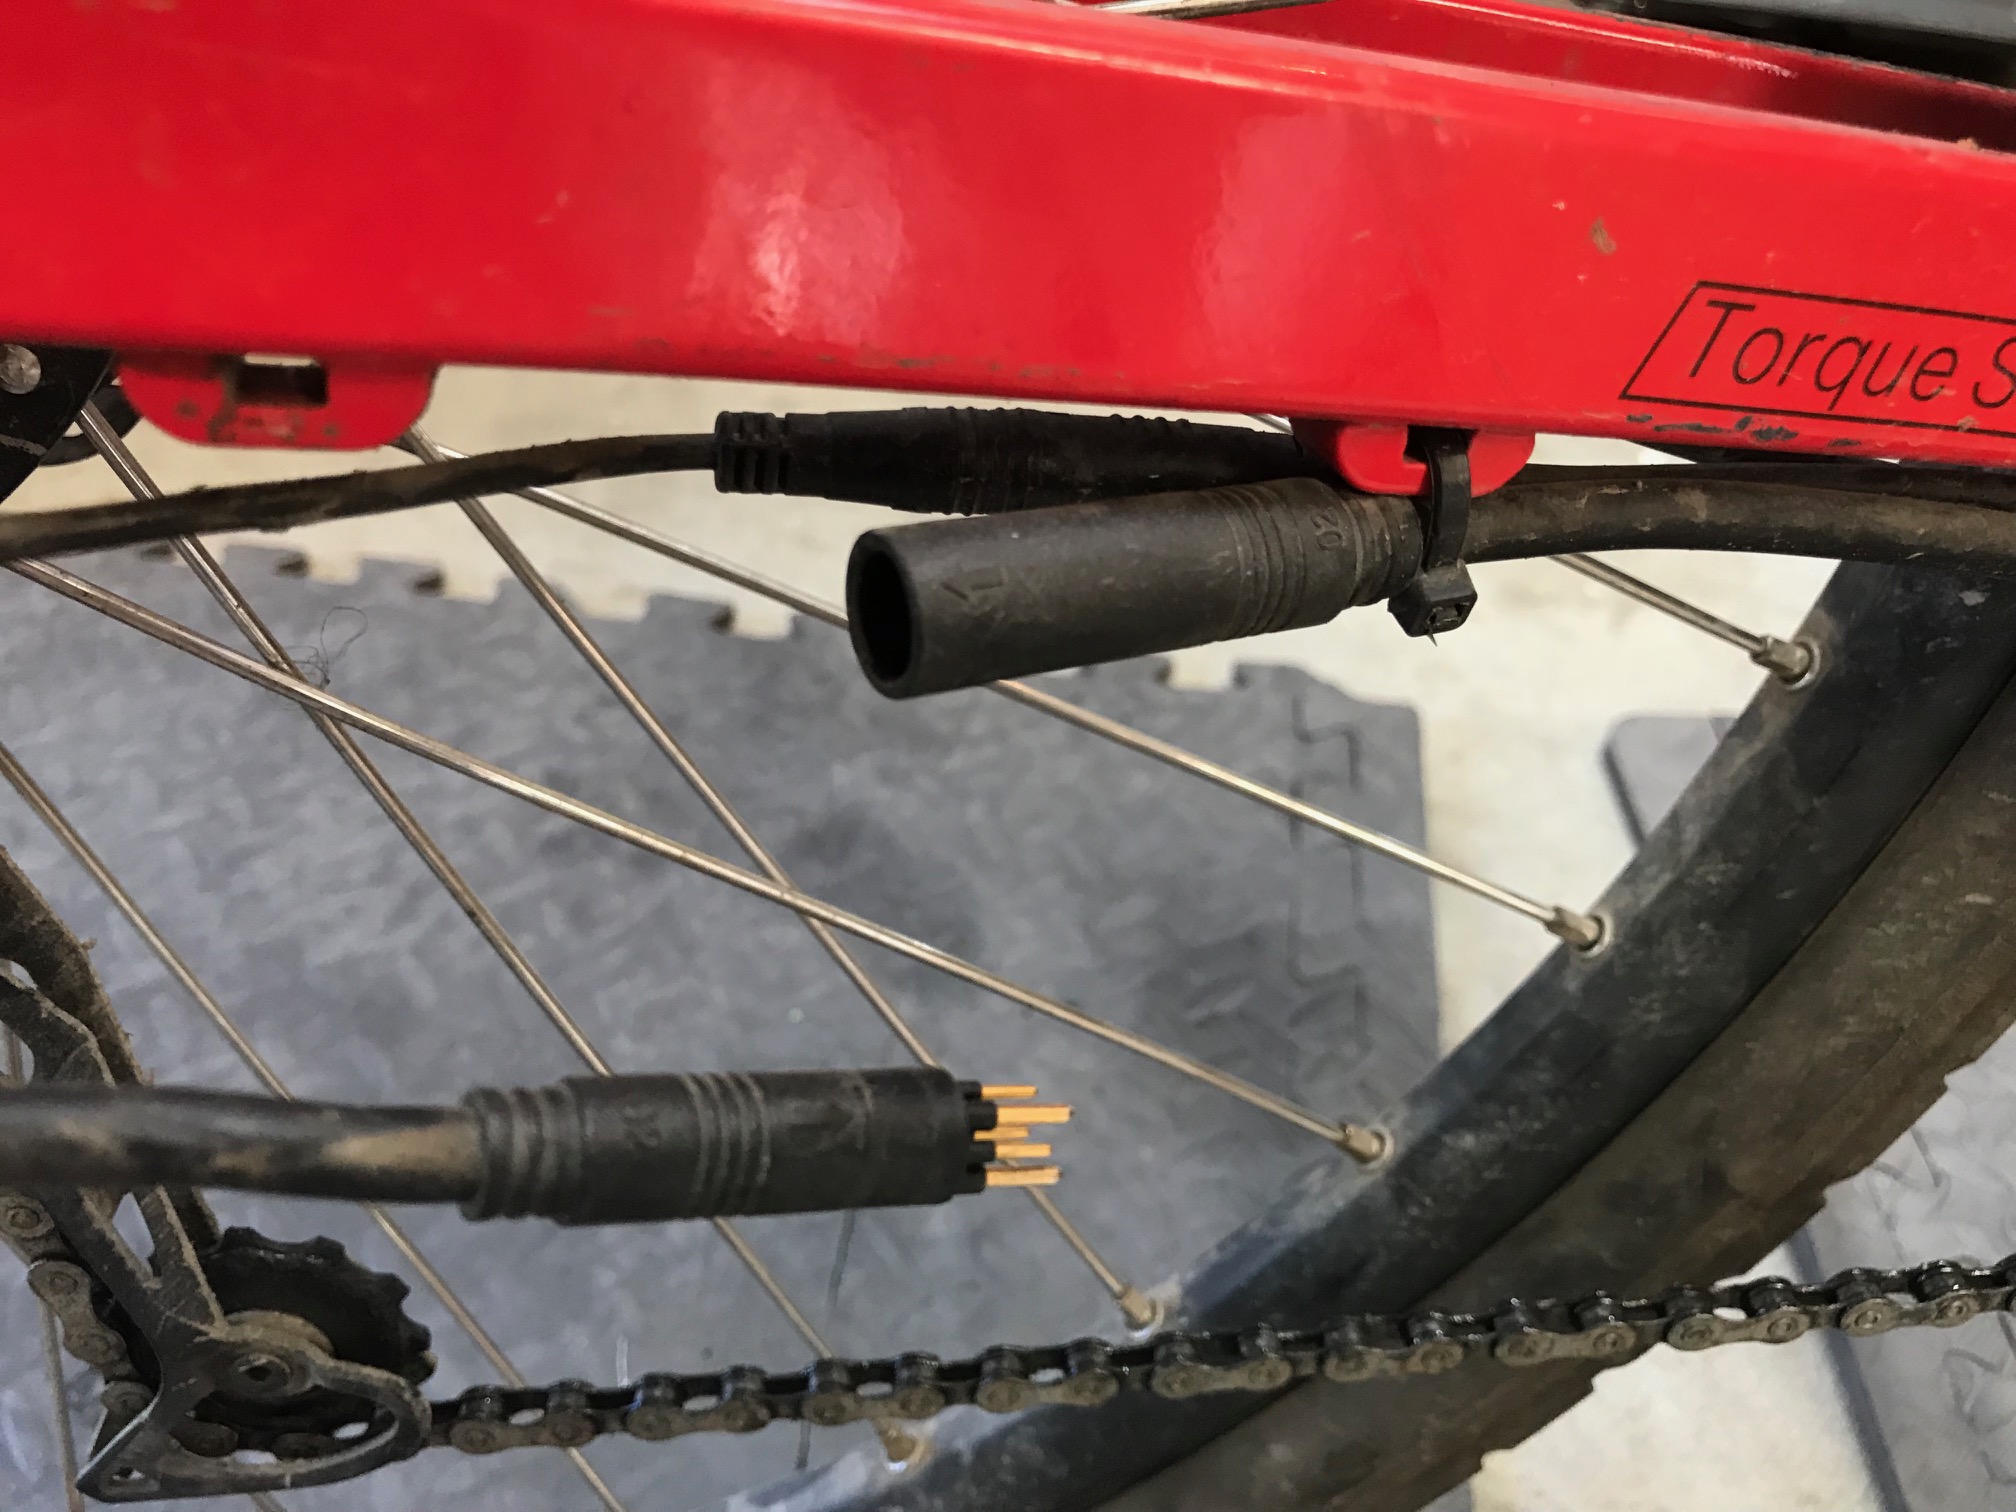
Motor connector undone

Torque sensor wire undone
The 4-1 cable pulls apart here.
Cut all the cable ties on the wires all the way from the motor to the handlebars.
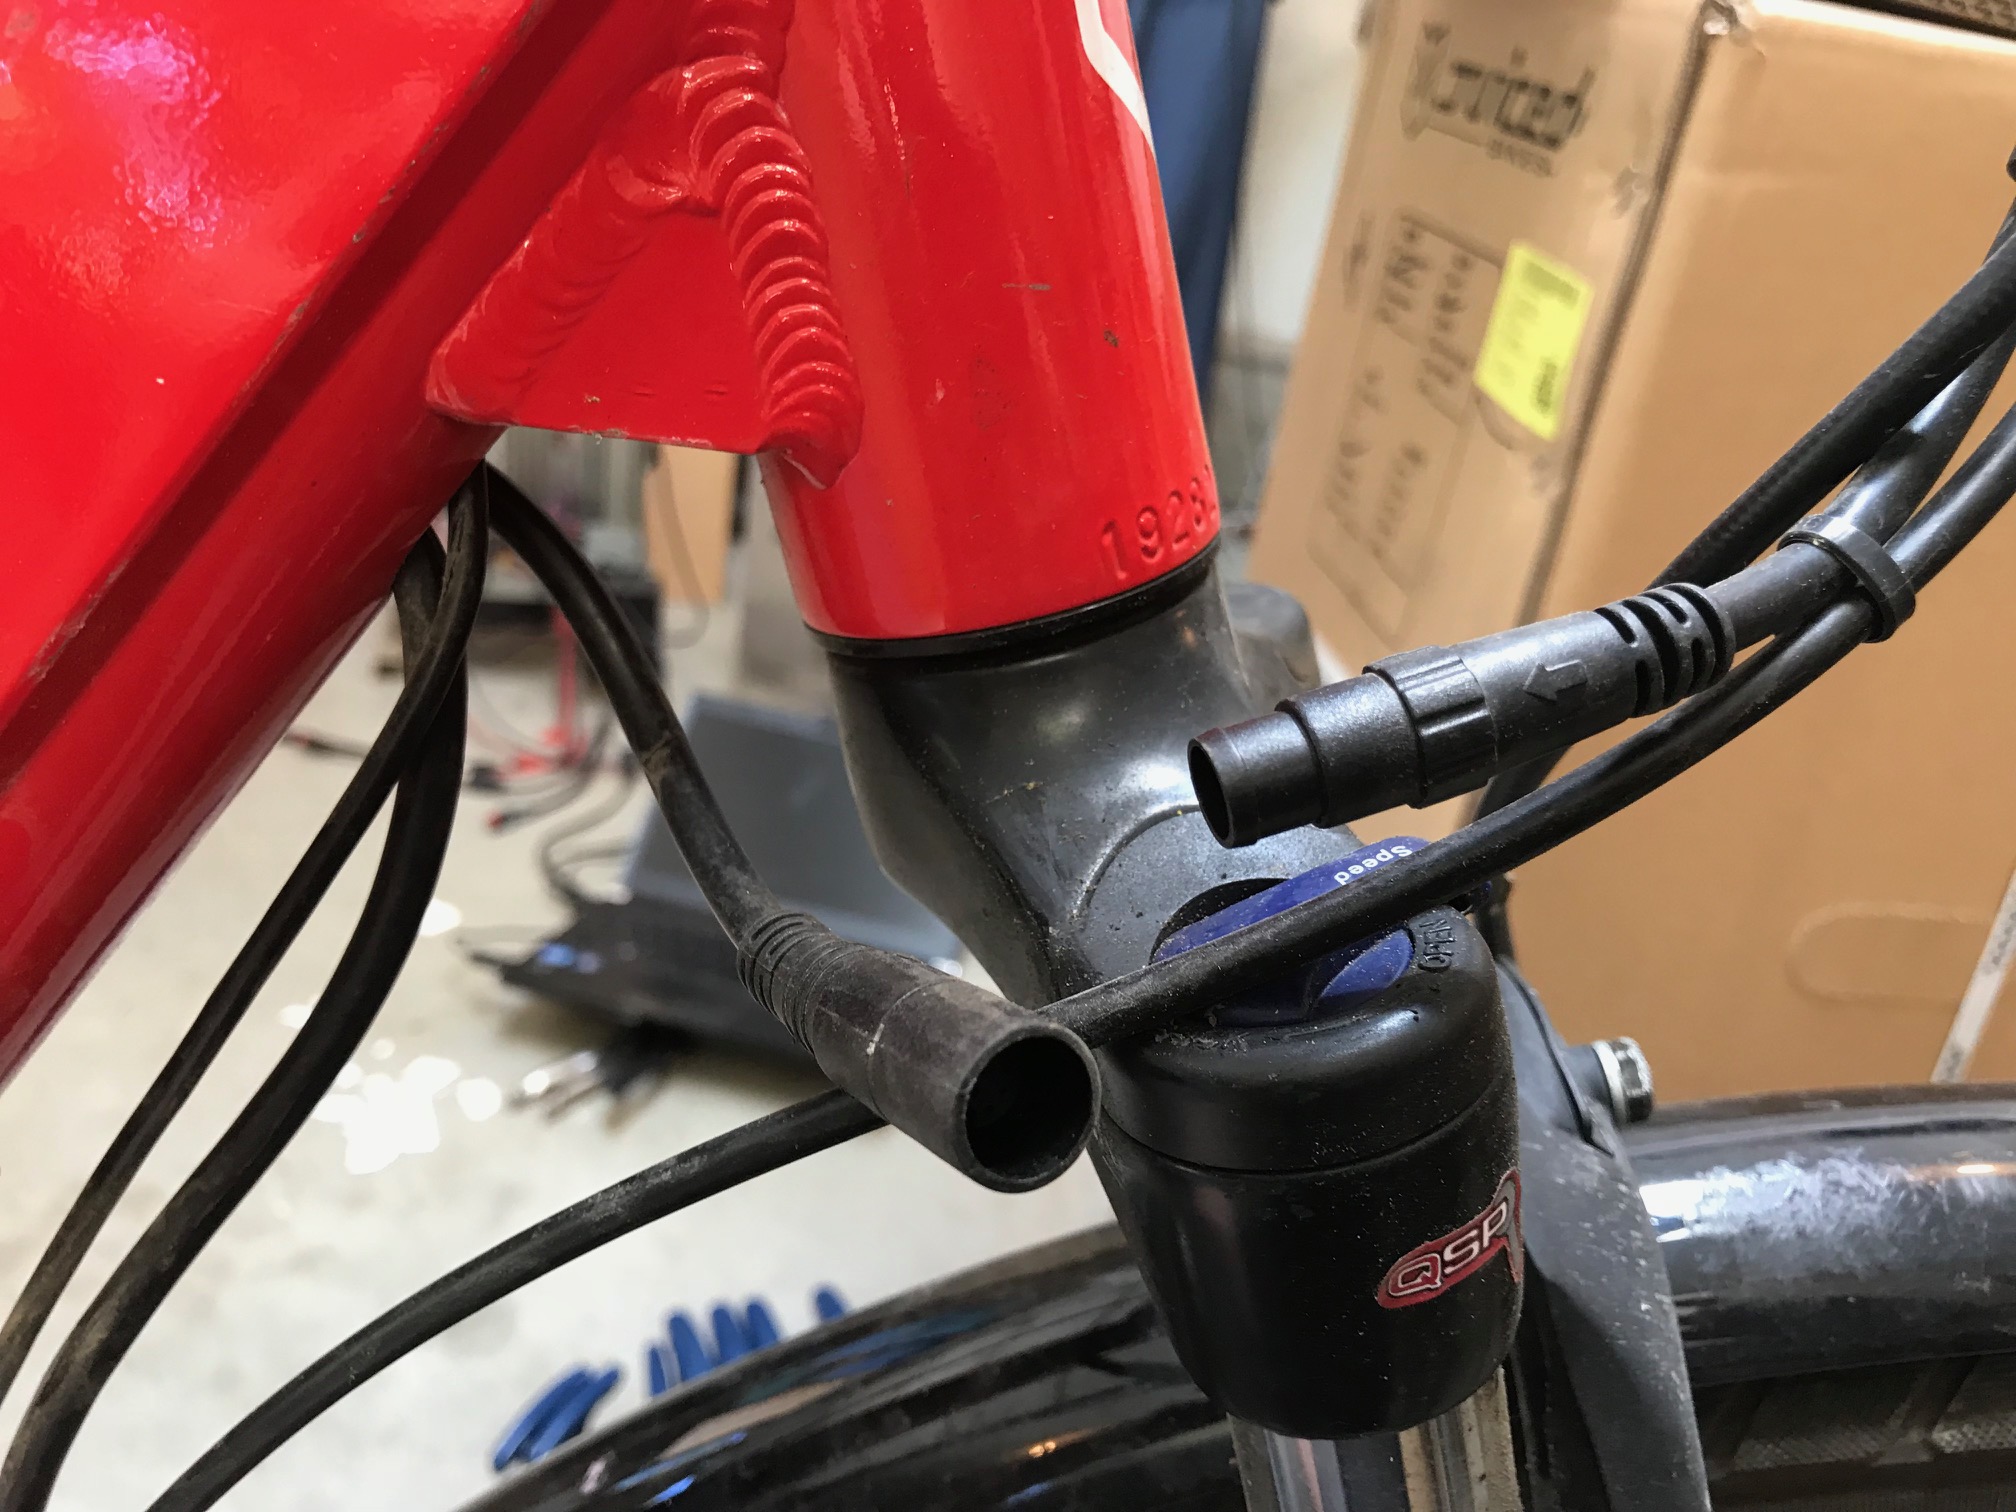
Unscrew and pull apart the small connectors with the knurled metal rings that go to the brake handles, display, and throttle.
Remove the display. You will need a 1.5mm Allen key for this.
Take the battery off and remove the small plastic cover by removing one screw near the gold pin.
Then the two screws under the cover come out. Save these for re use. This one may be an Allen head or Philips #1
Remove this small screw and save it.
The plastic battery bracket can now be taken off. There will be a wire running to the motor controller, you can pull on this wire to disconnect it, and if this pulls out the controller, that's good, it is coming out anyways.
You may have to pull the controller out with large needle nose pliers. It has all the cables attached, and they have to be pulled through the hole in the frame. Go ahead and pull all the wires right out.
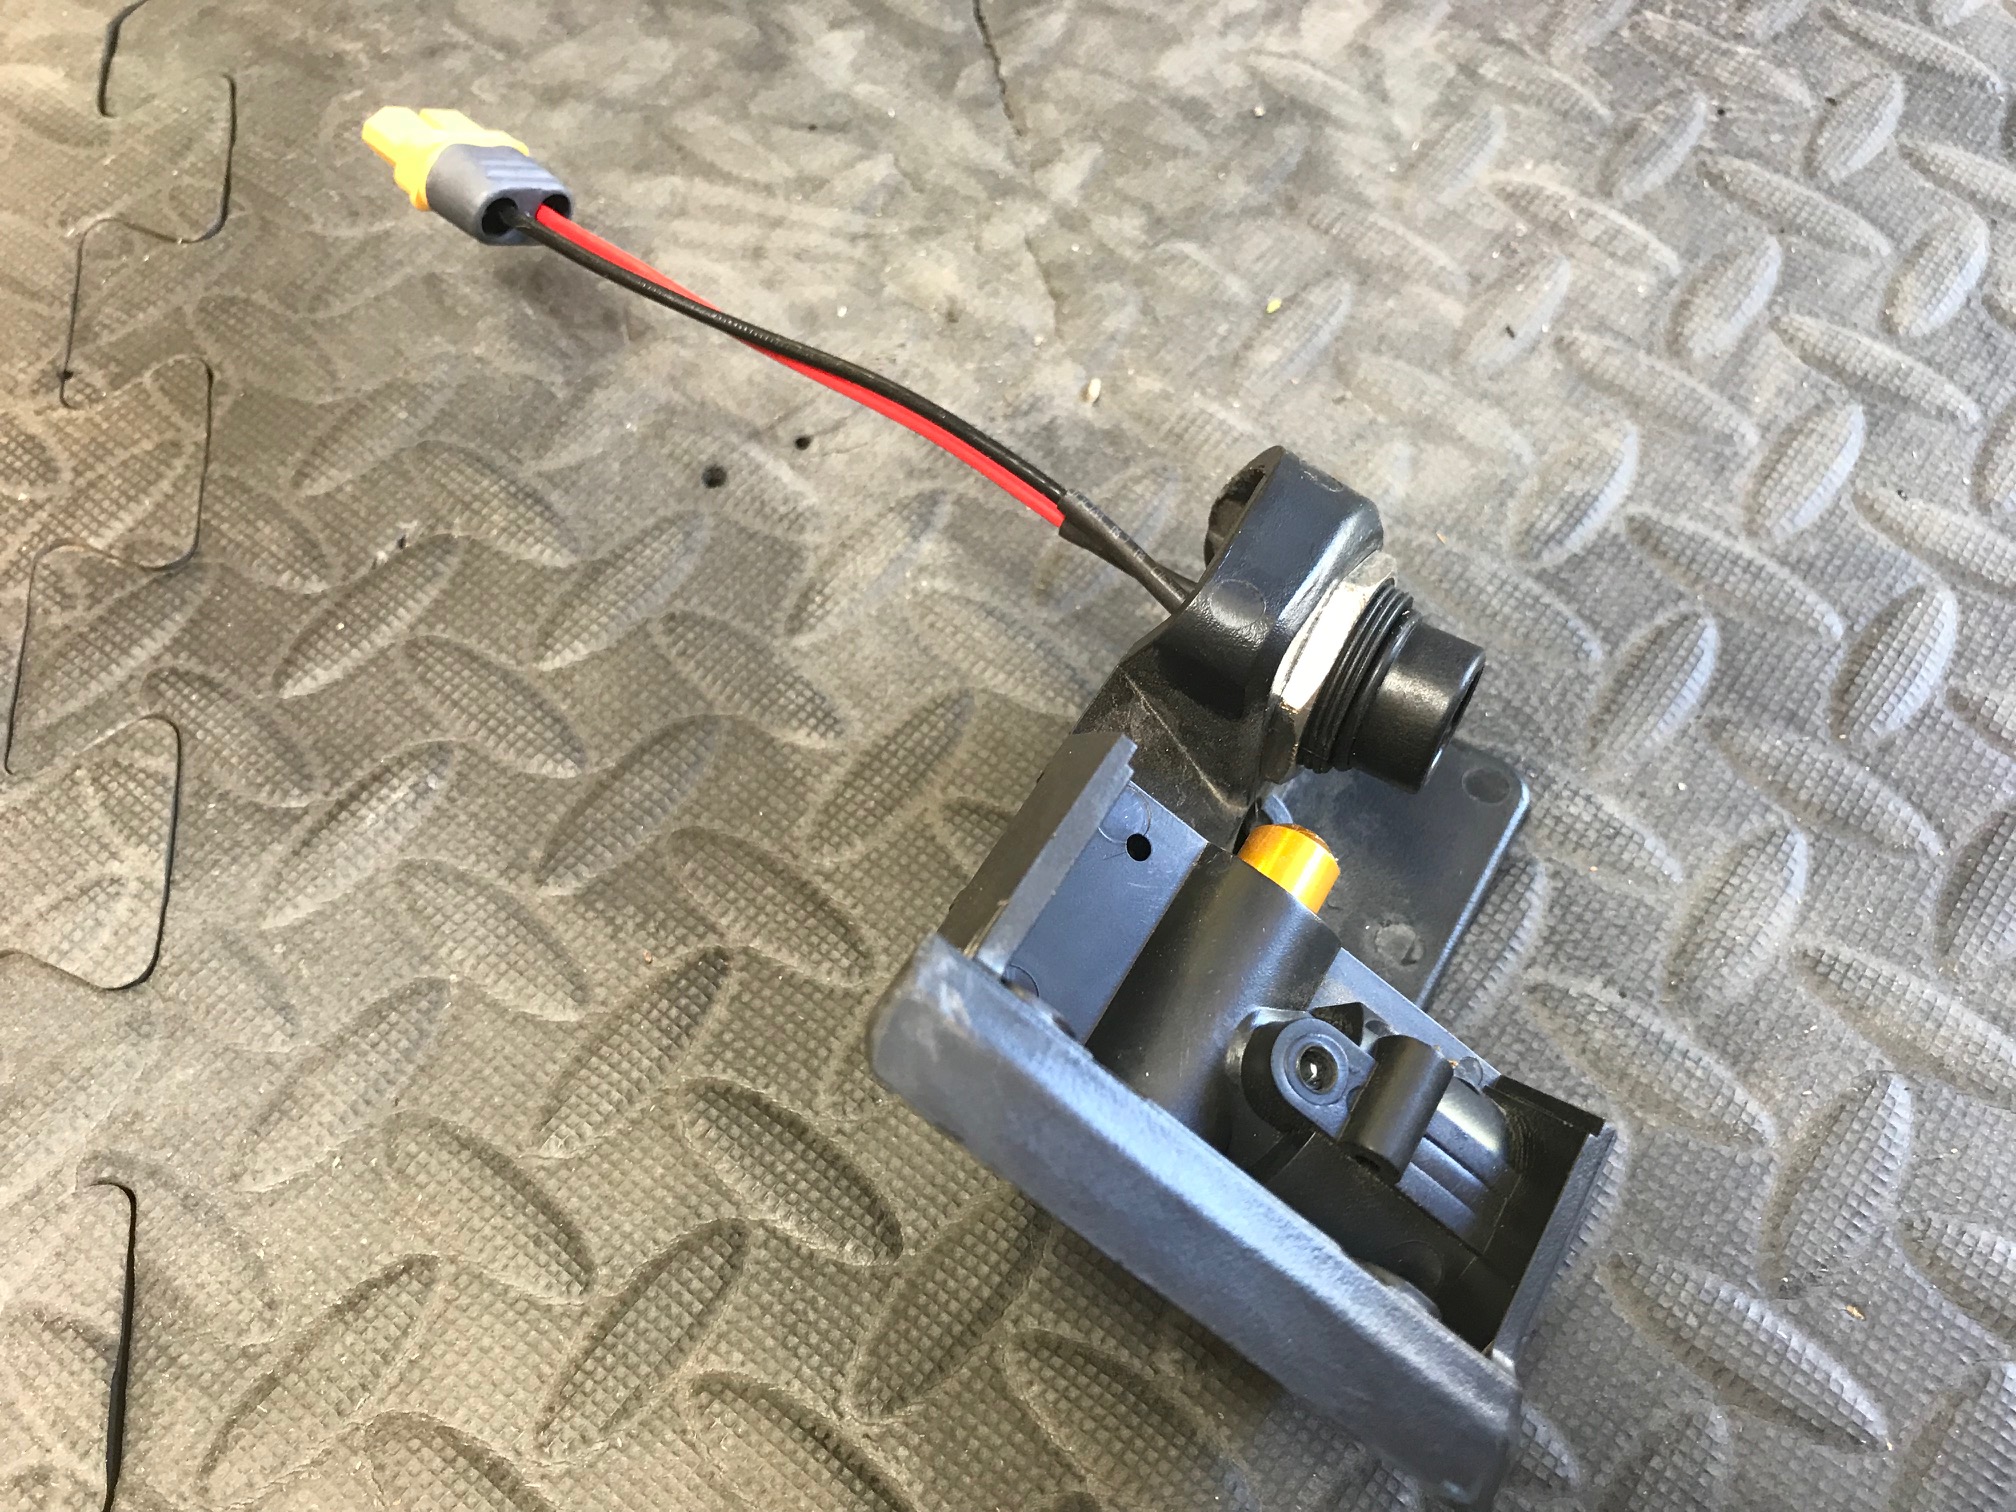
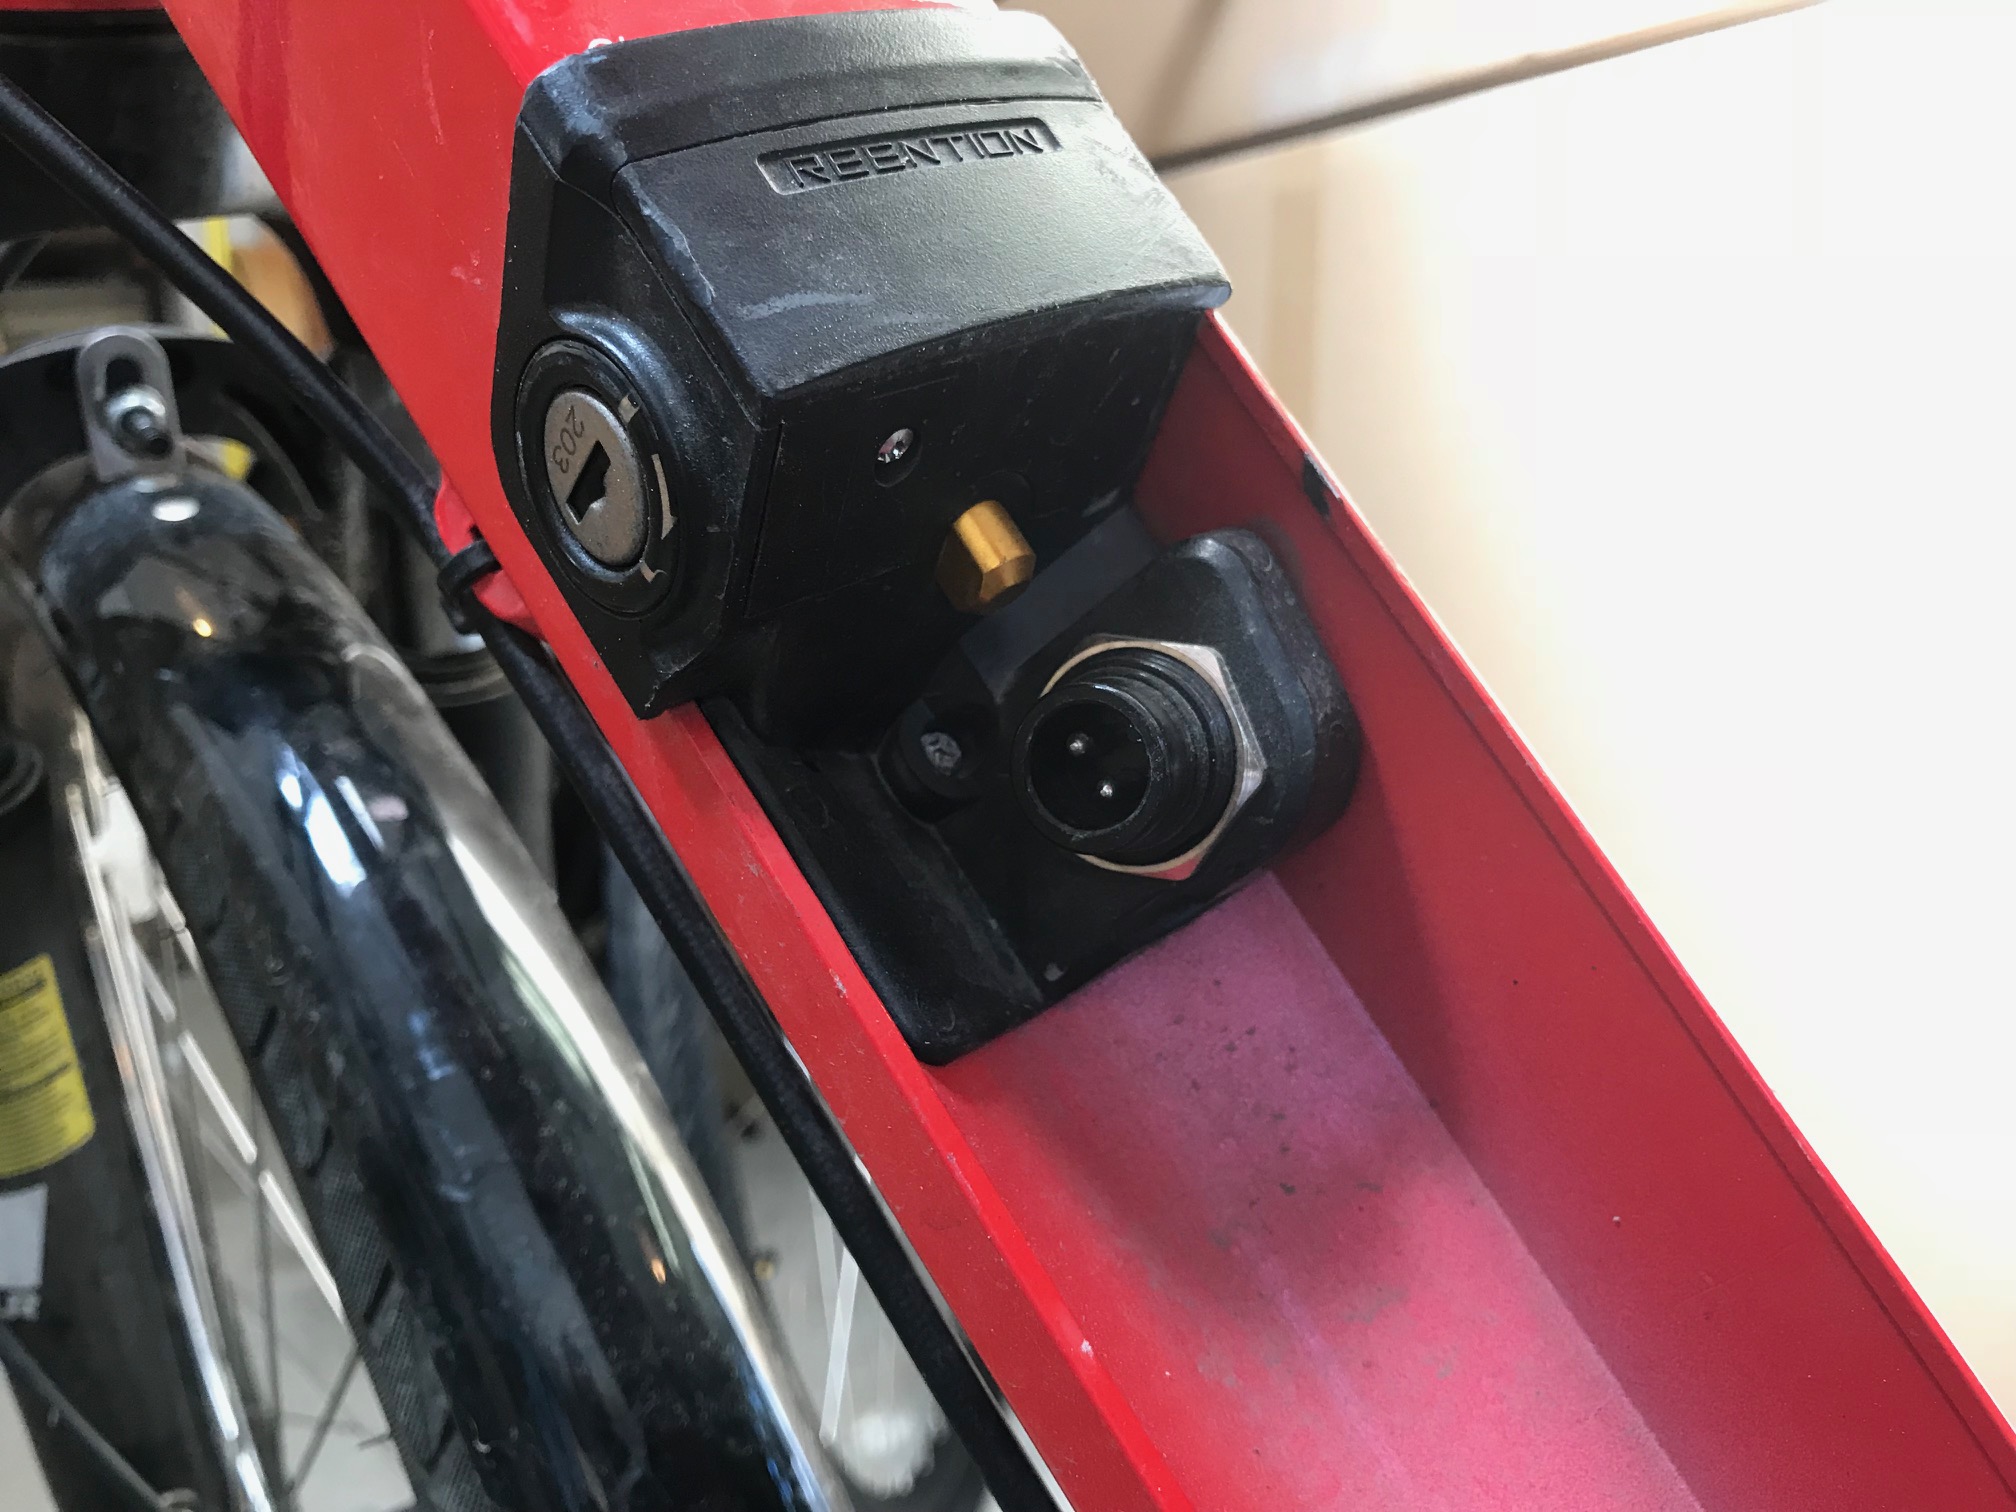
If the connector to the controller looks something like this, you can leave it in place if it's in good condition, but you may want to replace it with the heavy duty 12ga version that we supply. Some early bikes had a different molded connector which must be replaced with the one provided in the kit. Take a close look at the pins that mate with the battery, if they are pitted or blackened at all, replace the connector with the one in the kit.
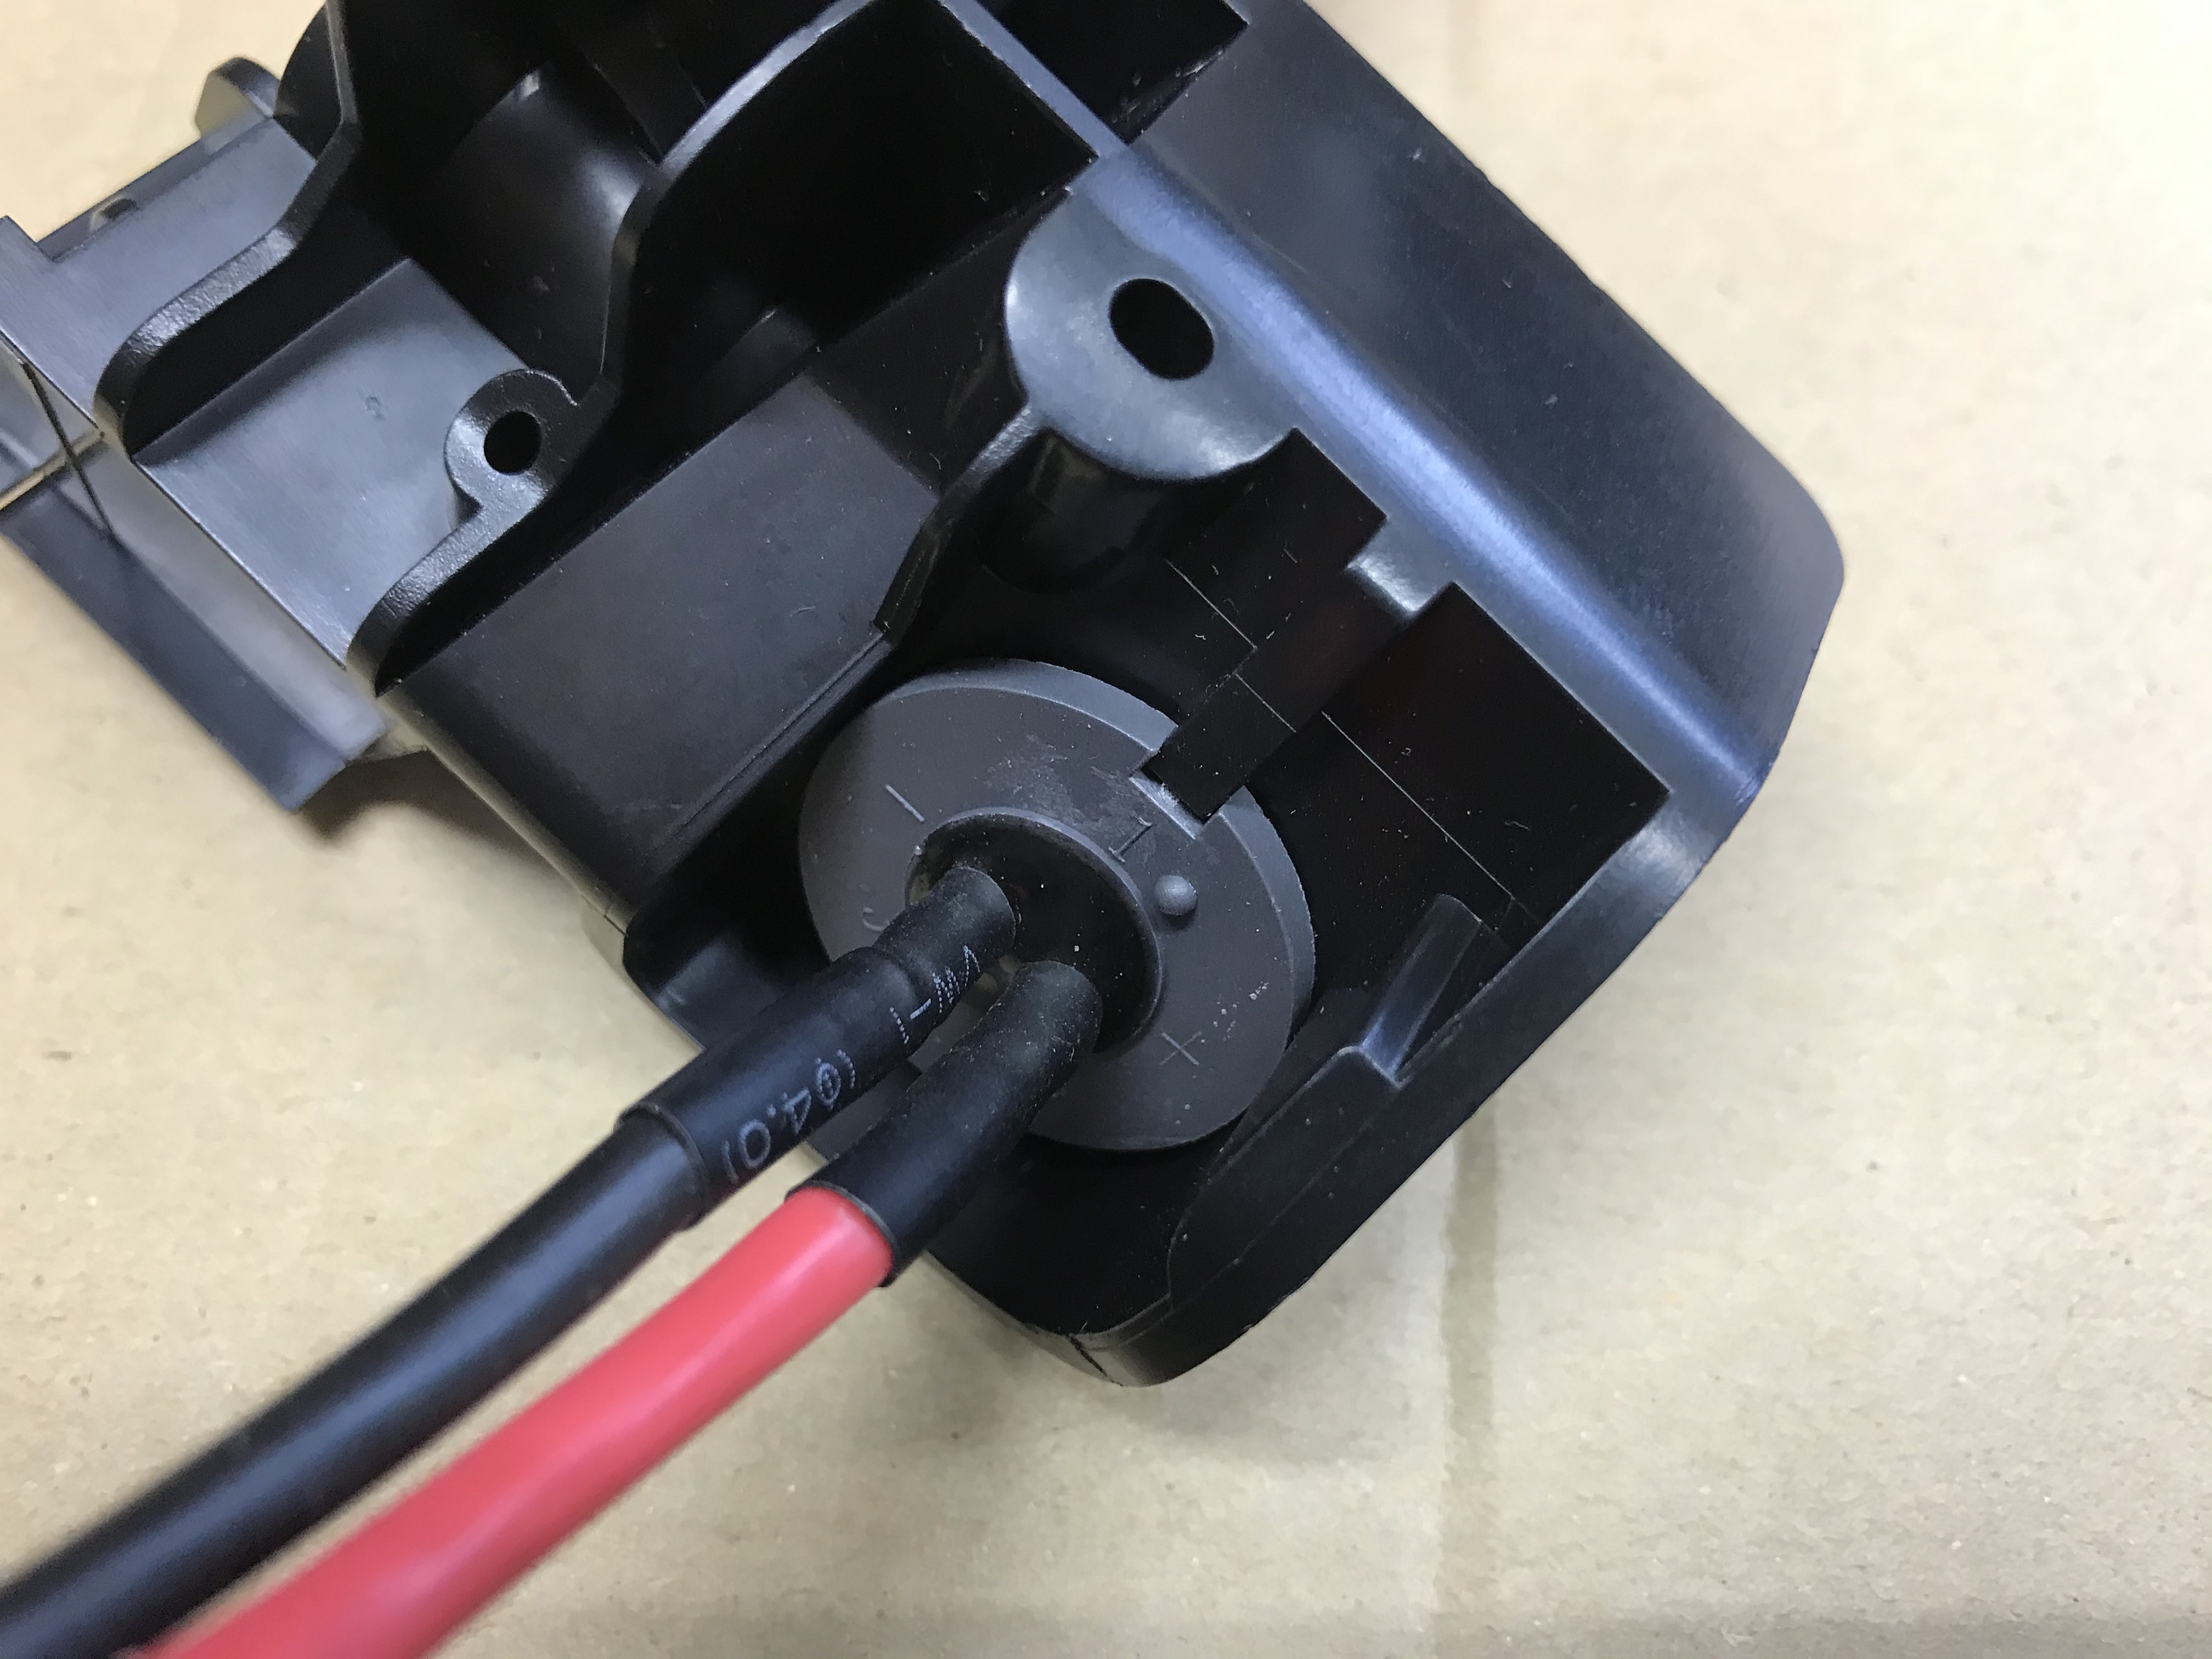
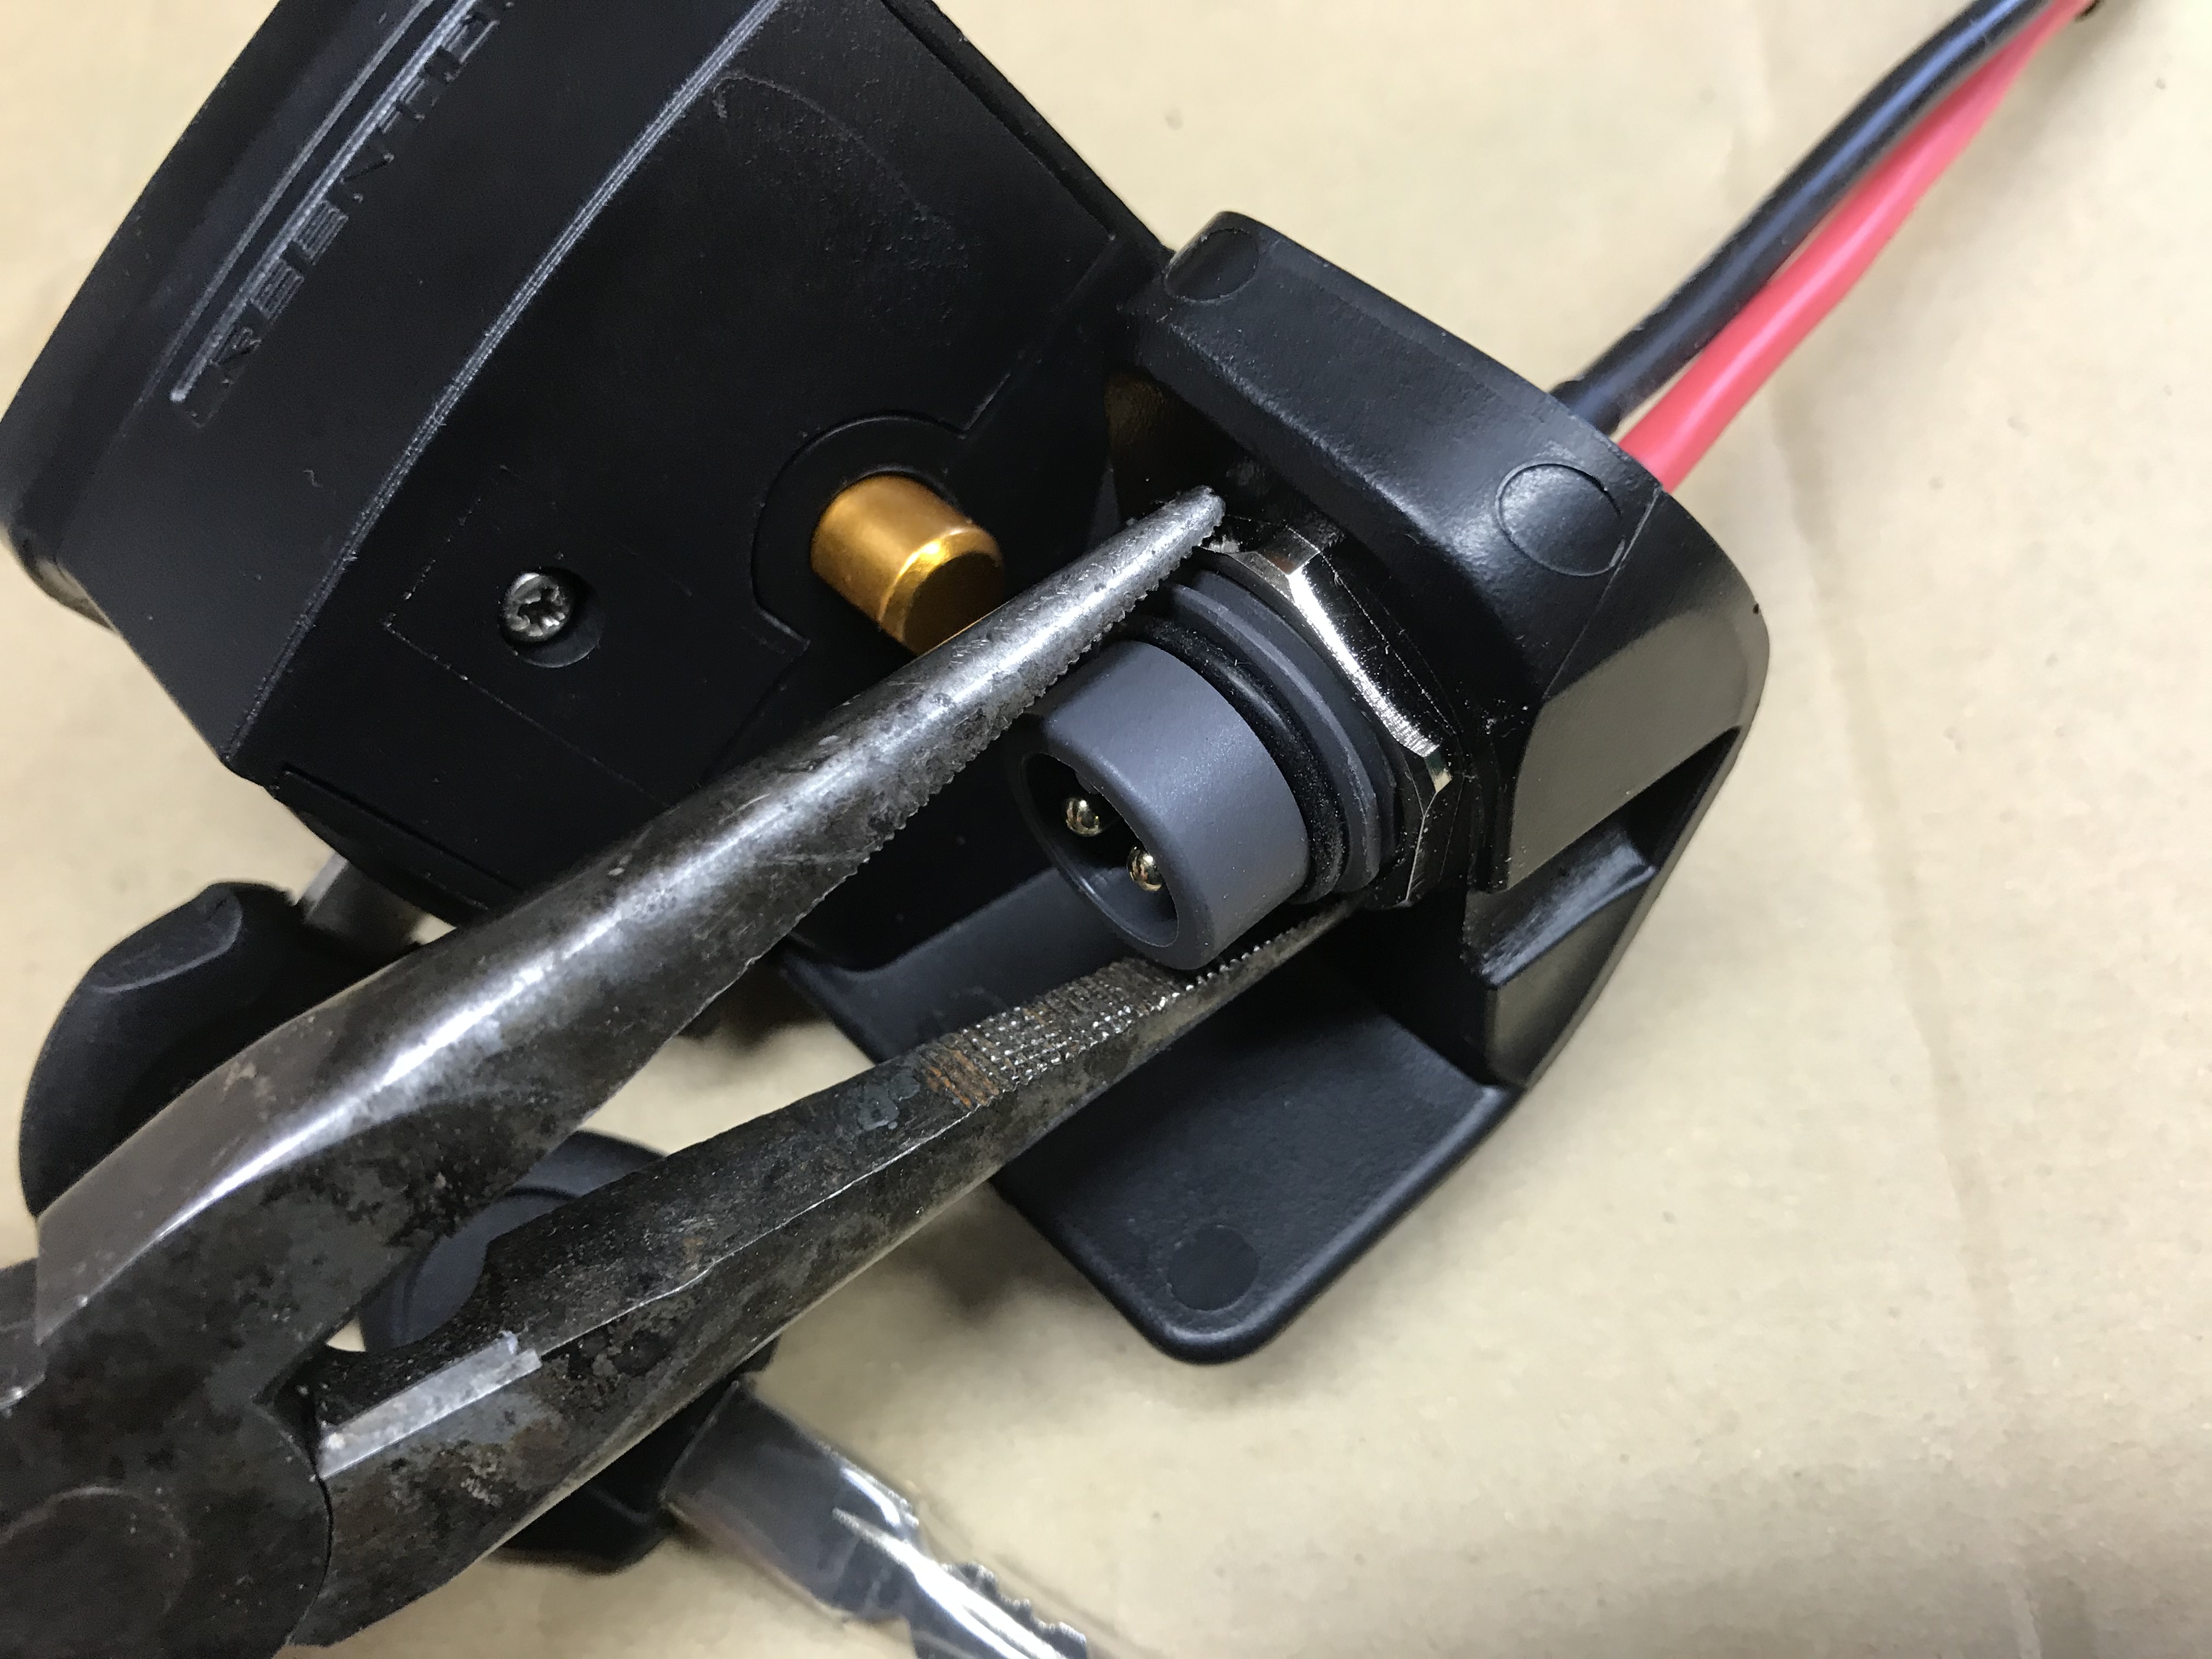
If you need to replace the electrical connector in the battery bracket remove it now by taking off the big nut and pushing it out. I had trouble removing the nut off the the connector, and ended up ruining the old connector. Note that the connector is keyed and will only insert correctly in one orientation. Make sure it is sitting flat in the bracket before putting on the nut, and don't over tighten the nut, it strips easily.
Align with the tab and make sure its sitting flat
Snug but no more
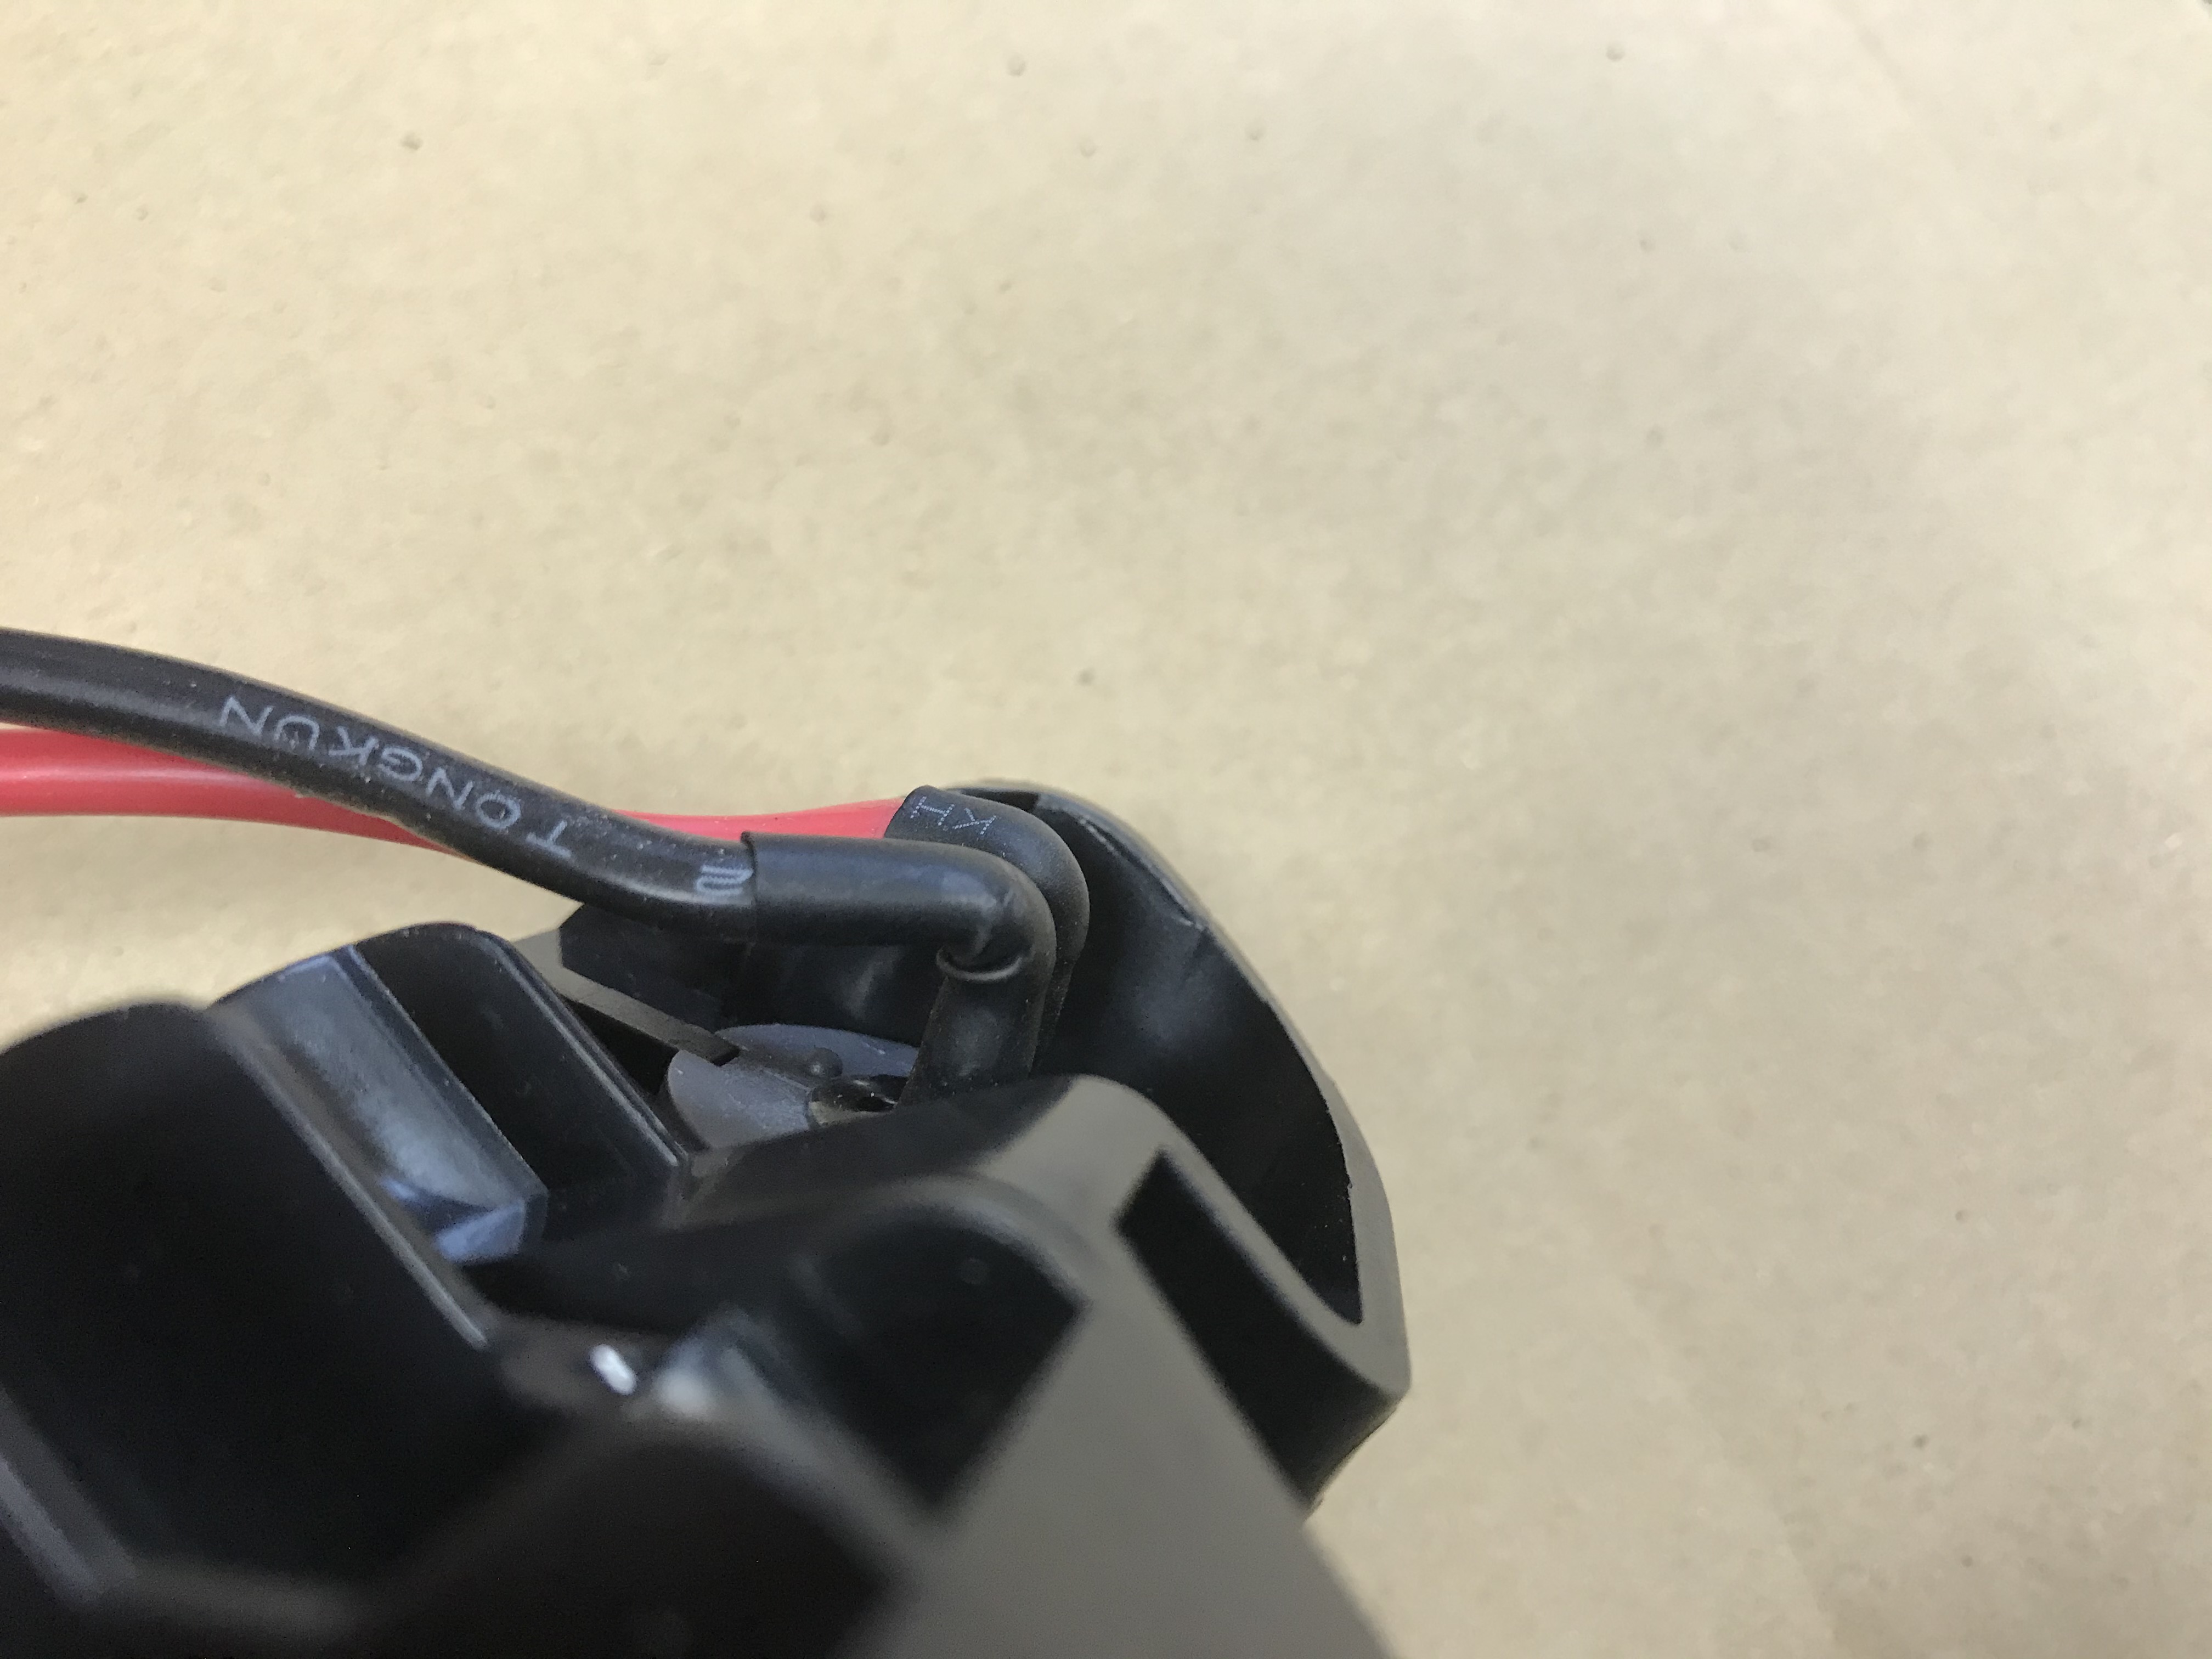
Bend the wires over so that the bracket can sit down on the frame.
Now you can thread the new battery cable through the same hole in the frame and connect it to the above battery connector.
Replace the top battery bracket. It can be fiddly to get the bottom screw in and seat the bracket on the frame. Usually, putting the bottom screw in first does not work, because then you can't seat the bracket against the frame properly. Also you may have to carefully put a sharp bend in the wires behind the battery connector to get the bracket sitting down against the frame.
Now you can turn the bike over to work on the motor. Place the handlebar grips on a couple on paperback books to keep from damaging anything on the bars, and place a piece of cardboard under the seat.
Shift the bike into the smallest gear. Remove the axle bolts with an 18mm box wrench or this special tool.
Remove the safety washer with an Allen key, and on the other side, remove the washer from the recess in the torque arm. Sometimes you will need needle nose pliers to do this.
You can now remove the rear wheel.
Remove the brake disc, cassette and tire from the original wheel. You will need a Shimano cassette removal tool and a chain whip for the cassette.
Remove the kickstand.
Take the time to watch this Grin tech video on installing the GMAC motor.
You will not be using the Grin frame adapters and hose clamps, instead, we have made a custom torque arm for the CCS that allows you to use the welded on tab for the kickstand. If your bike doesn't have the kickstand braze-on you will use the frame clamps as in the video
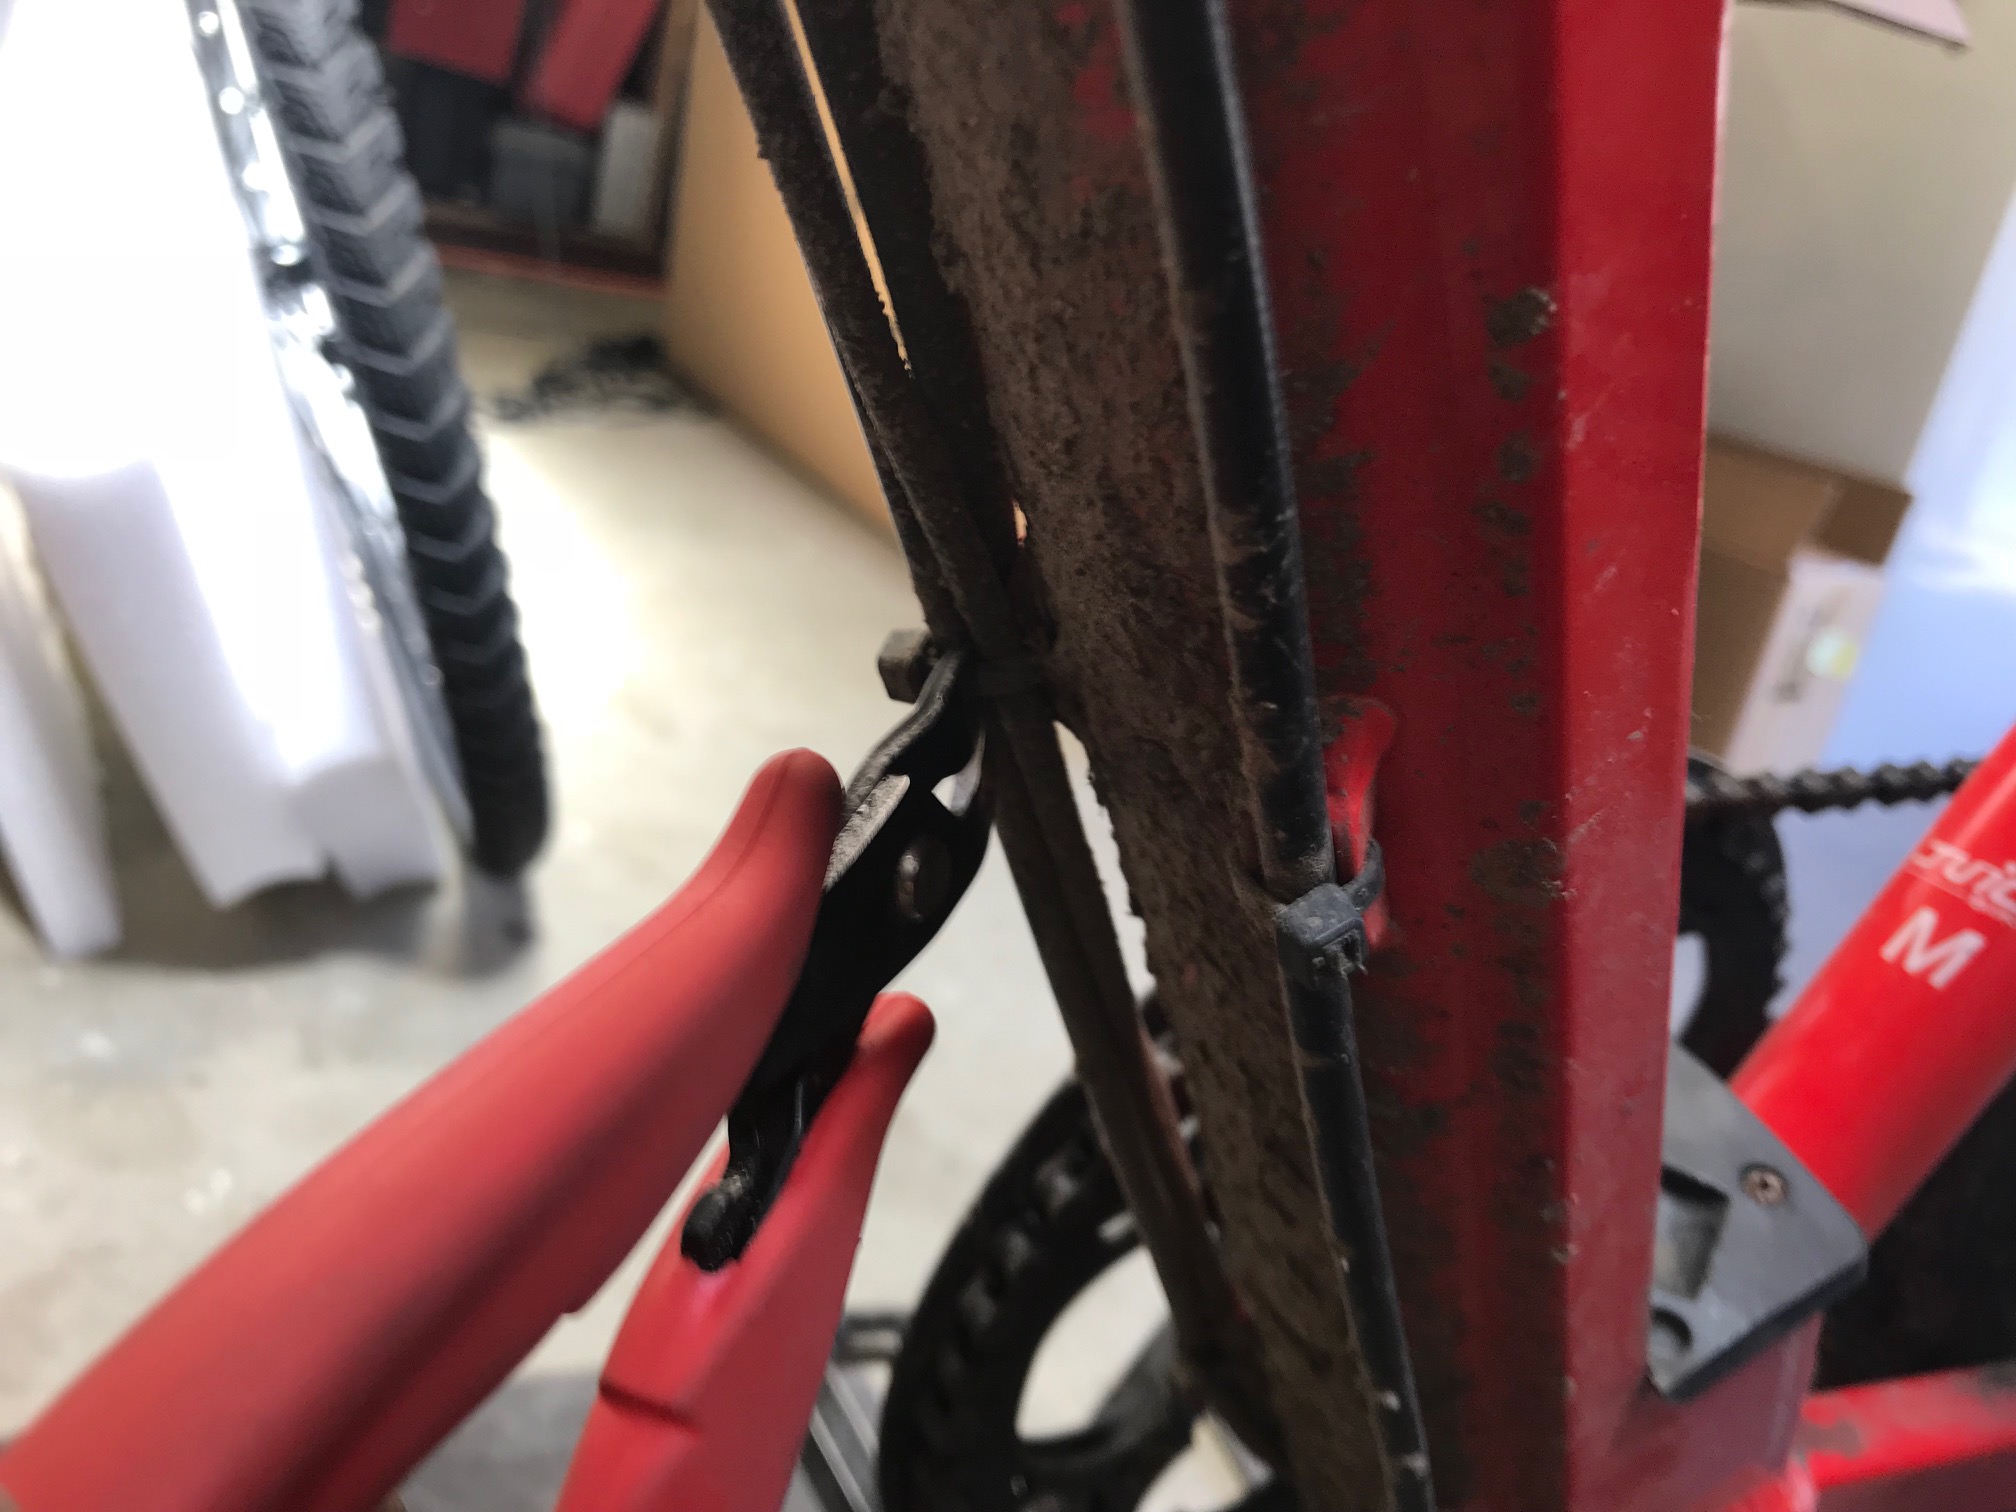
Note that if you own a CCX, there are two issues that we have run into. There is not enough clearance between the seat tube and the tire to mount the controller as we have on the CCS. It may have to be mounted facing sideways on the seat tube. Also, the kickstand mount could be too far away for the torque arm to attach properly, so a steel extender will have to be fabricated. We are working on making a simple adapter for the CCX as pictured below:
Be very careful when installing the GMAC that you don't pinch the wire in the dropout. Rotating the motor without fixing the end of the torque arm can easily damage the wire.

Usually the torque arm has to be tapped on. If you can get some screws started, it will help keep the arm on as you work to seat it. snug the screws up as you work. Don't tighten the screws to seat it, you may damage the threads.
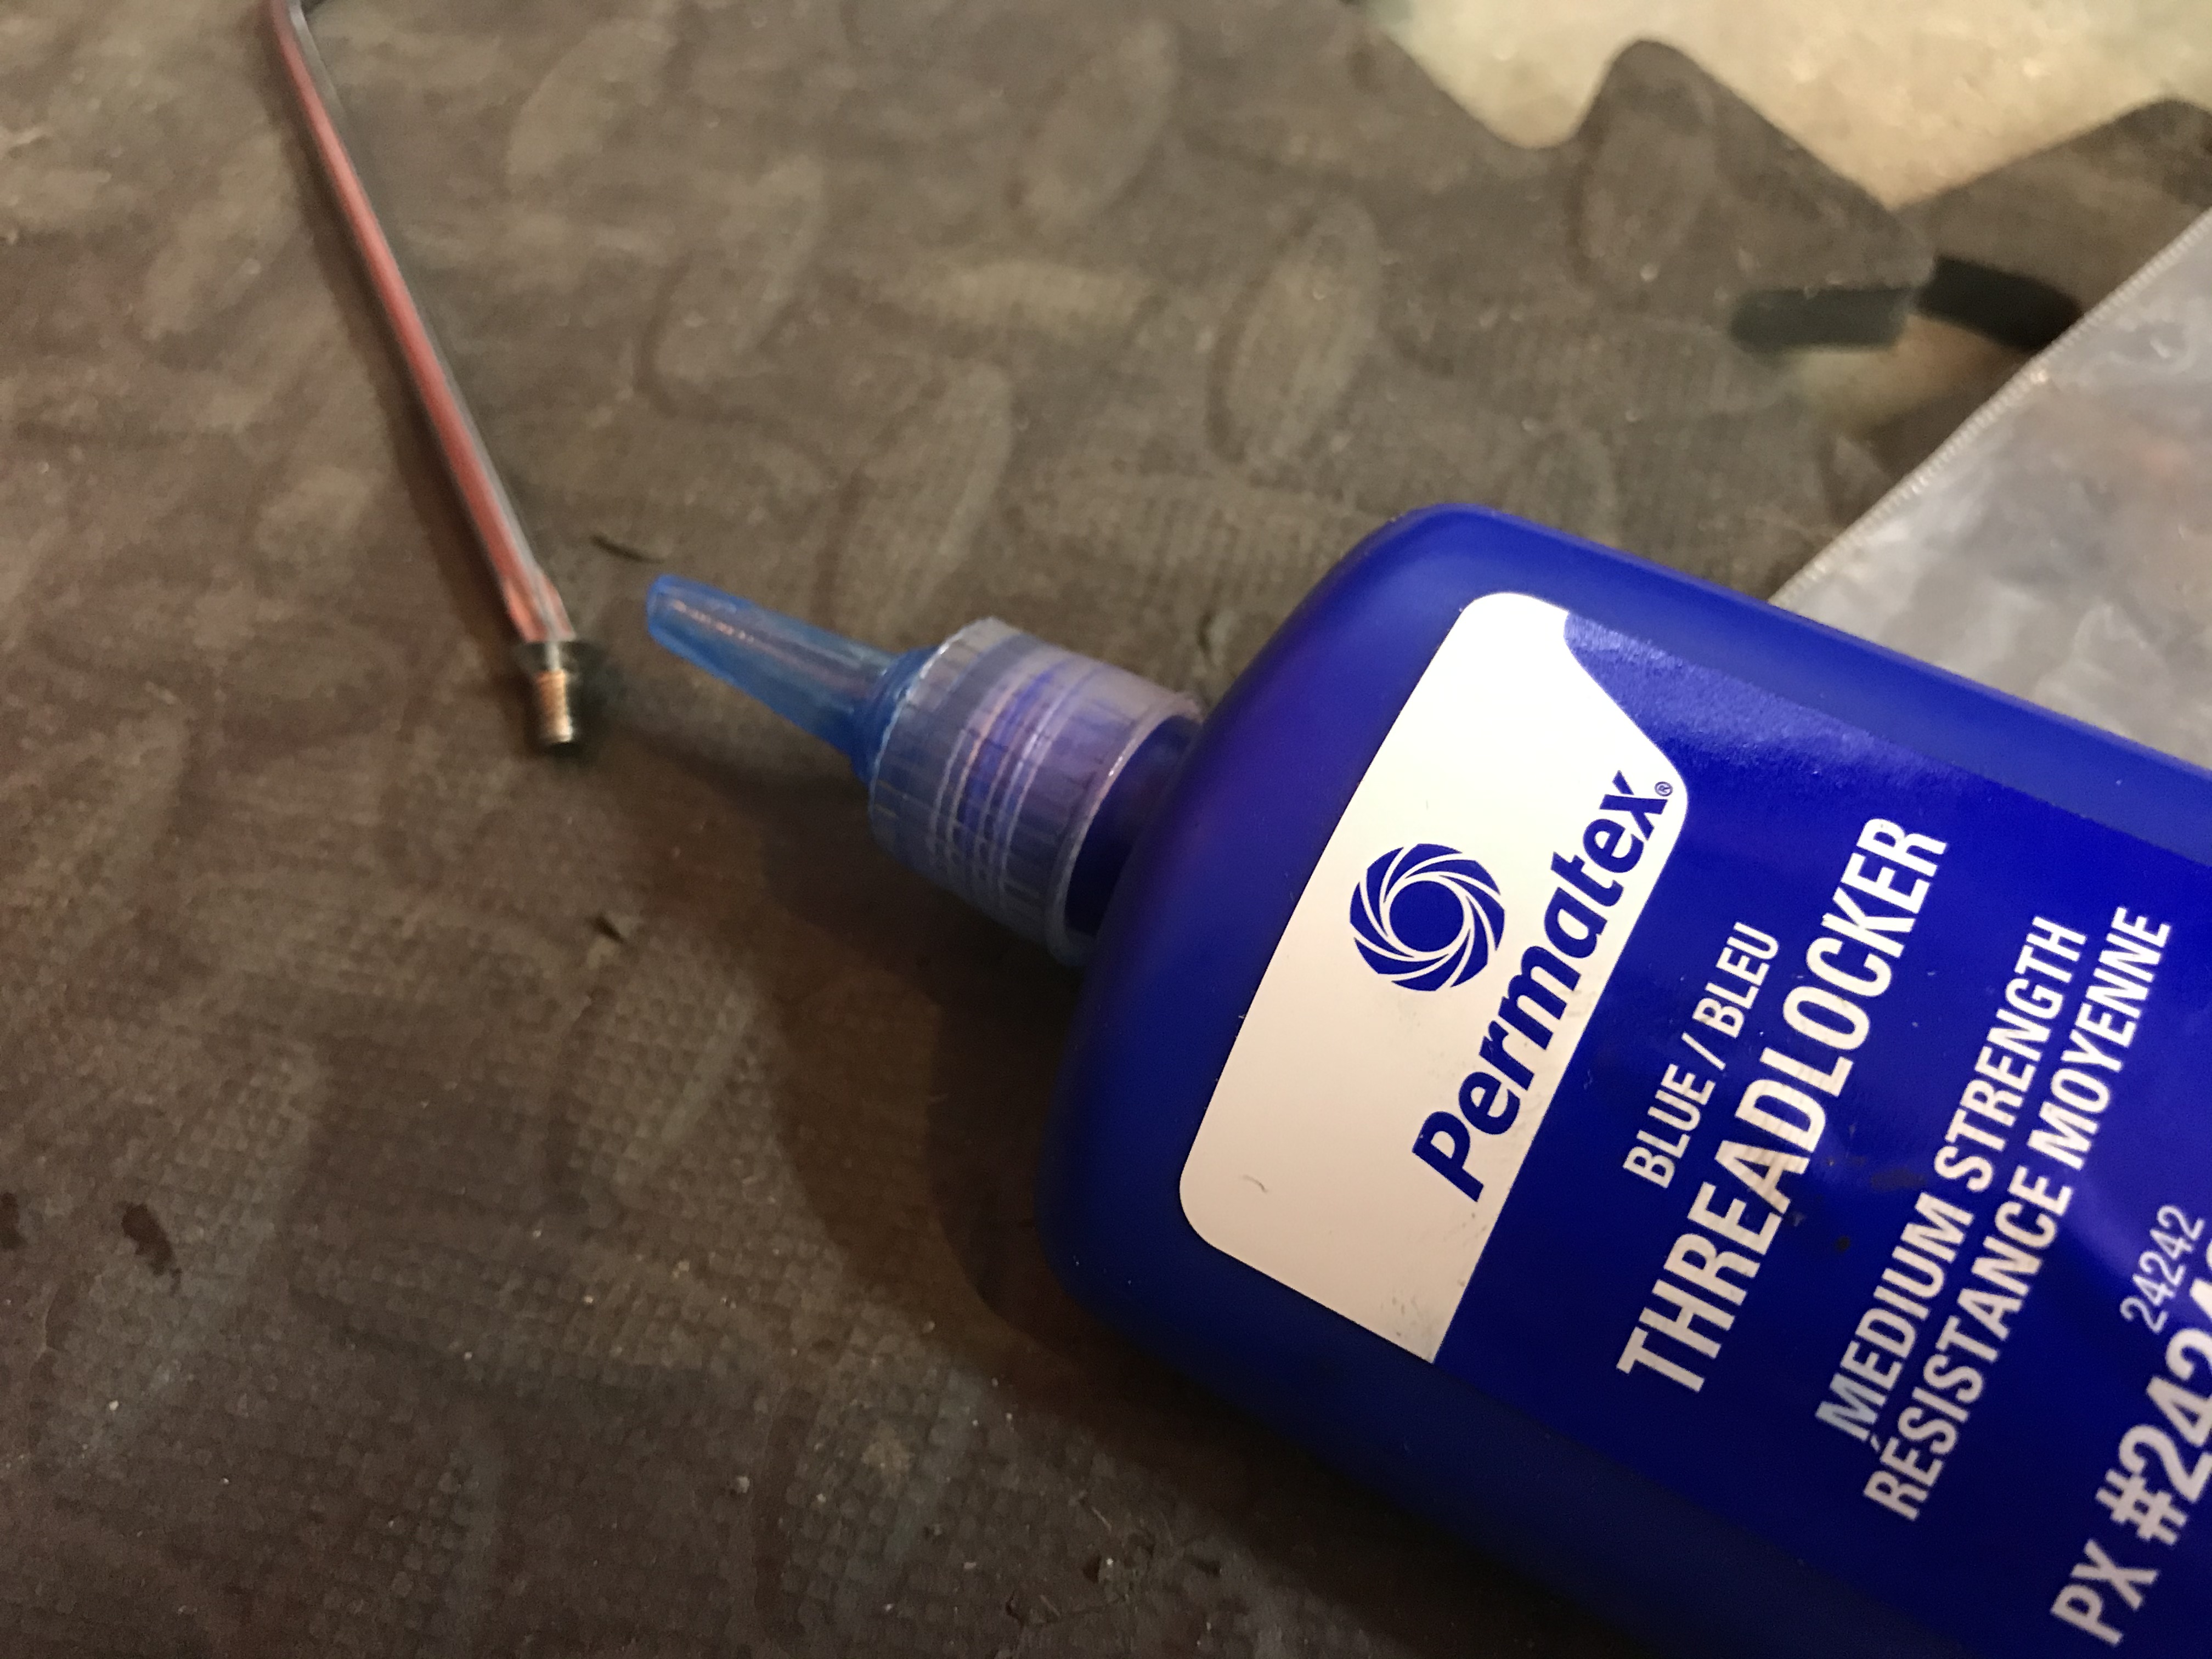
Once you have the arm on, back the screws out and apply blue locktite.
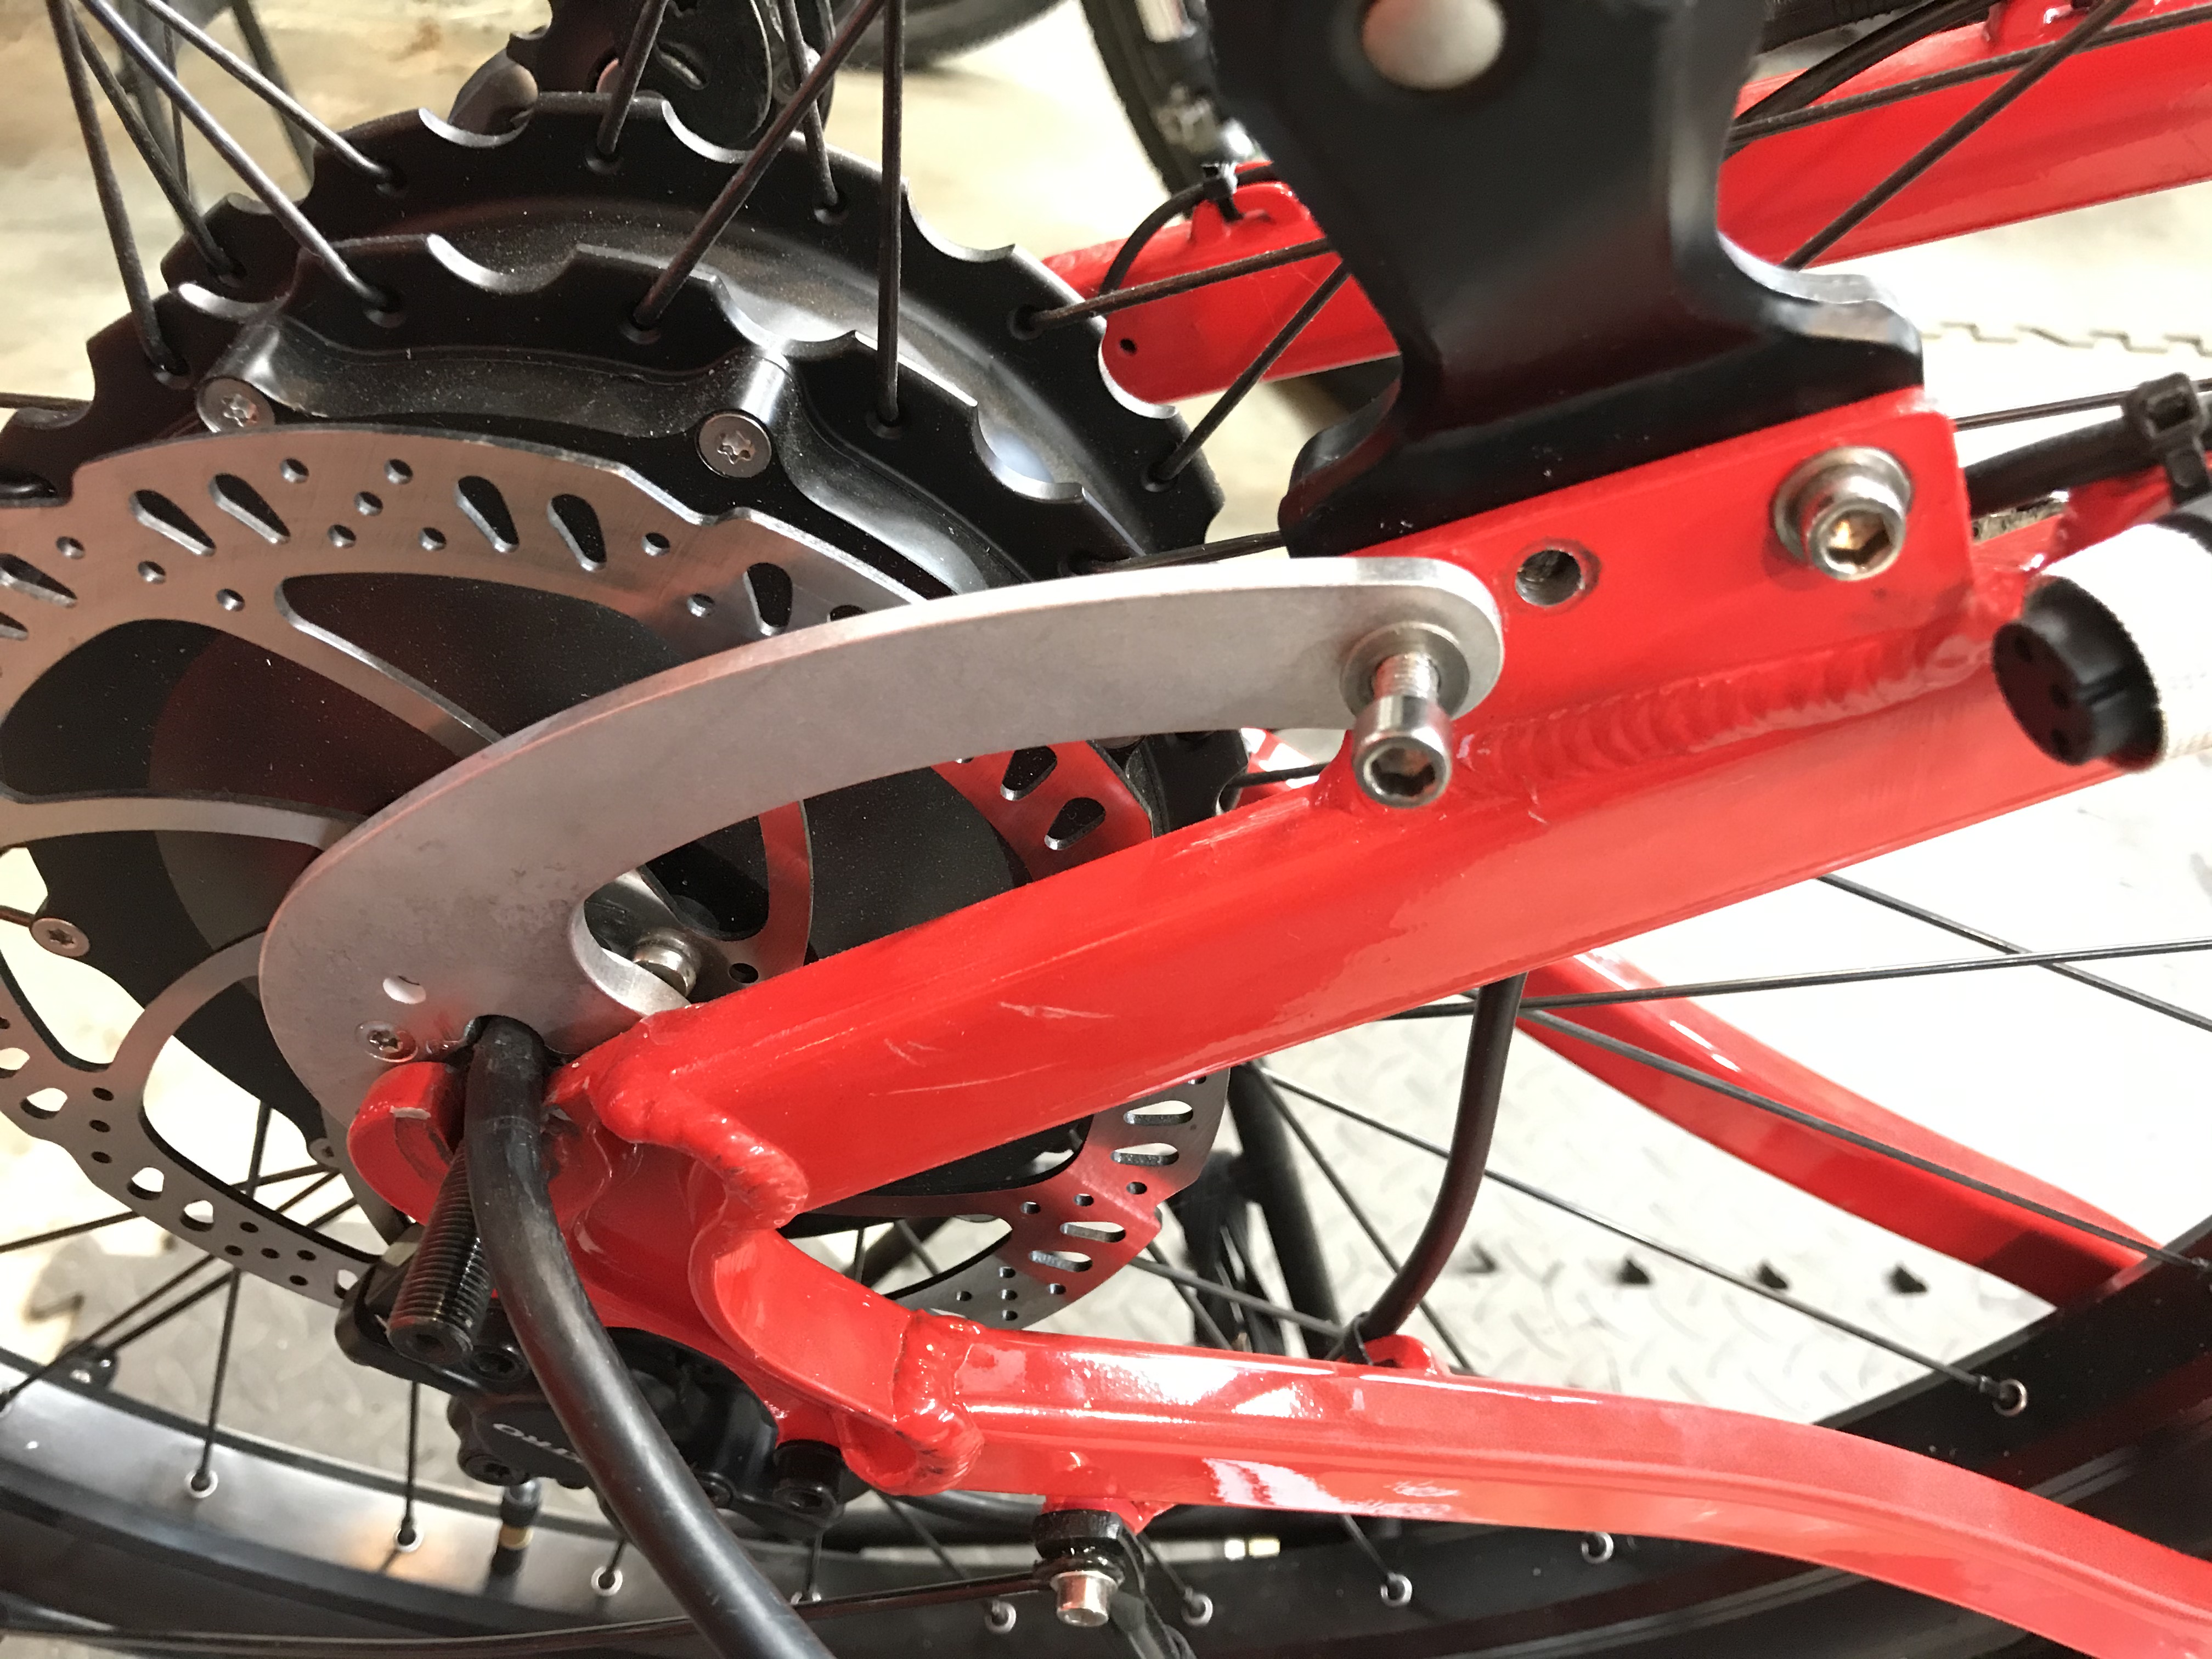
Don't forget to re install the kick stand with the torque arm. Put the new 6mm screw in before tightening the axle nuts.
Don't forget the washer that goes into the recess in the torque sensor on the other side. You can also re use the safety washer. Tighten the axle bolts and torque arm hardware firmly. Check the torque arm form time to time, they can loosen form the repeated back and forth torque.
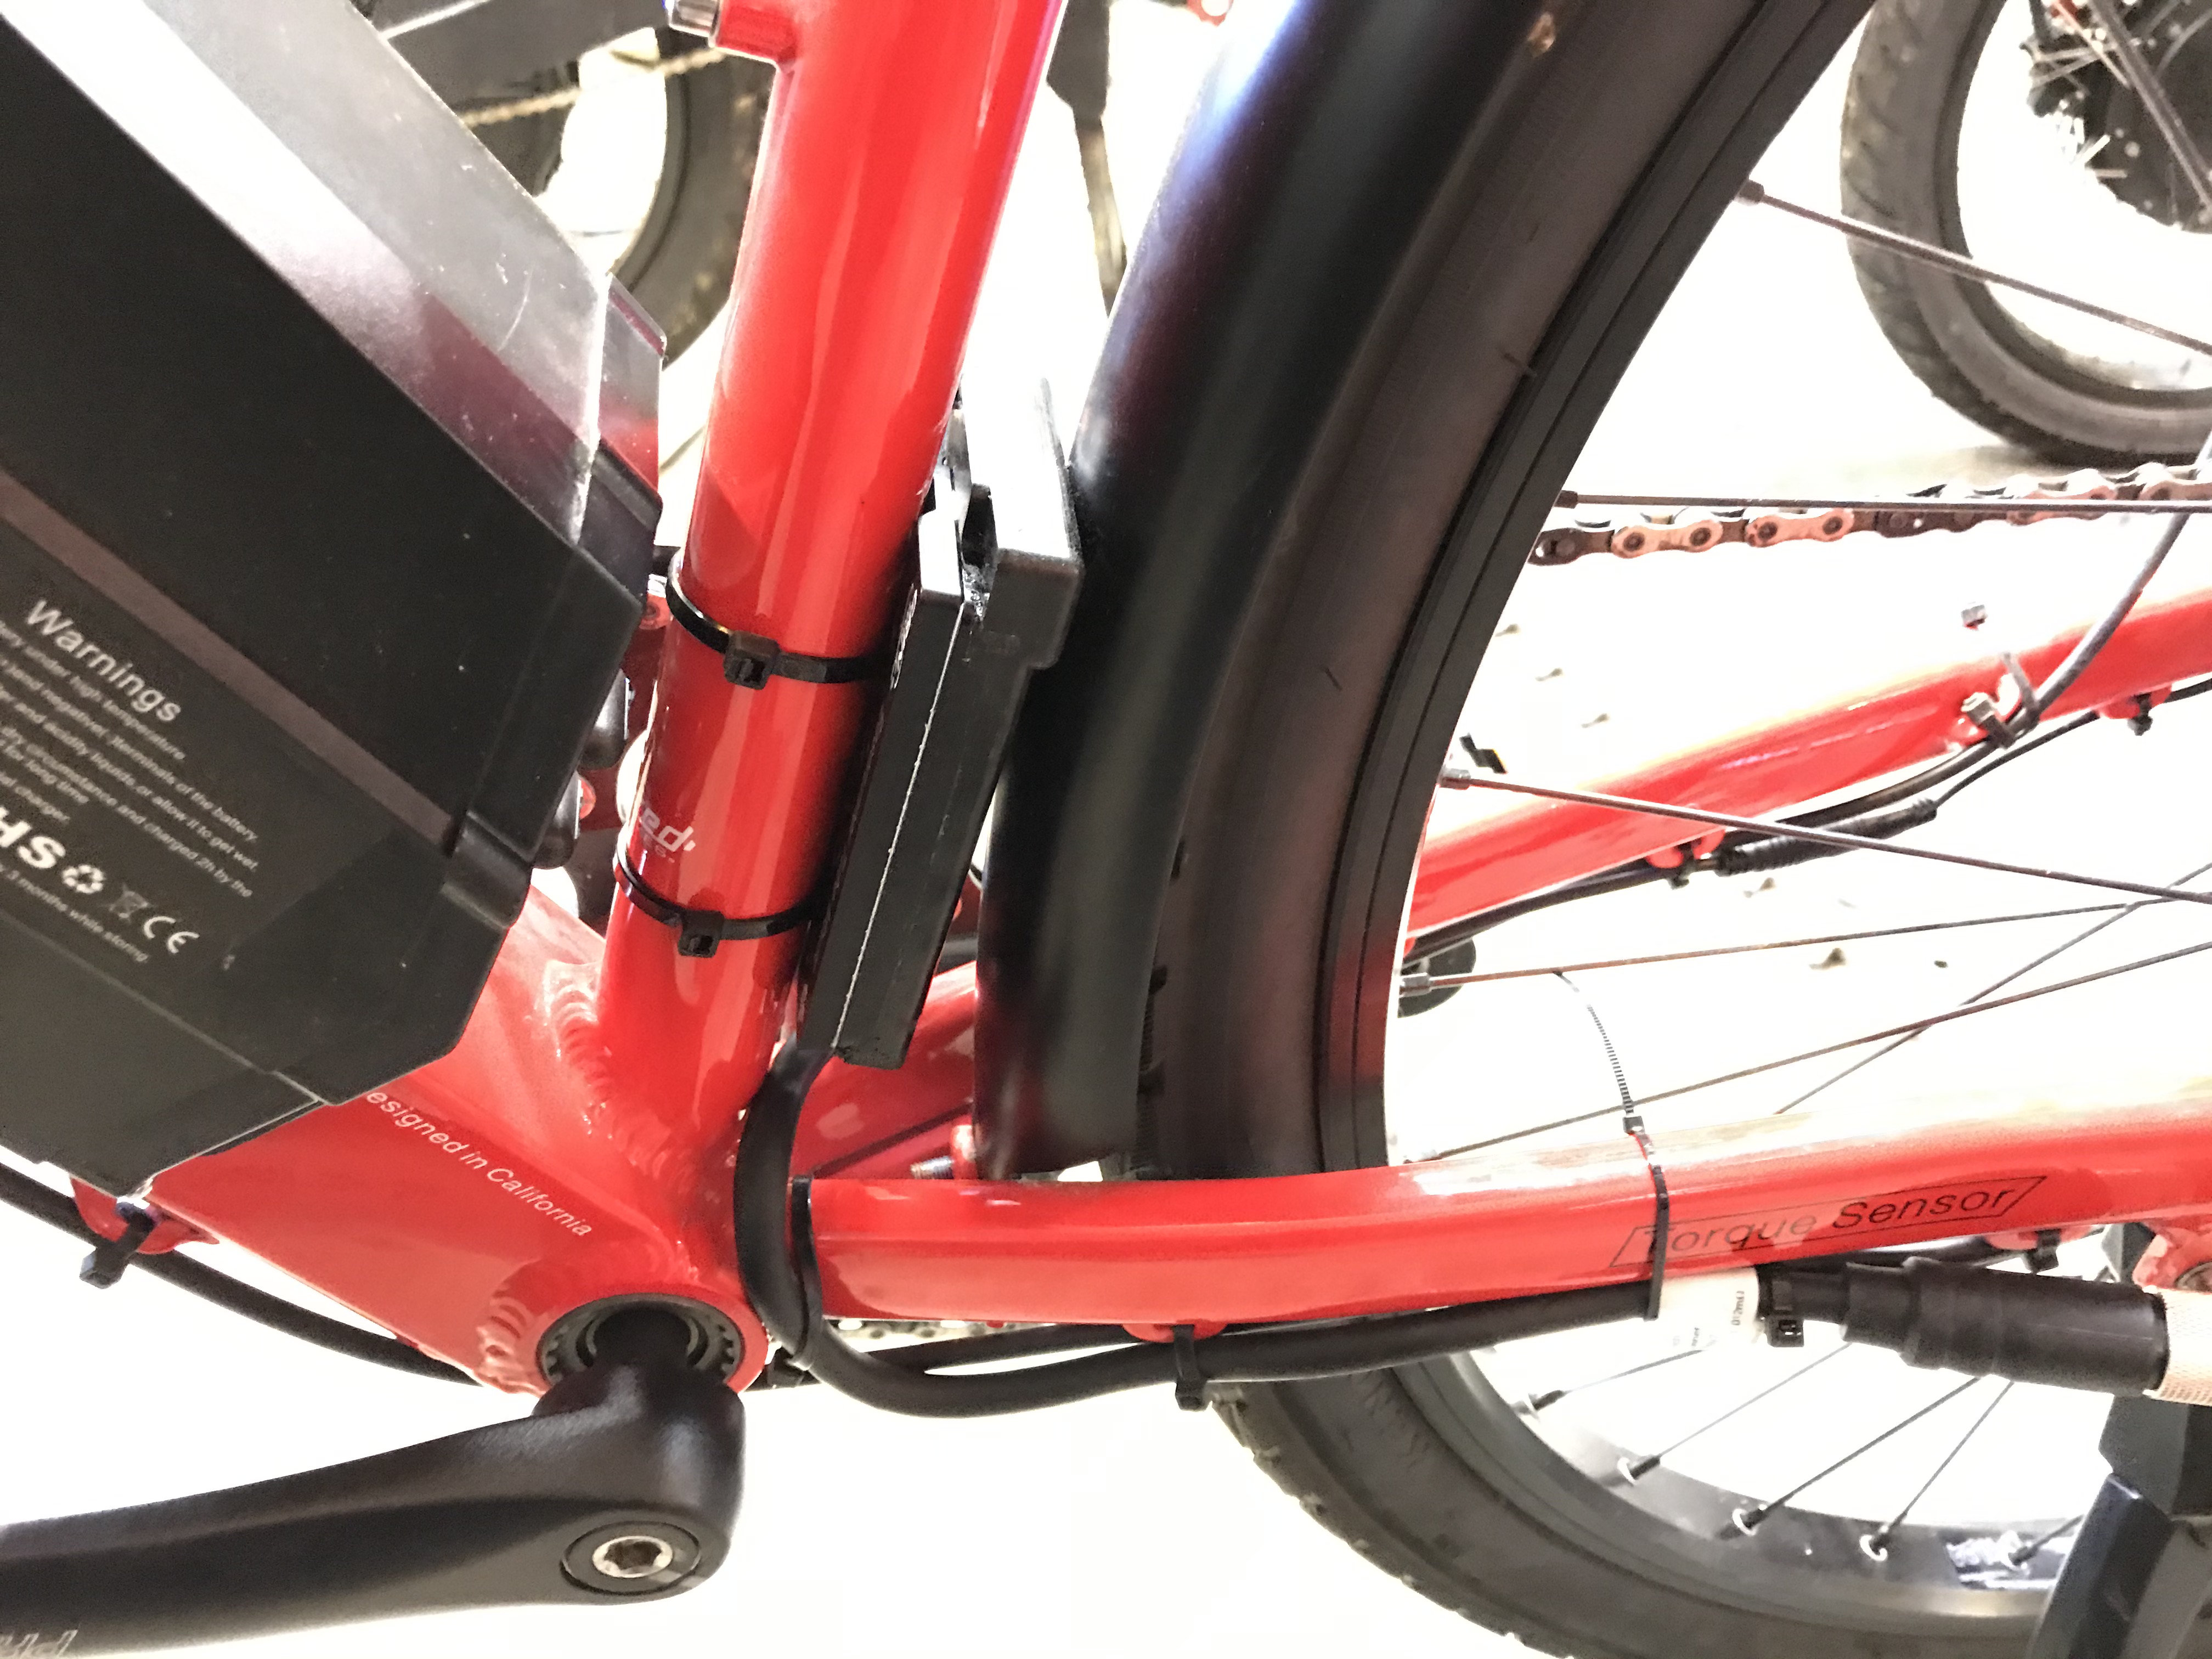
Install the downtube bracket on the Baserunner controller.
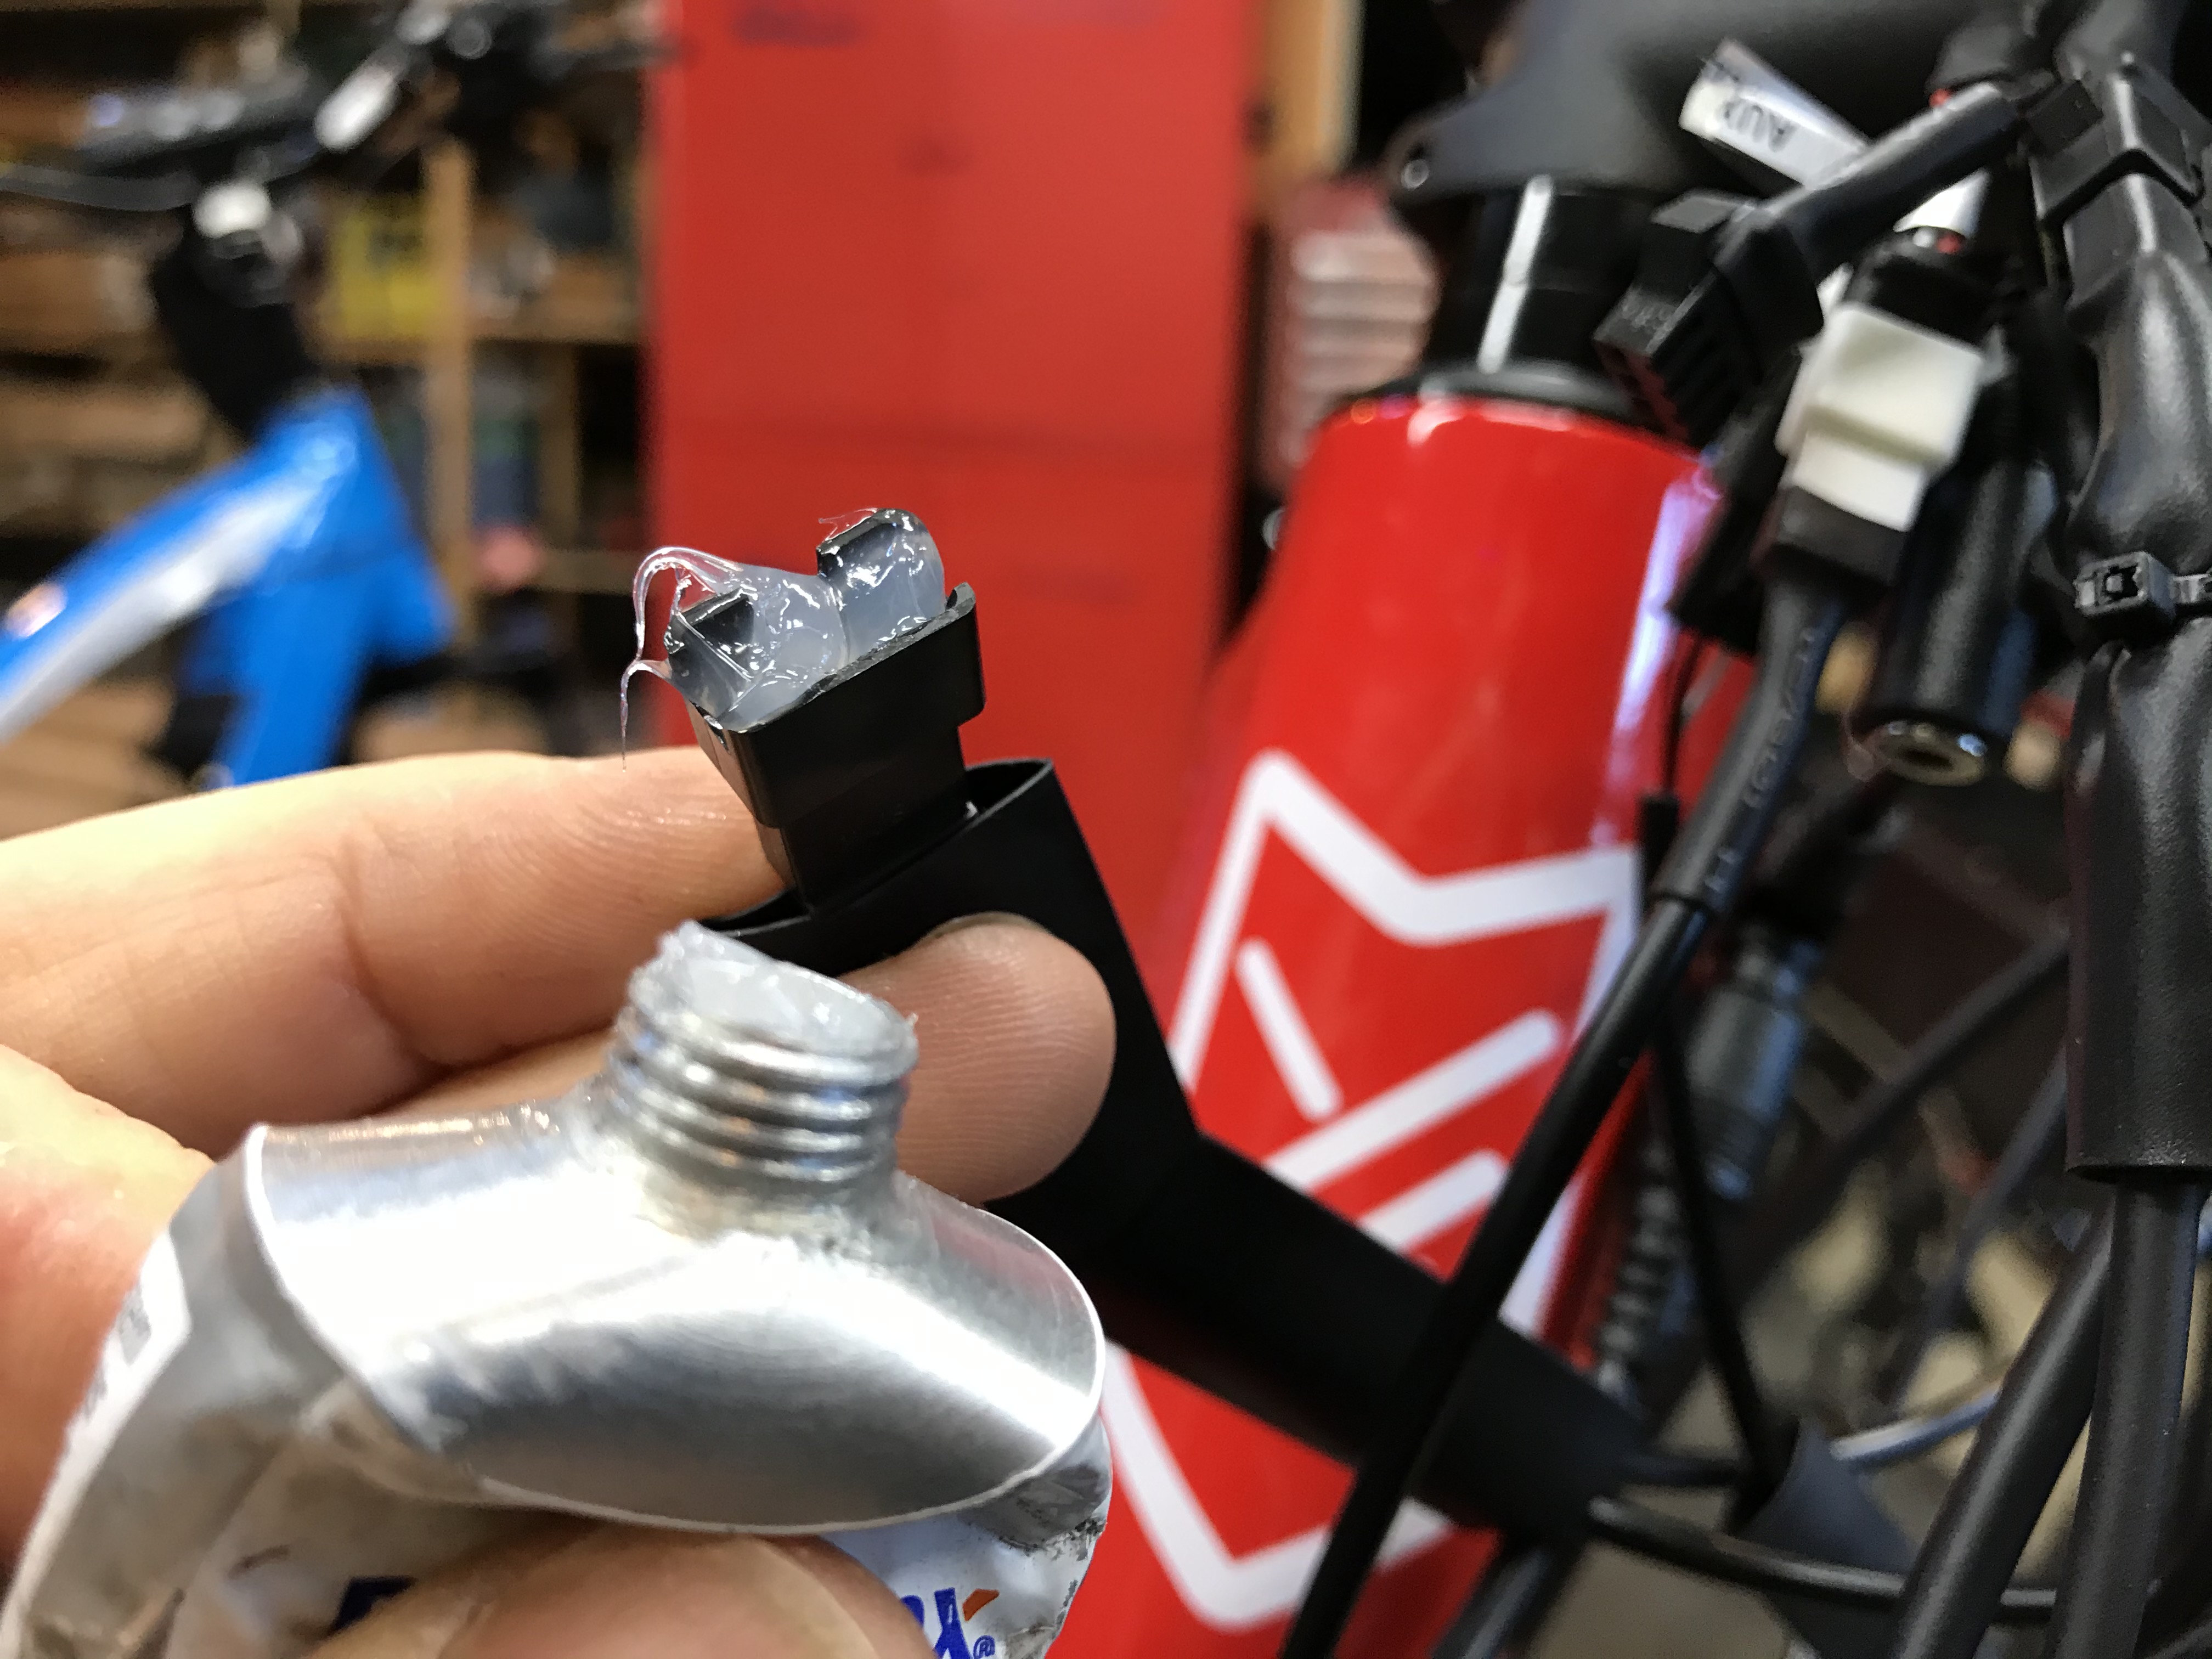
Install the Baserunner controller as shown. I have noticed that the potting around the power wire is sometimes lees than perfect, so after all cable ties are installed, I use a little black silicone to seal up anything that looks suspect where the power wire exits the controller.
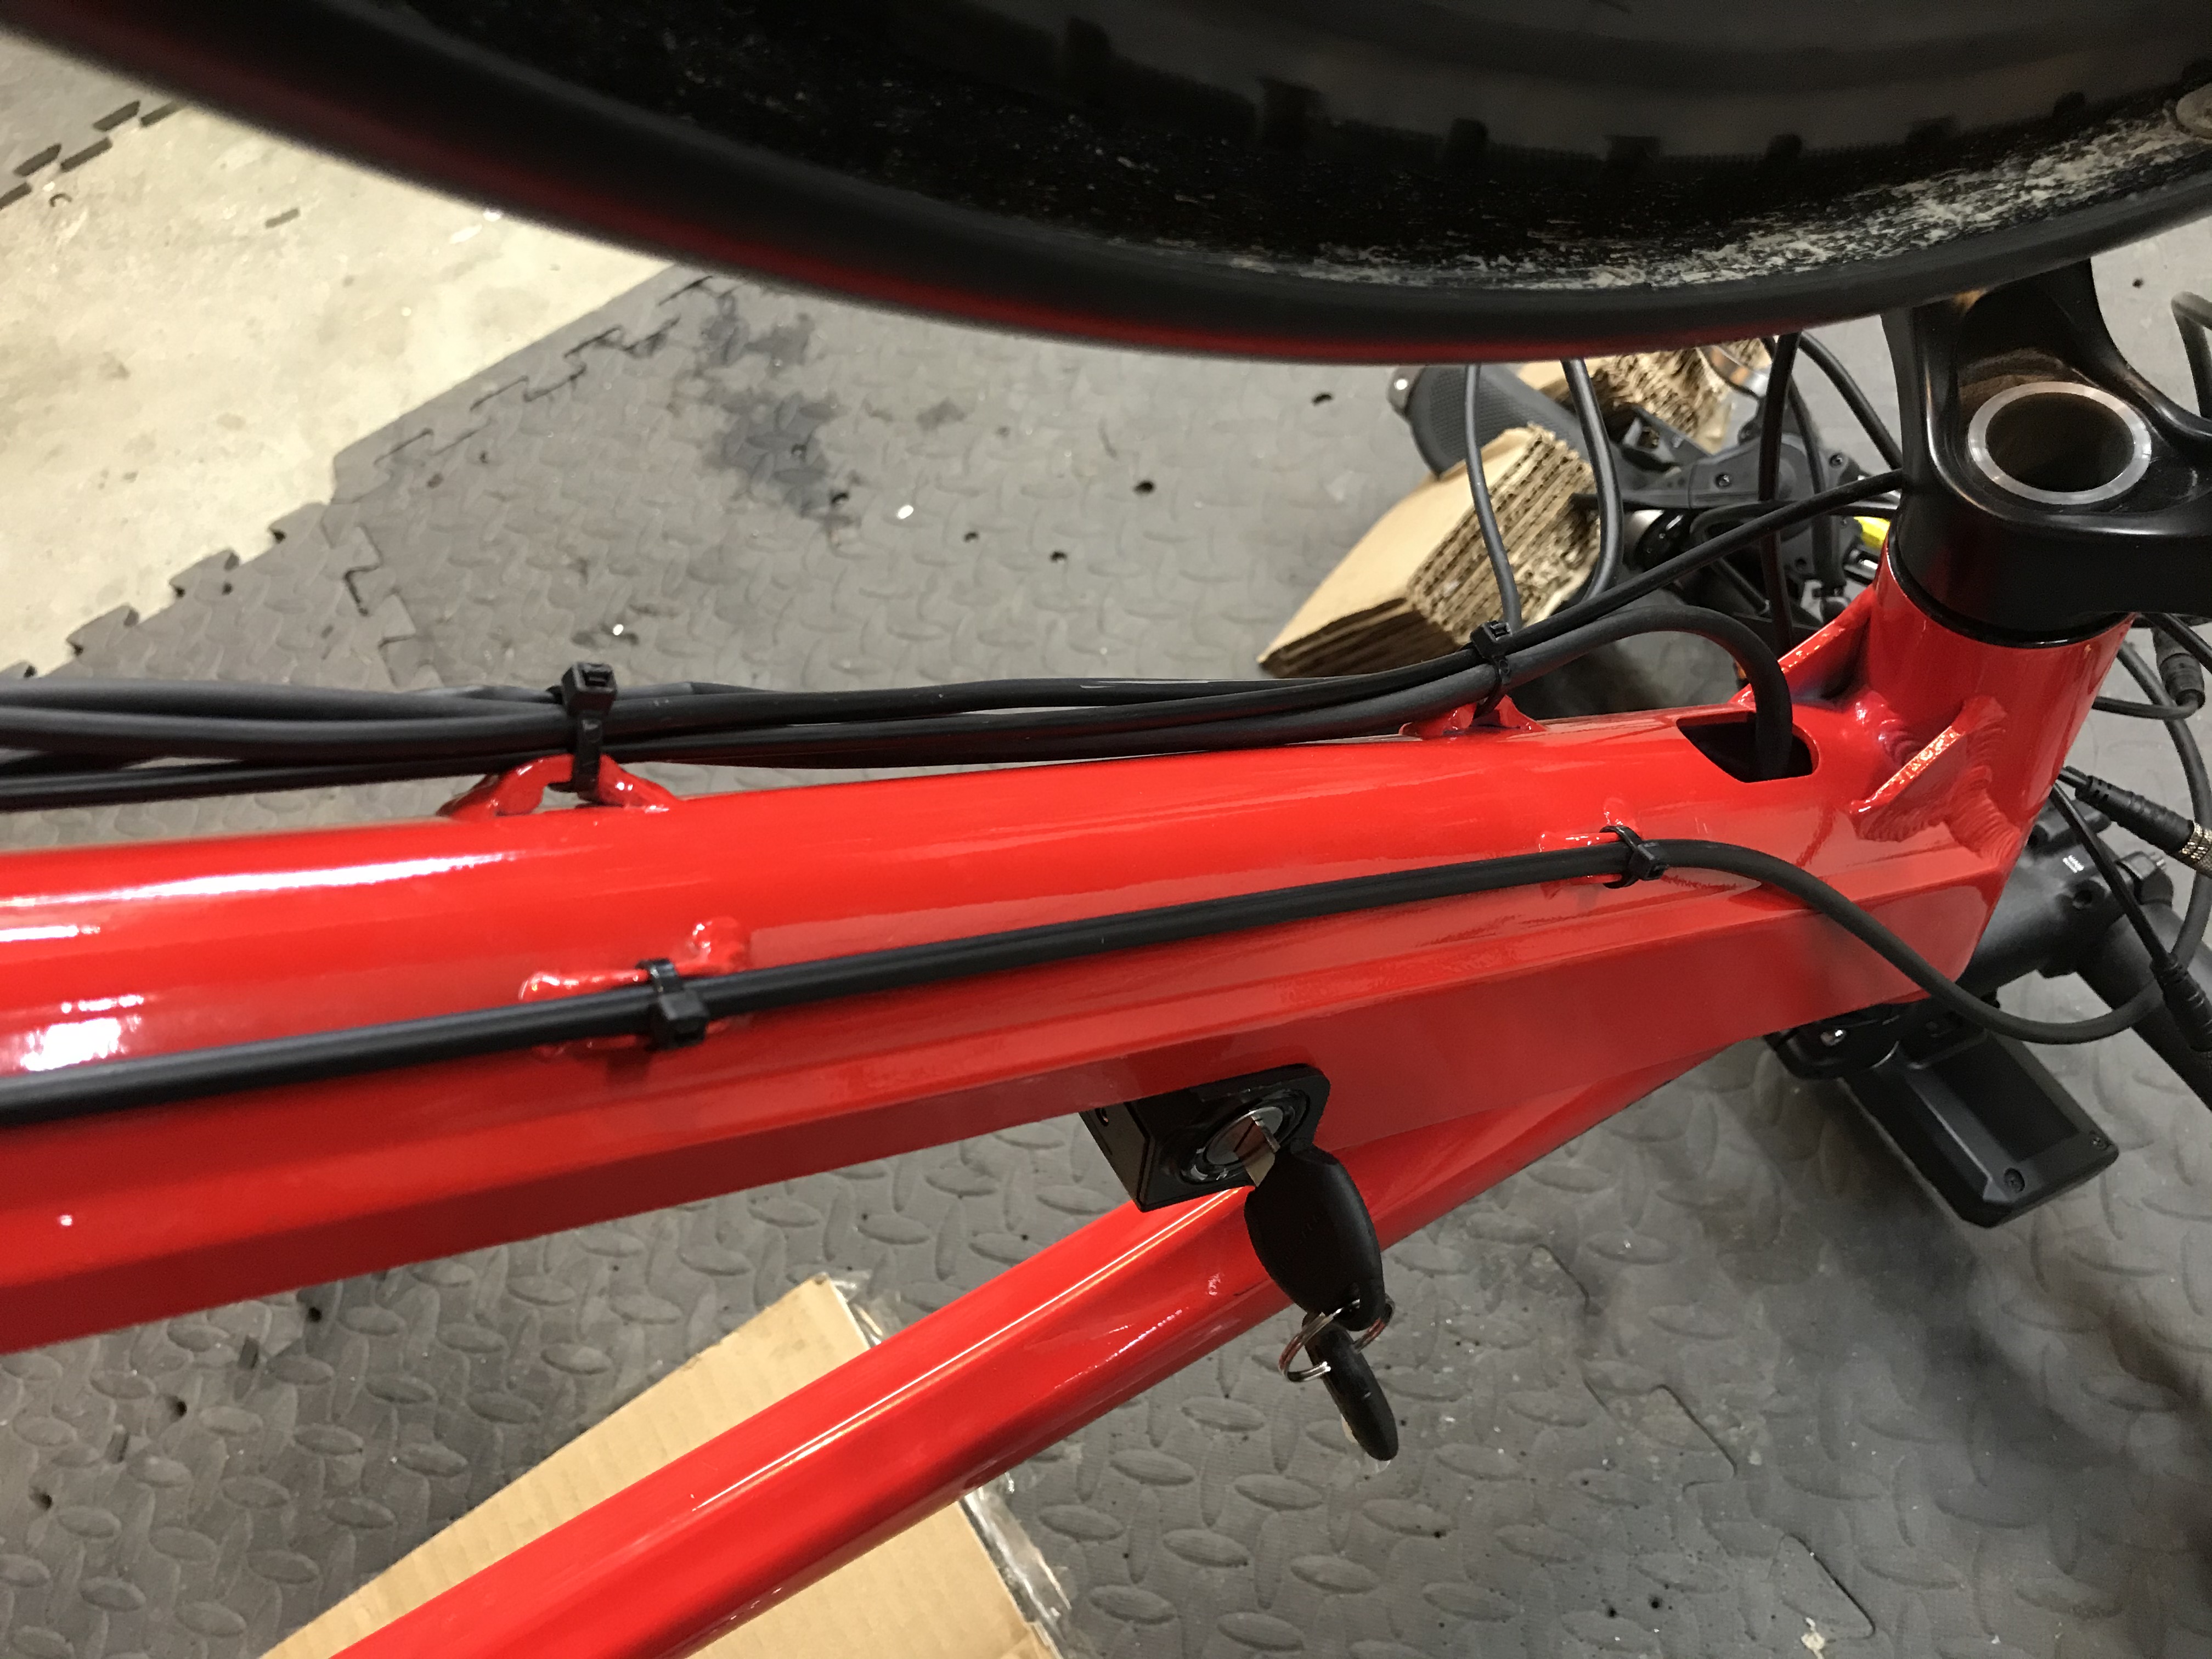
The control and power wires are routed down around the bottom bracket as shown. Use cable ties so keep them secured away from the crank.
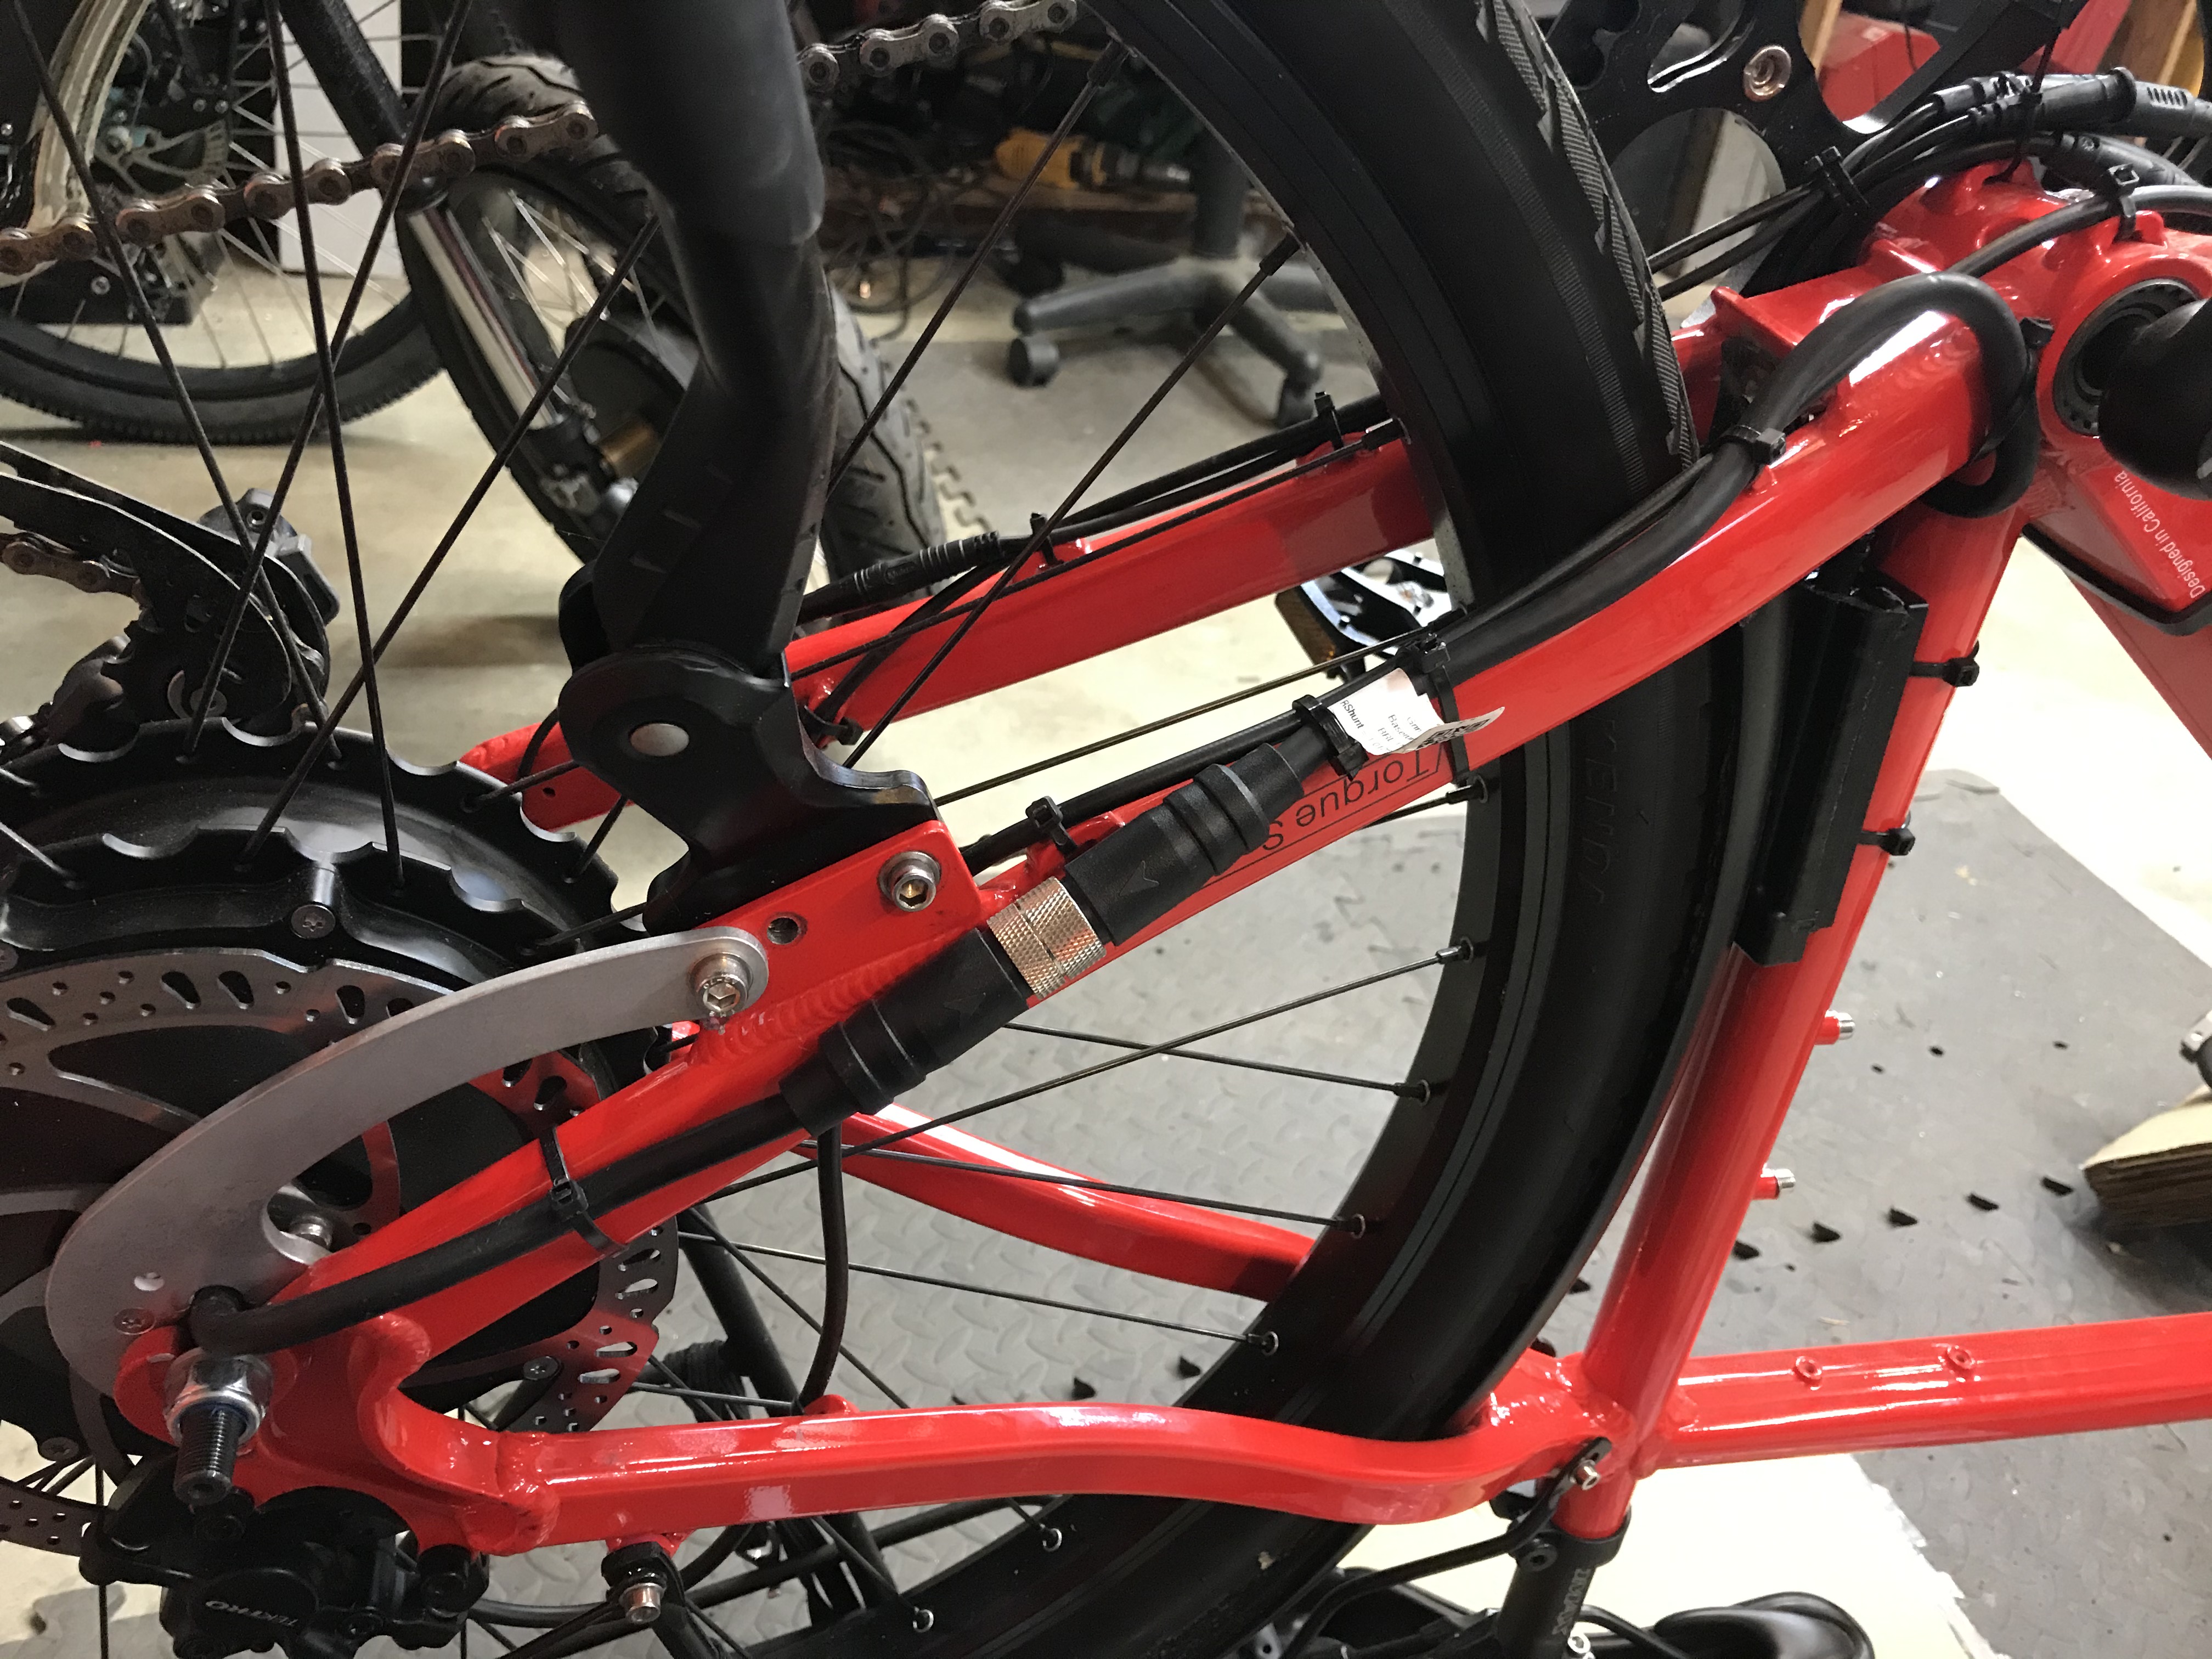
The motor wire goes this side as shown.
Route the power and control wires up the frame using the braze ons and cable ties. Tie the motor cable to the chain stay and plug into the motor connector.
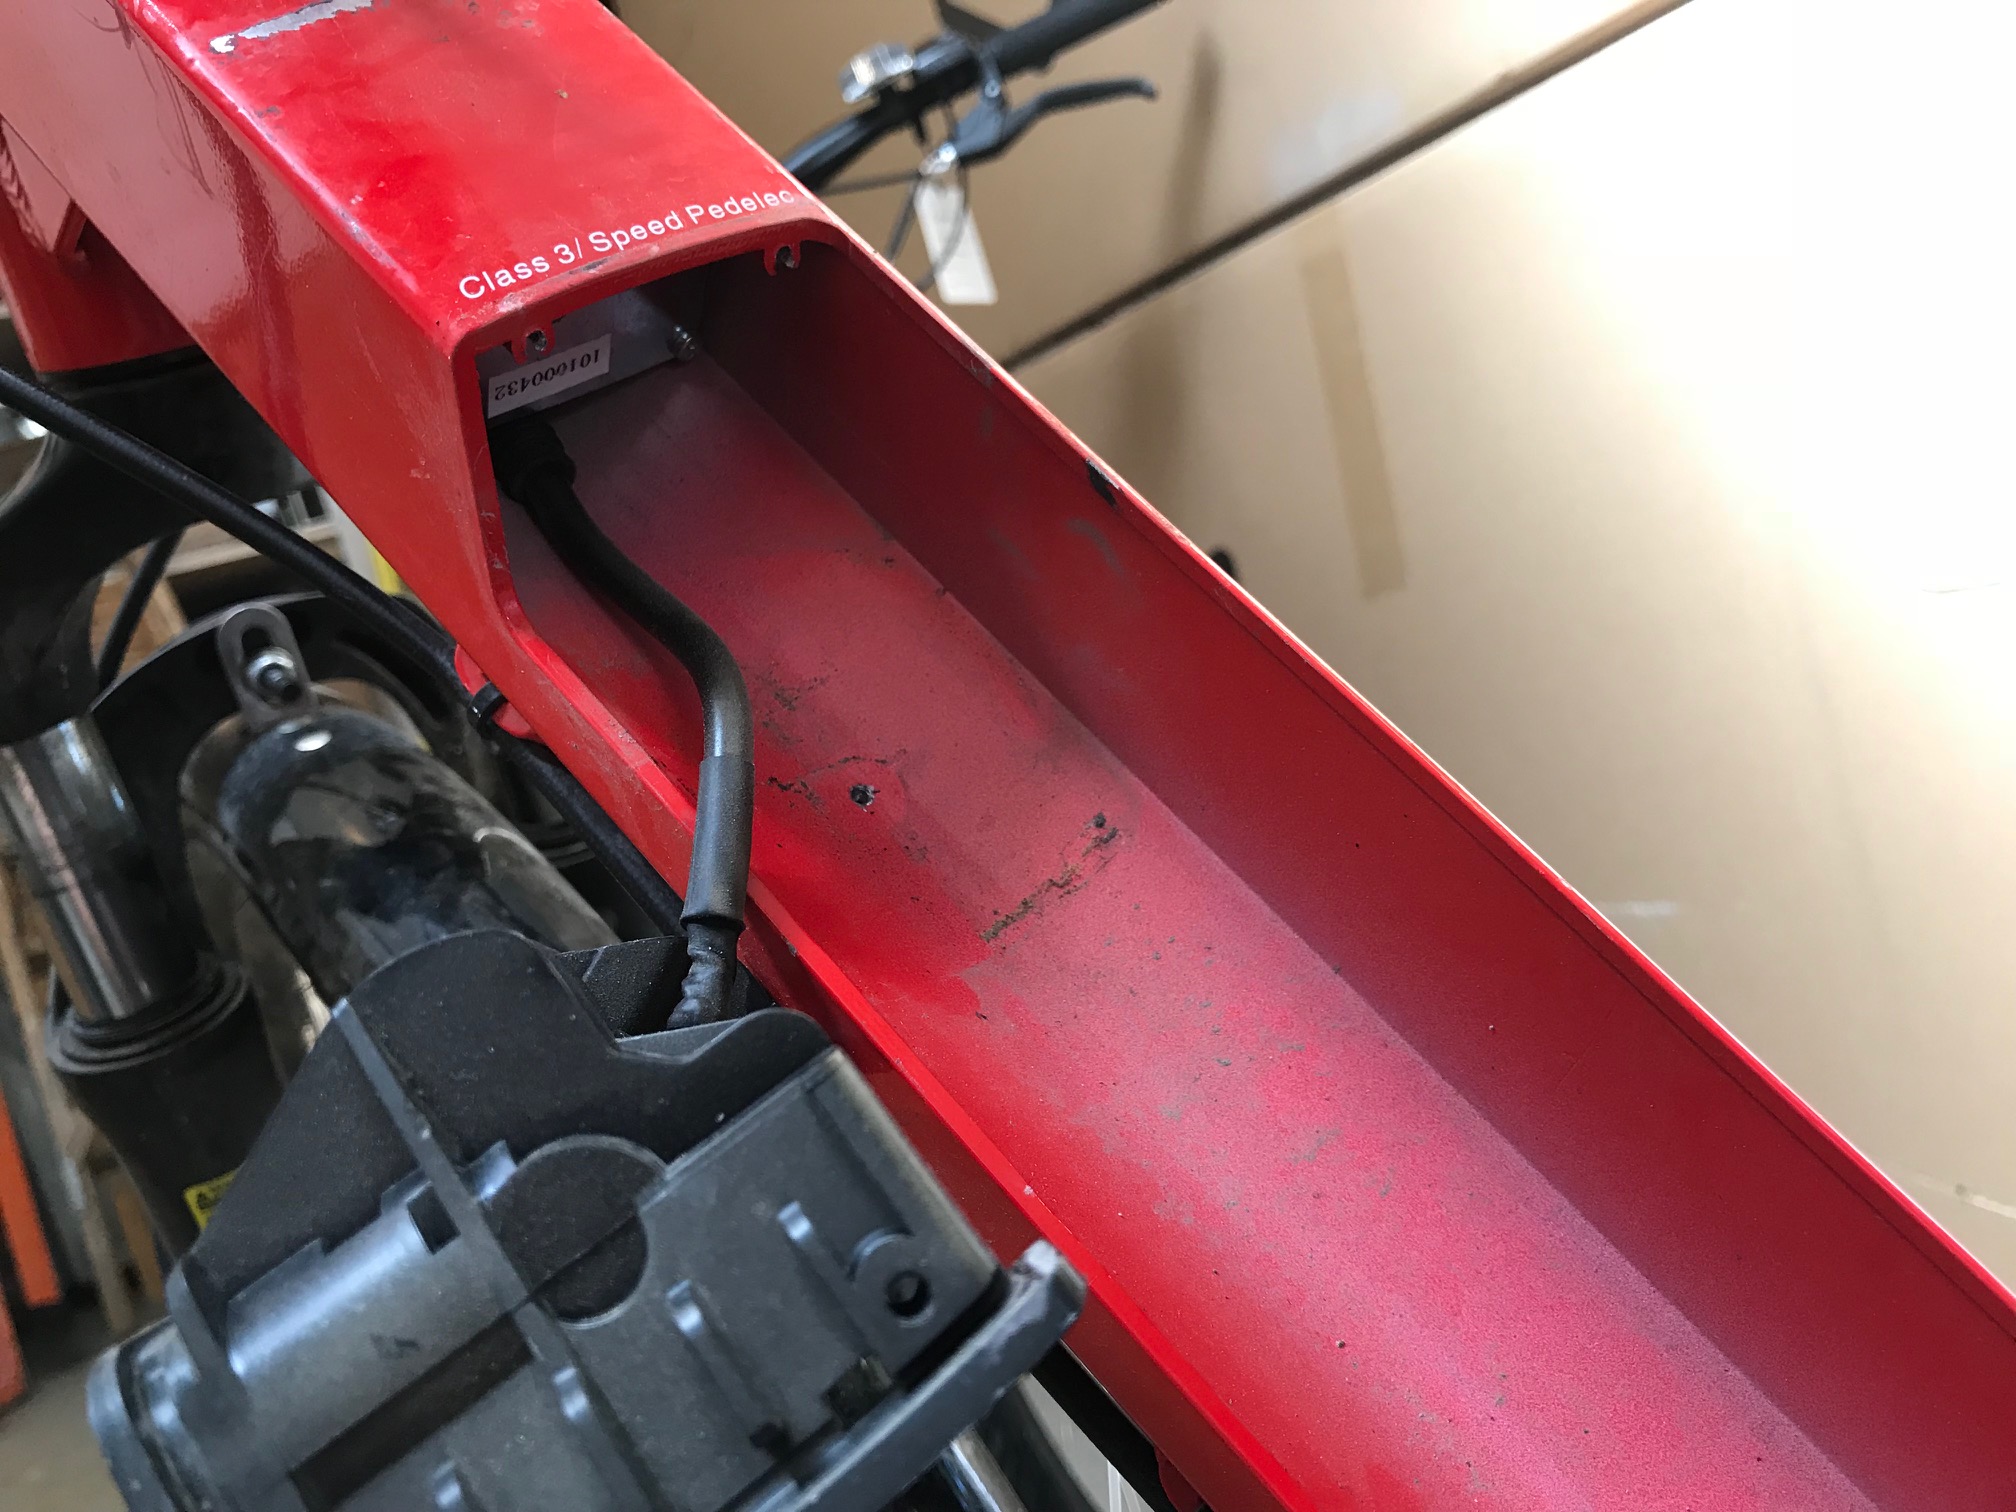
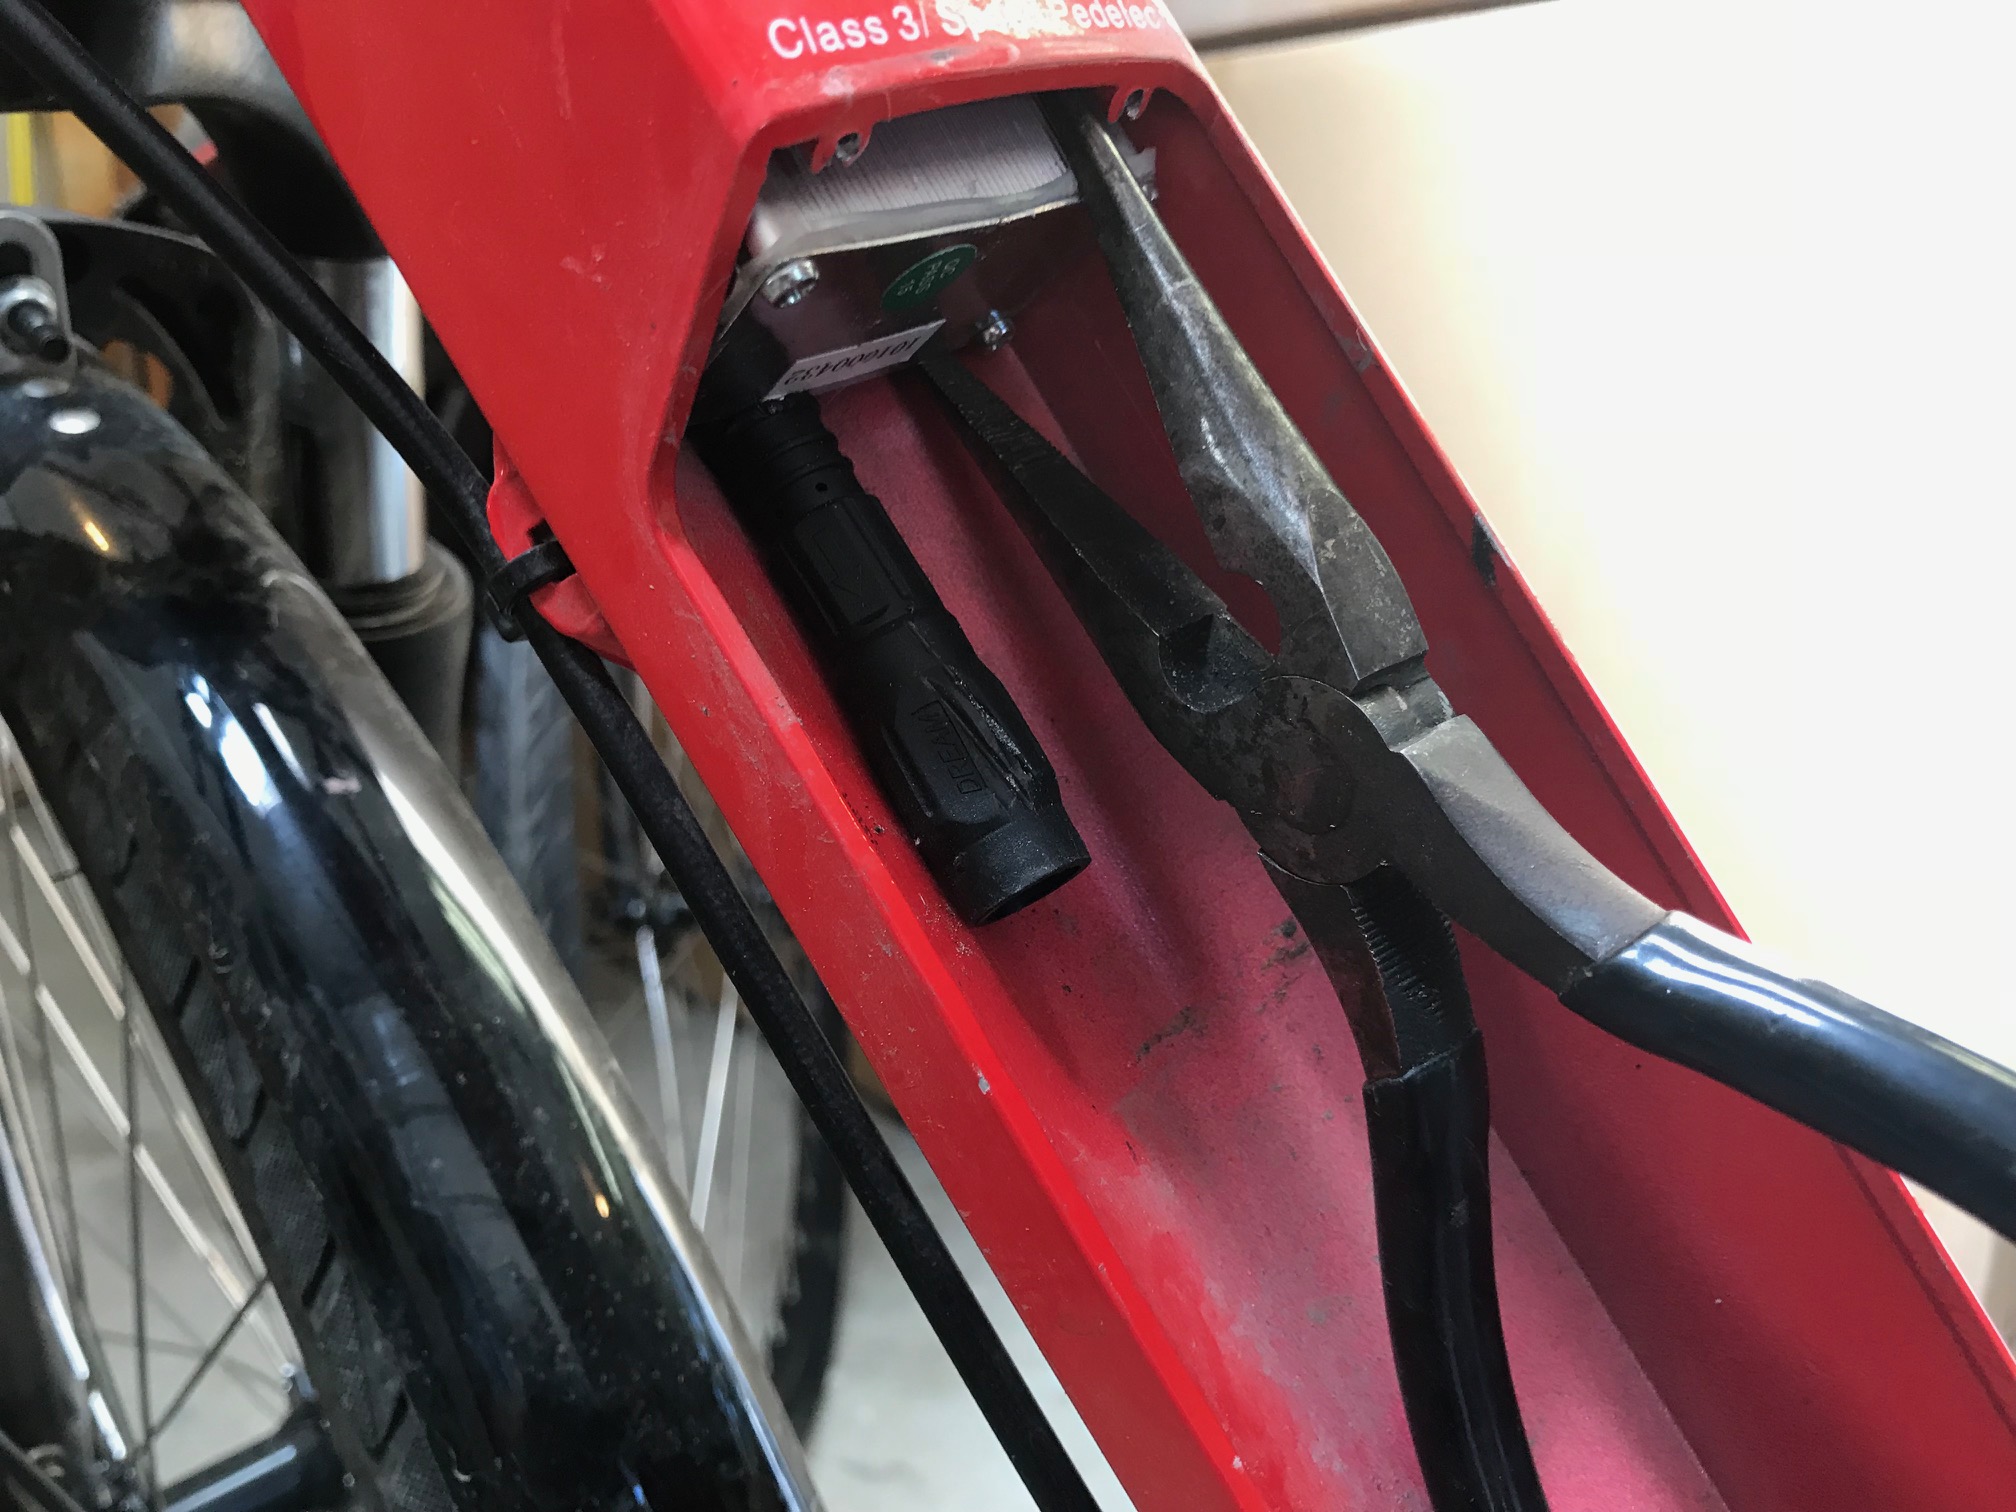
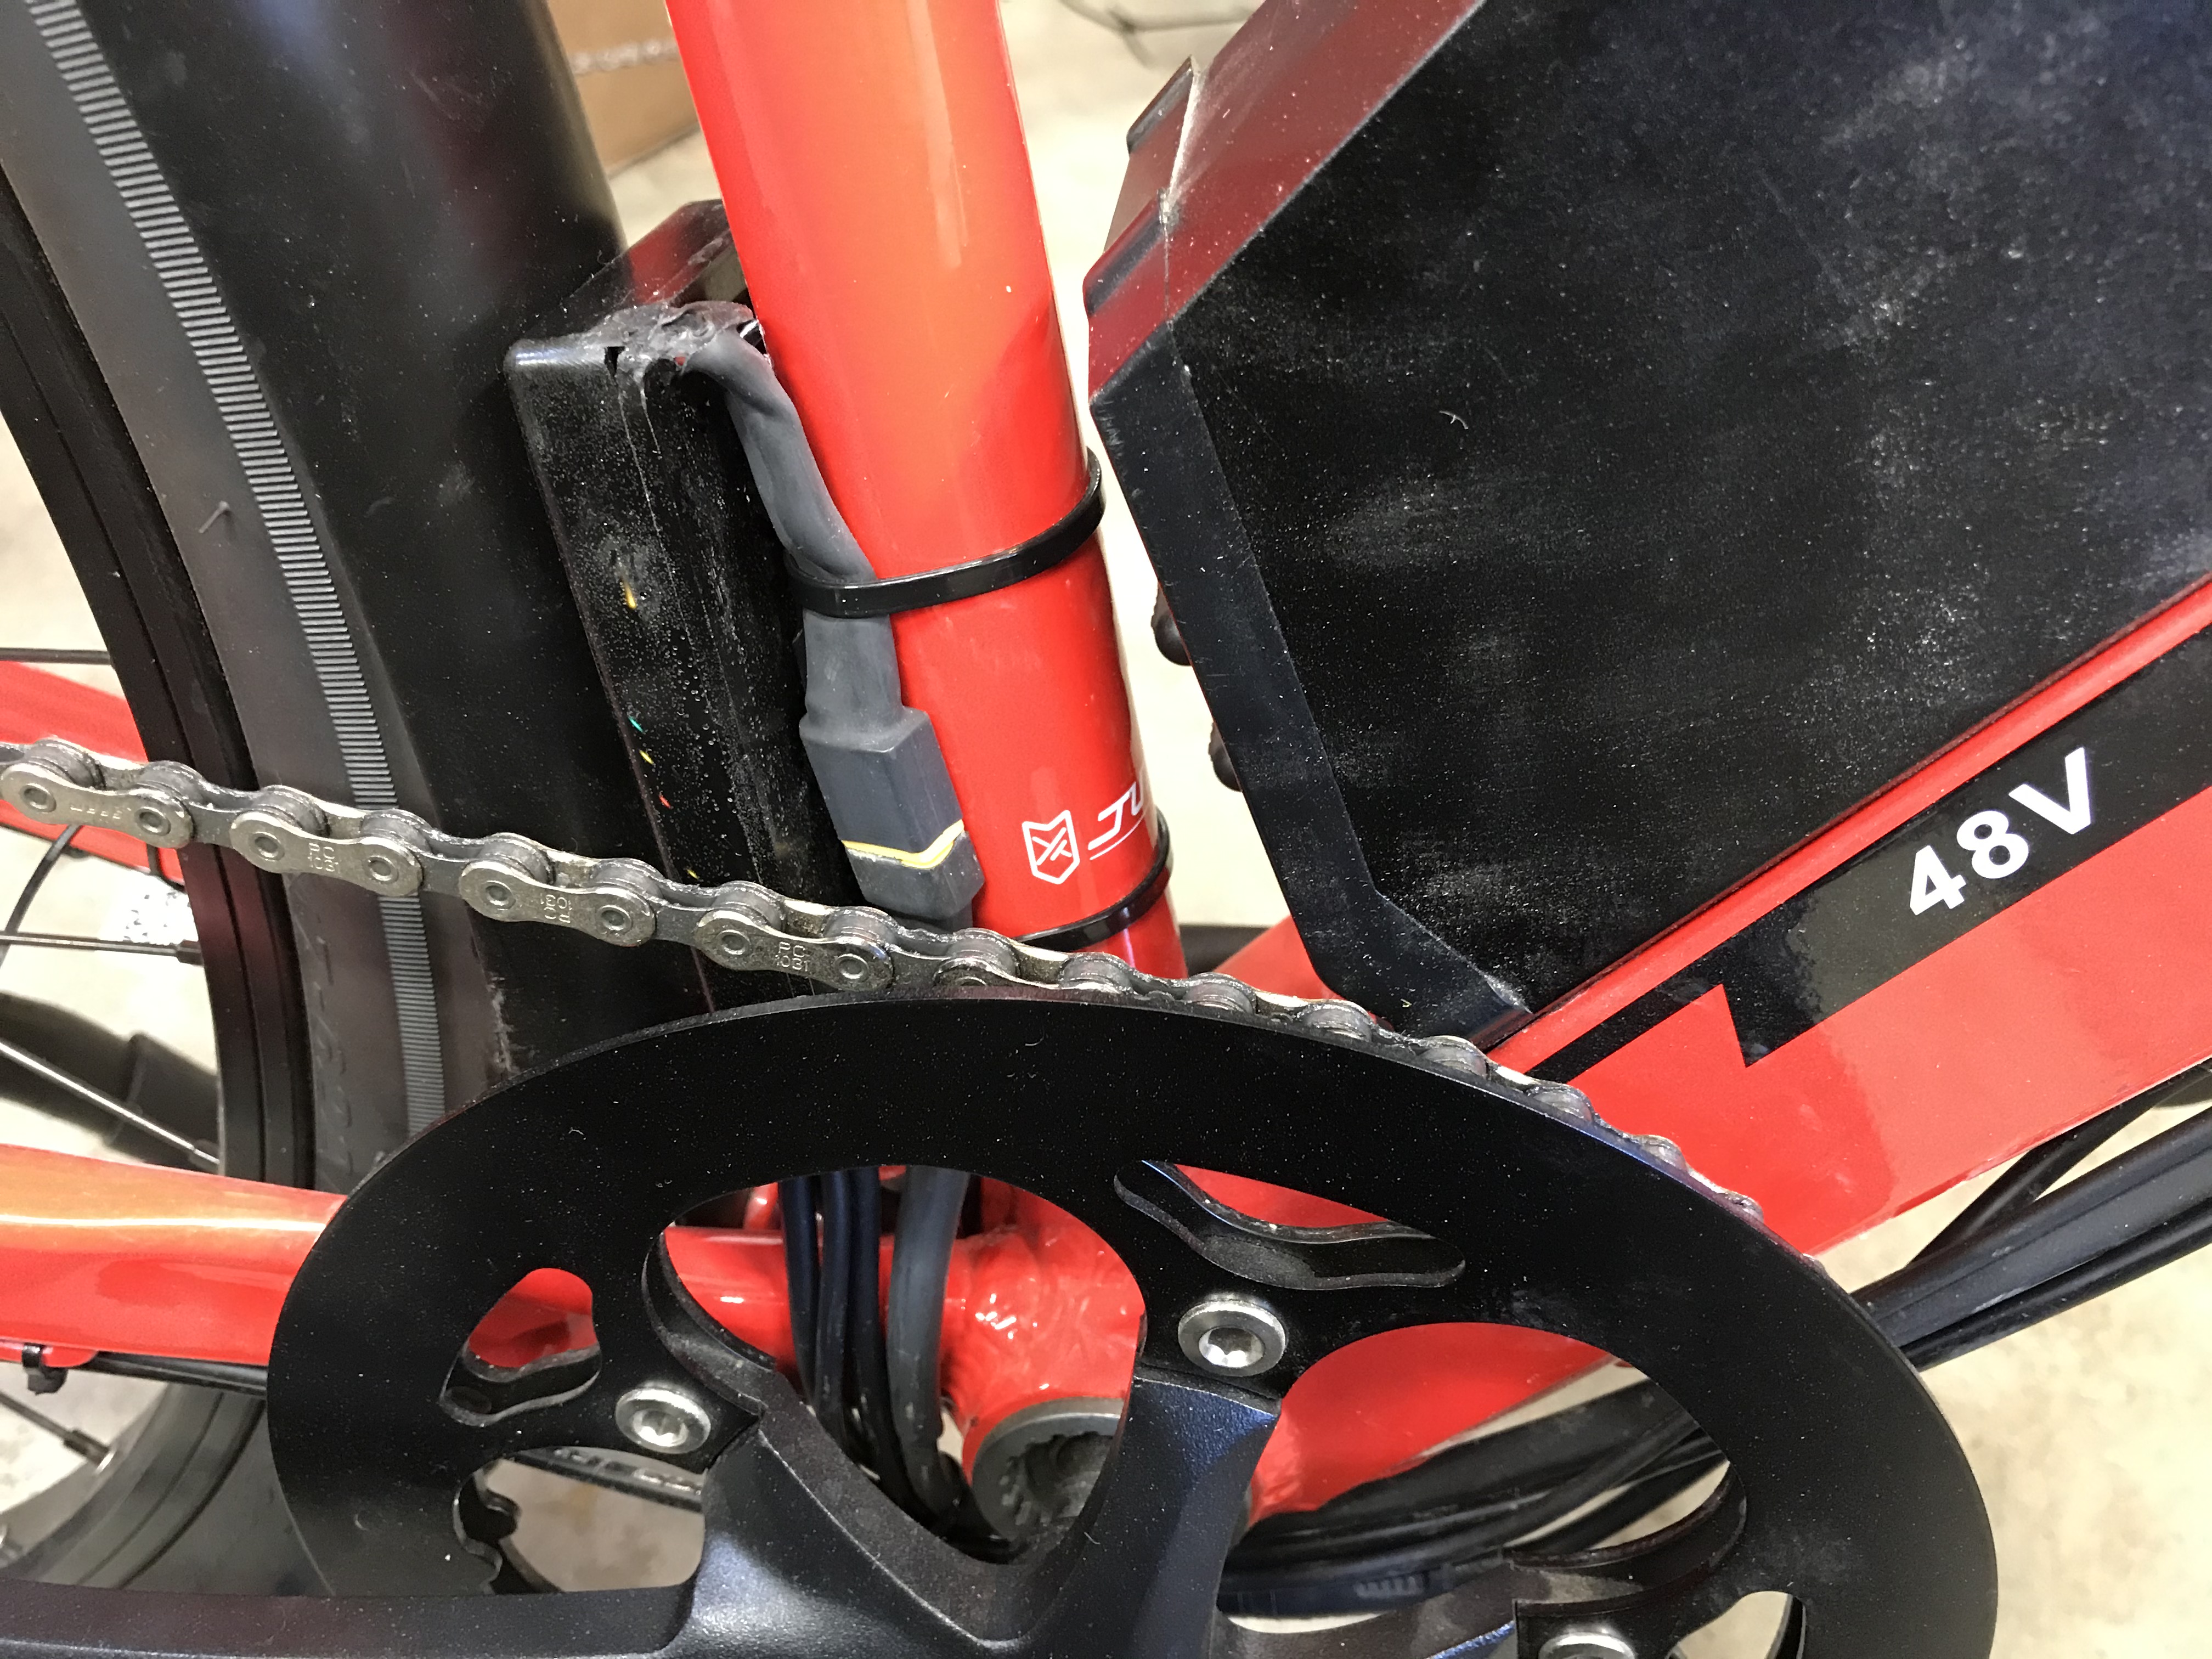
The connector with the green strip has to stay connected for the regen braking to work. I poked it up into the channel below the battery.
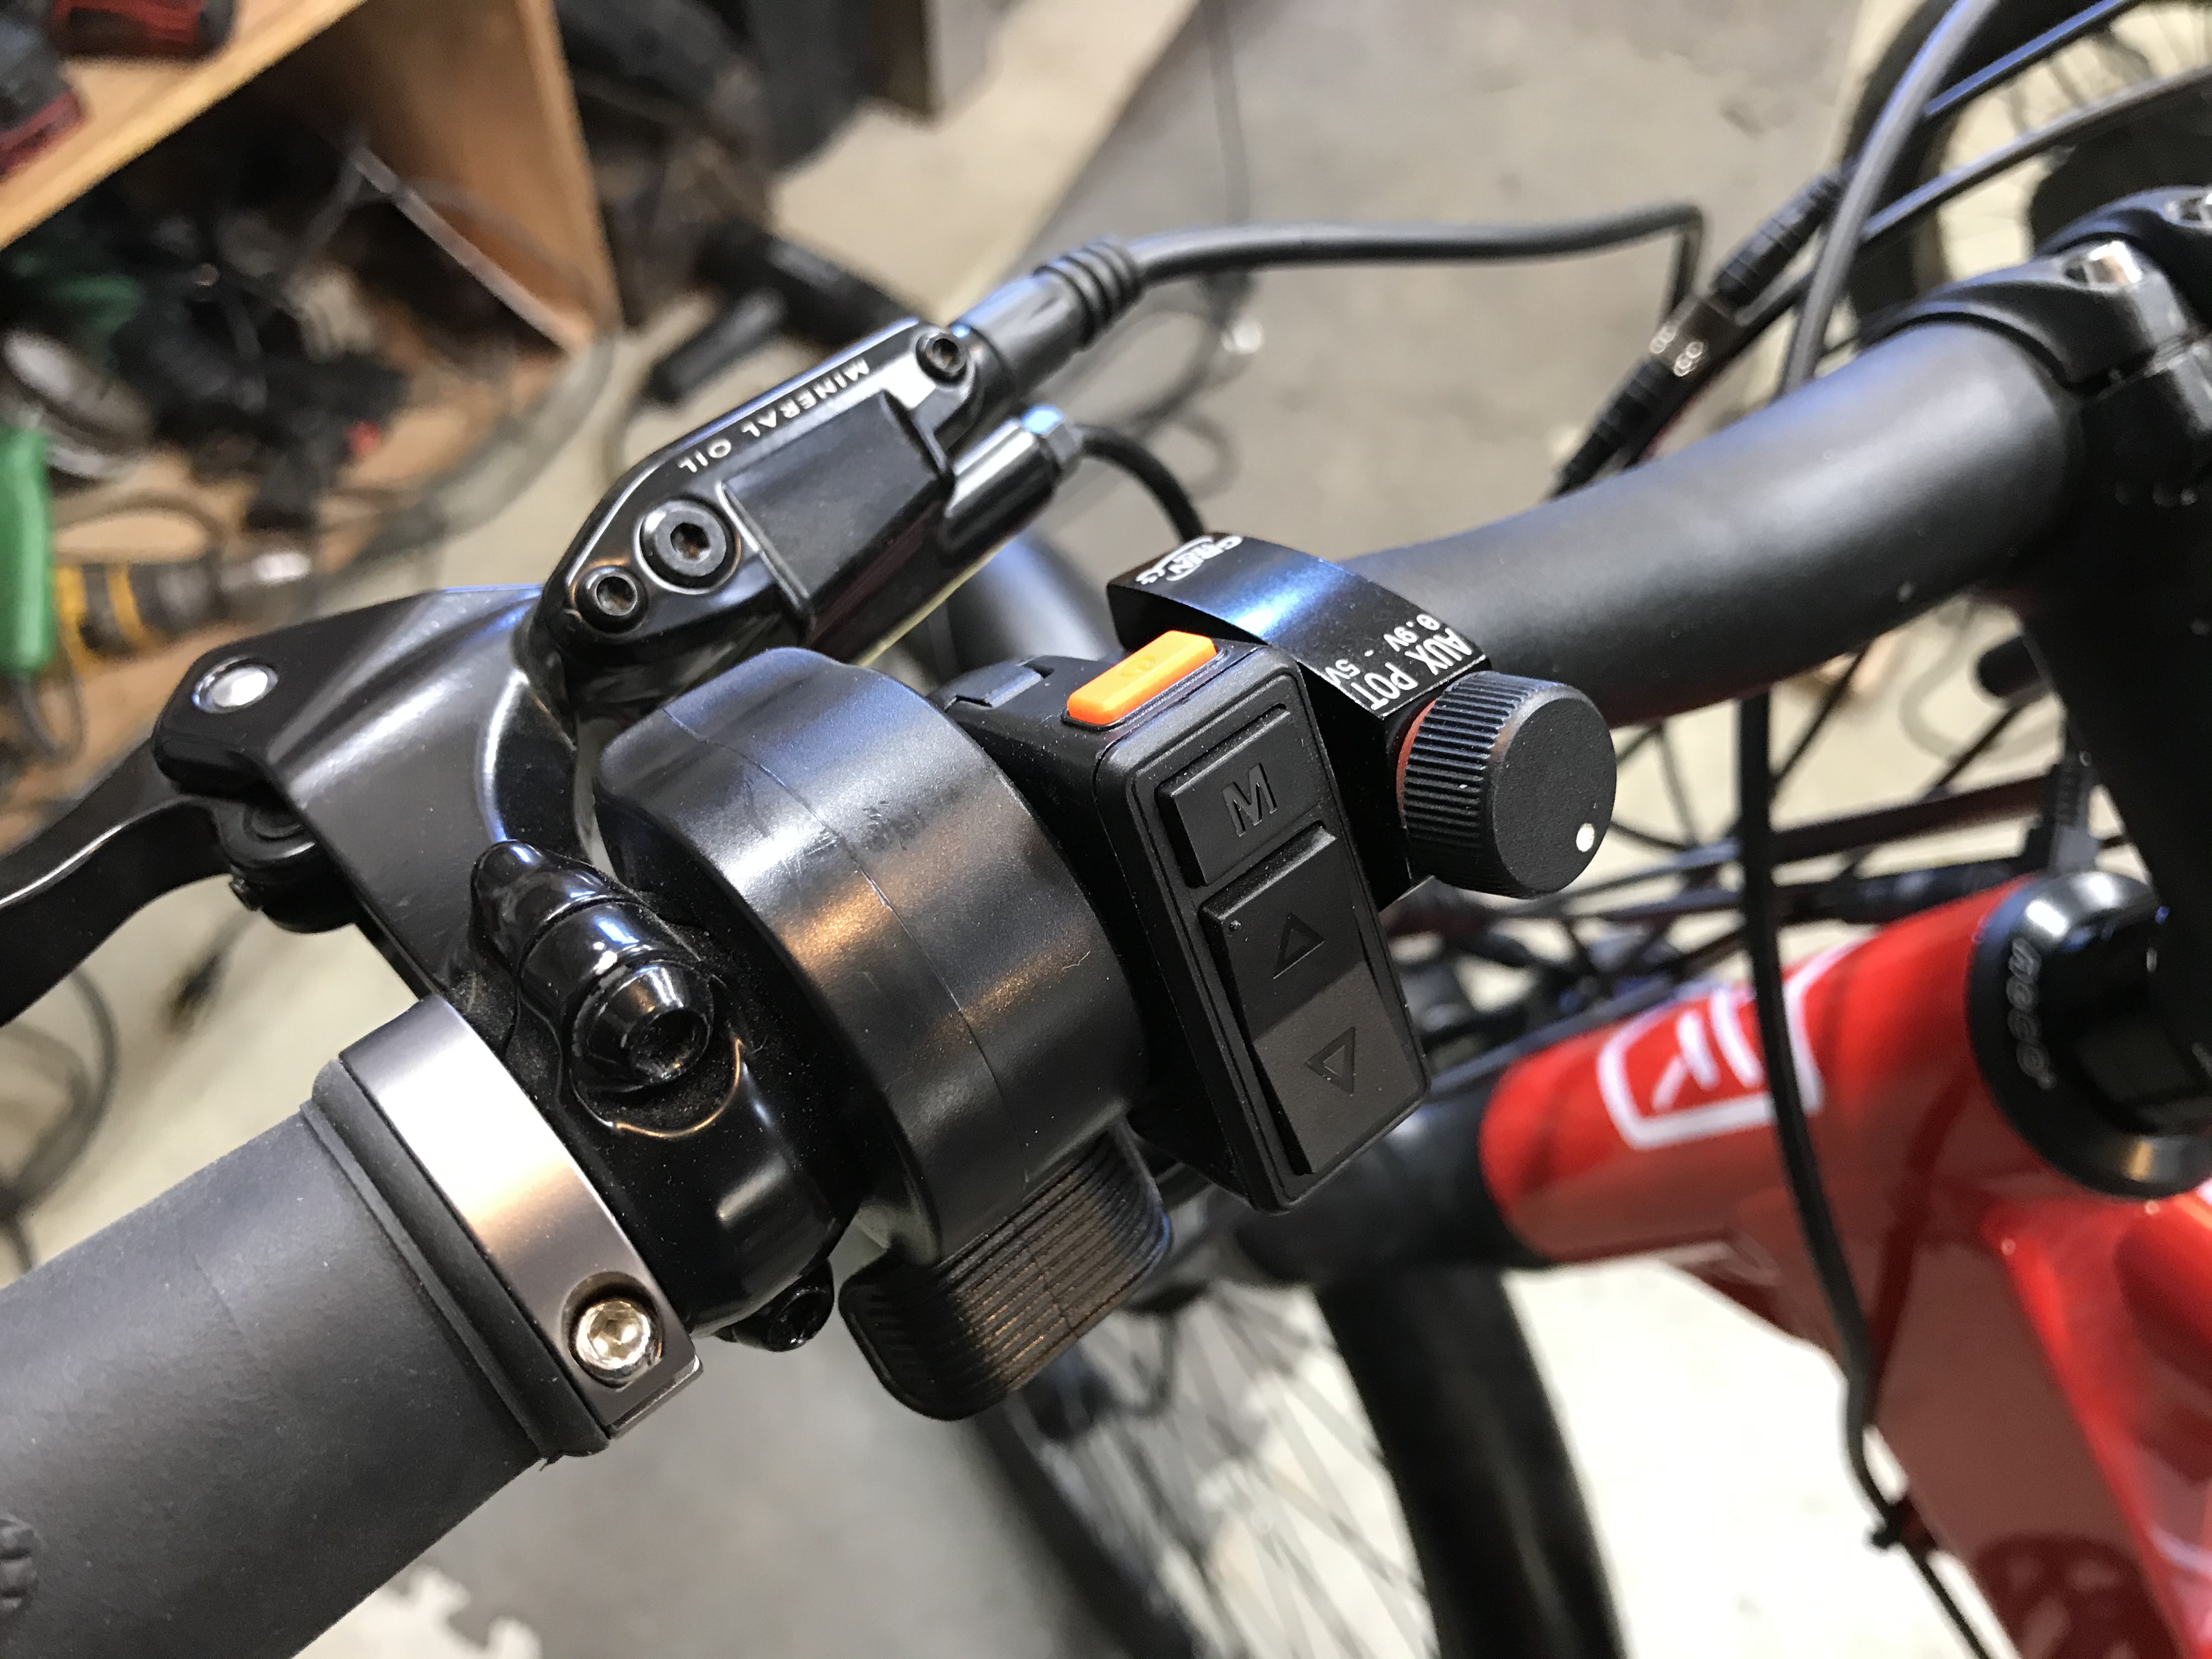
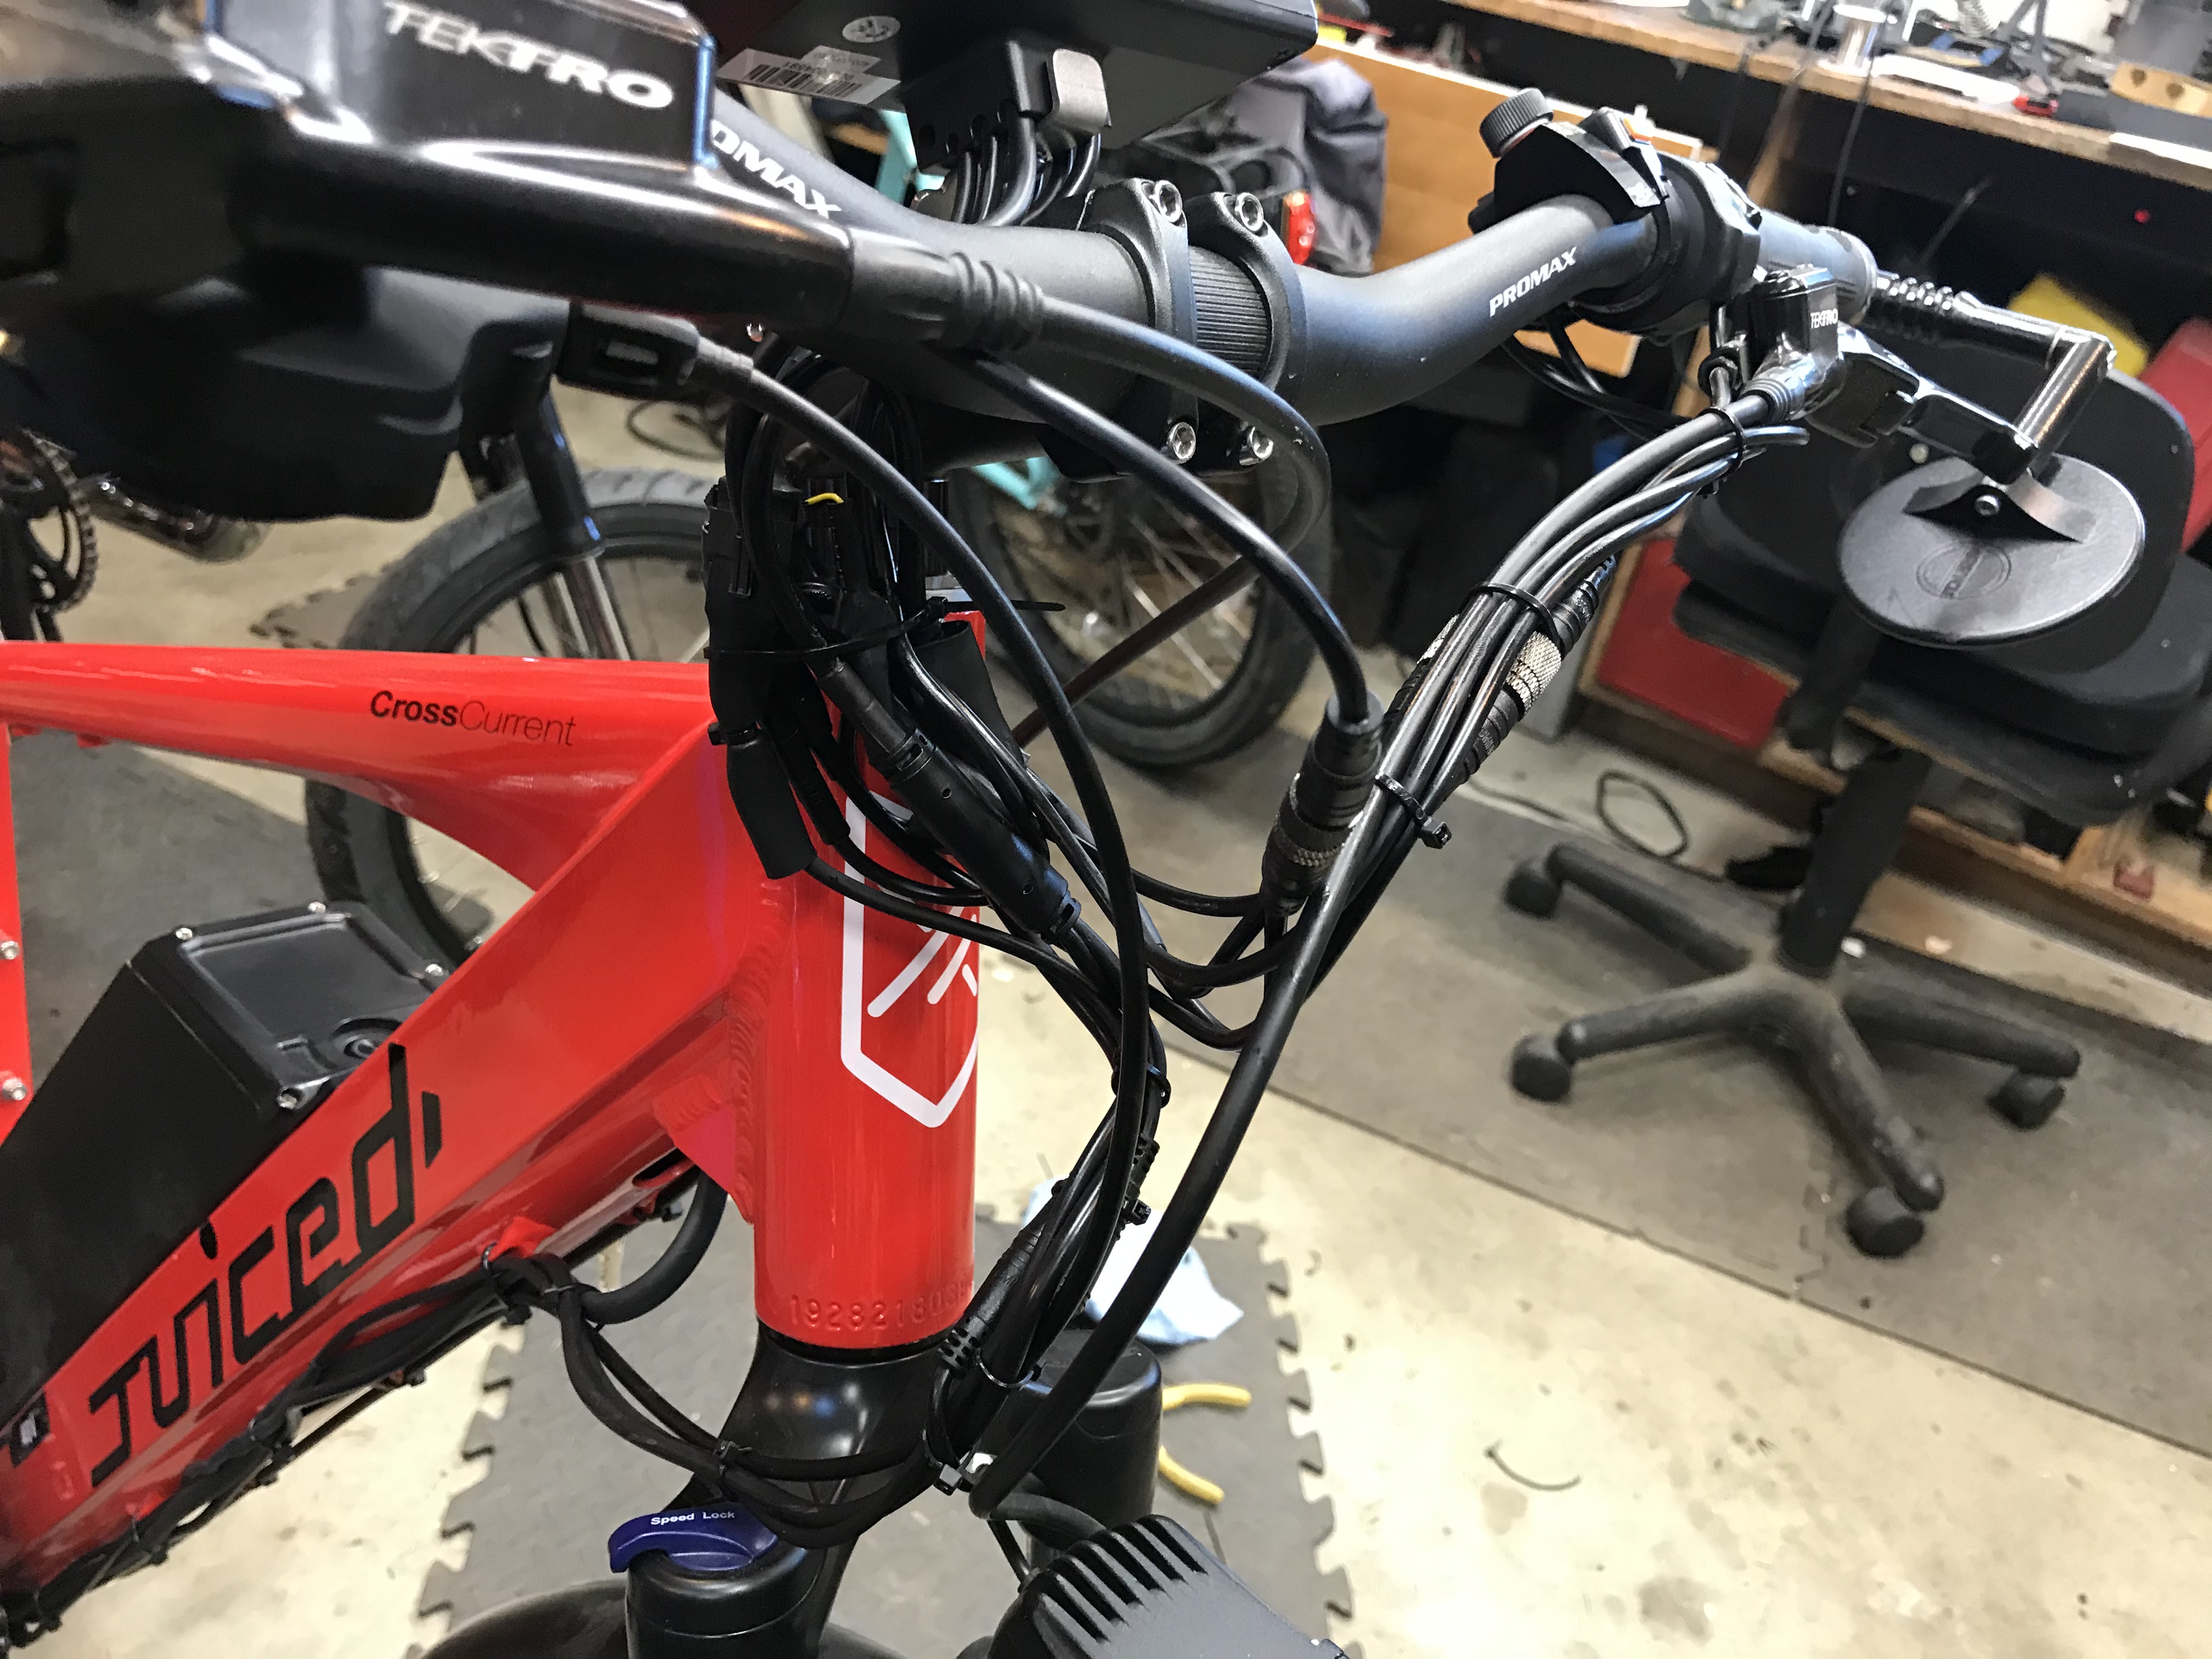
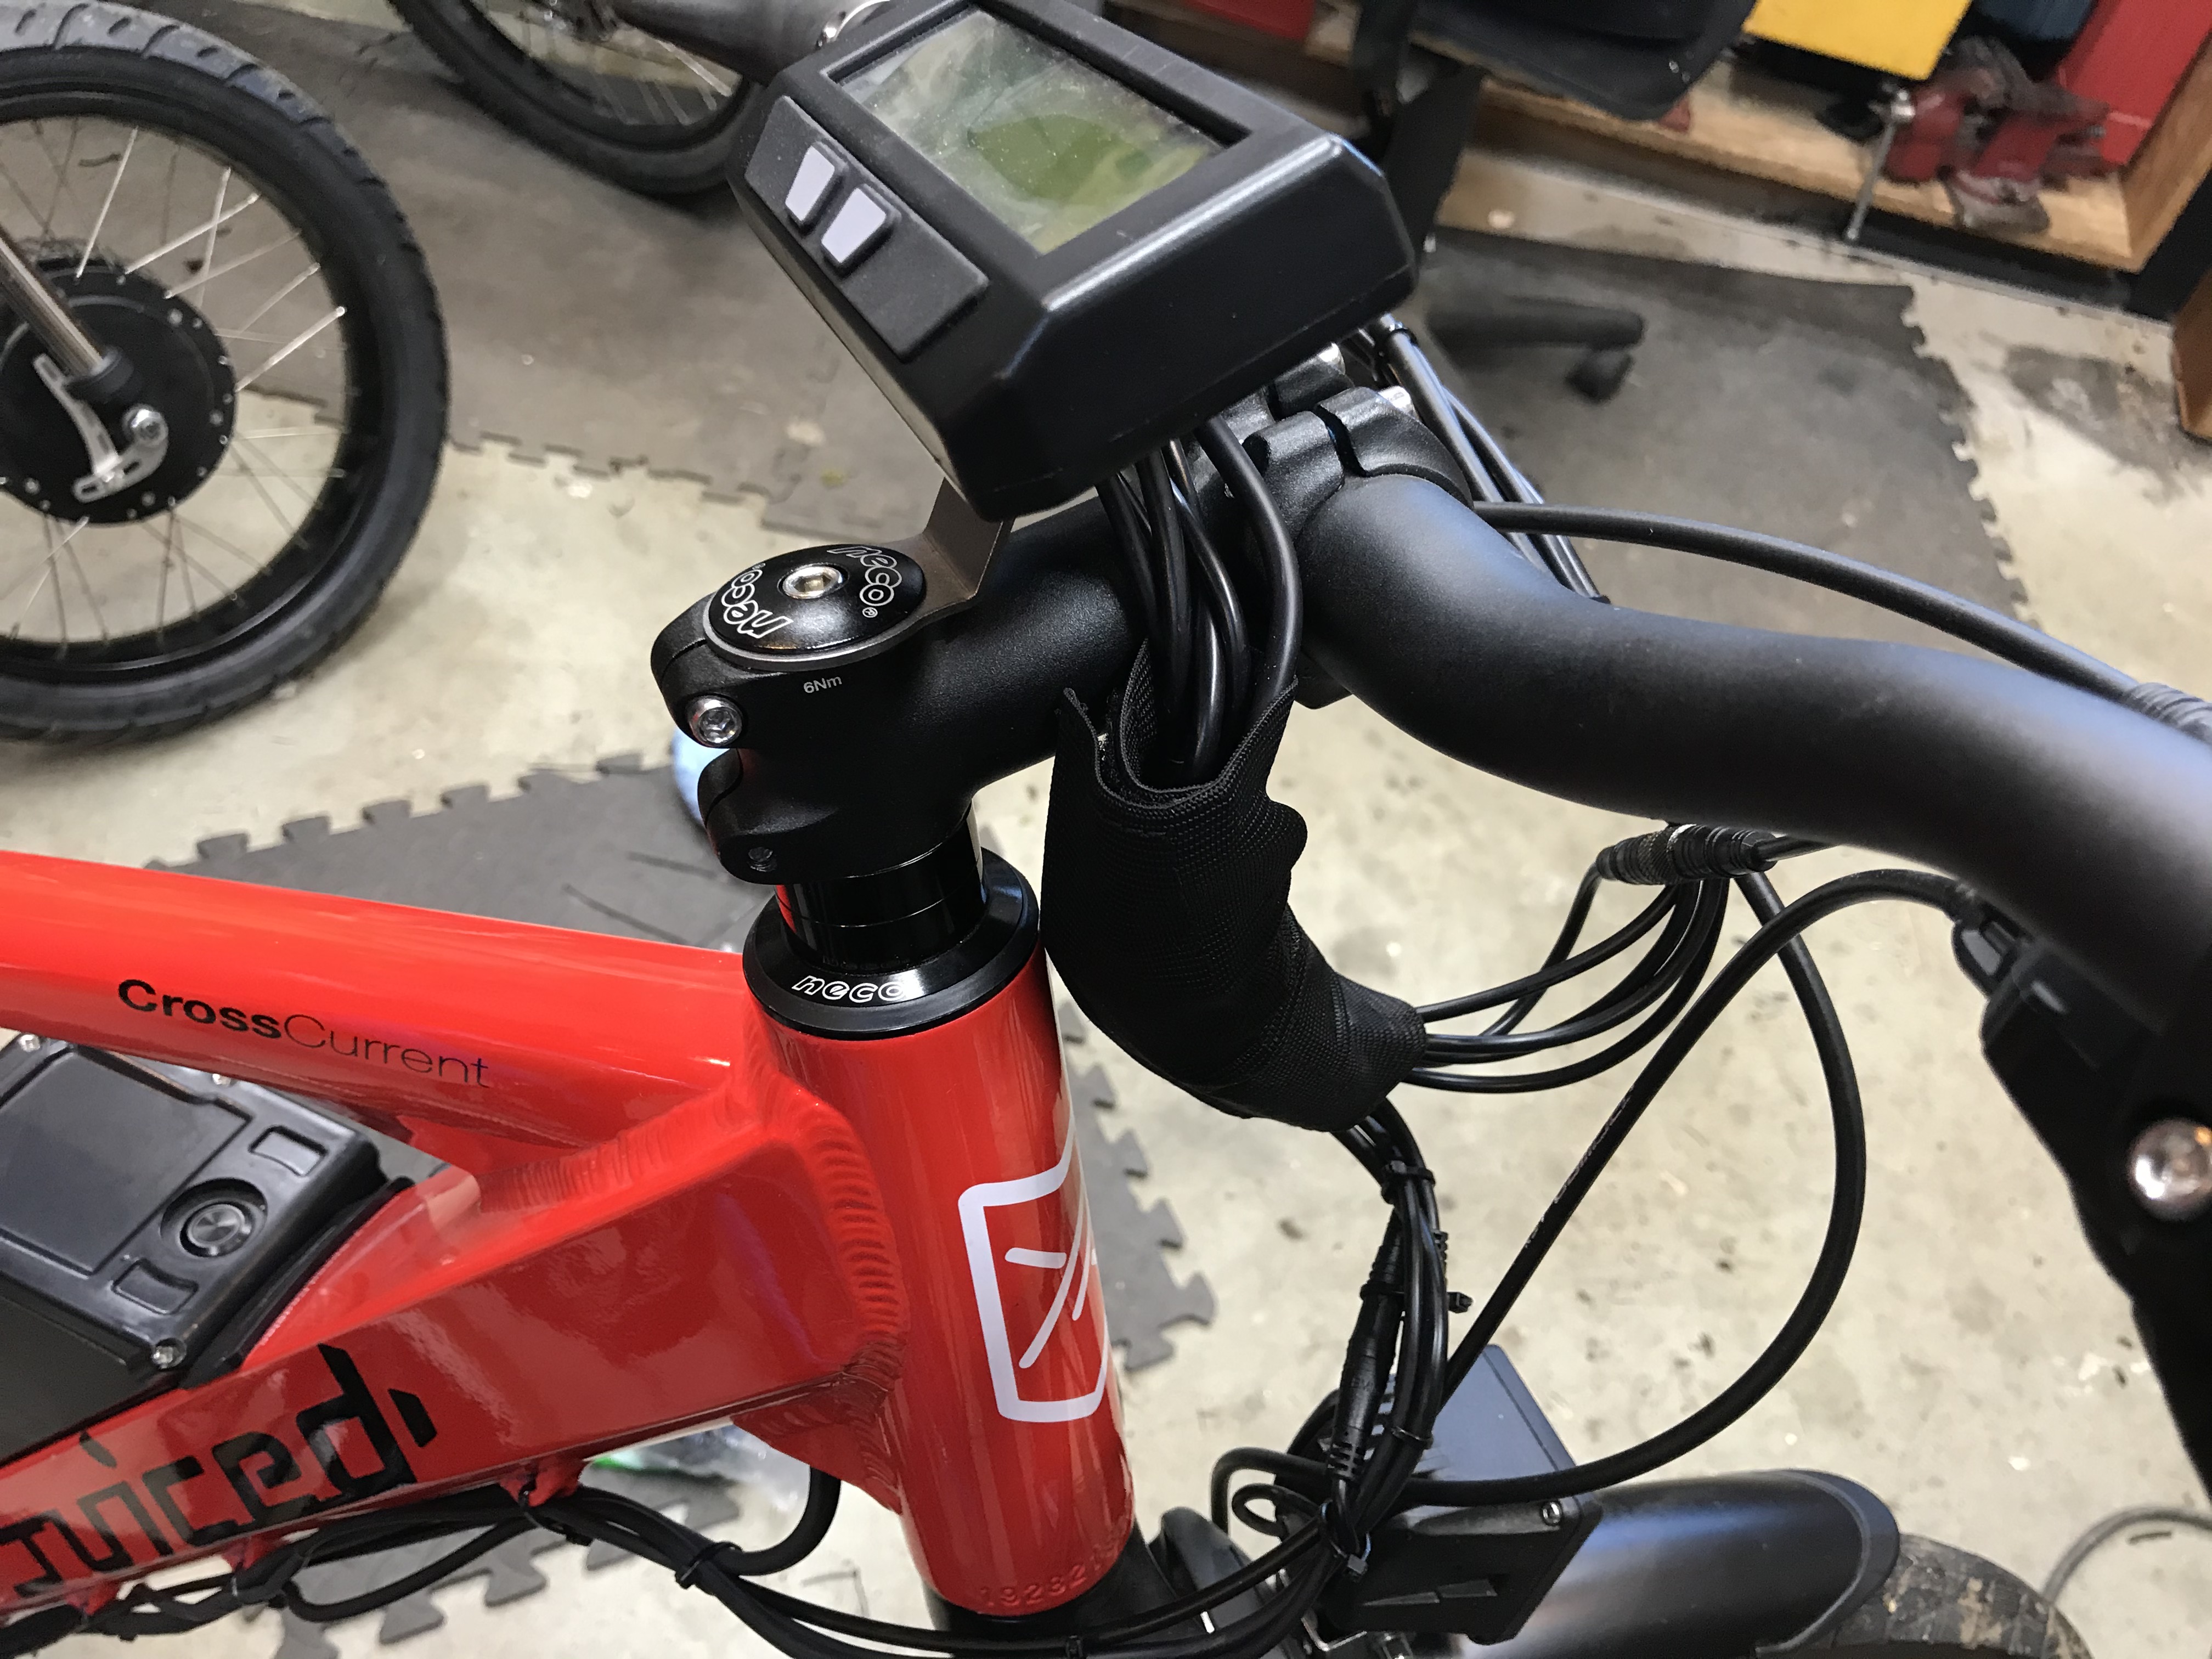
Turn the bike right side up and install the Cycle analyst, mode switch and Aux Pot as shown. You do not have to remove the grips and brakes to do this. Do not over tighten the mode switch, it cracks at the hinge if over tightened. The Aux pot sometimes needs a longer screw to tighten on the handlebar.
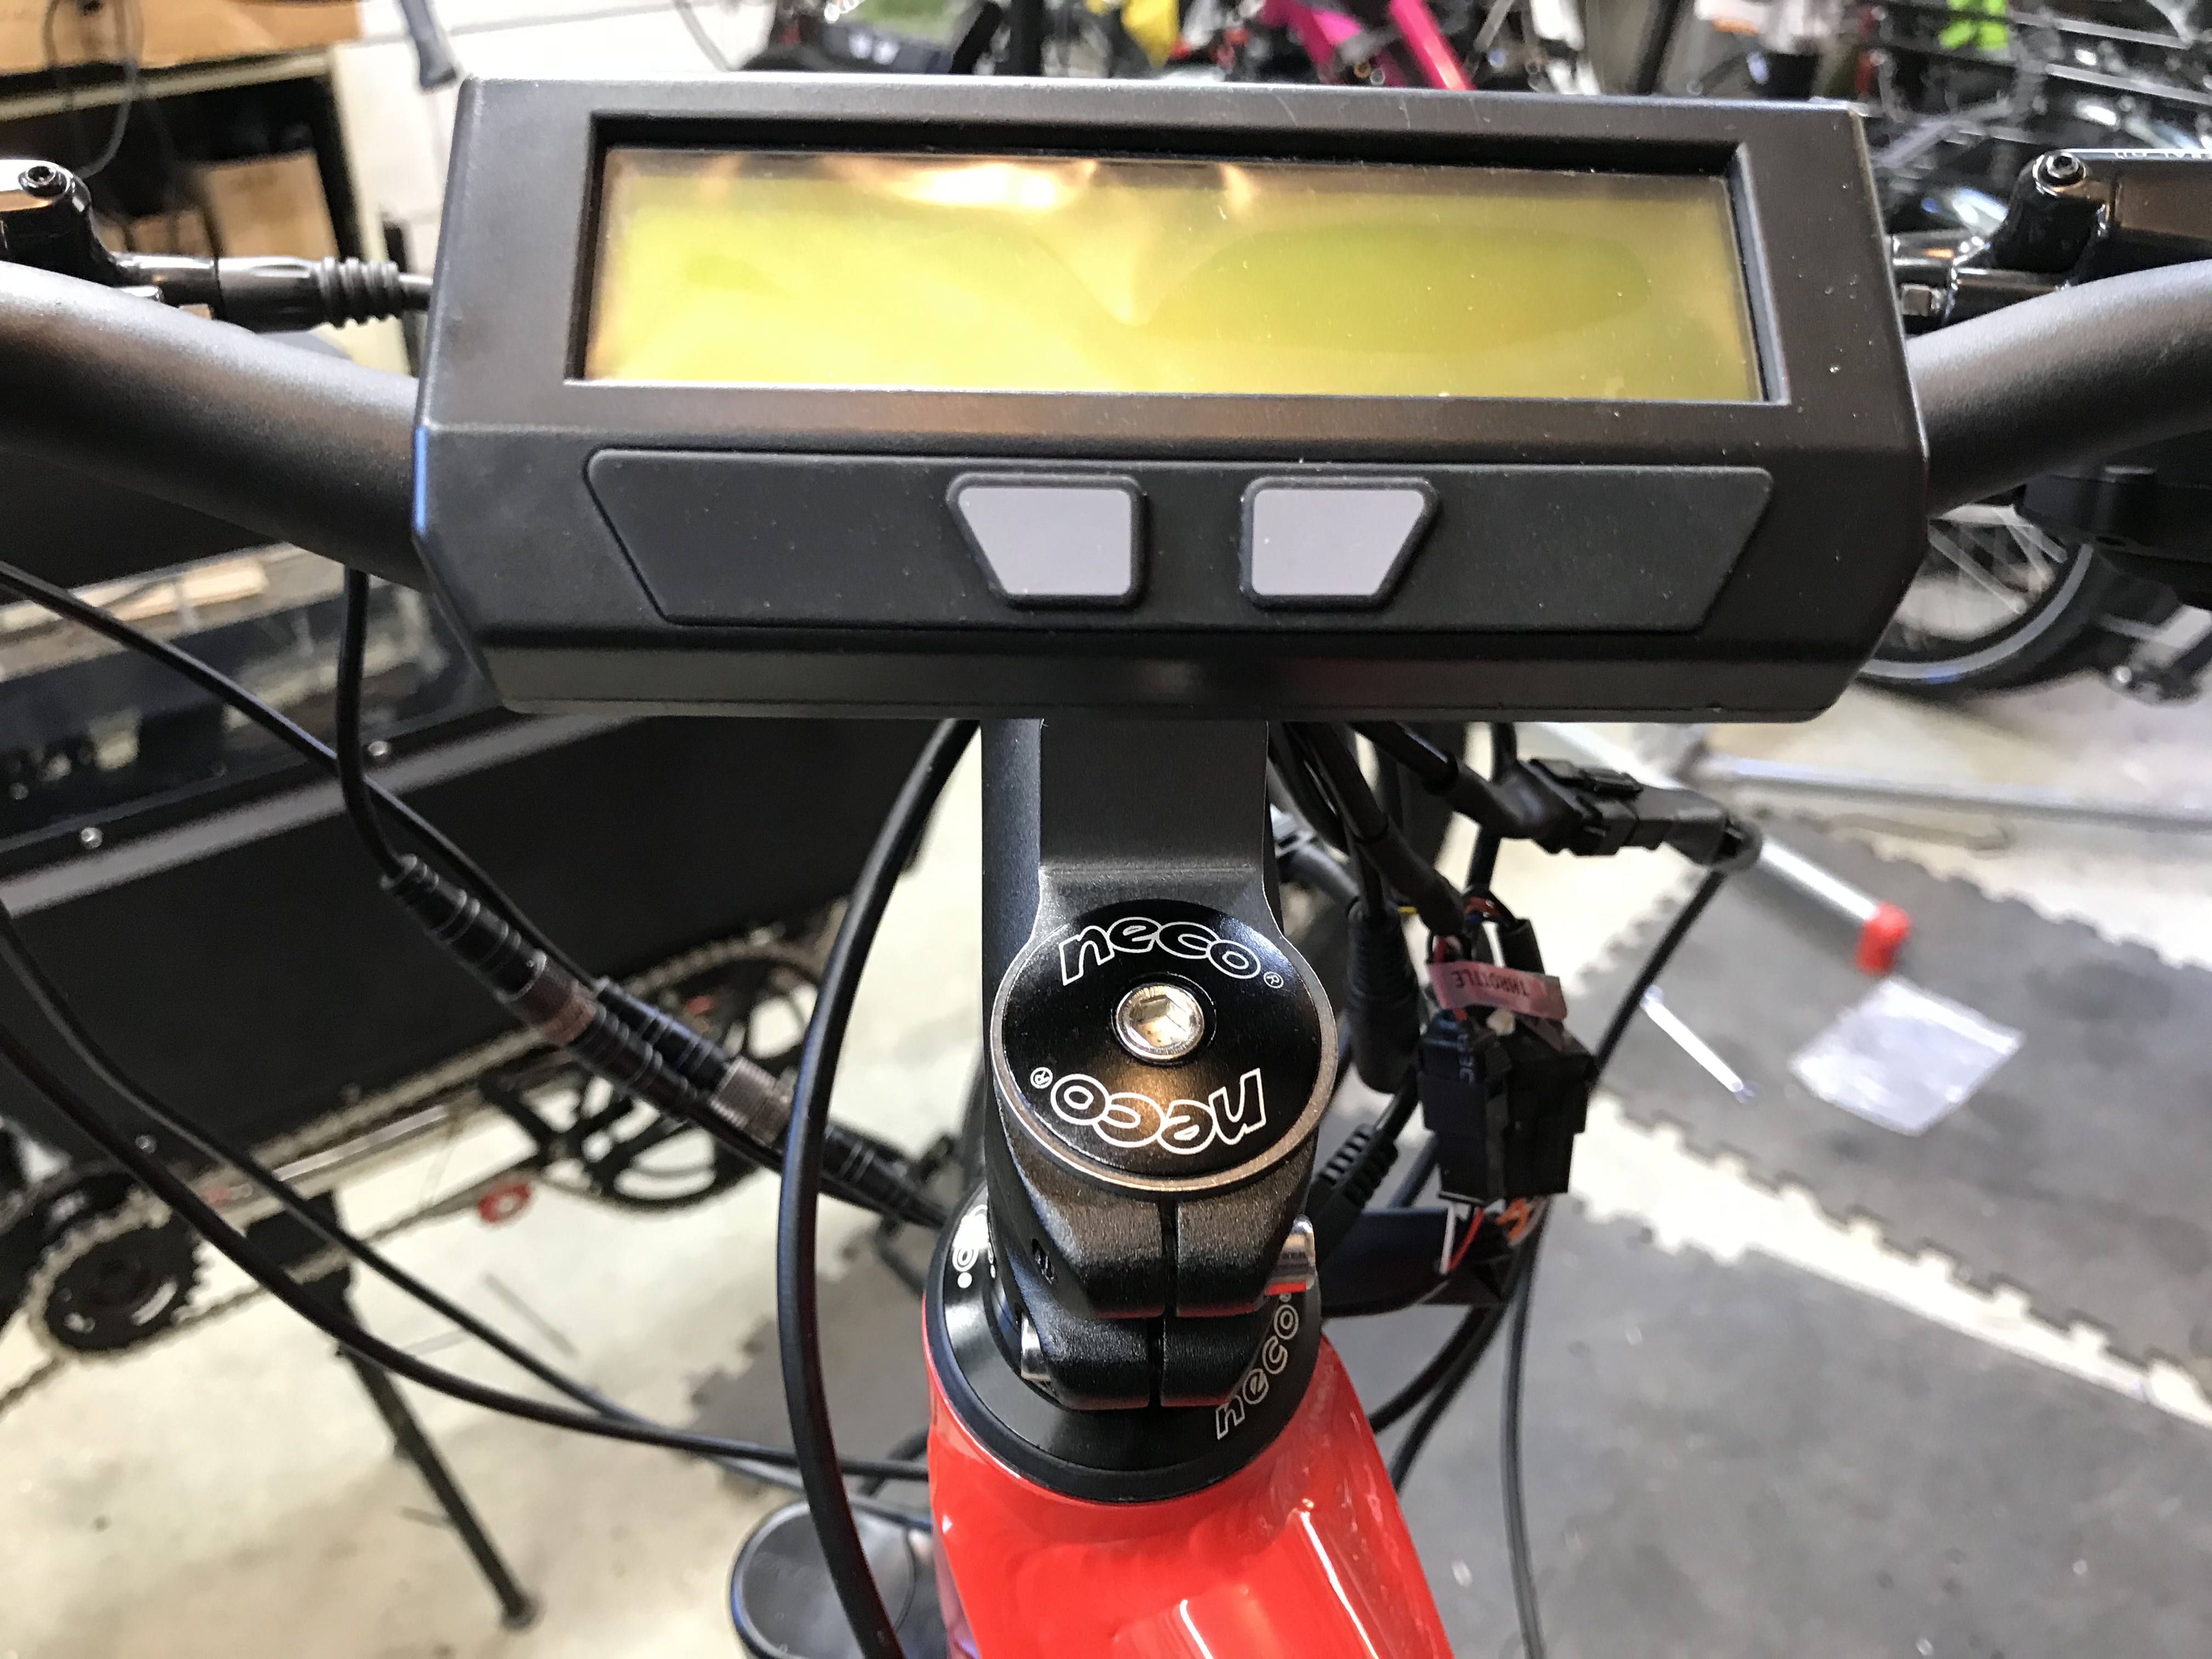
Attach the mounting bracket the the Cycle Analyst first. get the screw holding the bracket onto the CA good and tight, it tends to come loose. Then remove the Allen screw on the Neco headset cap and place the bracket underneath as shown above.
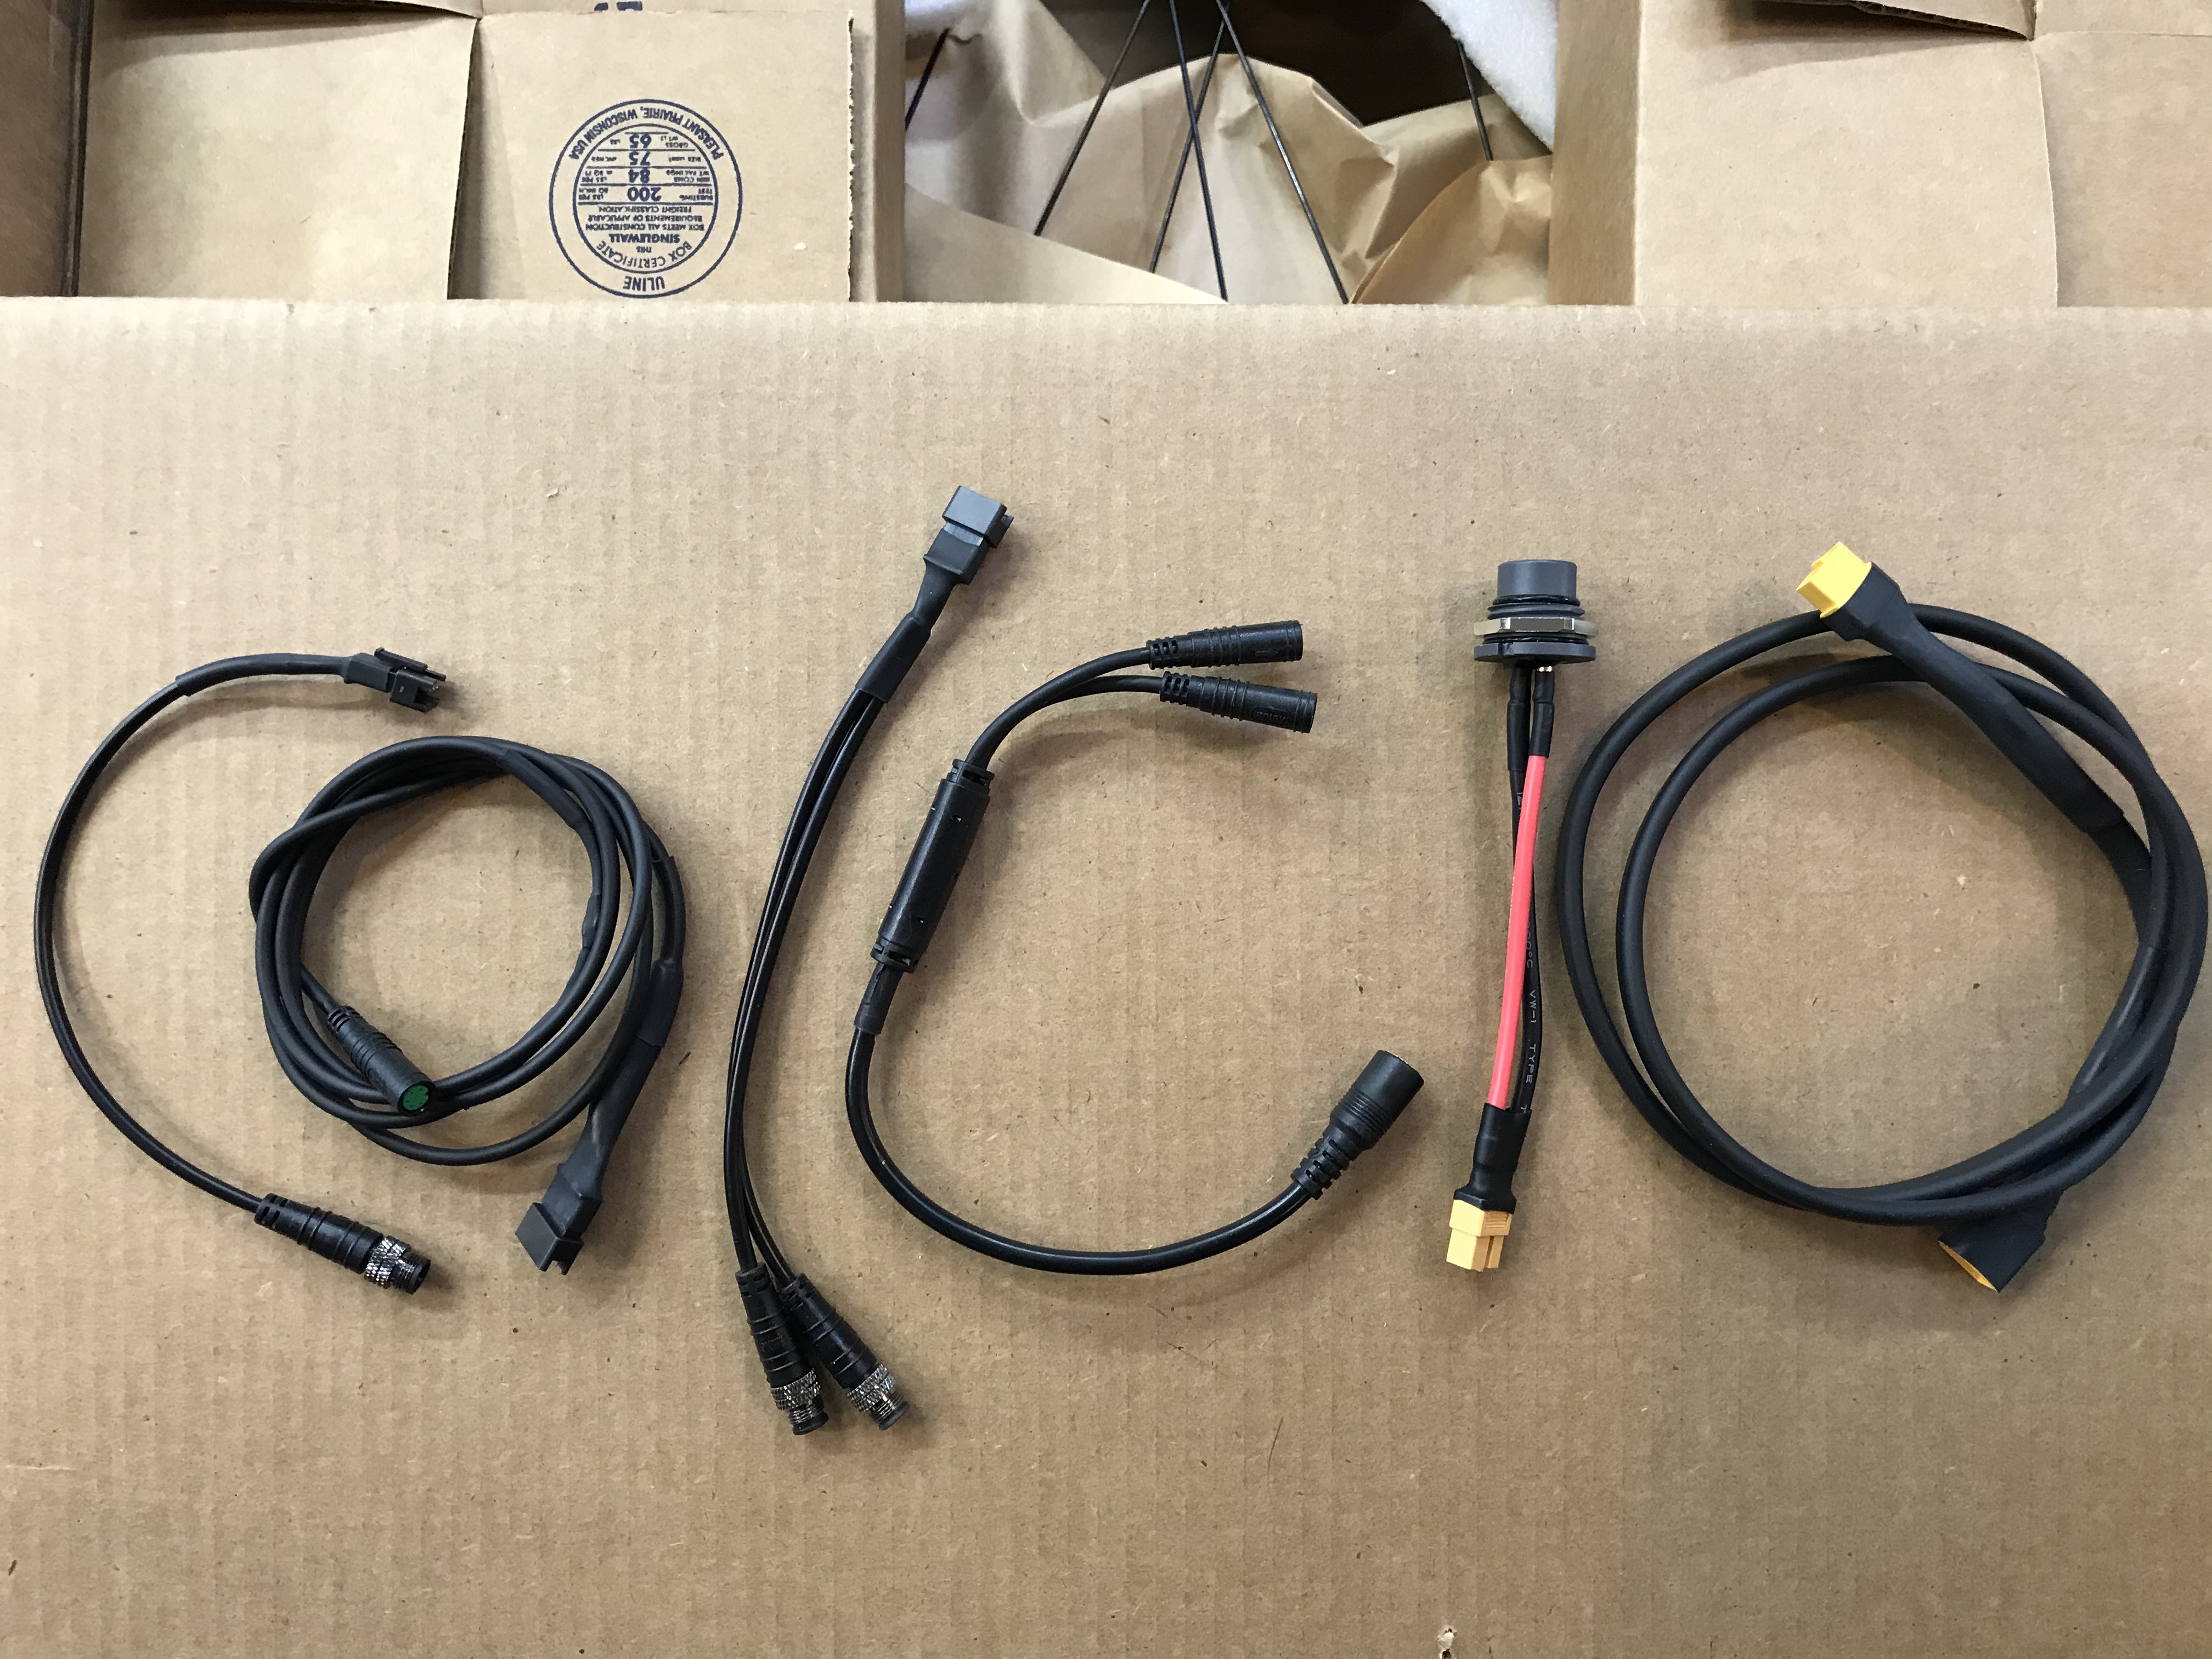
Pictured from left to right: Throttle cable, torque sensor cable, brake cable, lights cable, battery connector, battery to controller cable.
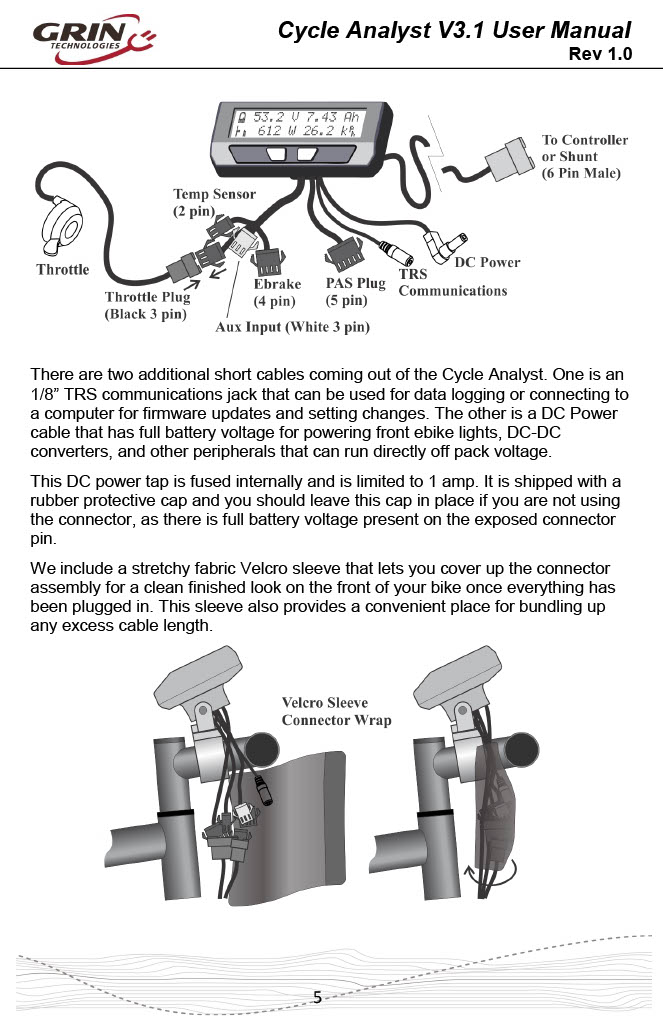
Plug in the main wire to the controller, the brakes, throttle, keypad, torque sensor (PAS Plug), lights (to the DC power jack) and aux pot.
Figure out where the wires will group and route them together. if a wire is wrapped around another wire or brake cable, unplug it and route it with the others so that they are all parallel and not a big twisted mess. This isn't easy, it takes patience.
Once you have the wires somewhat orginized, test the bike to see if it turns on and the throttle, controls, and brakes work. Look at the PAS setup to see if the torque sensor is working, and zero out any offset in the PAS. First go into the menu by pressing the left key, then press the right key 5 or 6 times to get to the SETUP PAS DEVICE screen. When you press on the pedal, the voltage should change. When you pedal forward the P indicator should move to the top and cycle up and down. It happens so fast it's hard to see. If you pedal backwards the indicator should go to the bottom.
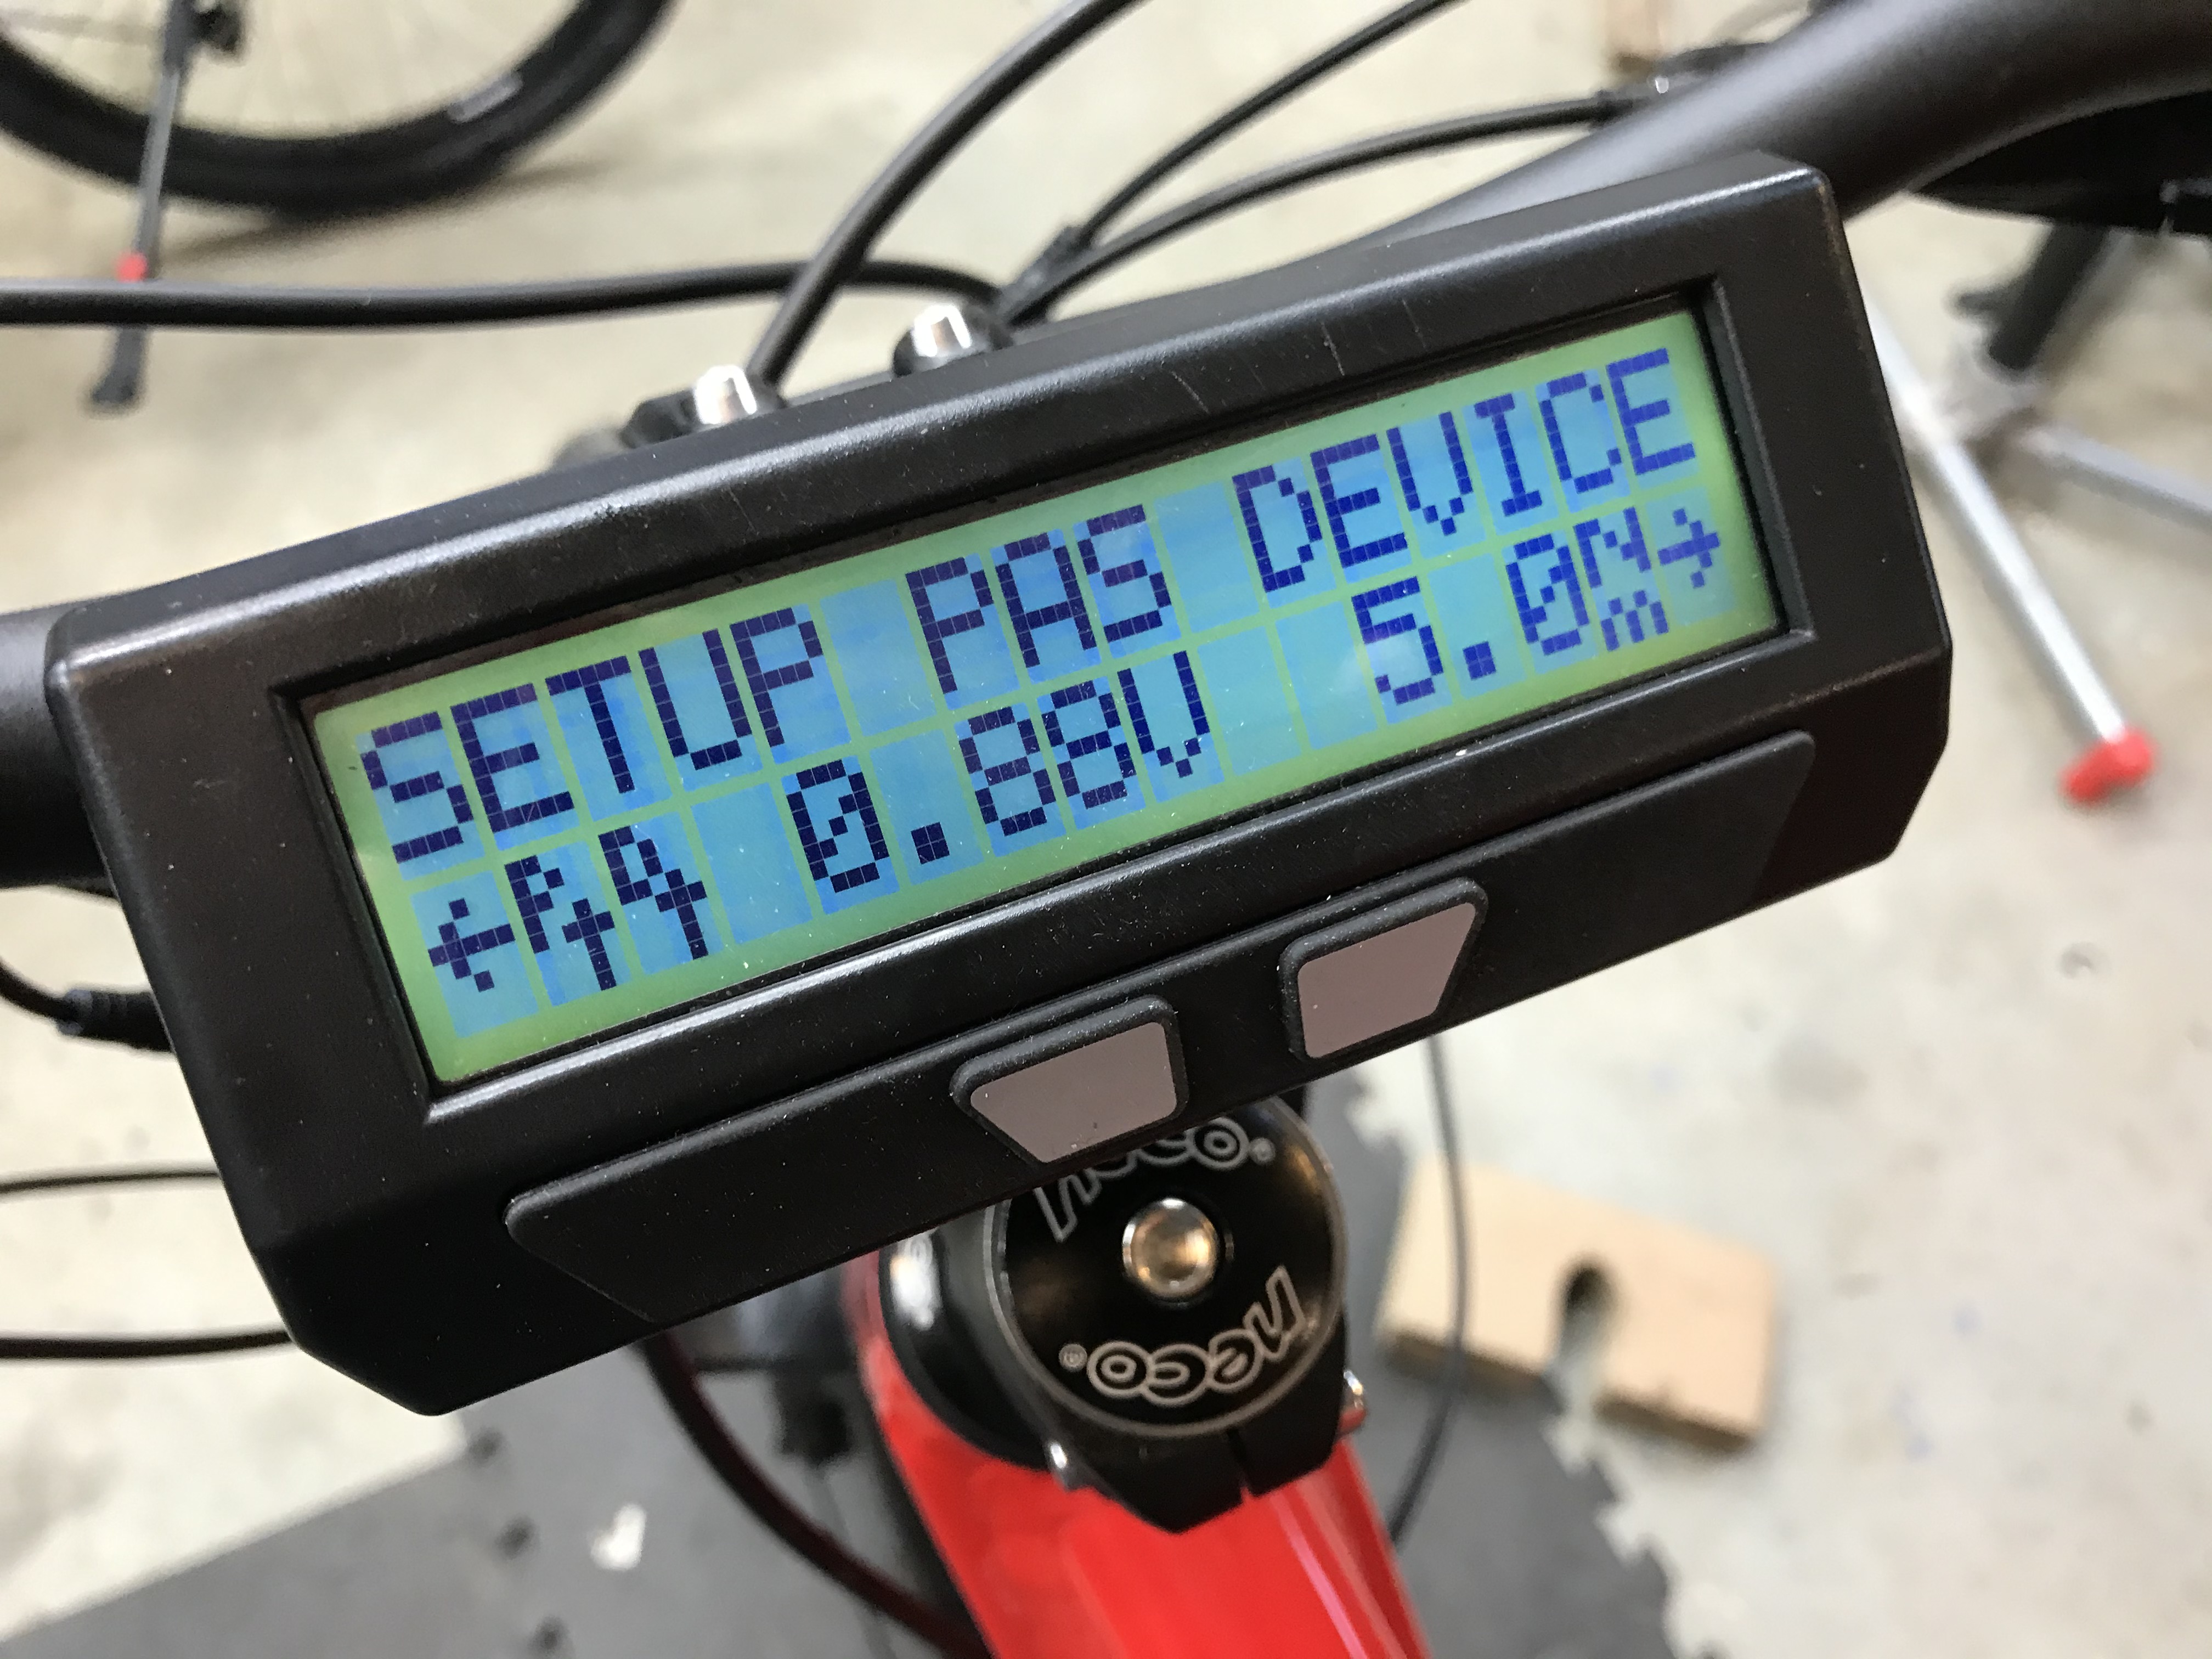

Go into this menu by pressing and holding the right key then pressing it again to get to PASD ZERO TORQ. Press and hold the right key to calibrate the torque reading to 0. the voltages will now be the same. This should be done from time to time.
You can now take a test ride to confirm that things are working as they should. Did you tighten the axle bolts and torque arm? Better double check!
Once it's confirmed that all is working OK, then you can put dielectric grease in the JST connectors on the CycleAnalyst, and heat shrink them. Then put the Velcro wrap on.
Detailed information on how to use the Cycle Analyst can be found here
We have already set up the CA3 to work with the GMAC, Juiced torque sensor and Baserunner. If you want to change settings, please note the original setting first, and change one thing at a time, as some changes can stop the bike from working altogether.
More to come...