Replacing a worn or faulty cassette freewheel tower on a Juiced CrossCurrent S or similar Bafang motor
2019 Jul 19th
Do you hear a clicking or cracking sound from your Juiced CCS rear wheel while pedalling? Chances are you have a worn or defective cassette freewheel tower. Sometimes this noise can be caused by a badly seated axle, so it is worth loosening the axle hardware, checking that the wheel is seated properly, and re tightening.
Clicking sounds can also come from the pedals or bottom bracket, so try to eliminate these as a source of the noise first.
We now have this part in stock: https://hilleater.ca/bafang-cassette-freewheel-and-side-cover-assembly-swx02/
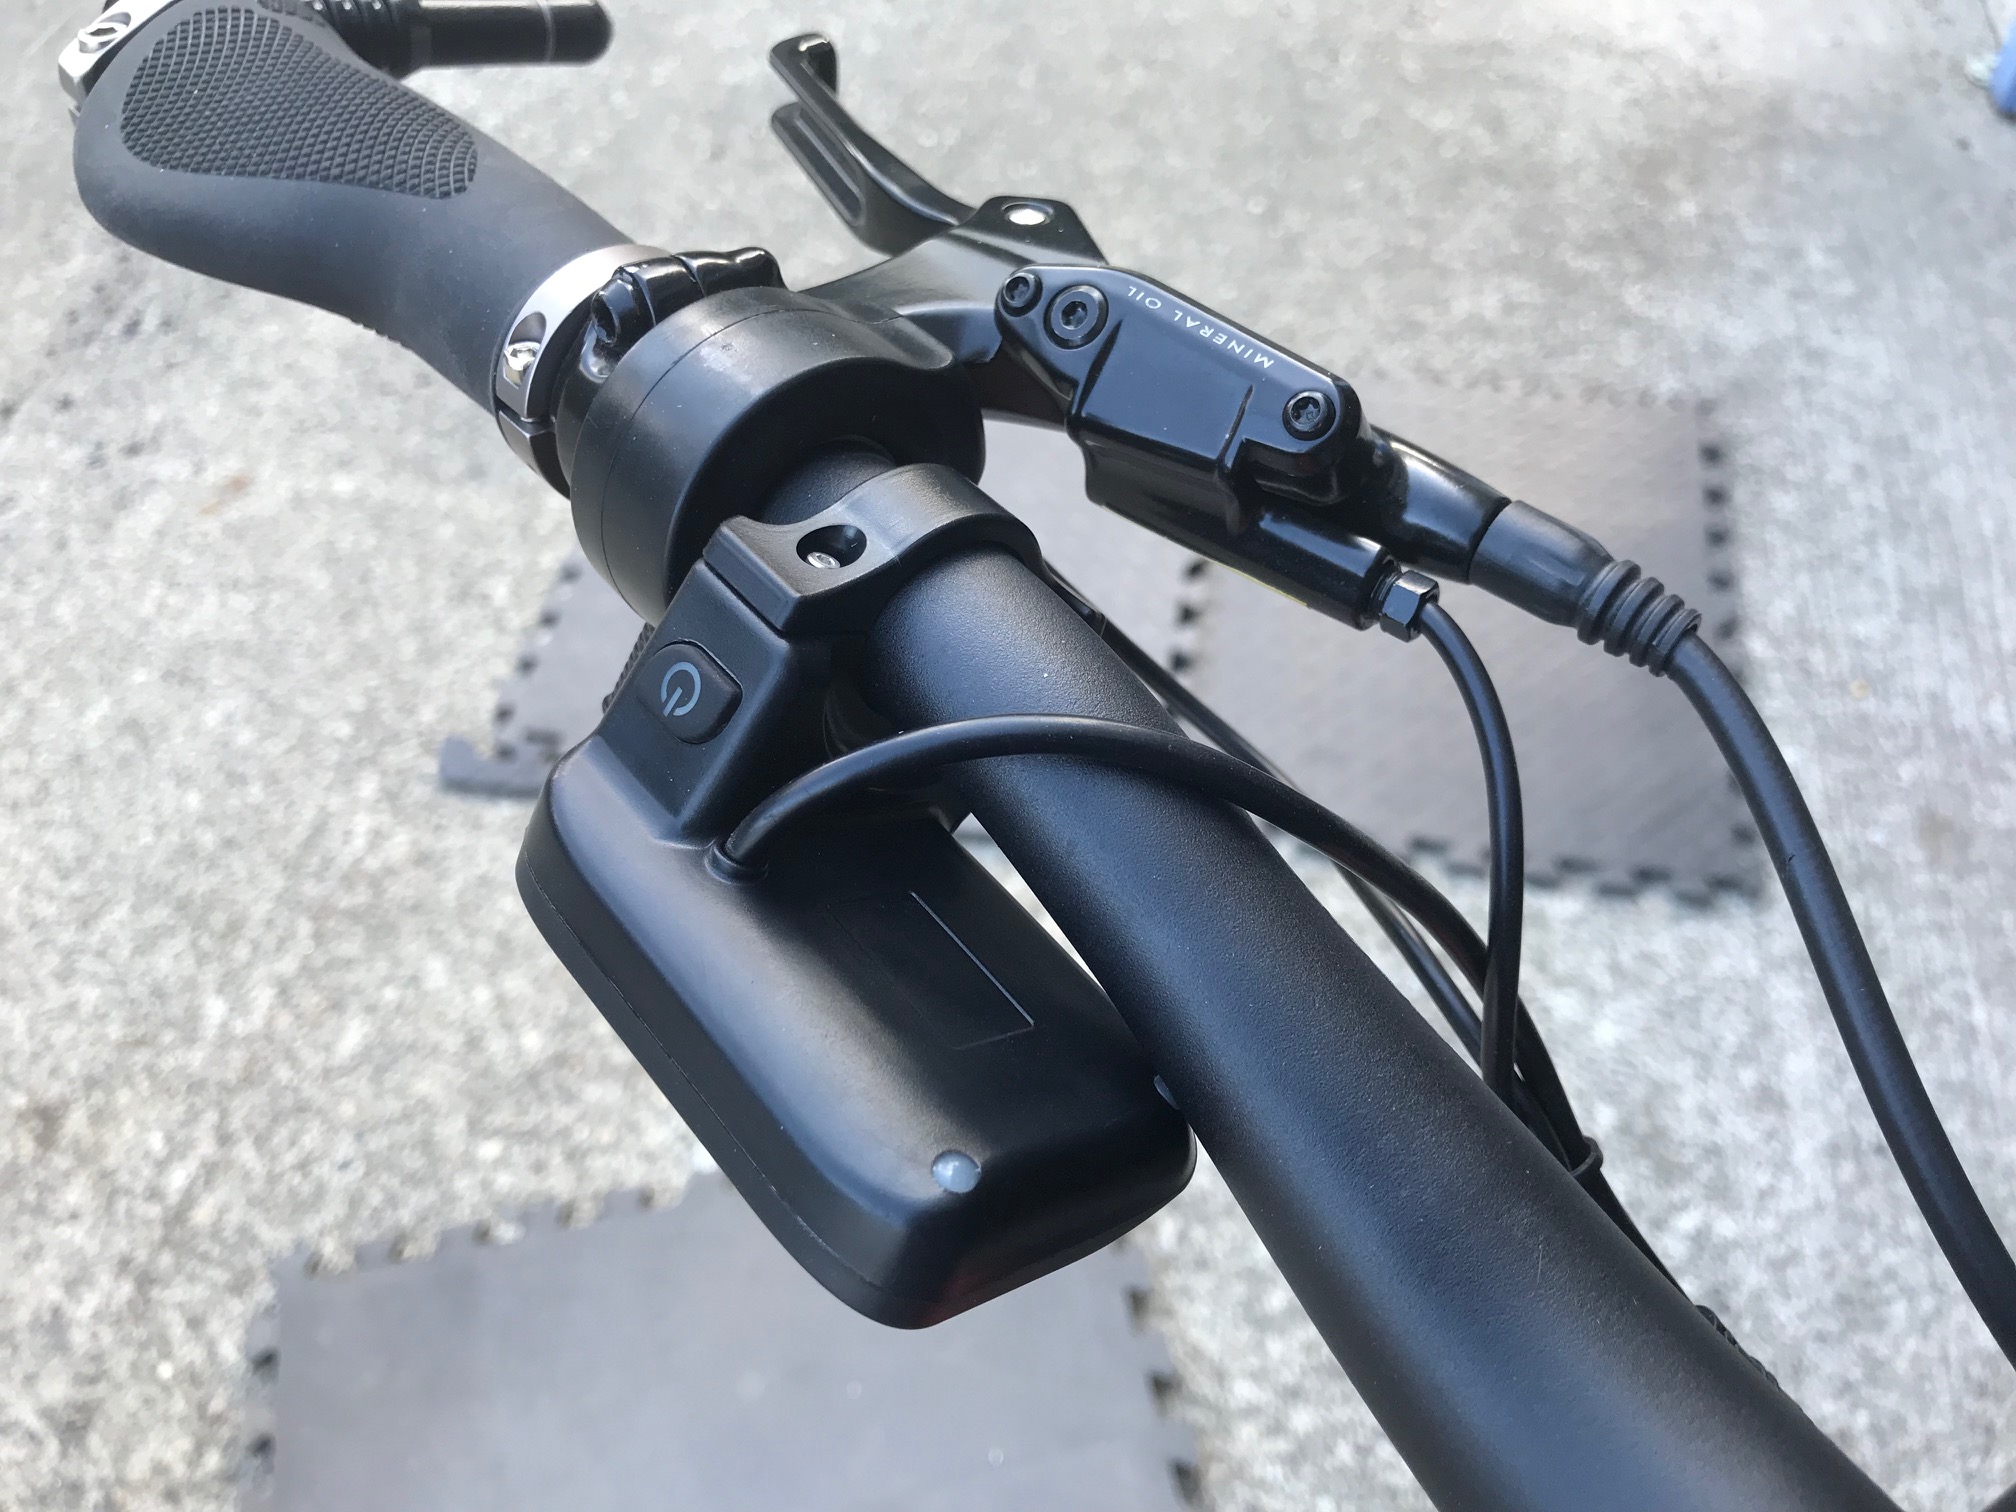
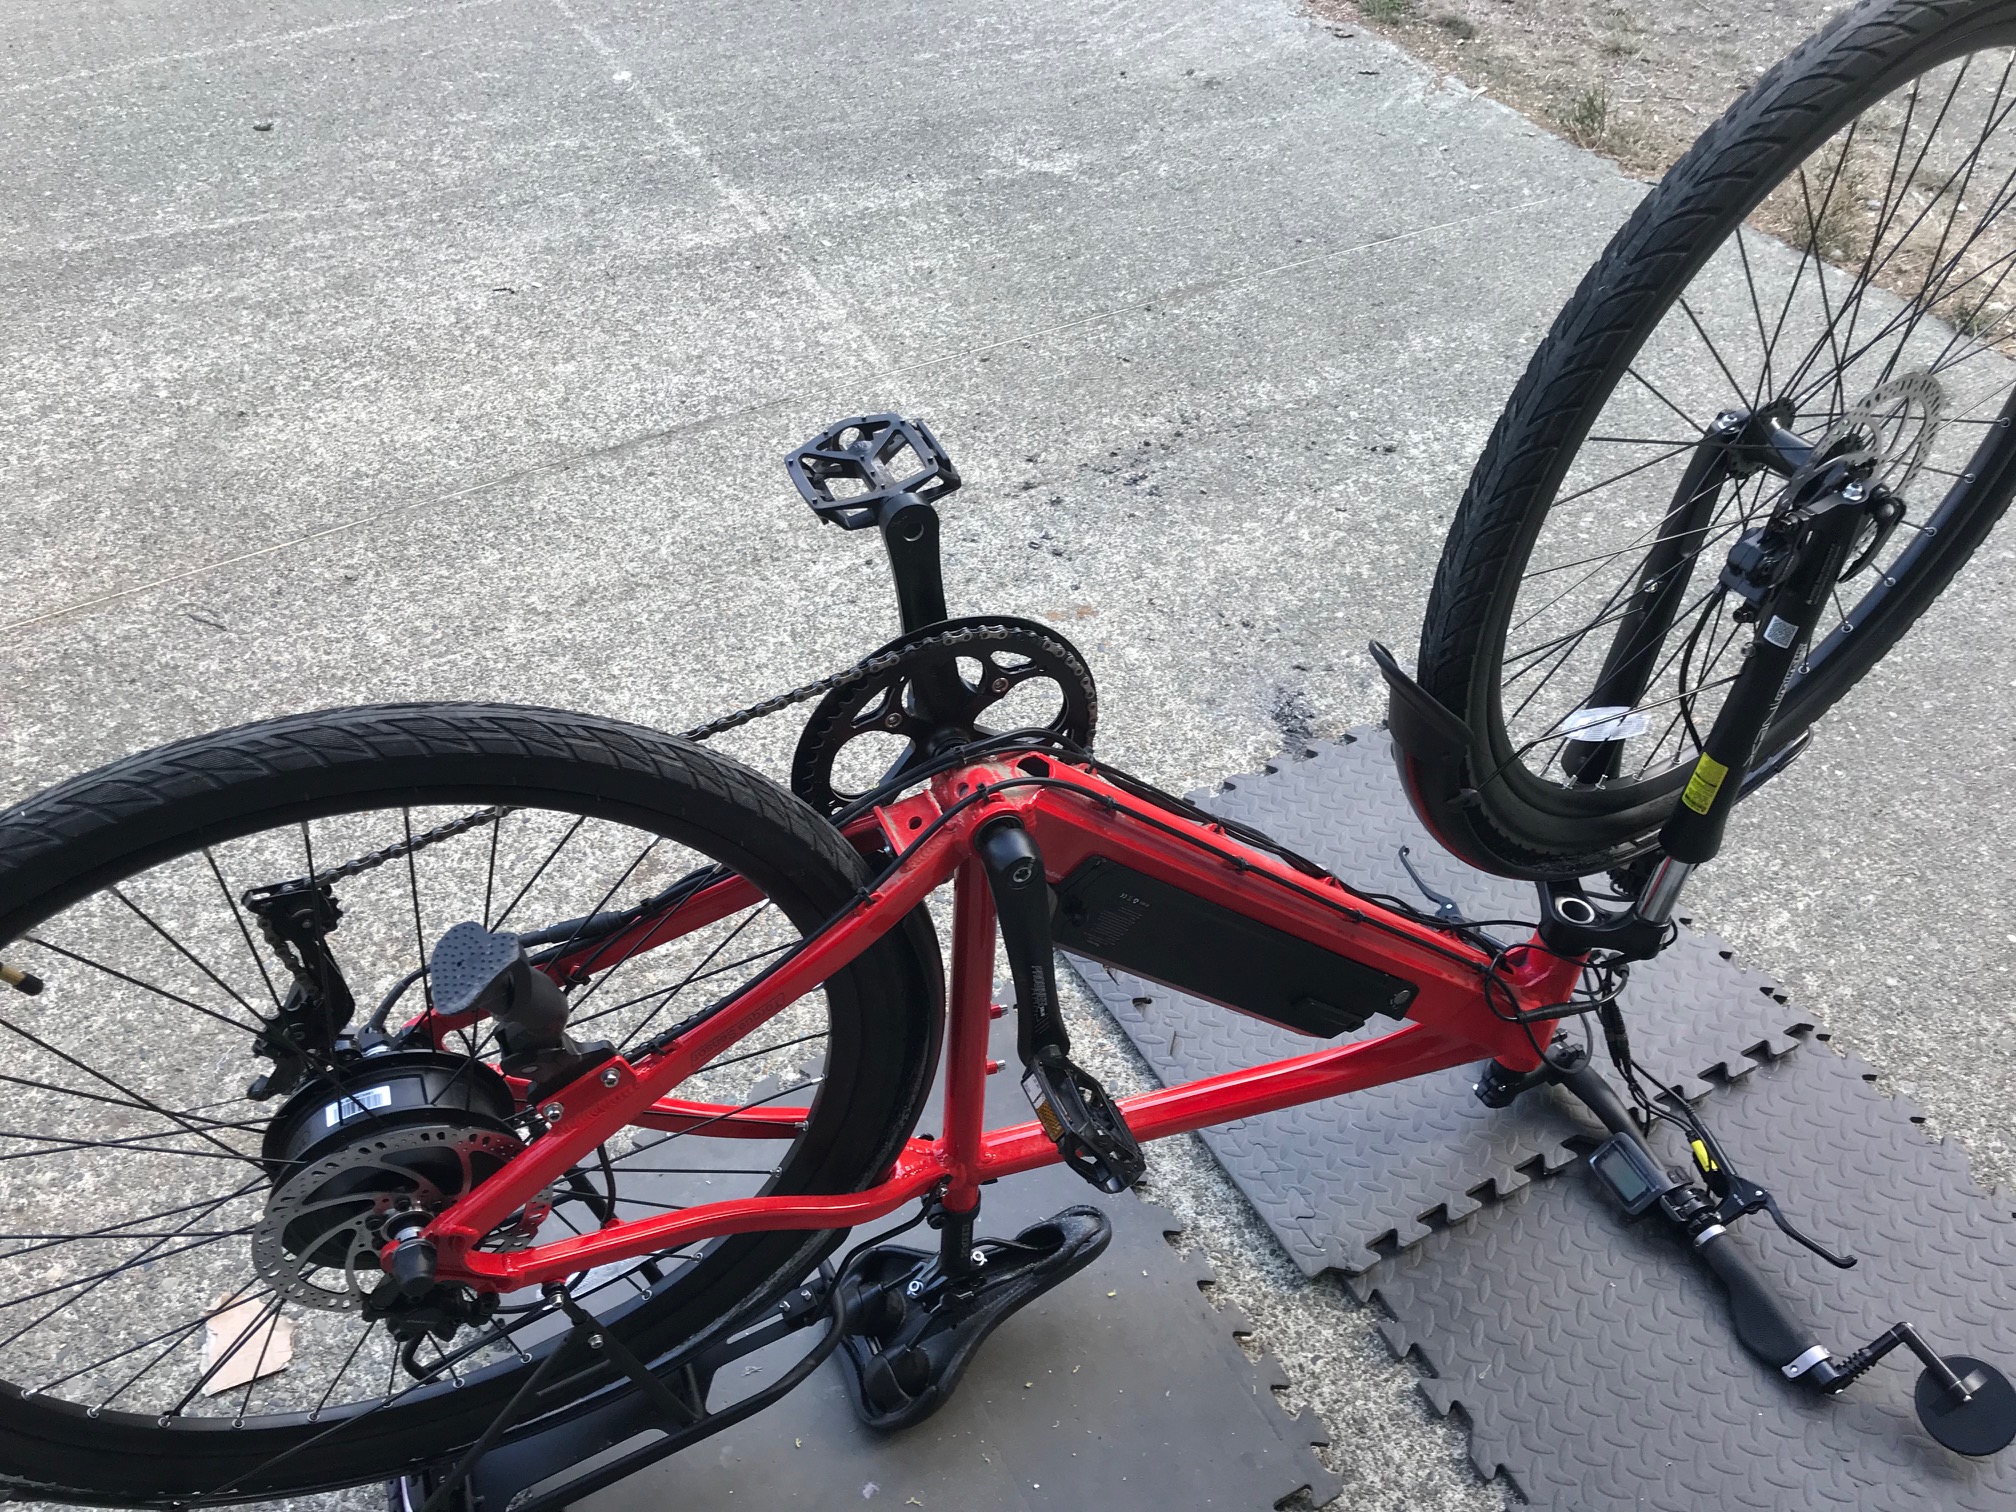
Removing or replacing the rear wheel is best done with the bike upside down. Place it on some pads or carpet to protect the finish, and put some spacers under the ends of the handlebars so that the display doesn't hit the floor, or rotate the display out of the way.
It is easier to get the wheel off if you change to derailleur to 9th gear.
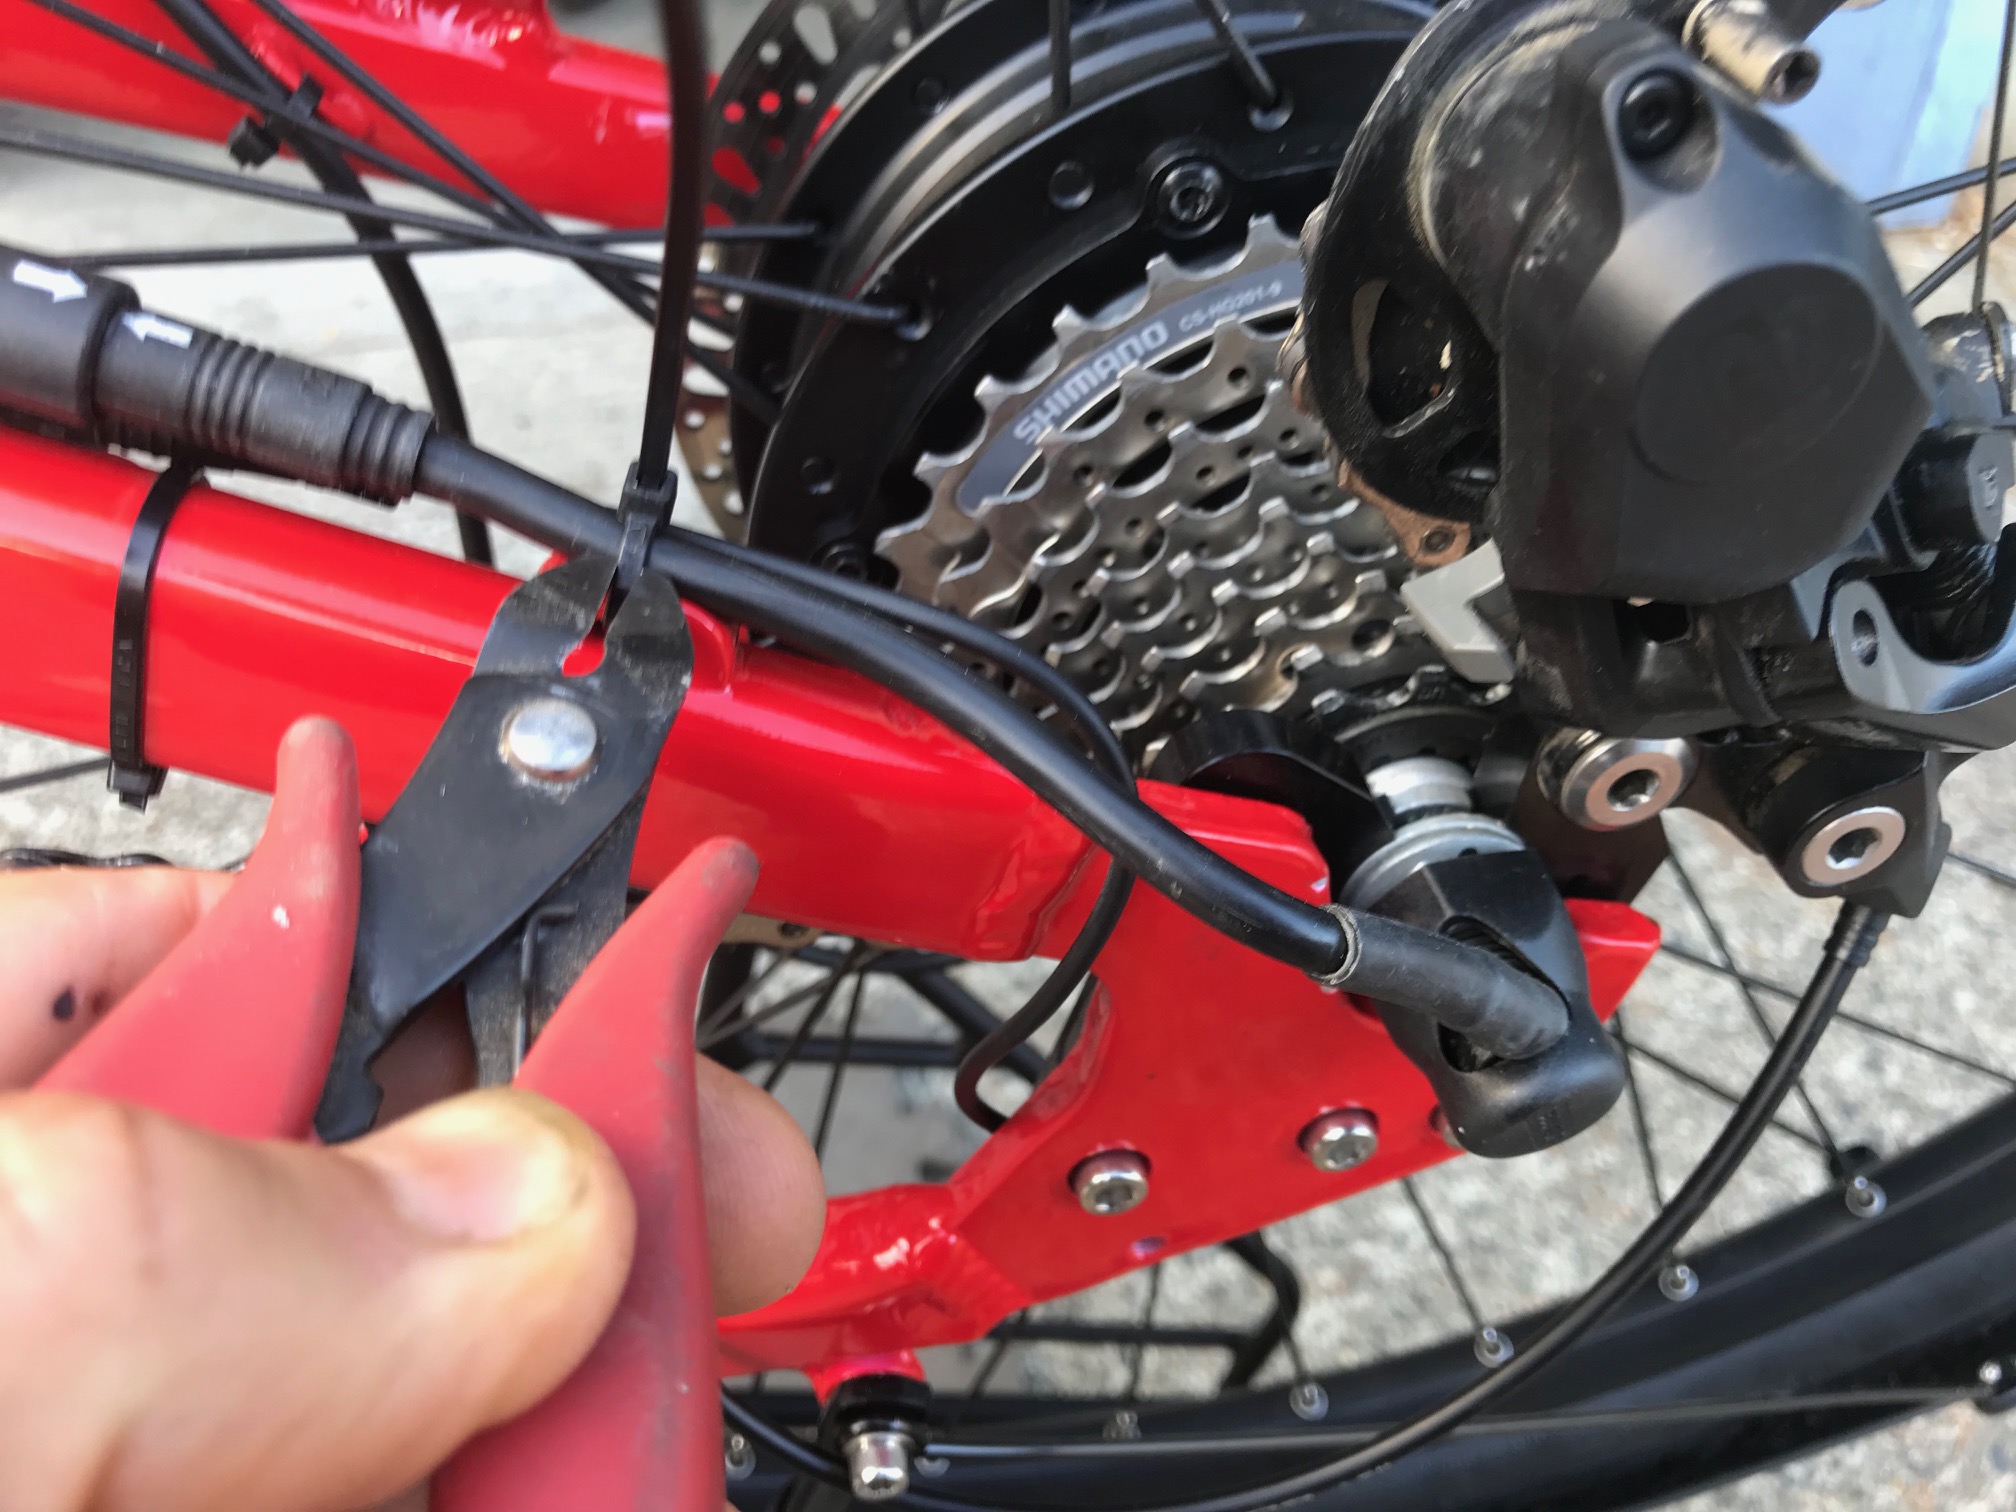
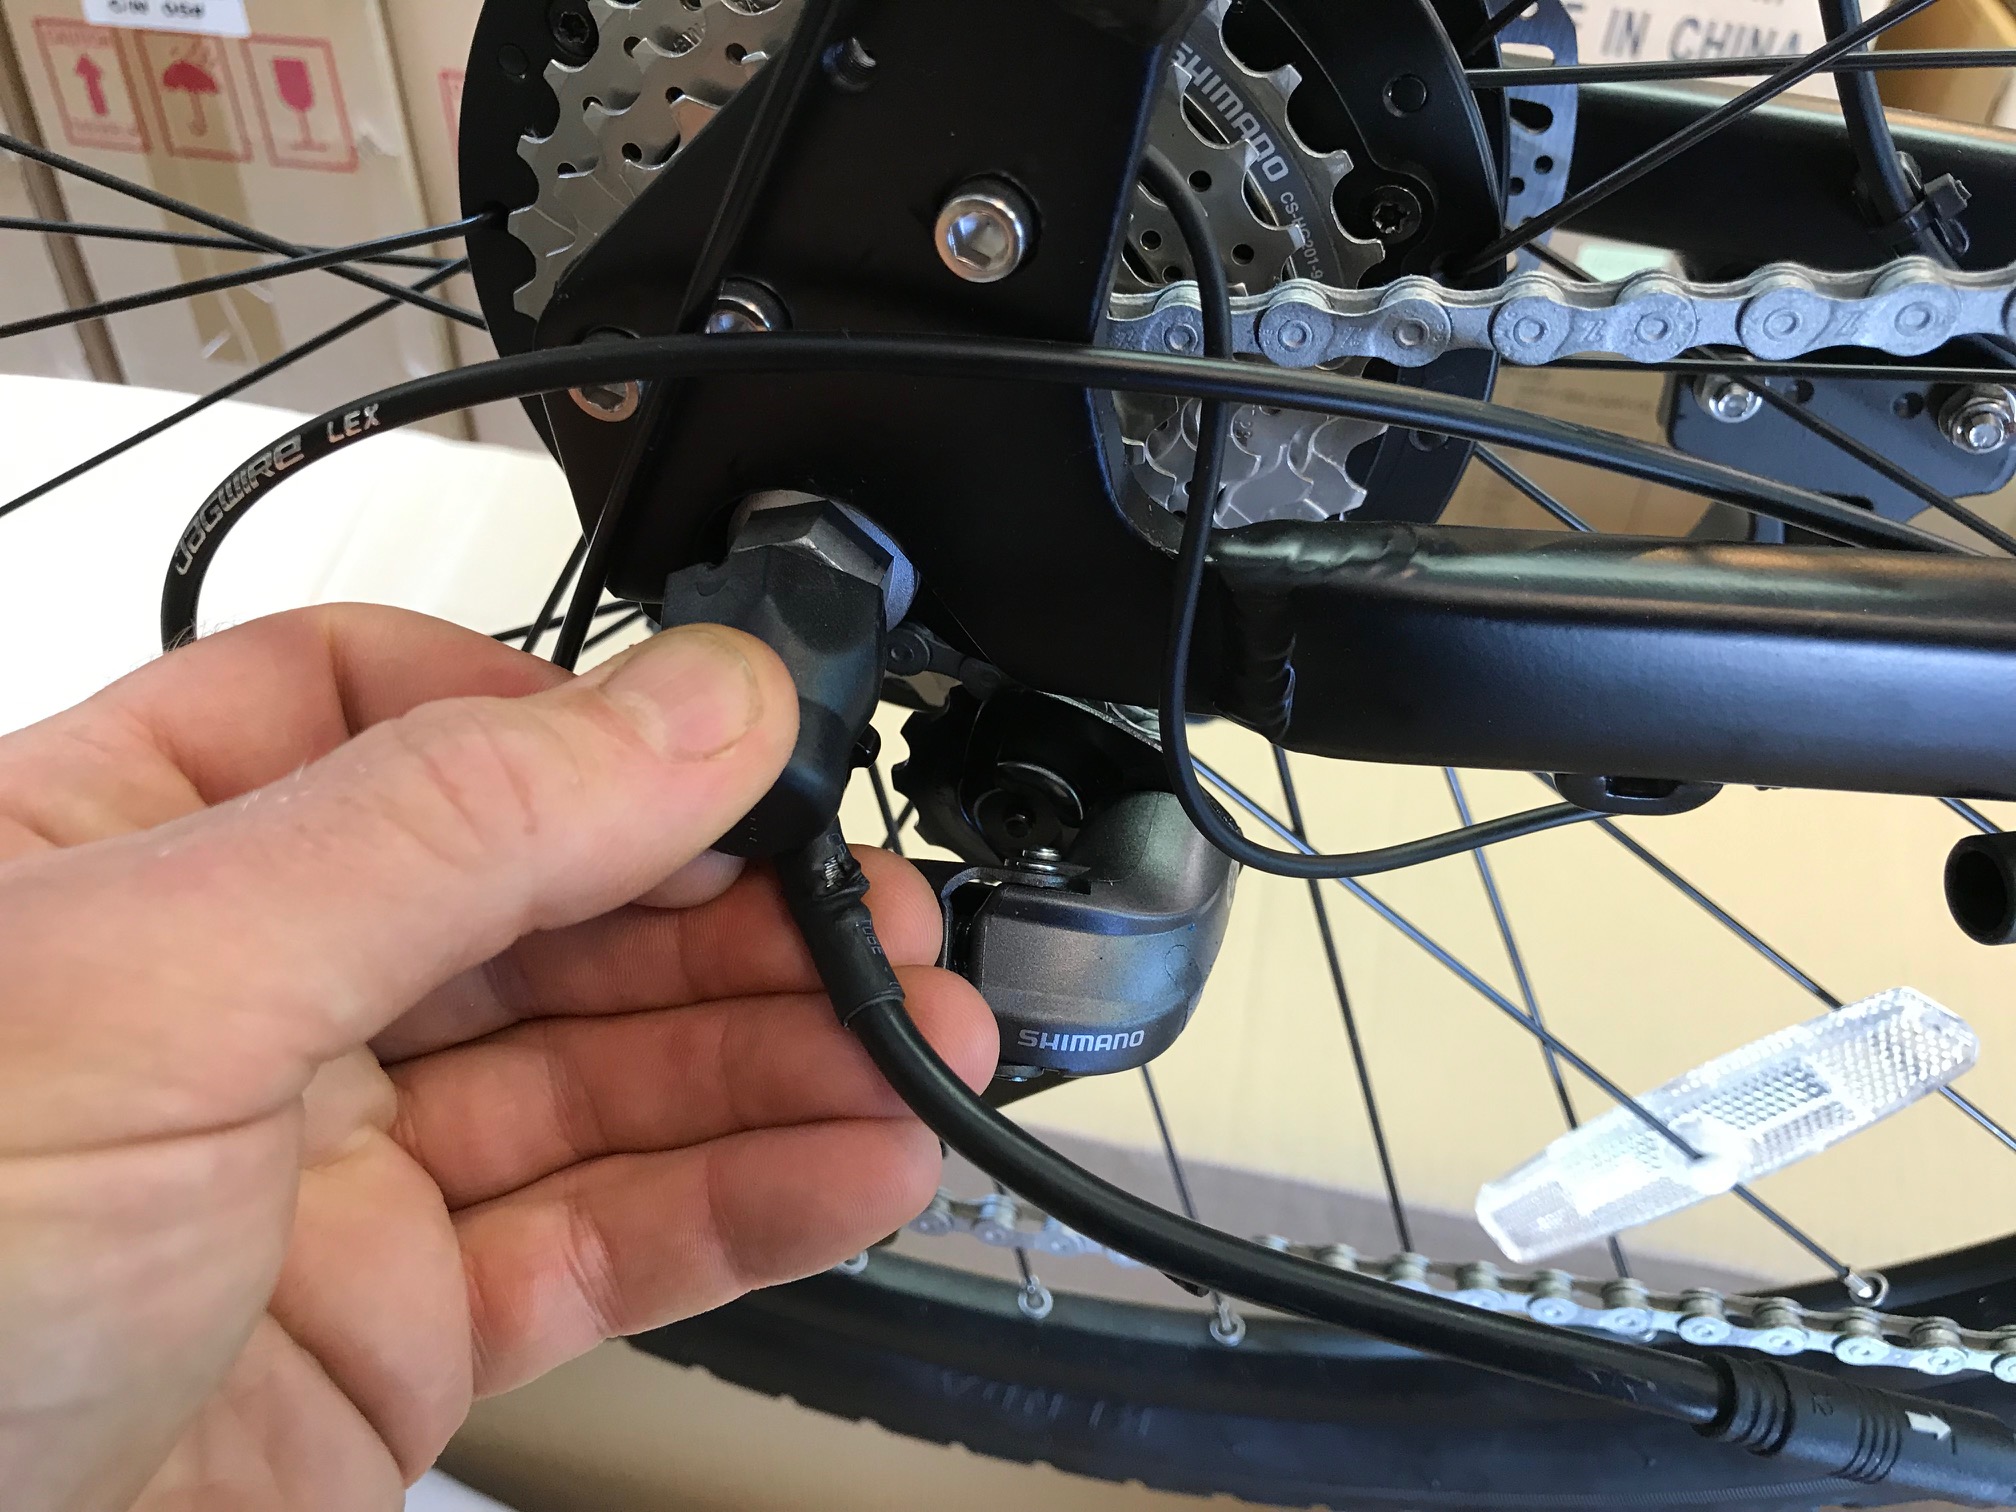
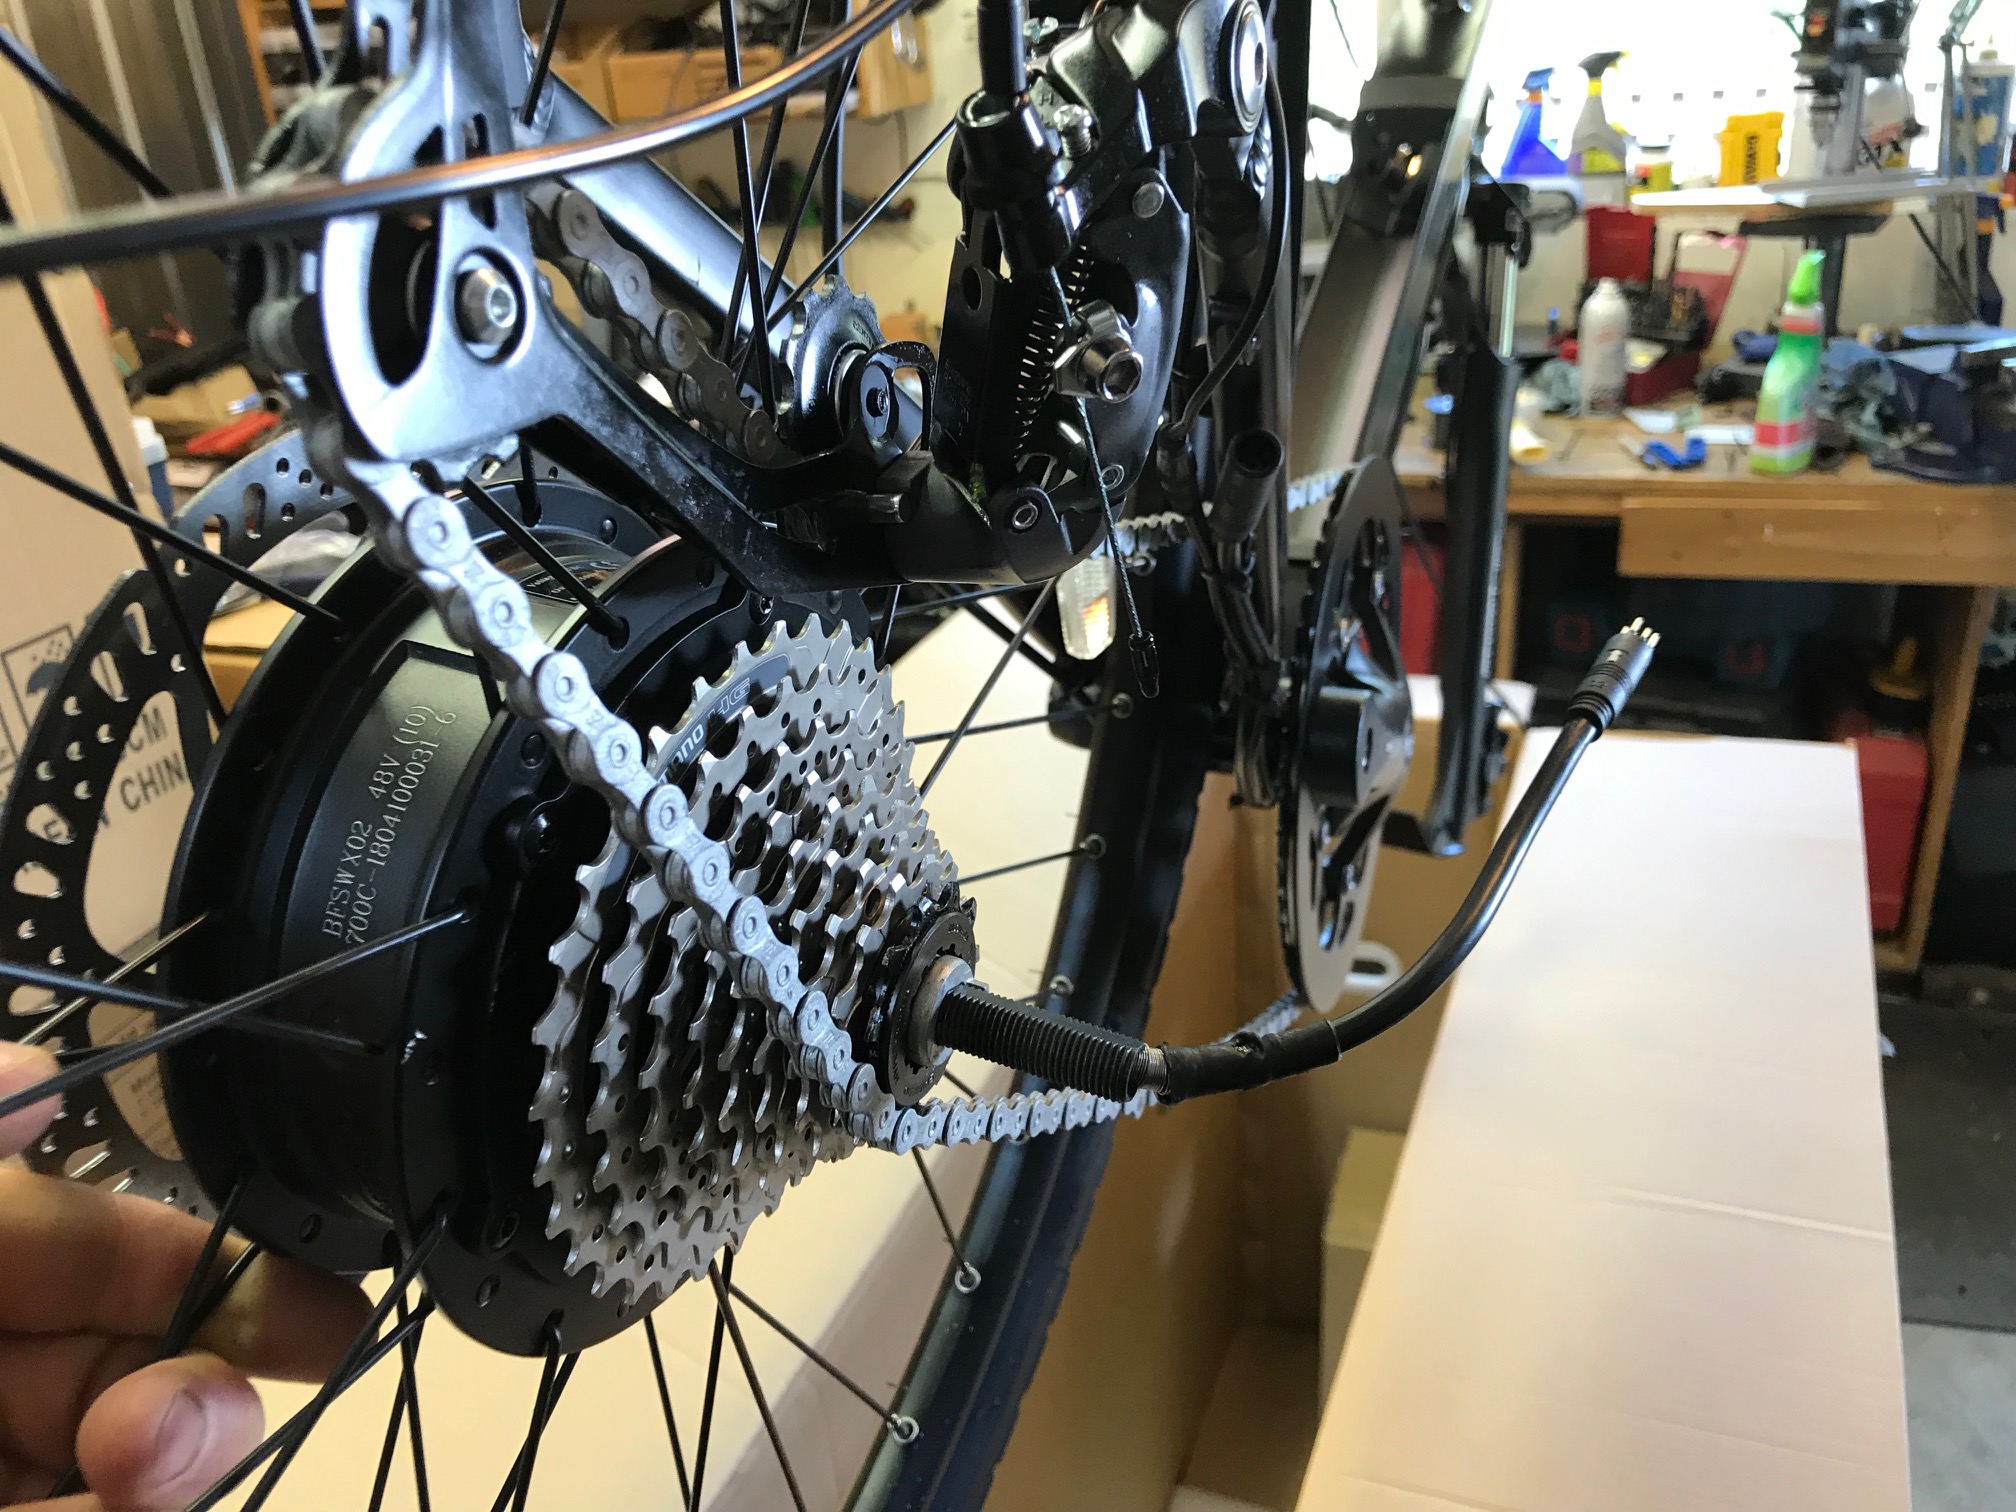
To remove the wheel start by cutting the cable tie holding the wires that run to the motor.
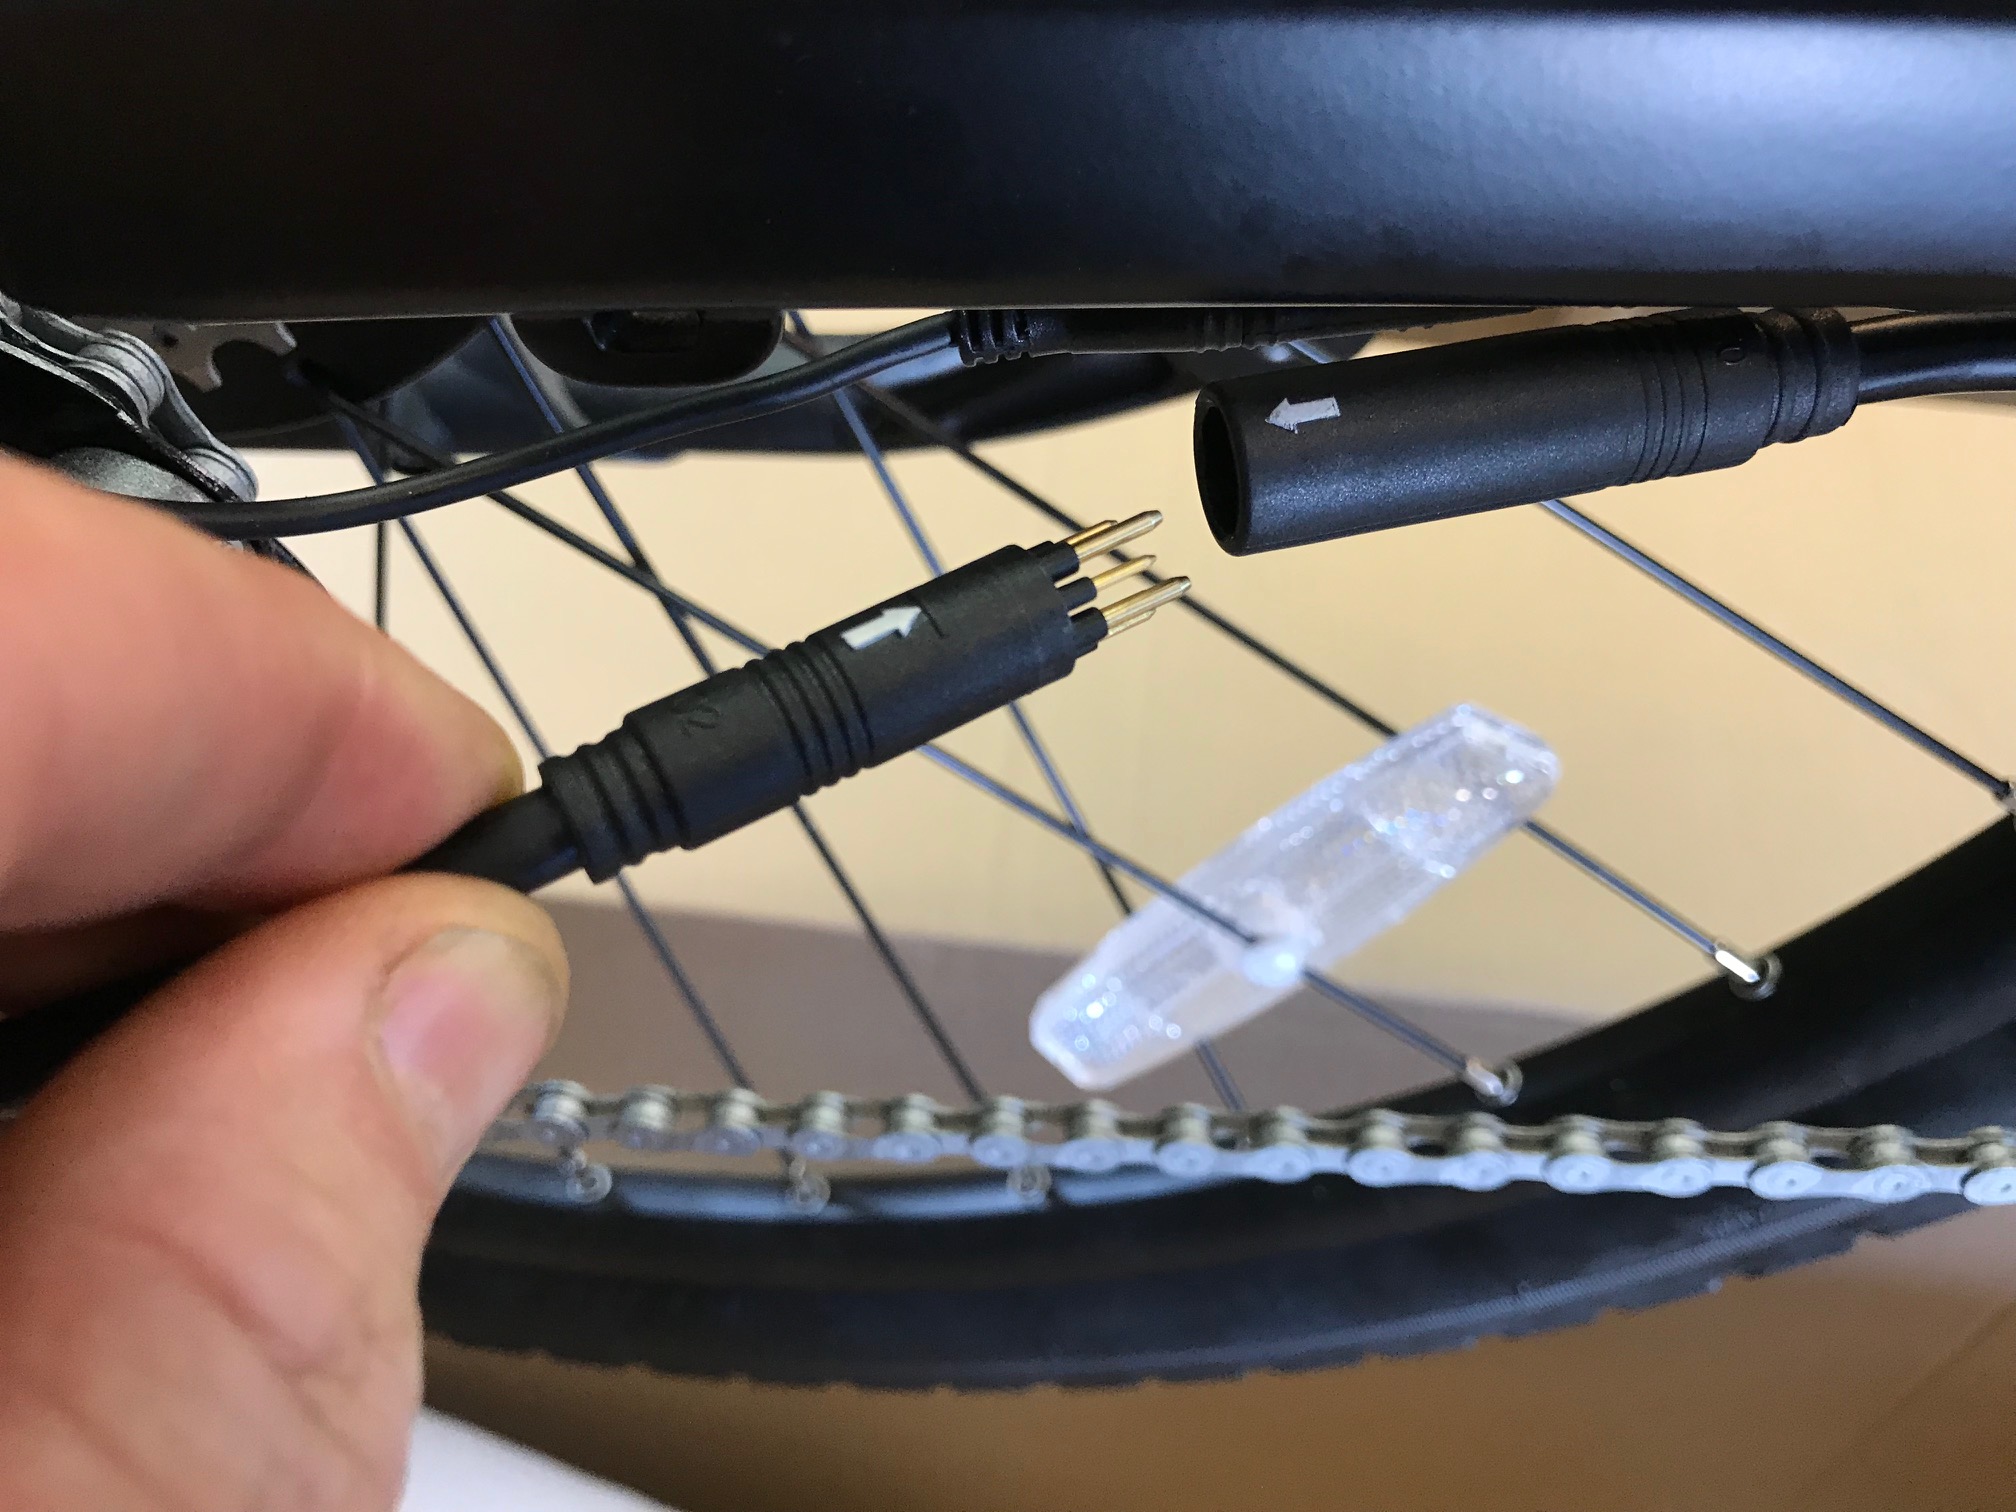
Next pull apart the large connector that carries the phase and sensor wires to the motor.
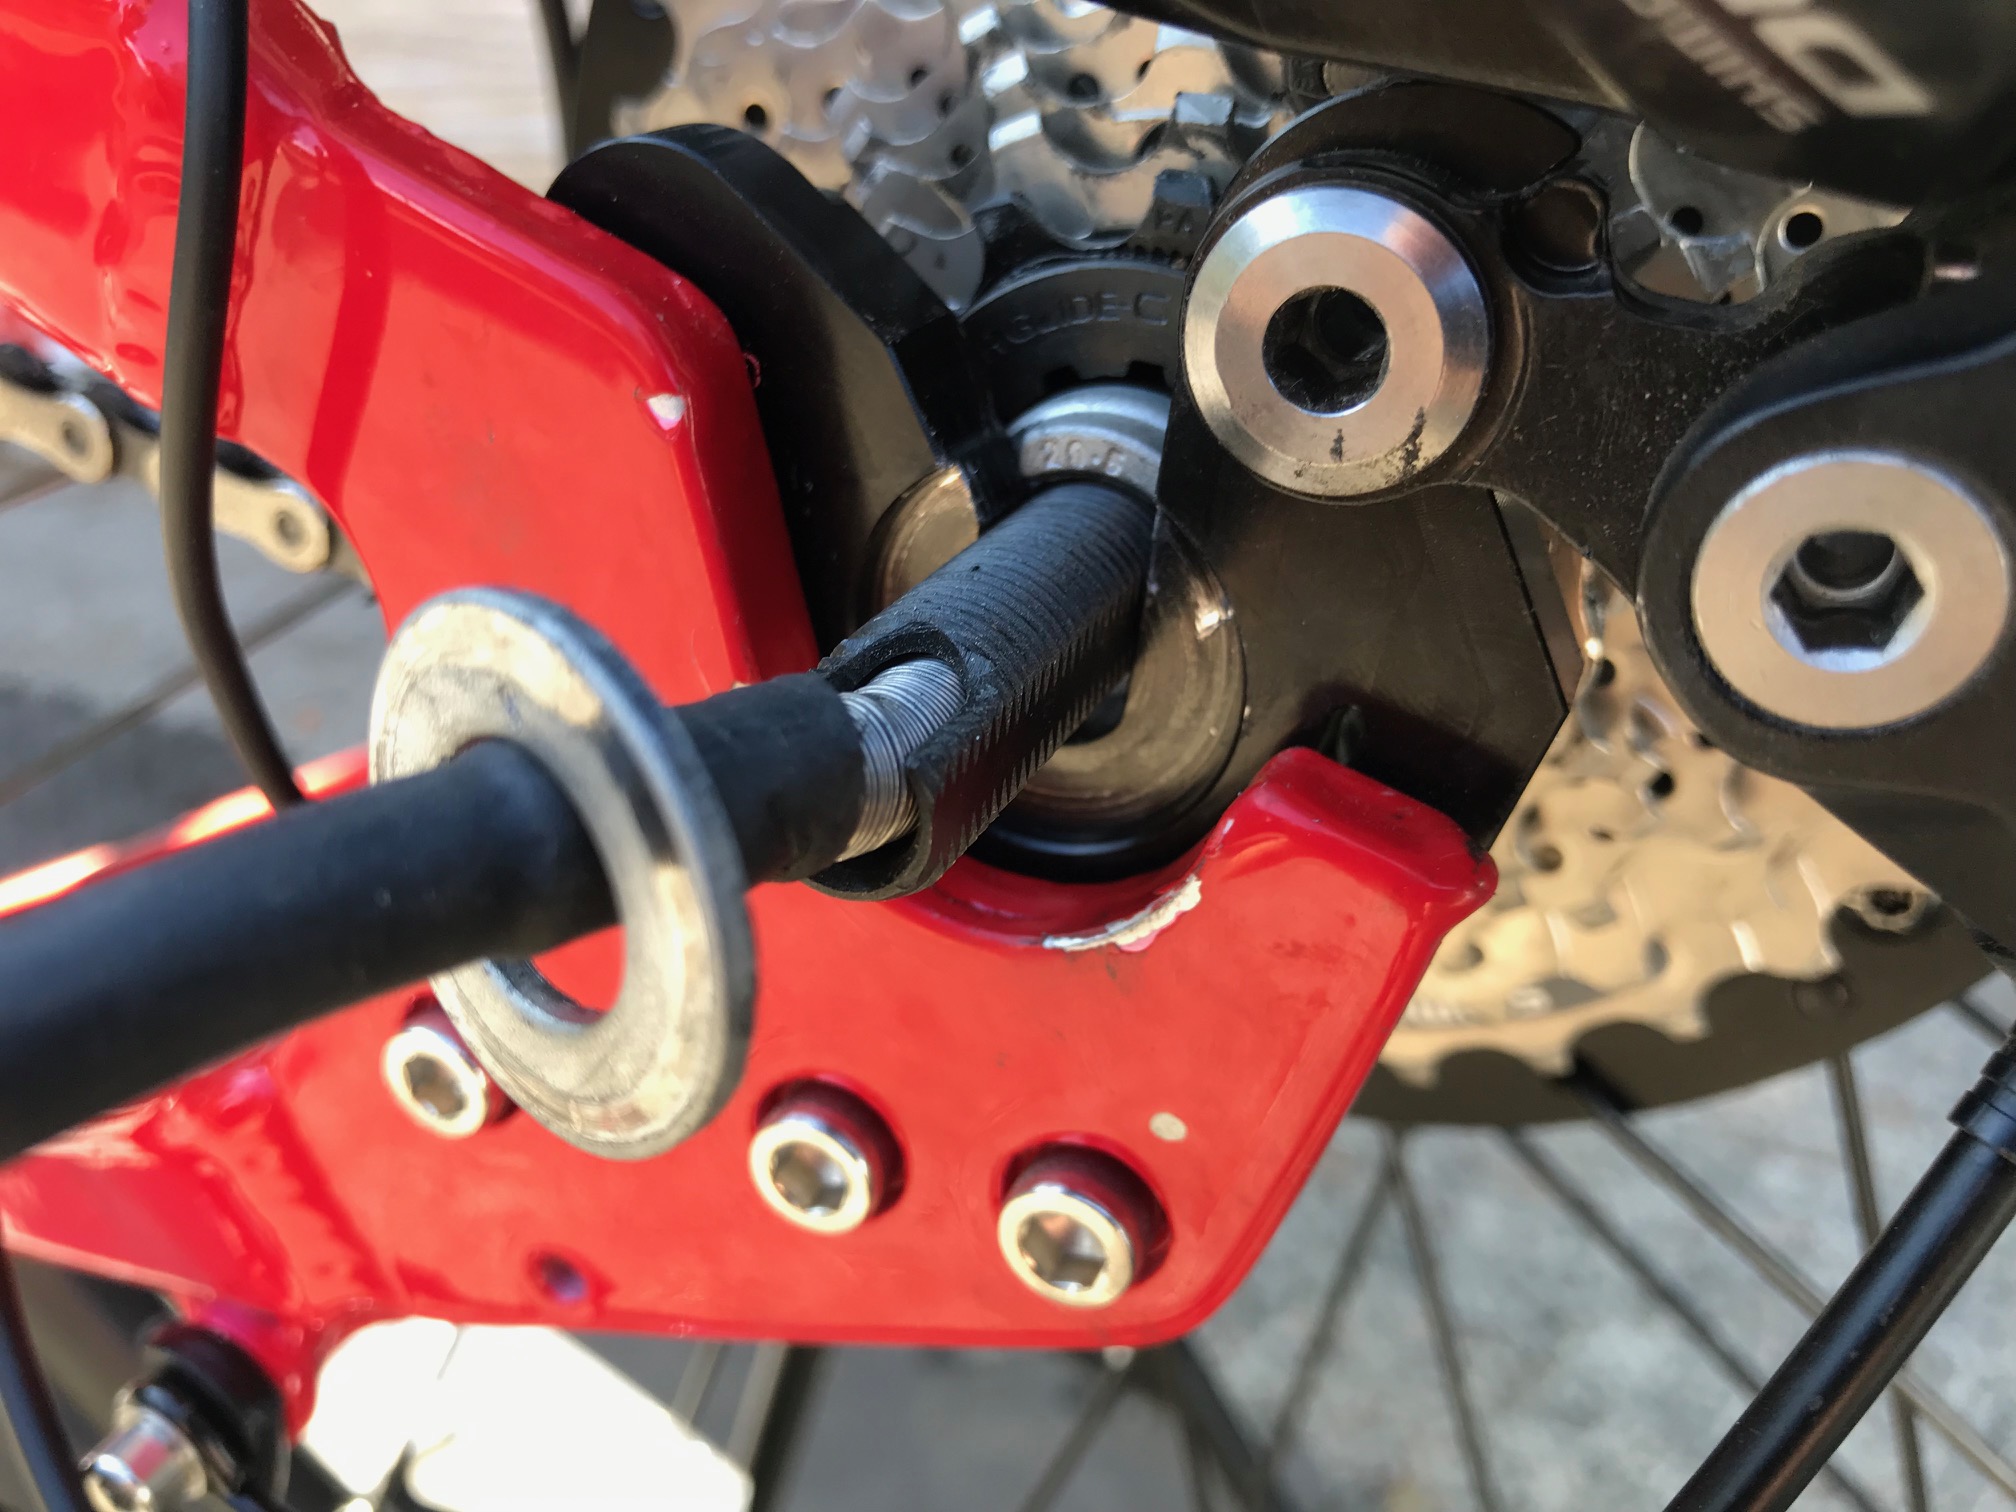
Remove the rubber axle caps. I like to put the parts from each side of the axle in a separate row on the workbench so that there is no doubt about the order that they go back on later.
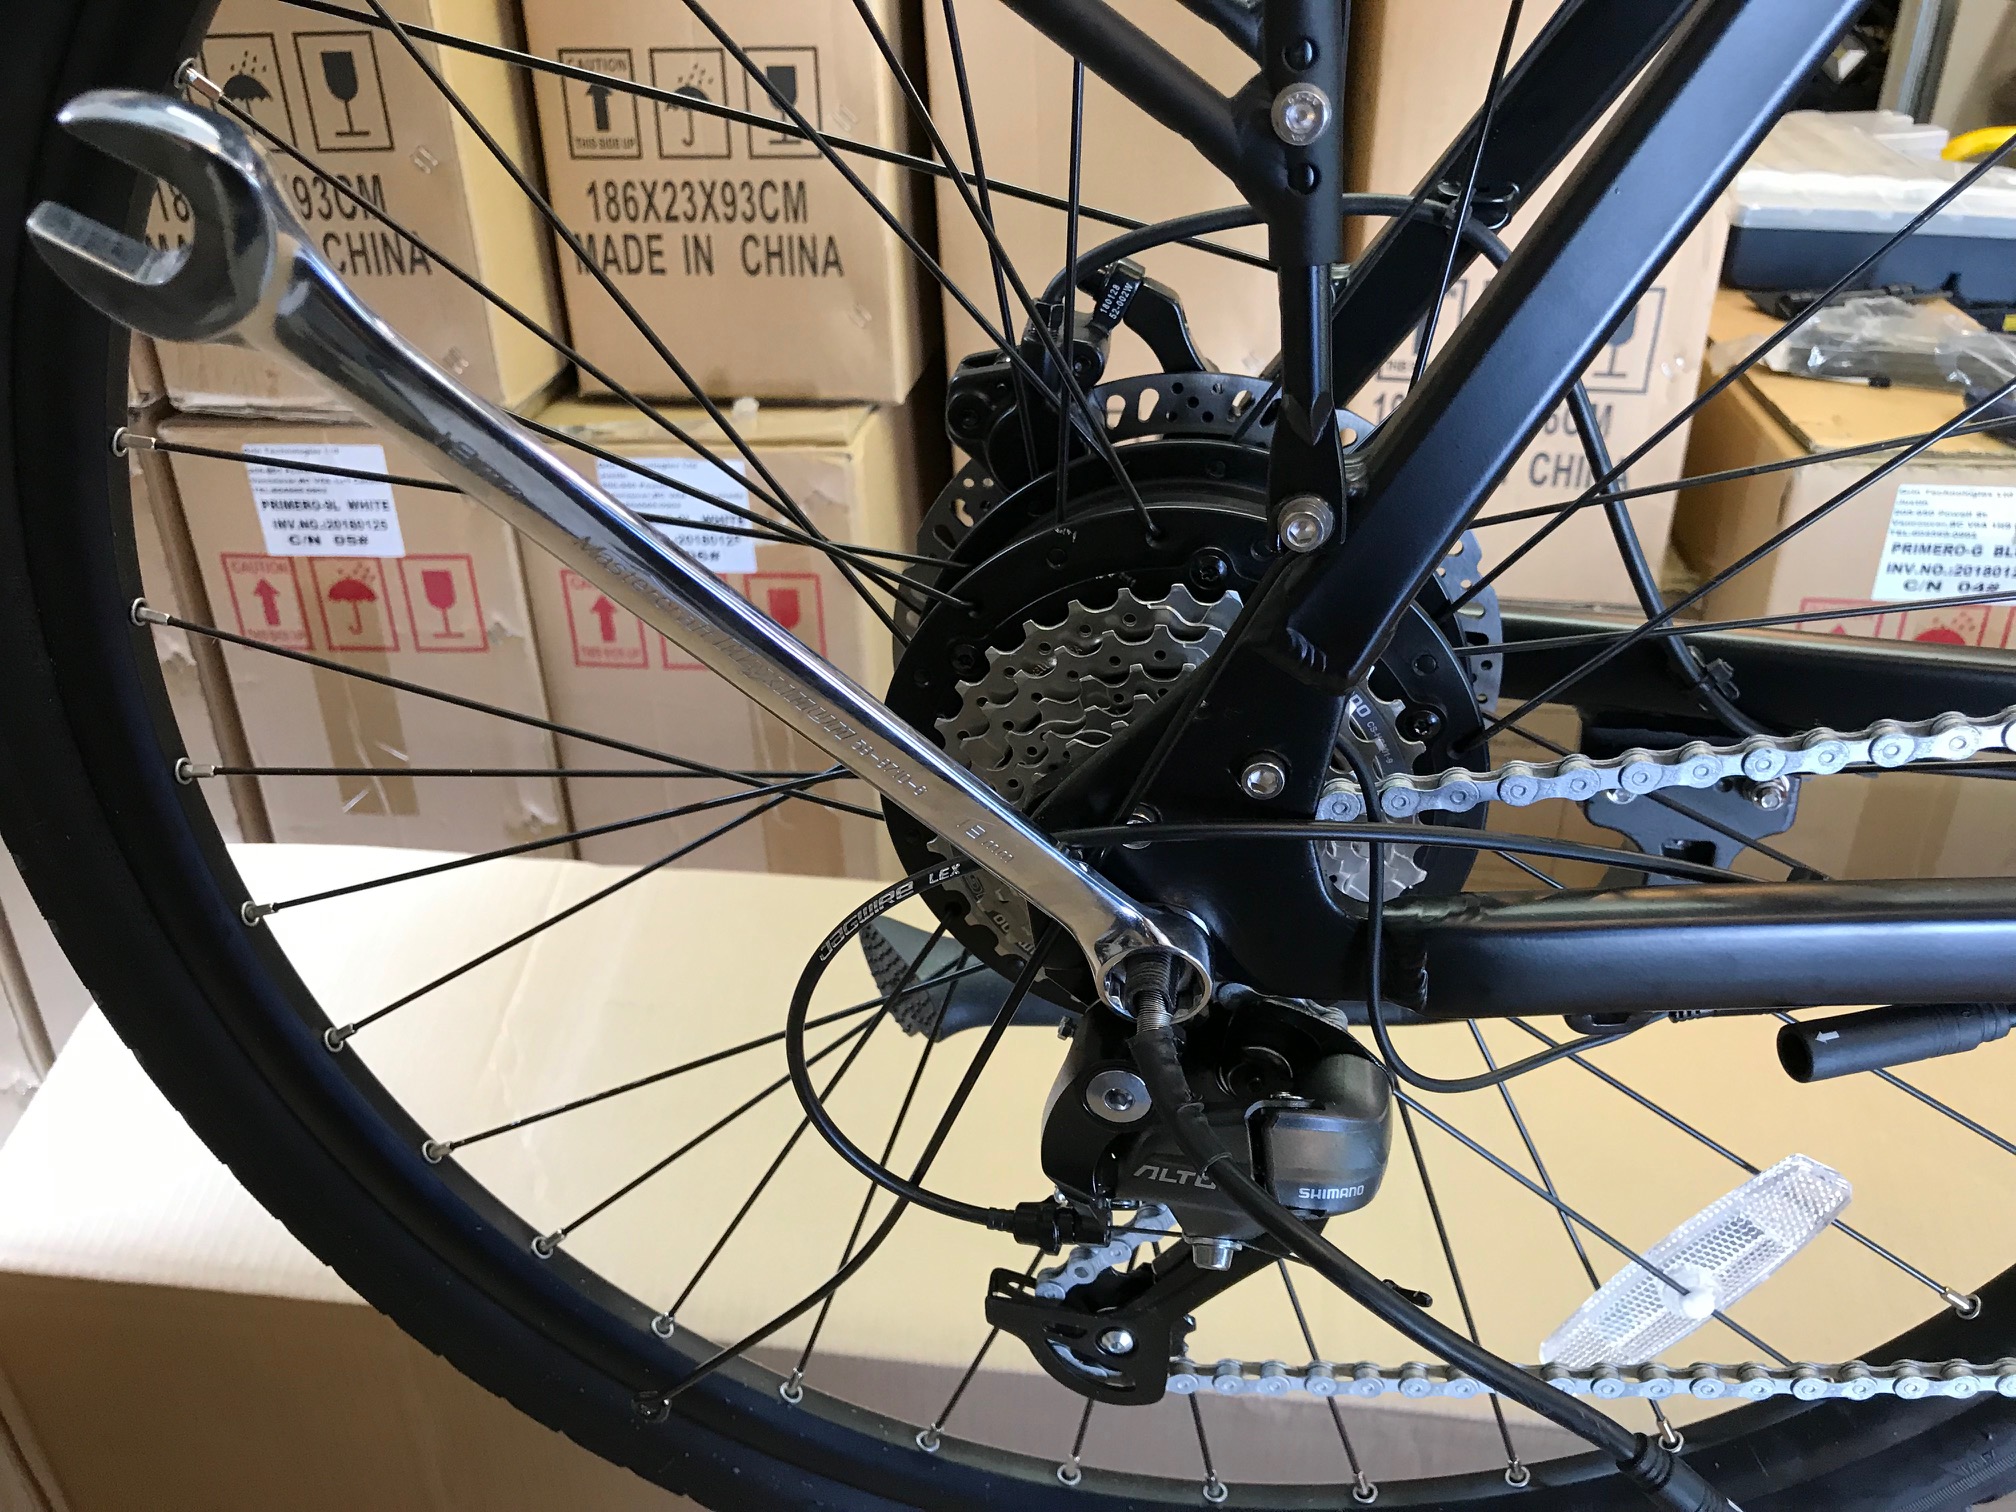
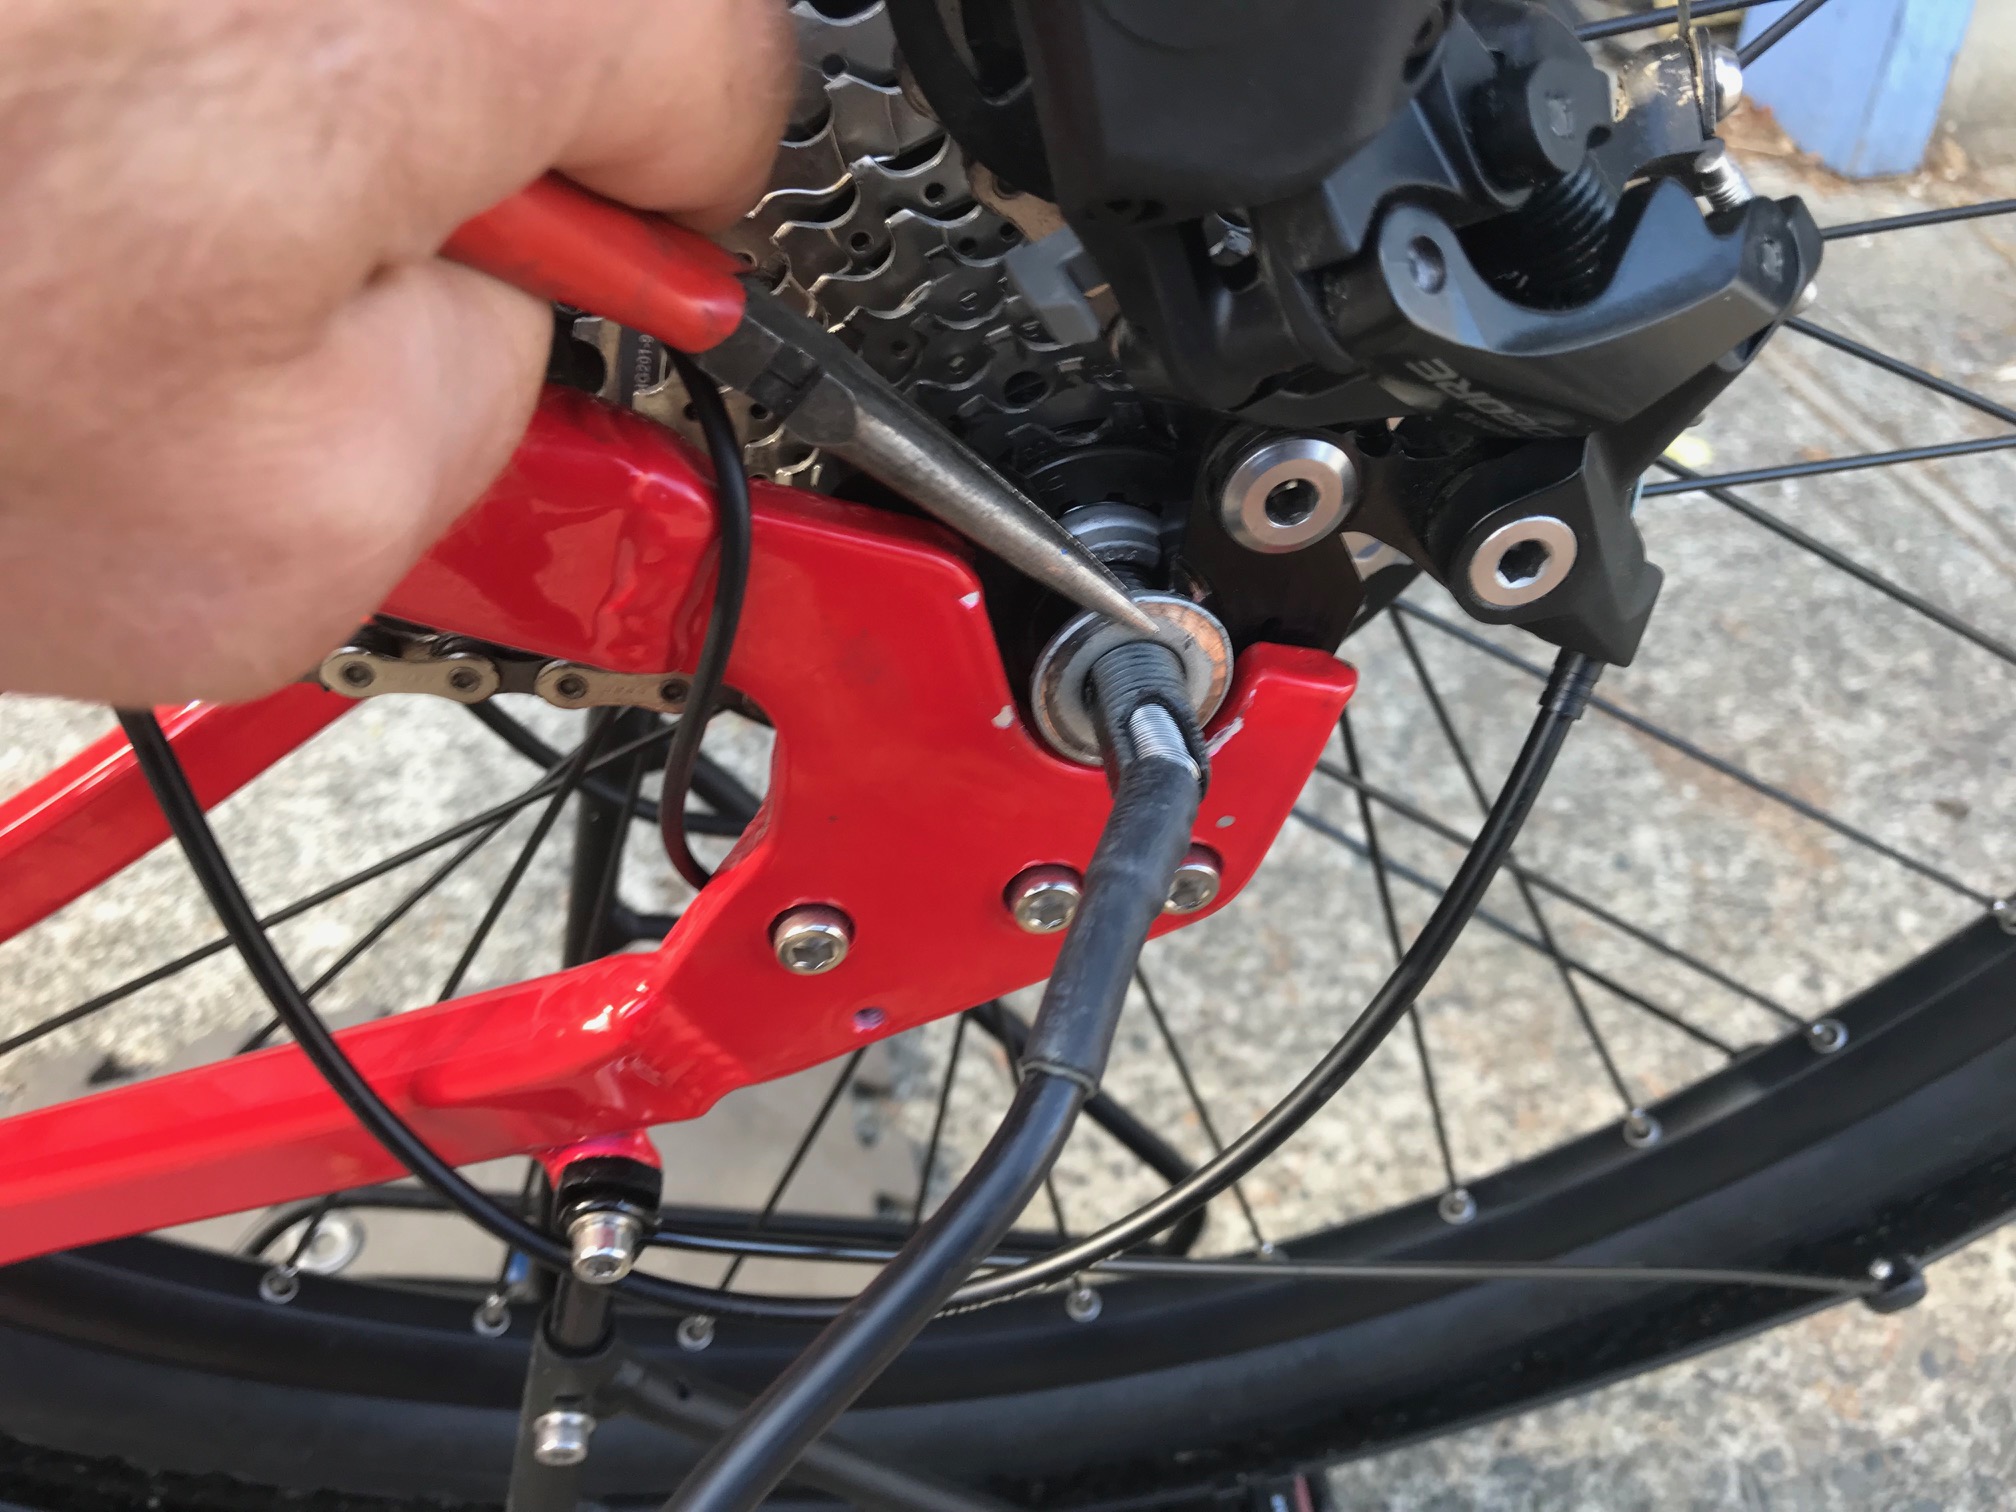
Remove the 18mm nuts from both sides of the axle. This can be done with the special tool available from us here
or with a good open end wrench, being careful to hold the tool square to the nut, and as fully inserted as possible.
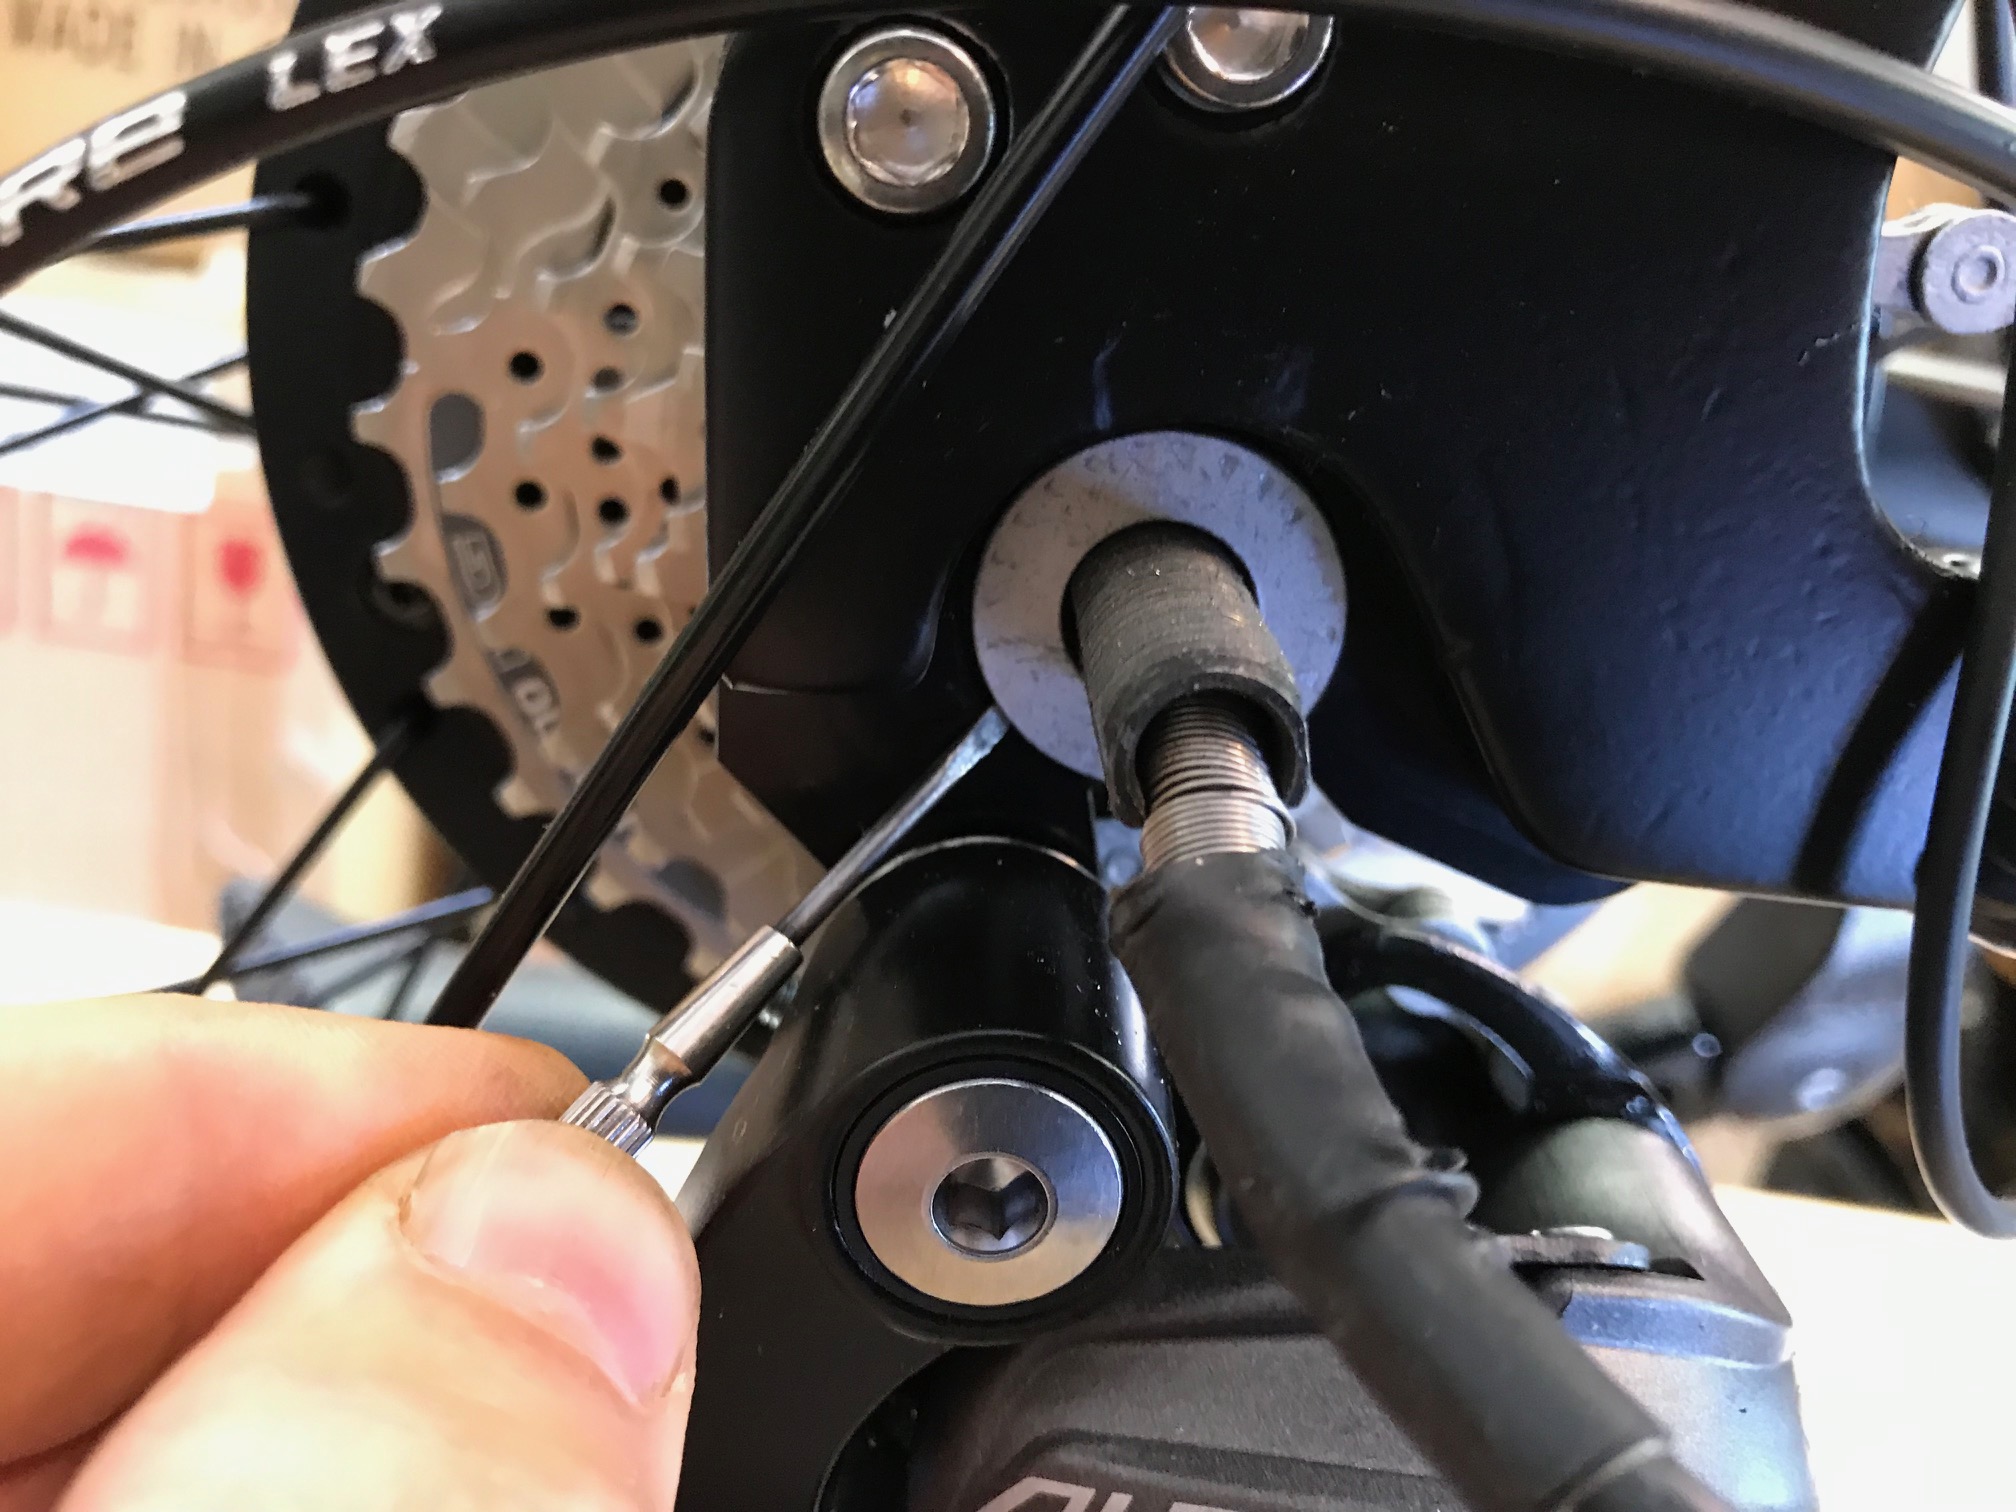
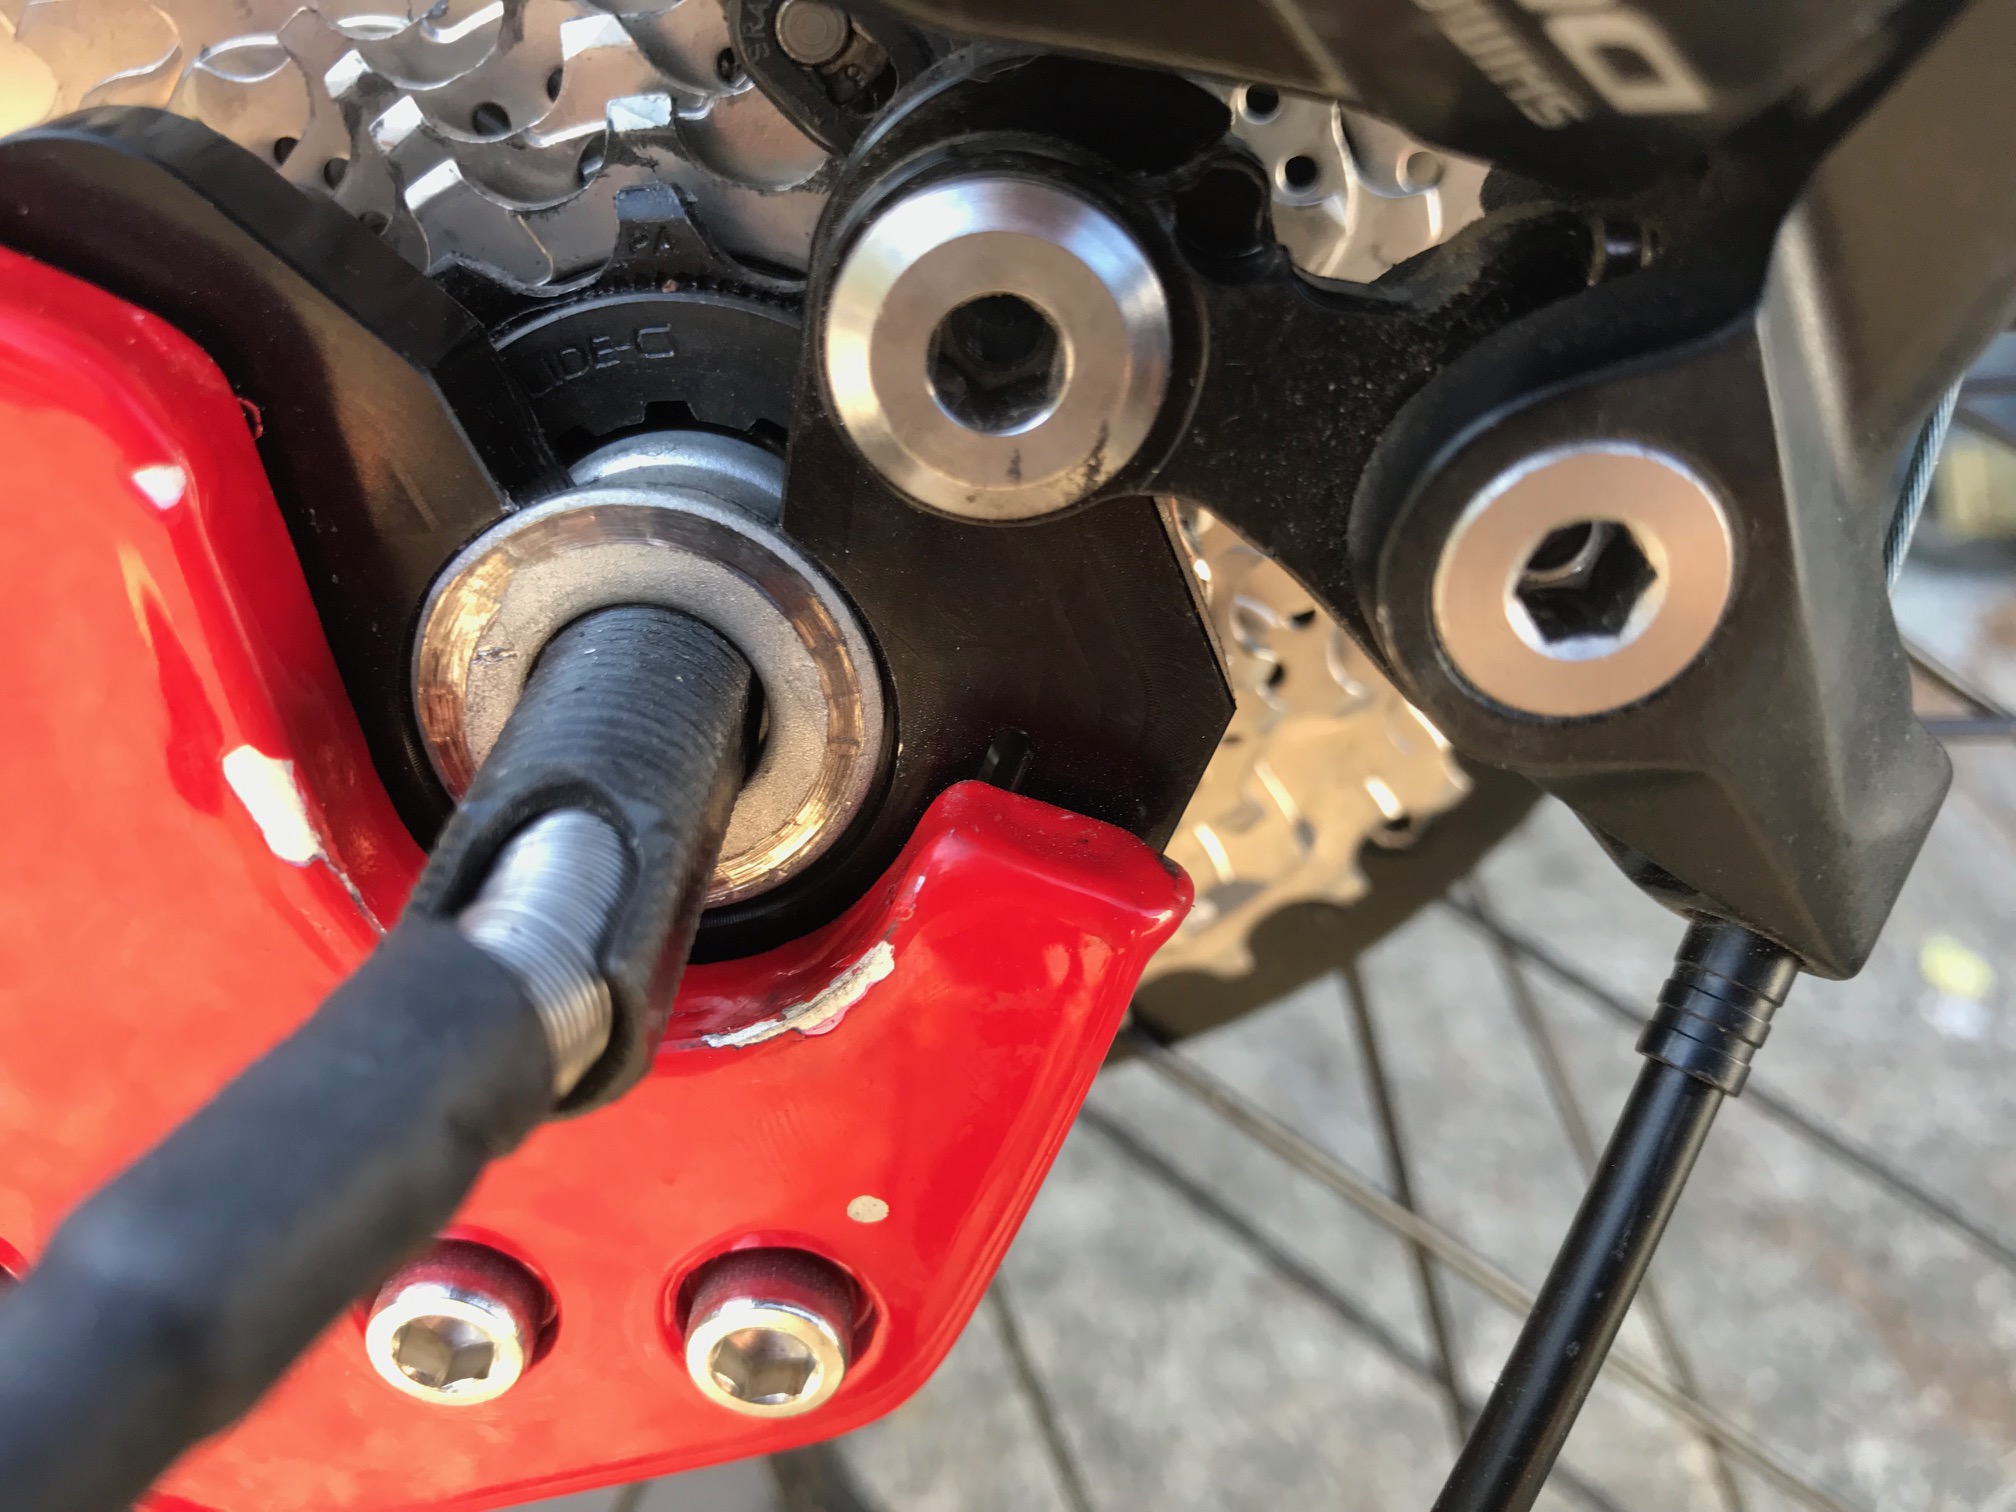
Remove the washer from its recessed location by prying on one side then the other until you can grab it with needle nose pliers or your fingers. The nuts and washers have to be completely removed off the axle to get the wheel off.
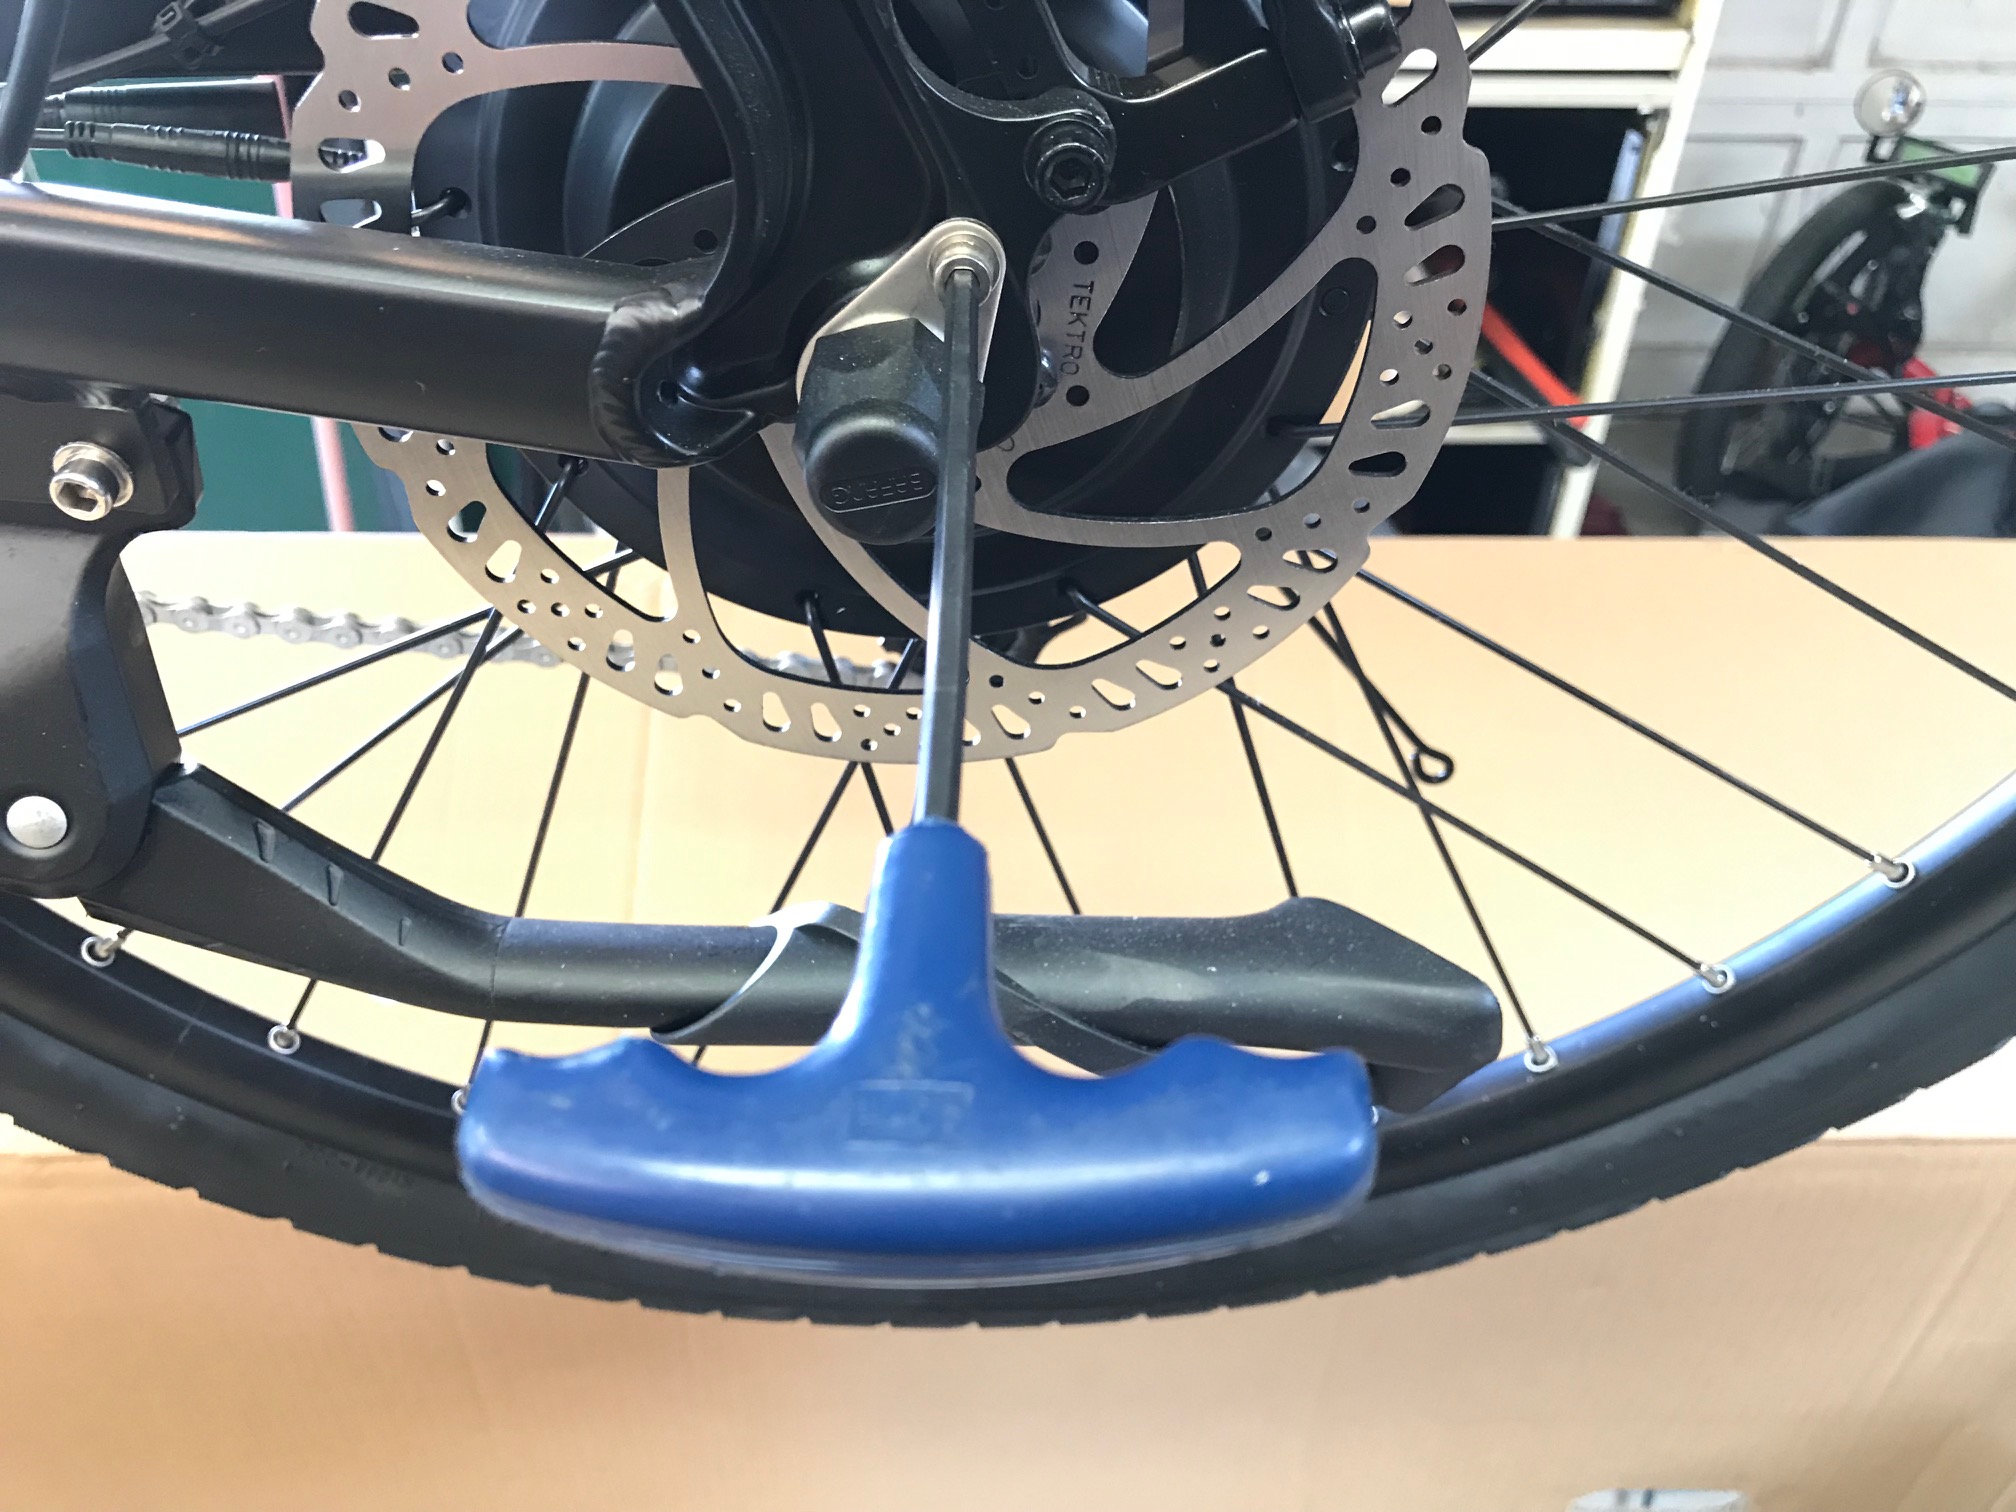
On the disc side remove the hex screw that holds the safety washer on, and remove the washer.
You can now remove the wheel. The chain has to be moved sideways to clear the axle.
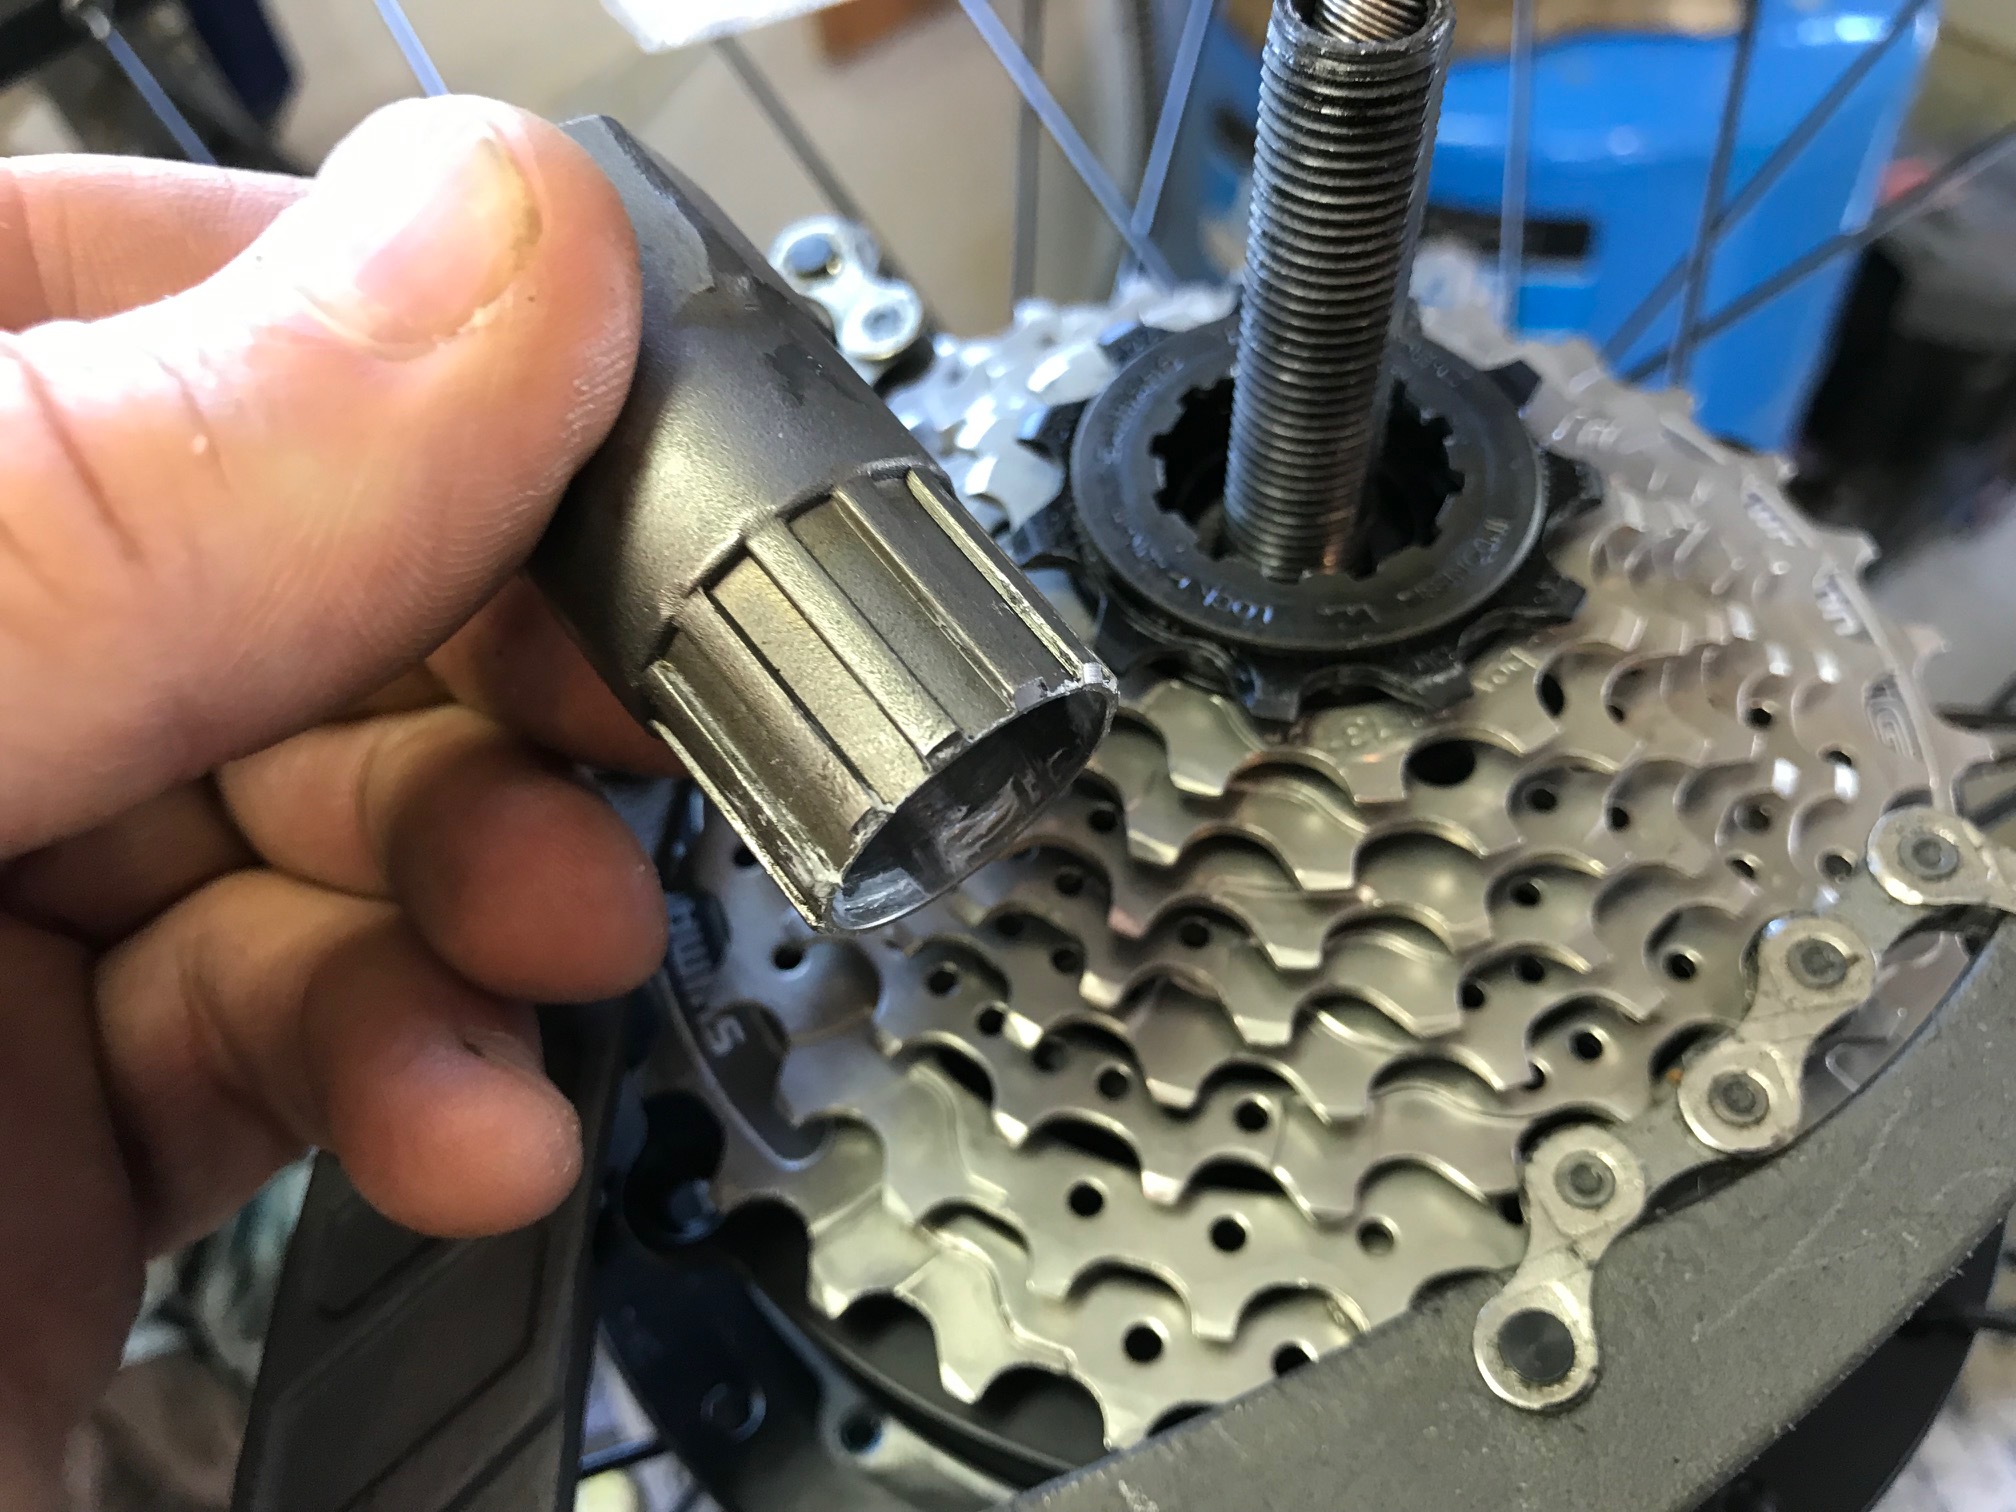
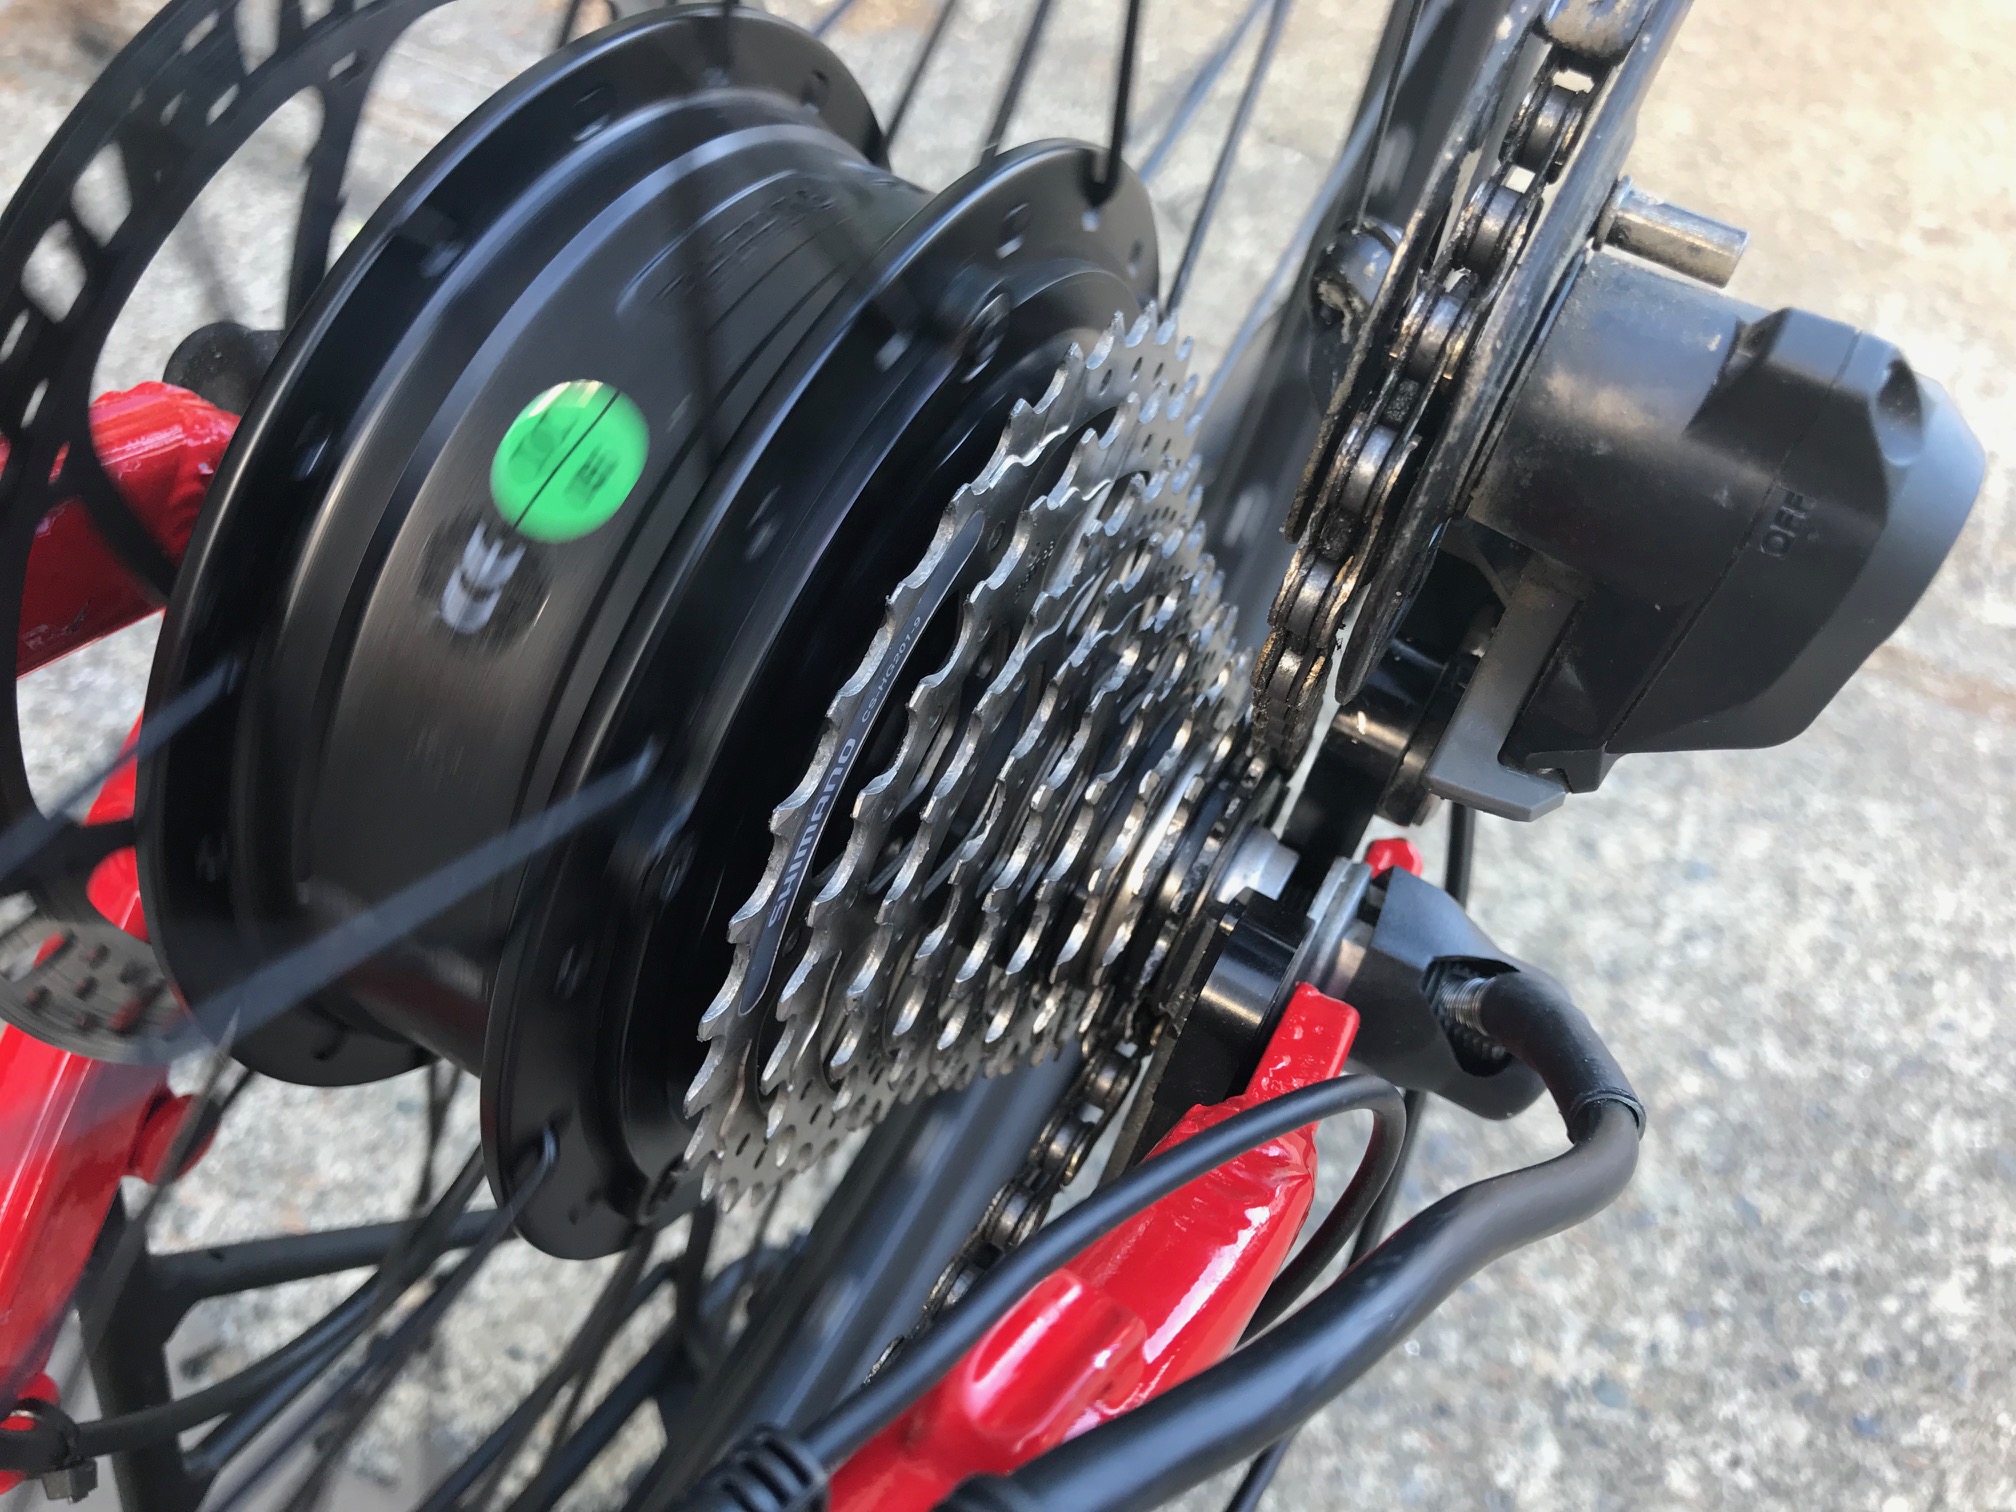
At this point if you have the tools, it's easier to remove the cassette. Of course the replacement side cover and cassette tower does not come with a cassette, so you will have to remove the original cassette and place it on the new tower once the motor is back together. You will need a Shimano freewheel tool that has a hole in it large enough to clear the axle. We have this tool in stock here. and a chain whip.
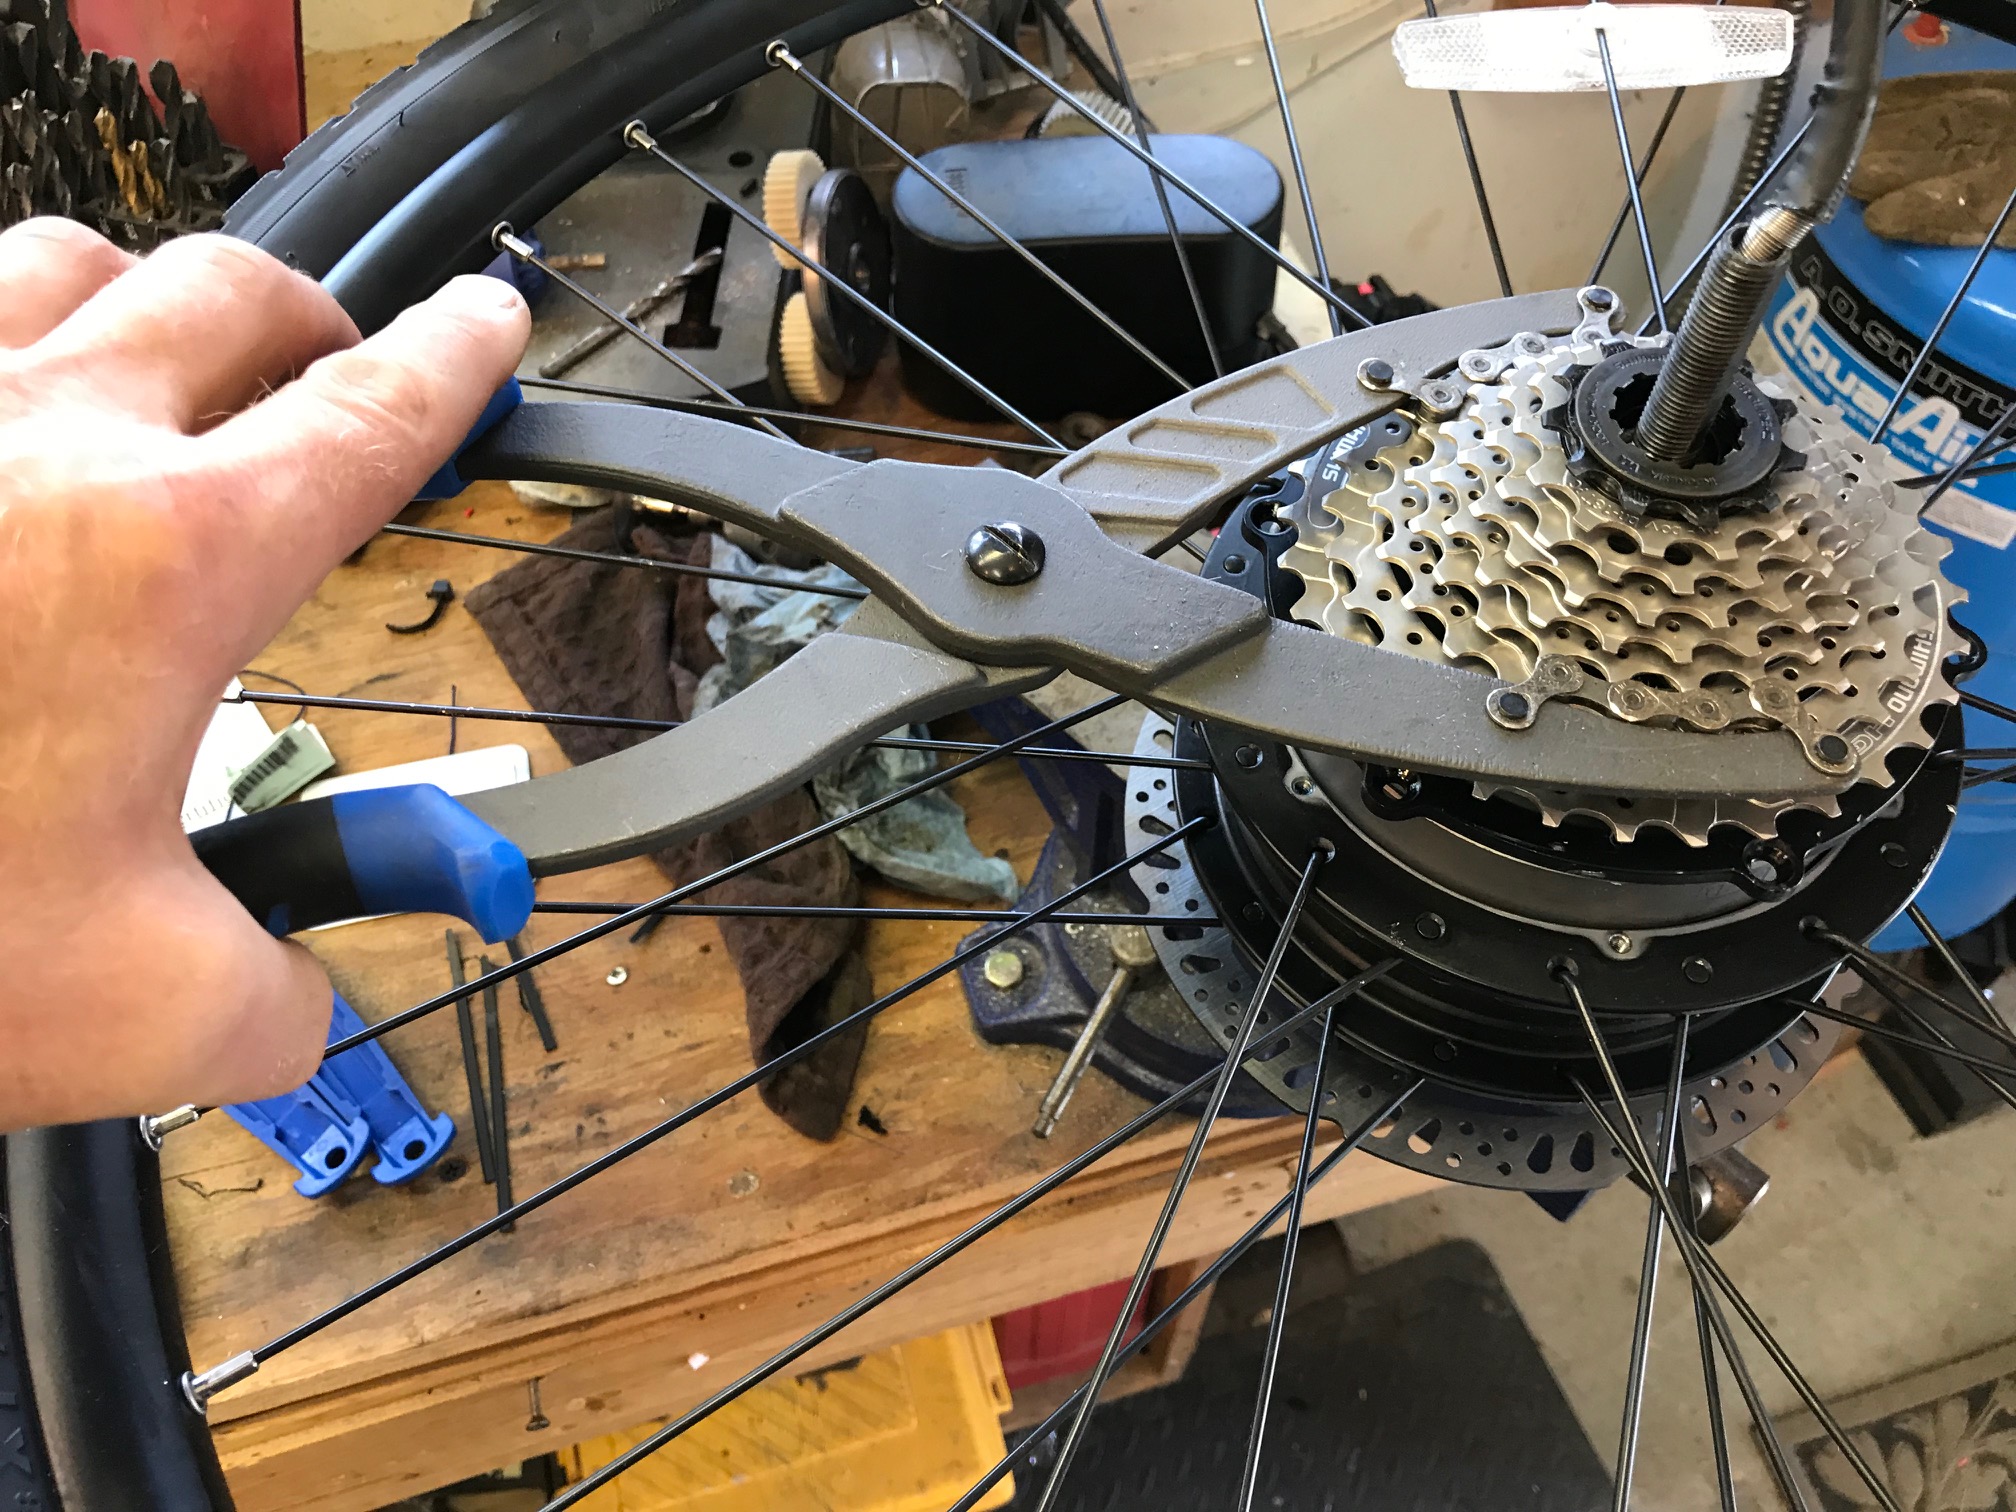
This Park tool CP-1 is a good tool. The cheaper ones tend to break.
The side cover can be removed without removing the cassette, but it is easier to first remove it. The machine screws will be either philips head, or Torx #20. If it's the philps be very careful not to strip the head. Use a good screwdriver with lots of downwards pressure, and hold the driver straight on to the screw.
Keep careful track of where the hardware goes. On this motor there is a thin washer, then two nuts, then a thick washer. There are other variations depending on when your motor was made.
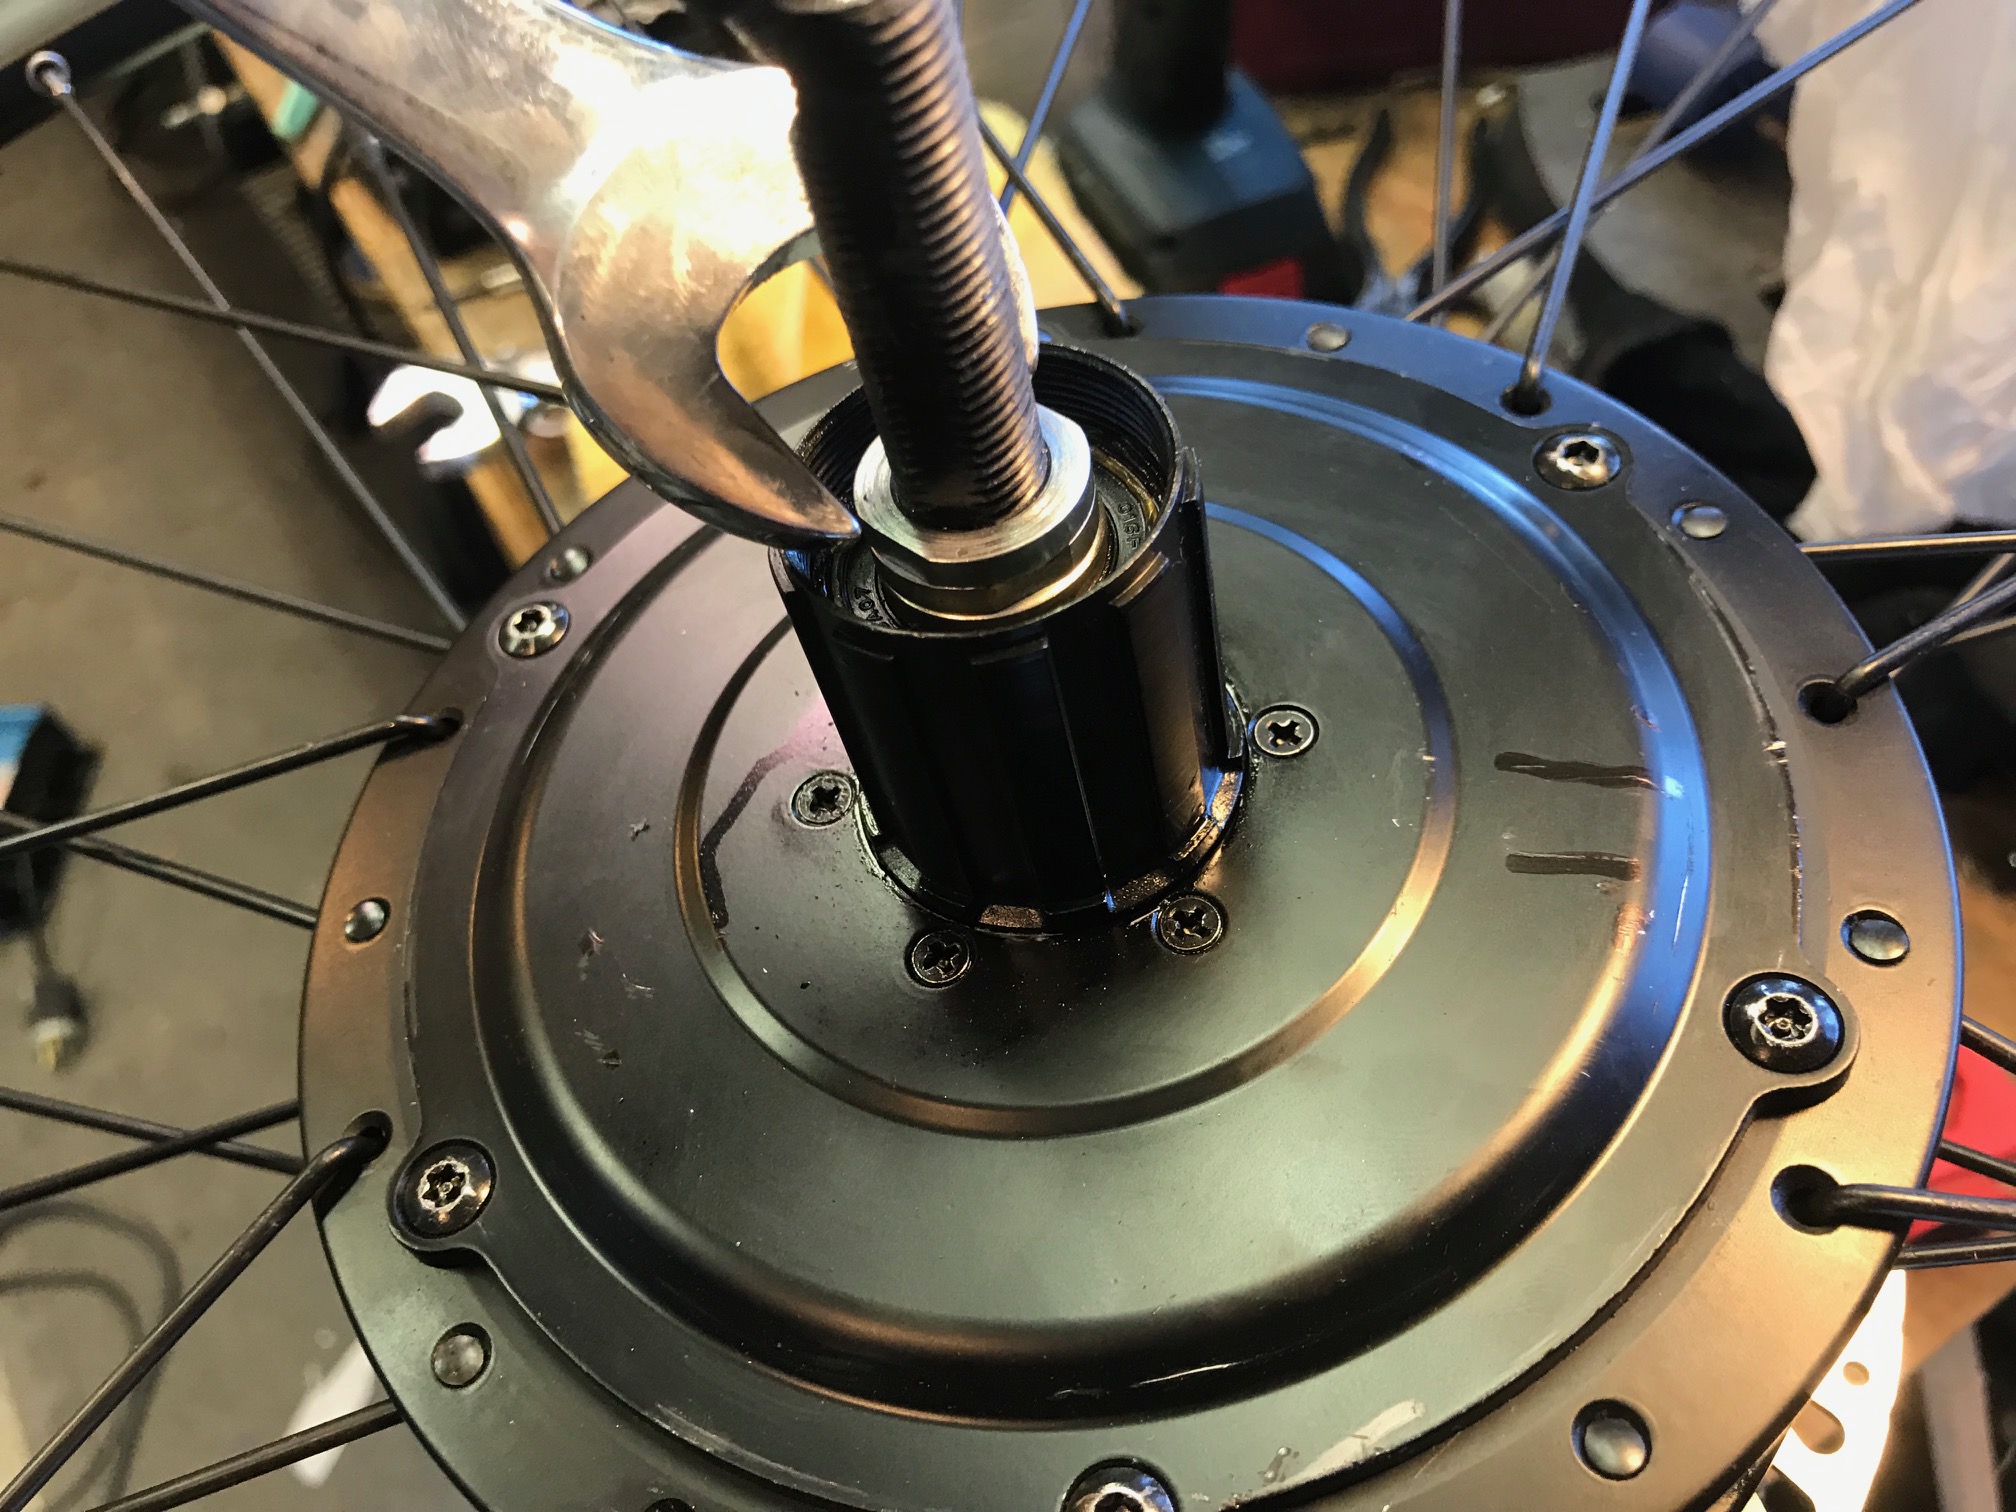
Use a 17 mm wrench to remove the two nuts, then remove the washer underneath.
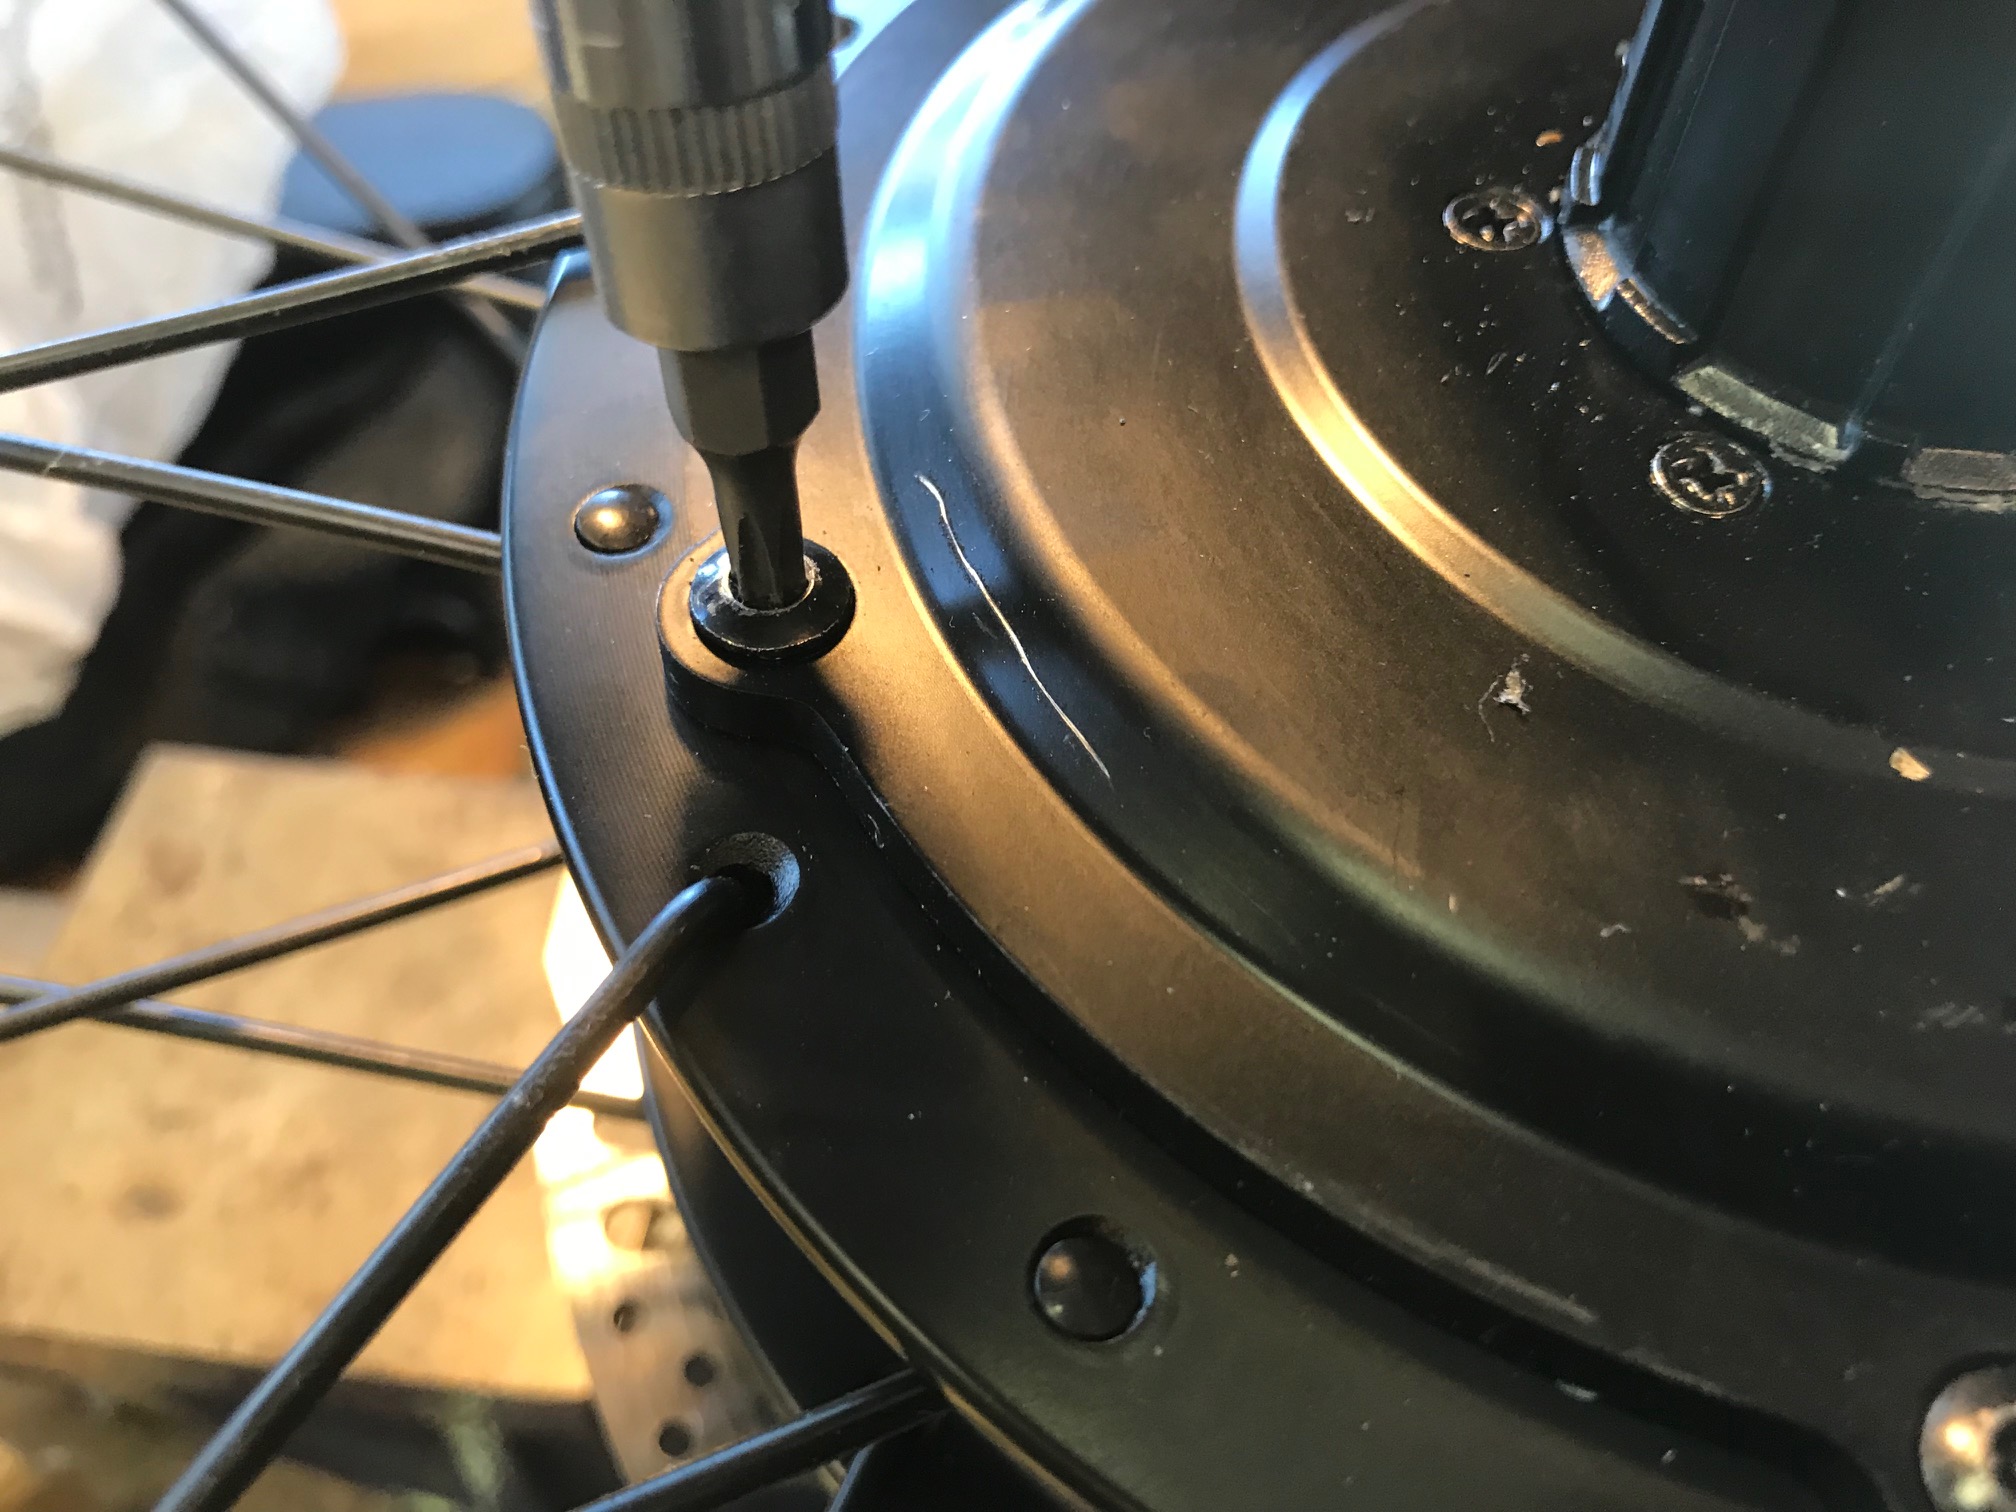
The side cover screws either Philips head, or Torx T25 security screws, for which you will need a specialty bit. These are usually available at Canadian Tire in a kit. When the last screw is removed the cover will come loose. Sometimes it is stiff sliding off the axle, but it will come.
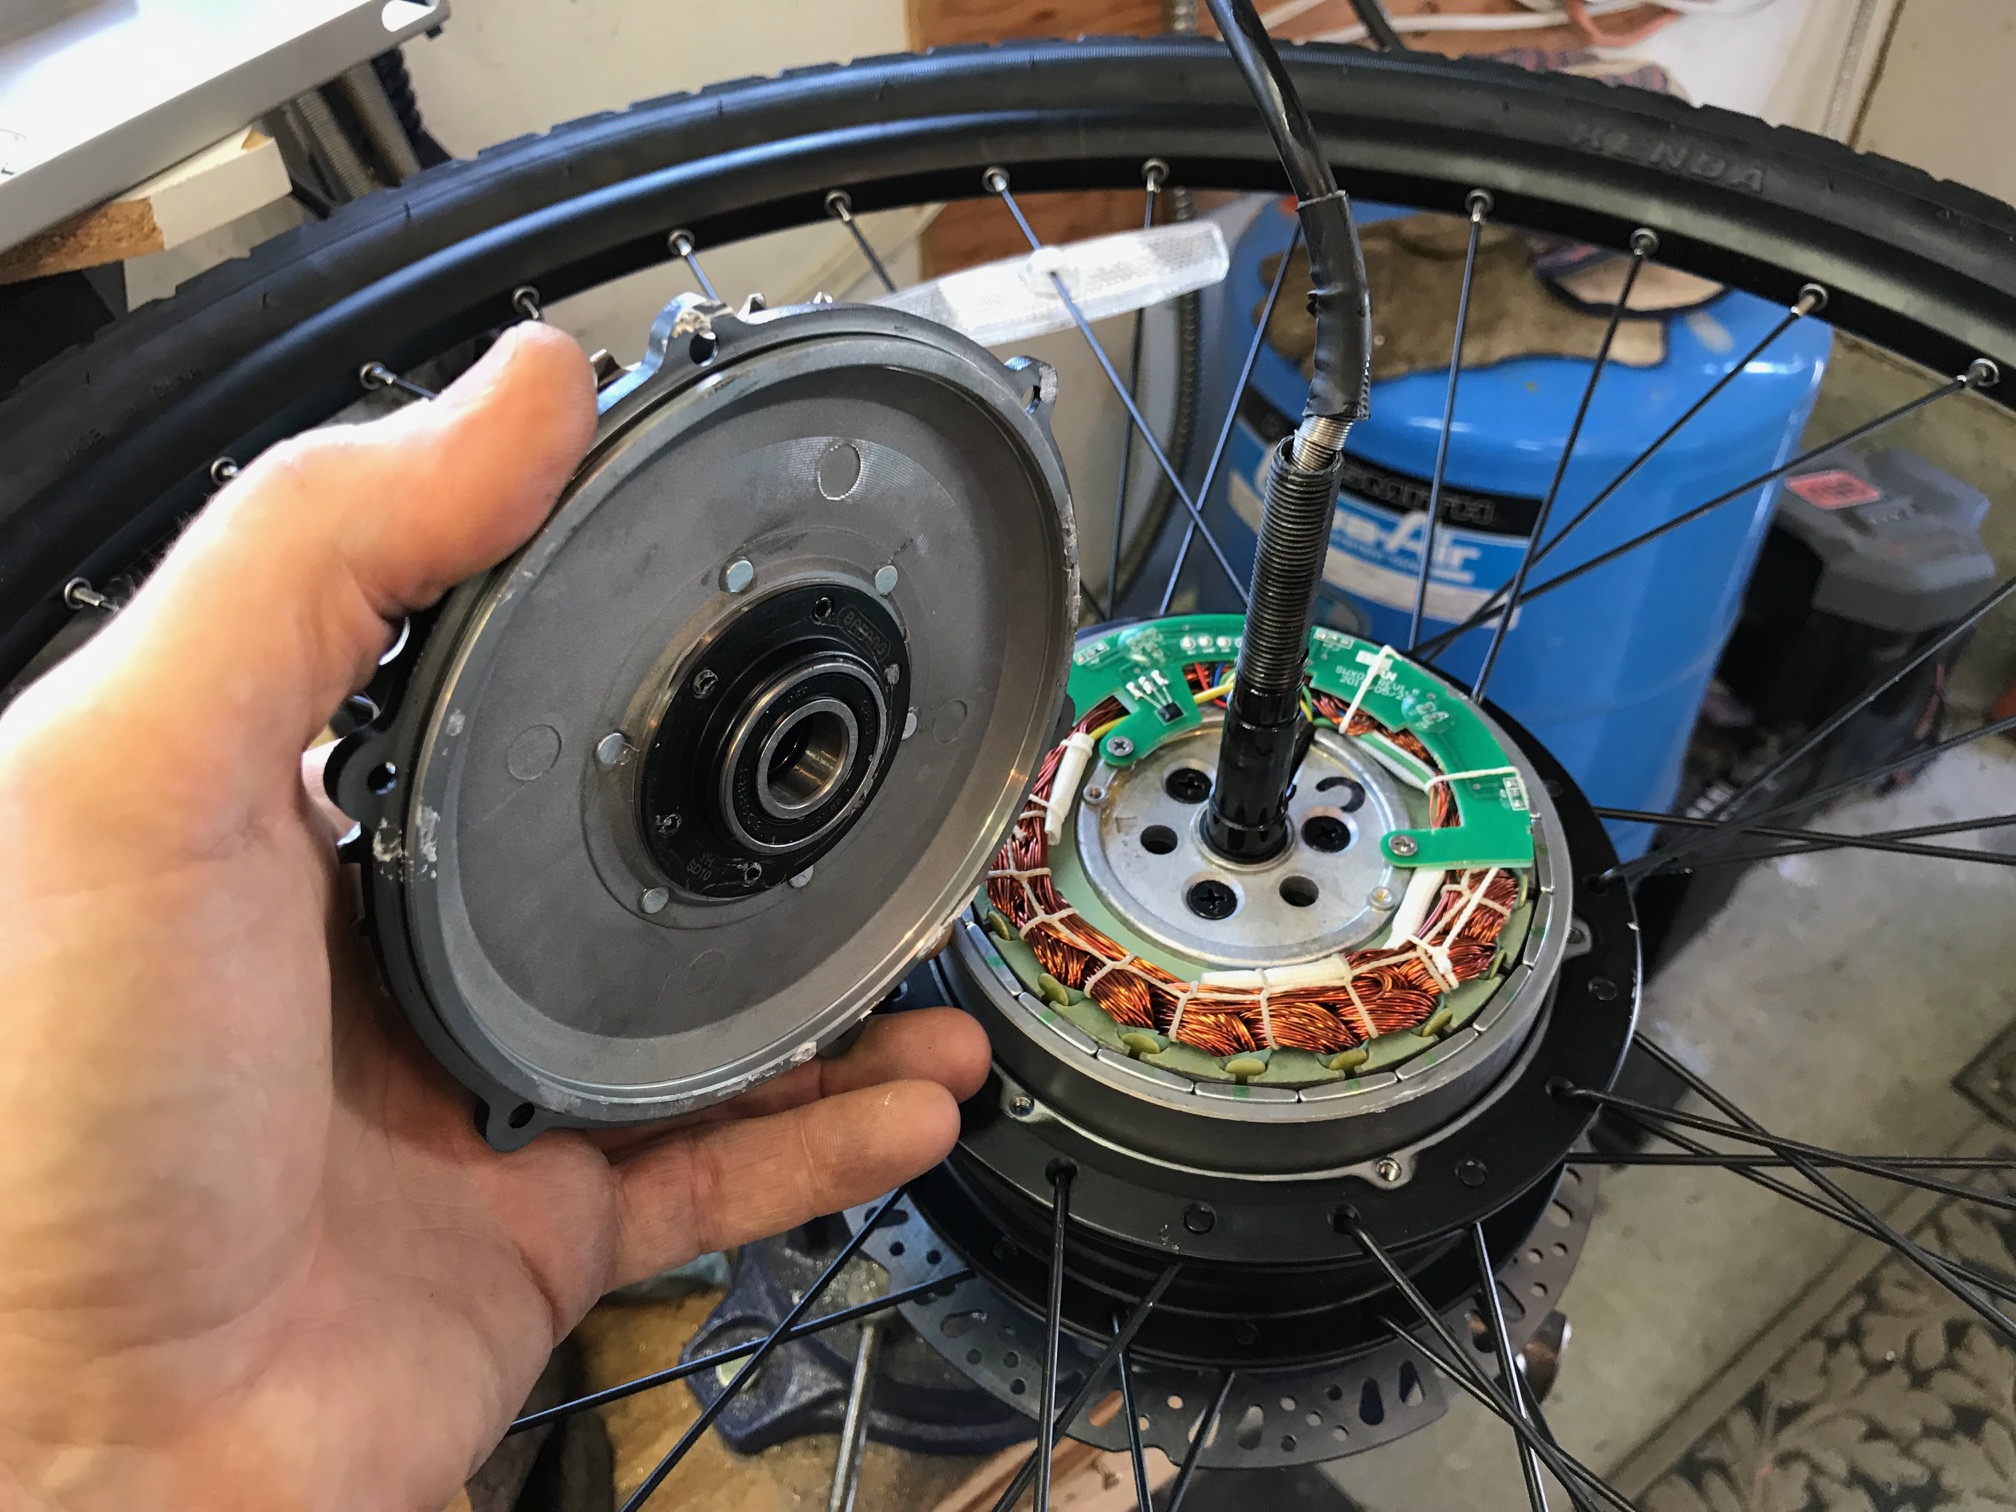
Now the side cover will slide off, and can be replaced. It can be hard to slide off the axle, but it will come off. We don't replace just the cassette freewheel because it's almost impossible to get the little philips screws that hold it to the side cover off without stripping the heads, so we replace the side cover as well.
If your motor has a few thousand km on it this would be a good time to re grease the gears. The motor core will slide out of the hub casing at this point to get at the gears. Use a white grease compatible with nylon.
To put things back together simply go through the steps in reverse. First install the new side cover, then the washer, and two nuts, just snugging the first nut, then locking the next against it, then the next washer. Re install the freewheel and torque the locking ring to 40Nm, which is good and tight, but don't be a hero! Reseat the wheel on the bike, paying attention that the disc slides between the brake pads as the wheel goes on. The cut out in the axle for the wire faces down, as do the lobes in the anti rotation washers. Be sure that on the cassette side the washer inserts into the recess in the torque sensor before tightening the nut.
Don't forget the rubber caps on both sides. Slide the electrical connector together, paying attention to the arrows that indicate the correct orientation. Cable tie the wires to the braze on, just snug.