Replacement of phylion cells in an older Motorino 37V, 10 ah battery pack
2016 Apr 29th
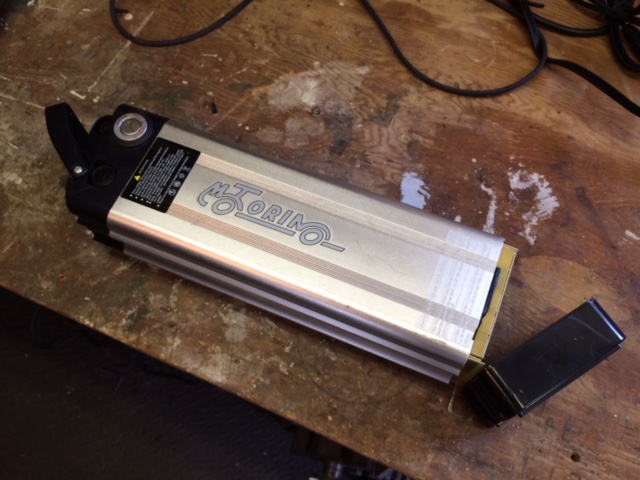
A customer came to me with an older battery pack from a Motorino e-Bike. She had called Motorino, and they are no longer supplying replacement batteries for these bikes. The bike is in good condition, so it was worthwhile repacking this case with new cells. I had an expedition naked pack that just happened to fit exactly into the case, with room to spare in the vertical dimension. It was the right voltage, and had the same 10 amp hour capacity, while being smaller and lighter.
Be aware that shorting the wrong wires together during any step of this project could result in anything from a blown fuse to vaporized wire and flame.
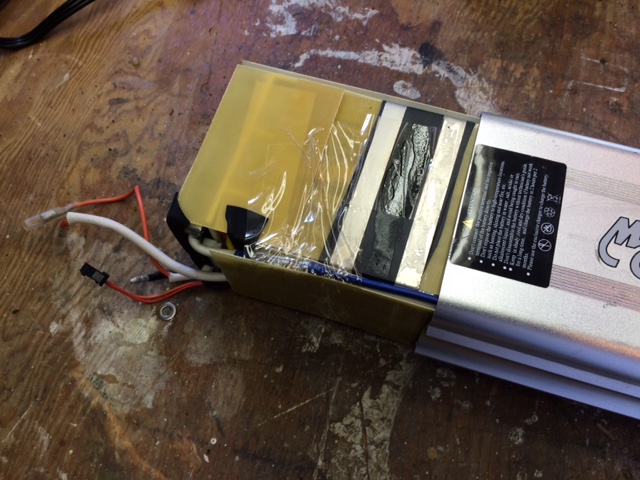
First step is opening the case to extract the old cells.
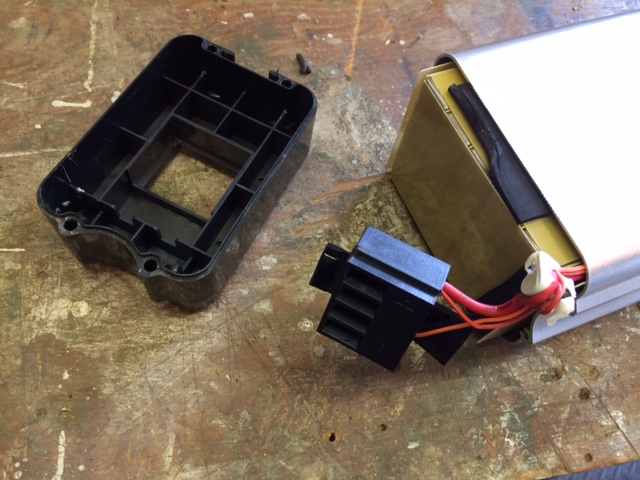
This case comes apart easily by removing 4 Philips head screws on each end. Once the top is removed, all of the wires can be disconnected. They all have insulated in-line connectors, which is nice.
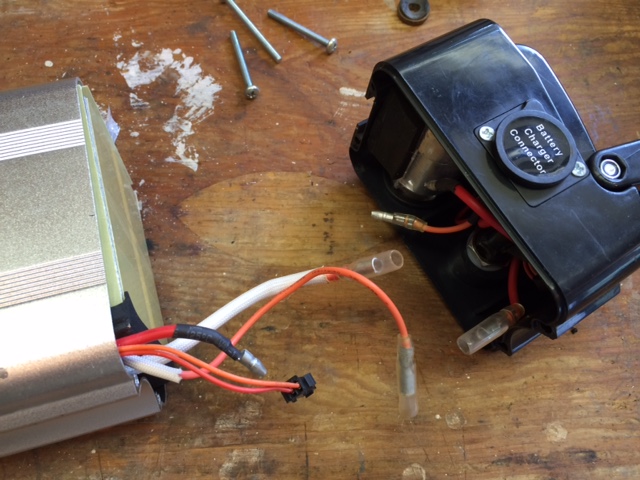
On the bottom, the high current connector just pops out of the plastic housing.
Now the old cells can be pushed out of the case. They are packed tight, and secured with foam tape, so it takes some force to get them out. I braced the case against the edge of the workbench, and pressed it with my thumbs. Once it is far enough along that the thumbs don't reach, you can use a hammer handle or similar to reach into the case while it is braced against the edge of the bench, and press on the handle with your body.
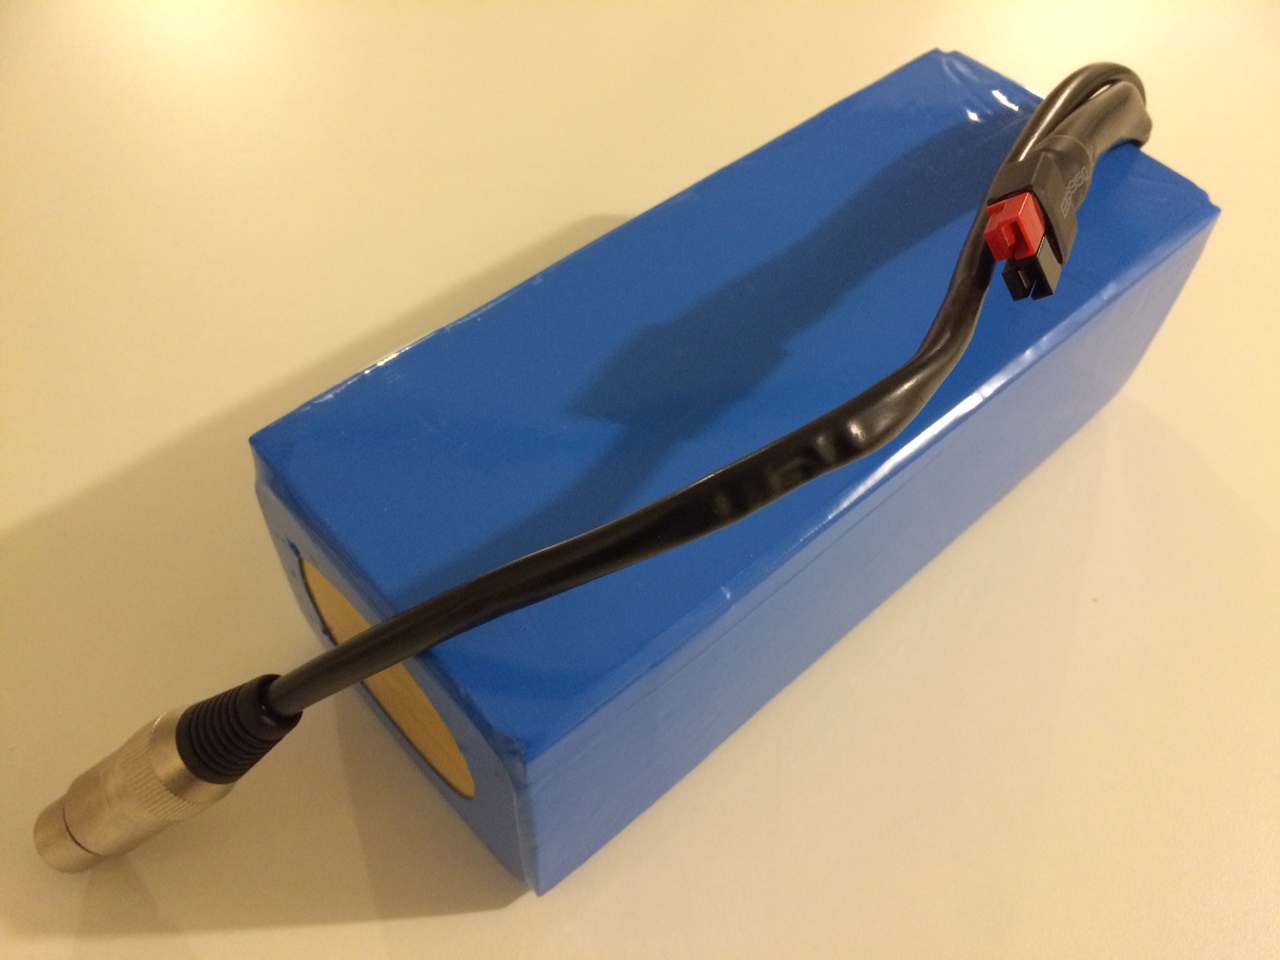
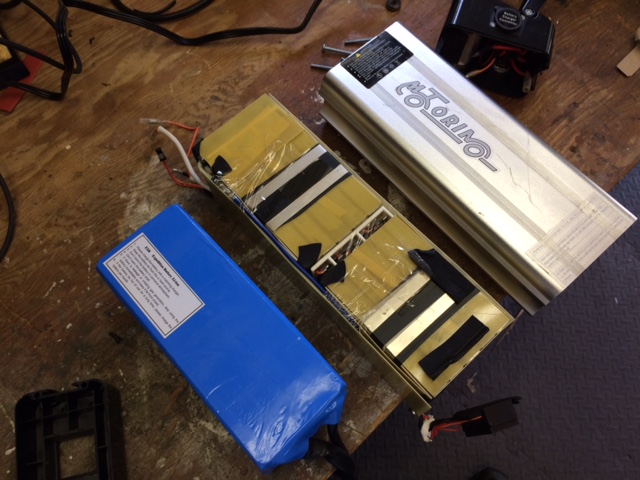
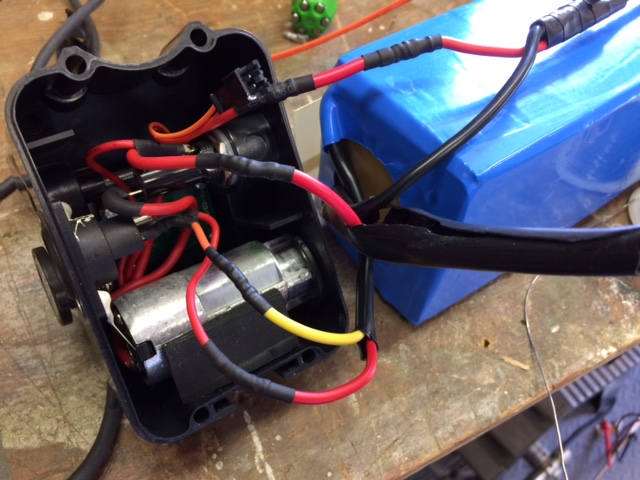
Here are the old and new cells with the case. This case has a fuse and key switch in line with the positive lead from the battery. The positive discharge lead from the new battery should go to the fuse, loop over to the key switch, and finally back to the positive terminal on the bottom of the case. The negative discharge lead goes straight to the negative terminal on the bottom of the case. I used the existing wires as they were in good condition, and just spliced in where it was convenient
I prefer not to use the in-line bullet connectors, as I have seen enough of them melted due to loose or corroded connectors causing resistance in the connector. I just cut off the connectors and solder them together, then heat shrink the splice. My method is to push the two wires together, then wrap them in a solid copper wire strand, then solder. Don't forget to thread on the heat-shrink tubing first!
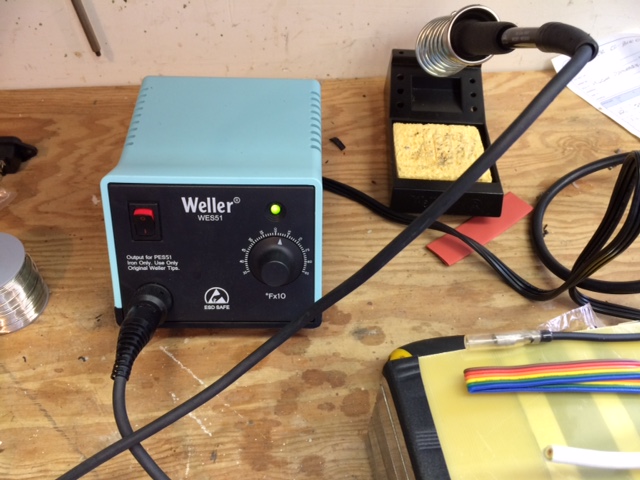
A soldering station like this makes easy work of soldering heavy gauge wires.
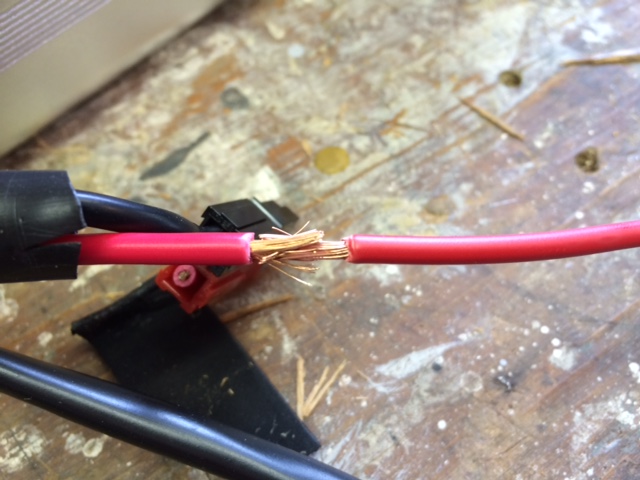
wires jammed together end to end
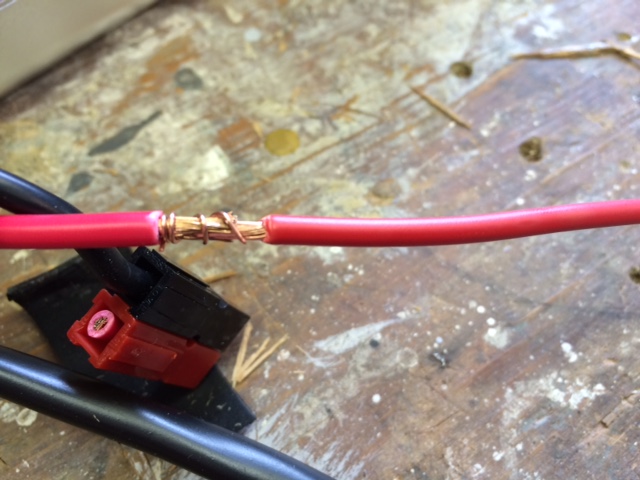
wrapped in a single strand of copper wire
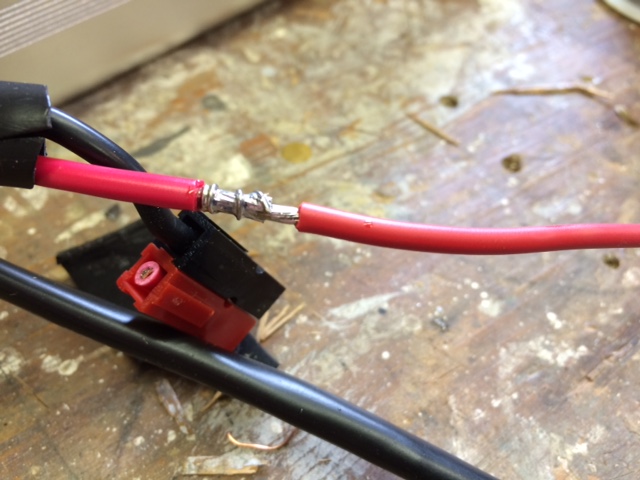
soldered
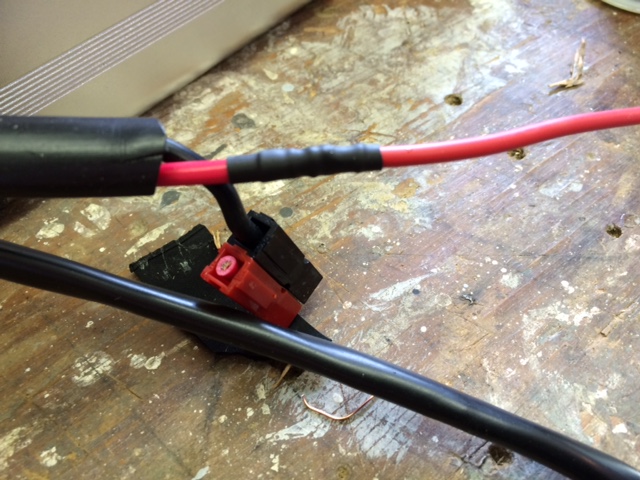
I used two layers of heat shrink. Notice that I have only cut the red, positive wire. If the negative wire needs to be spliced as well, finish the positive first, so there is no chance of the bare wires touching.
This battery had two small leads in parallel with the discharge leads that go to a little LED display on the top of the case. I did not connect this, as I could not see how it was wired, and I didn't trust that it would not cause a problem with the new pack. I also connected the charging connector on the case directly to the new packs charge leads, using the same soldered connection technique as on the discharge leads. I bypassed the charging fuse, as I could not see if there was a common negative or something that could cause problems with the BMS circuit in the new pack.
I forgot to take more pictures, but basically now the new pack is just slid into the case, and if there is any room for movement, some of the fiberboard from the old pack can be used as a shim.
On the bottom I hot glued the high current connector into the plastic housing, and stuffed some hard foam into the space between the new pack and the case. This will keep the connector from pushing back into the case when it is installed in the bike. (The old cells were long enough that they did this job without the foam spacer)
Another e-bike back on the road!
.