Upgrade kit for 2016-17 Juiced CrossCurrent and CrossCurrent AIR
2018 Jun 6th
Upgrading to the latest spec controller and display will give you more speed and hill climbing ability. Here is a link to the kit in our store:
https://juicedriders.ca/2016-17-crosscurrent-upgrade-to-2018-ccs-spec/
The "350 watt" motor on the 2016-17 CrossCurrent and CrossCurrent AIR is very similar to the "650 watt" motor on the CCS.
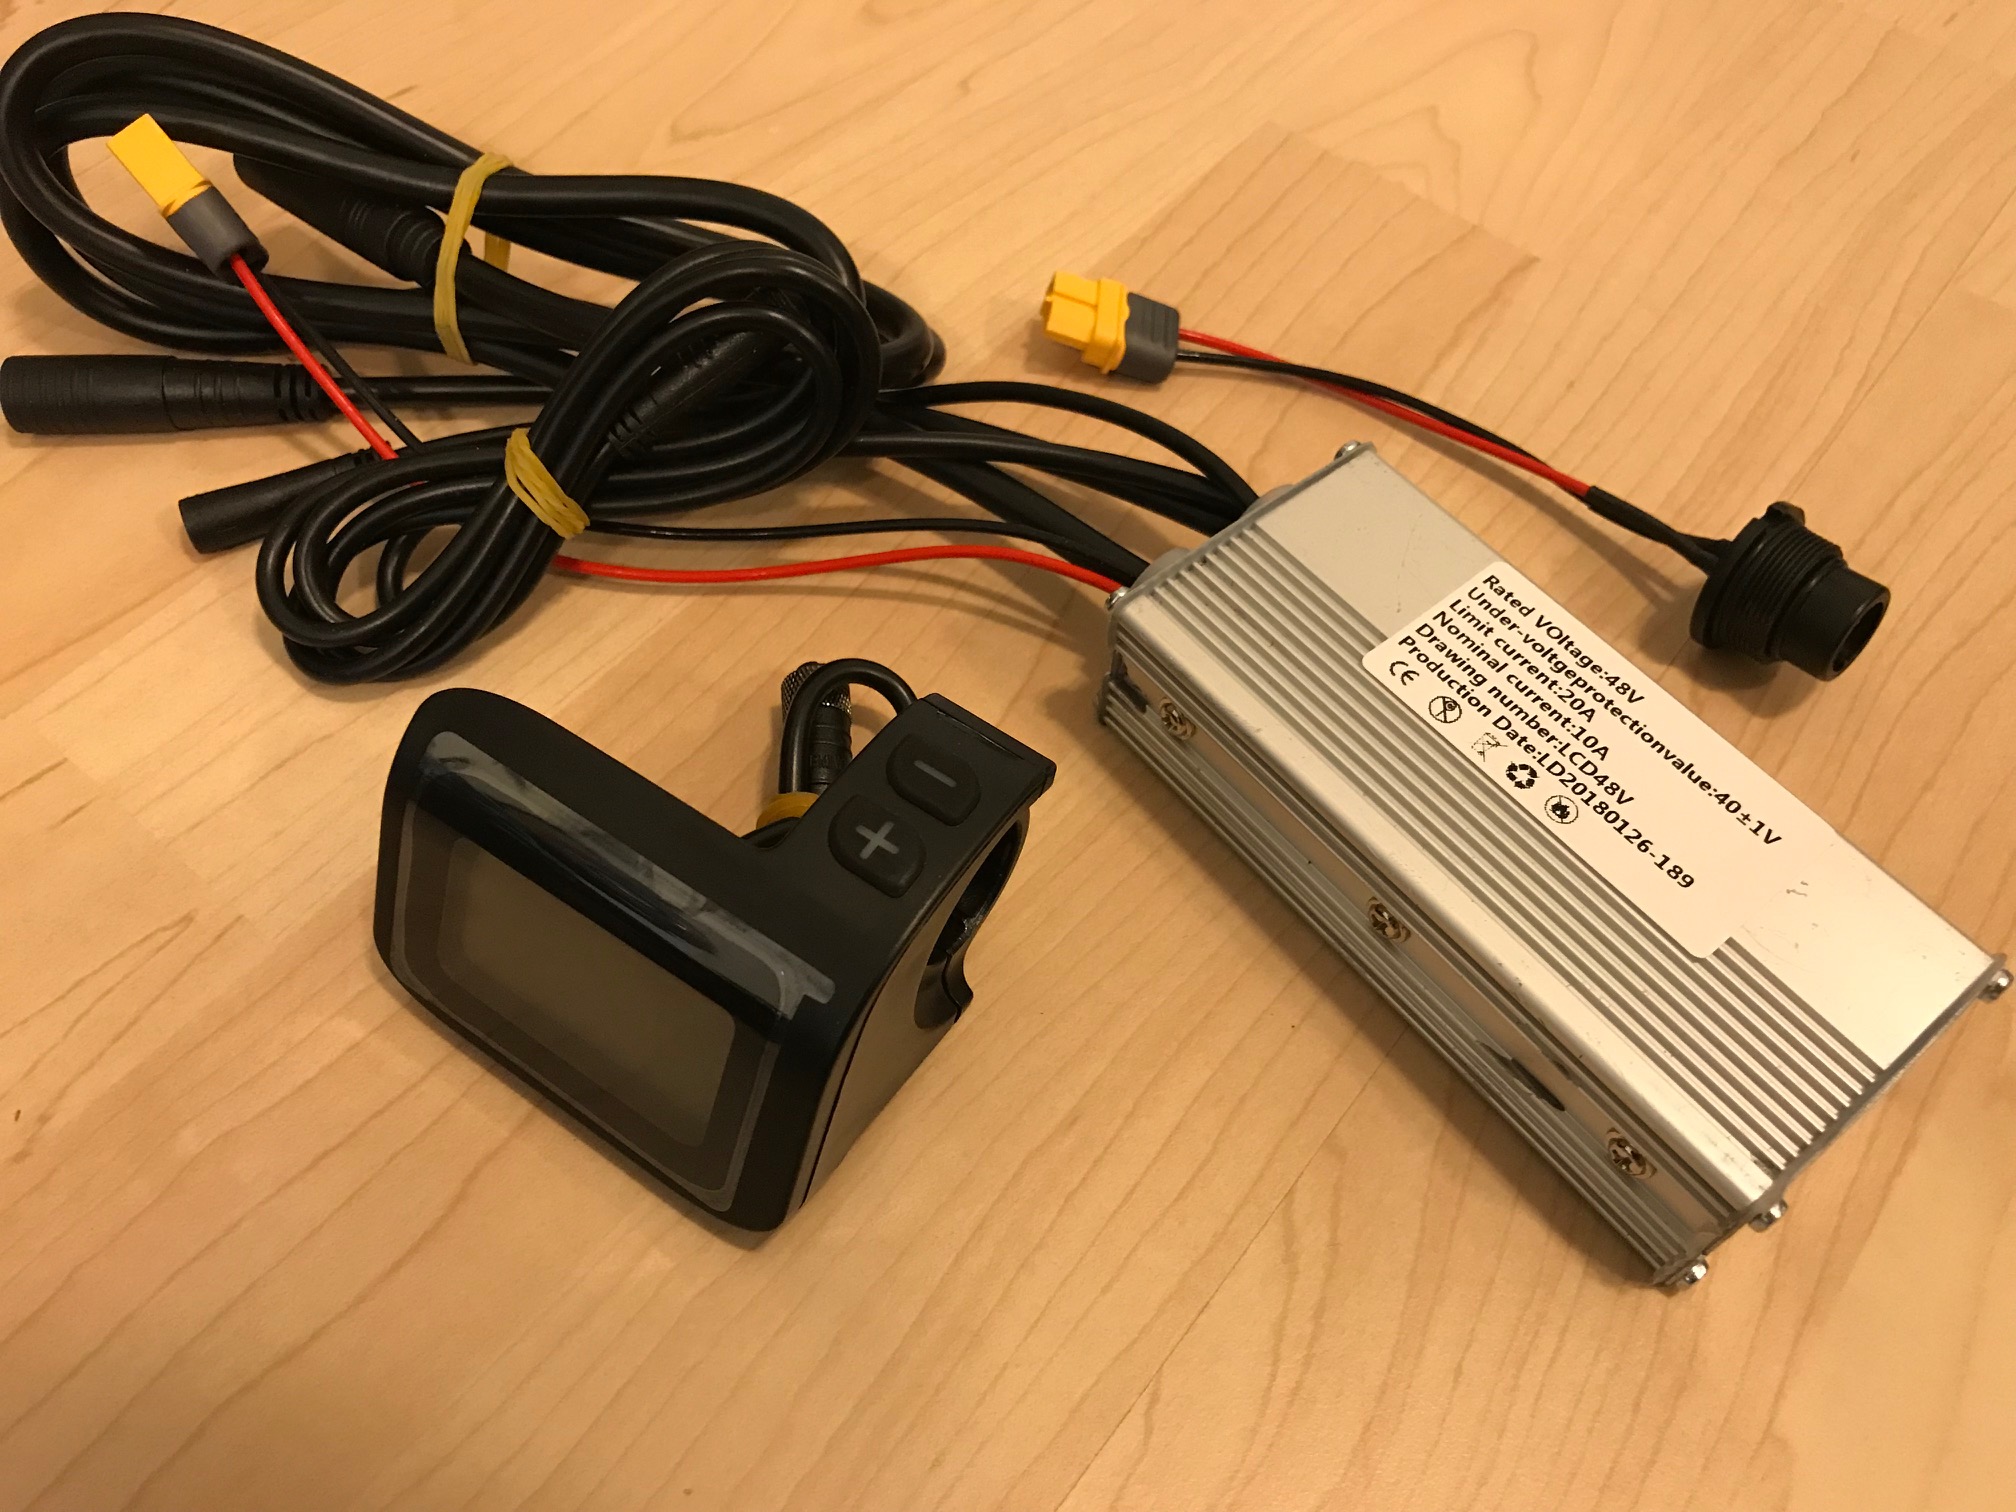
The actual power output of the motor is determined by the motor controller, not the motor itself. As long as the motor can handle the extra heat and mechanical stress, a higher amperage motor controller can be used. I have tested this kit with a CrossCurrent, and there is no issue with the motor overheating, even on long steep hills.
The other consideration is the battery. Will the battery have enough capability to supply the motor controller with the increased current it requires? The 7.8, and 10.4 batteries were not designed for this extra current draw. These batteries may work, but they will have a short life with the increased demand, so we do not recommend using them with this kit. The kit requires the 12.8, 17.4, 19.2 or 21ah batteries.
Installation is fairly straightforward, and requires 1 to 1.5 hours to complete.
Read these instructions fully before beginning.
Tools required:
- Side cutters to remove and trim cable ties
- A metric hex key set, including a small 1.5 mm key for the new display.
- A pair of pliers or 24mm wrench to remove the nut on the power input connector
- A large pair of needle nose pliers can help with removing the controller.
- Roll of electricians tape.
- Optionally dielectric grease if you ride in the rain.
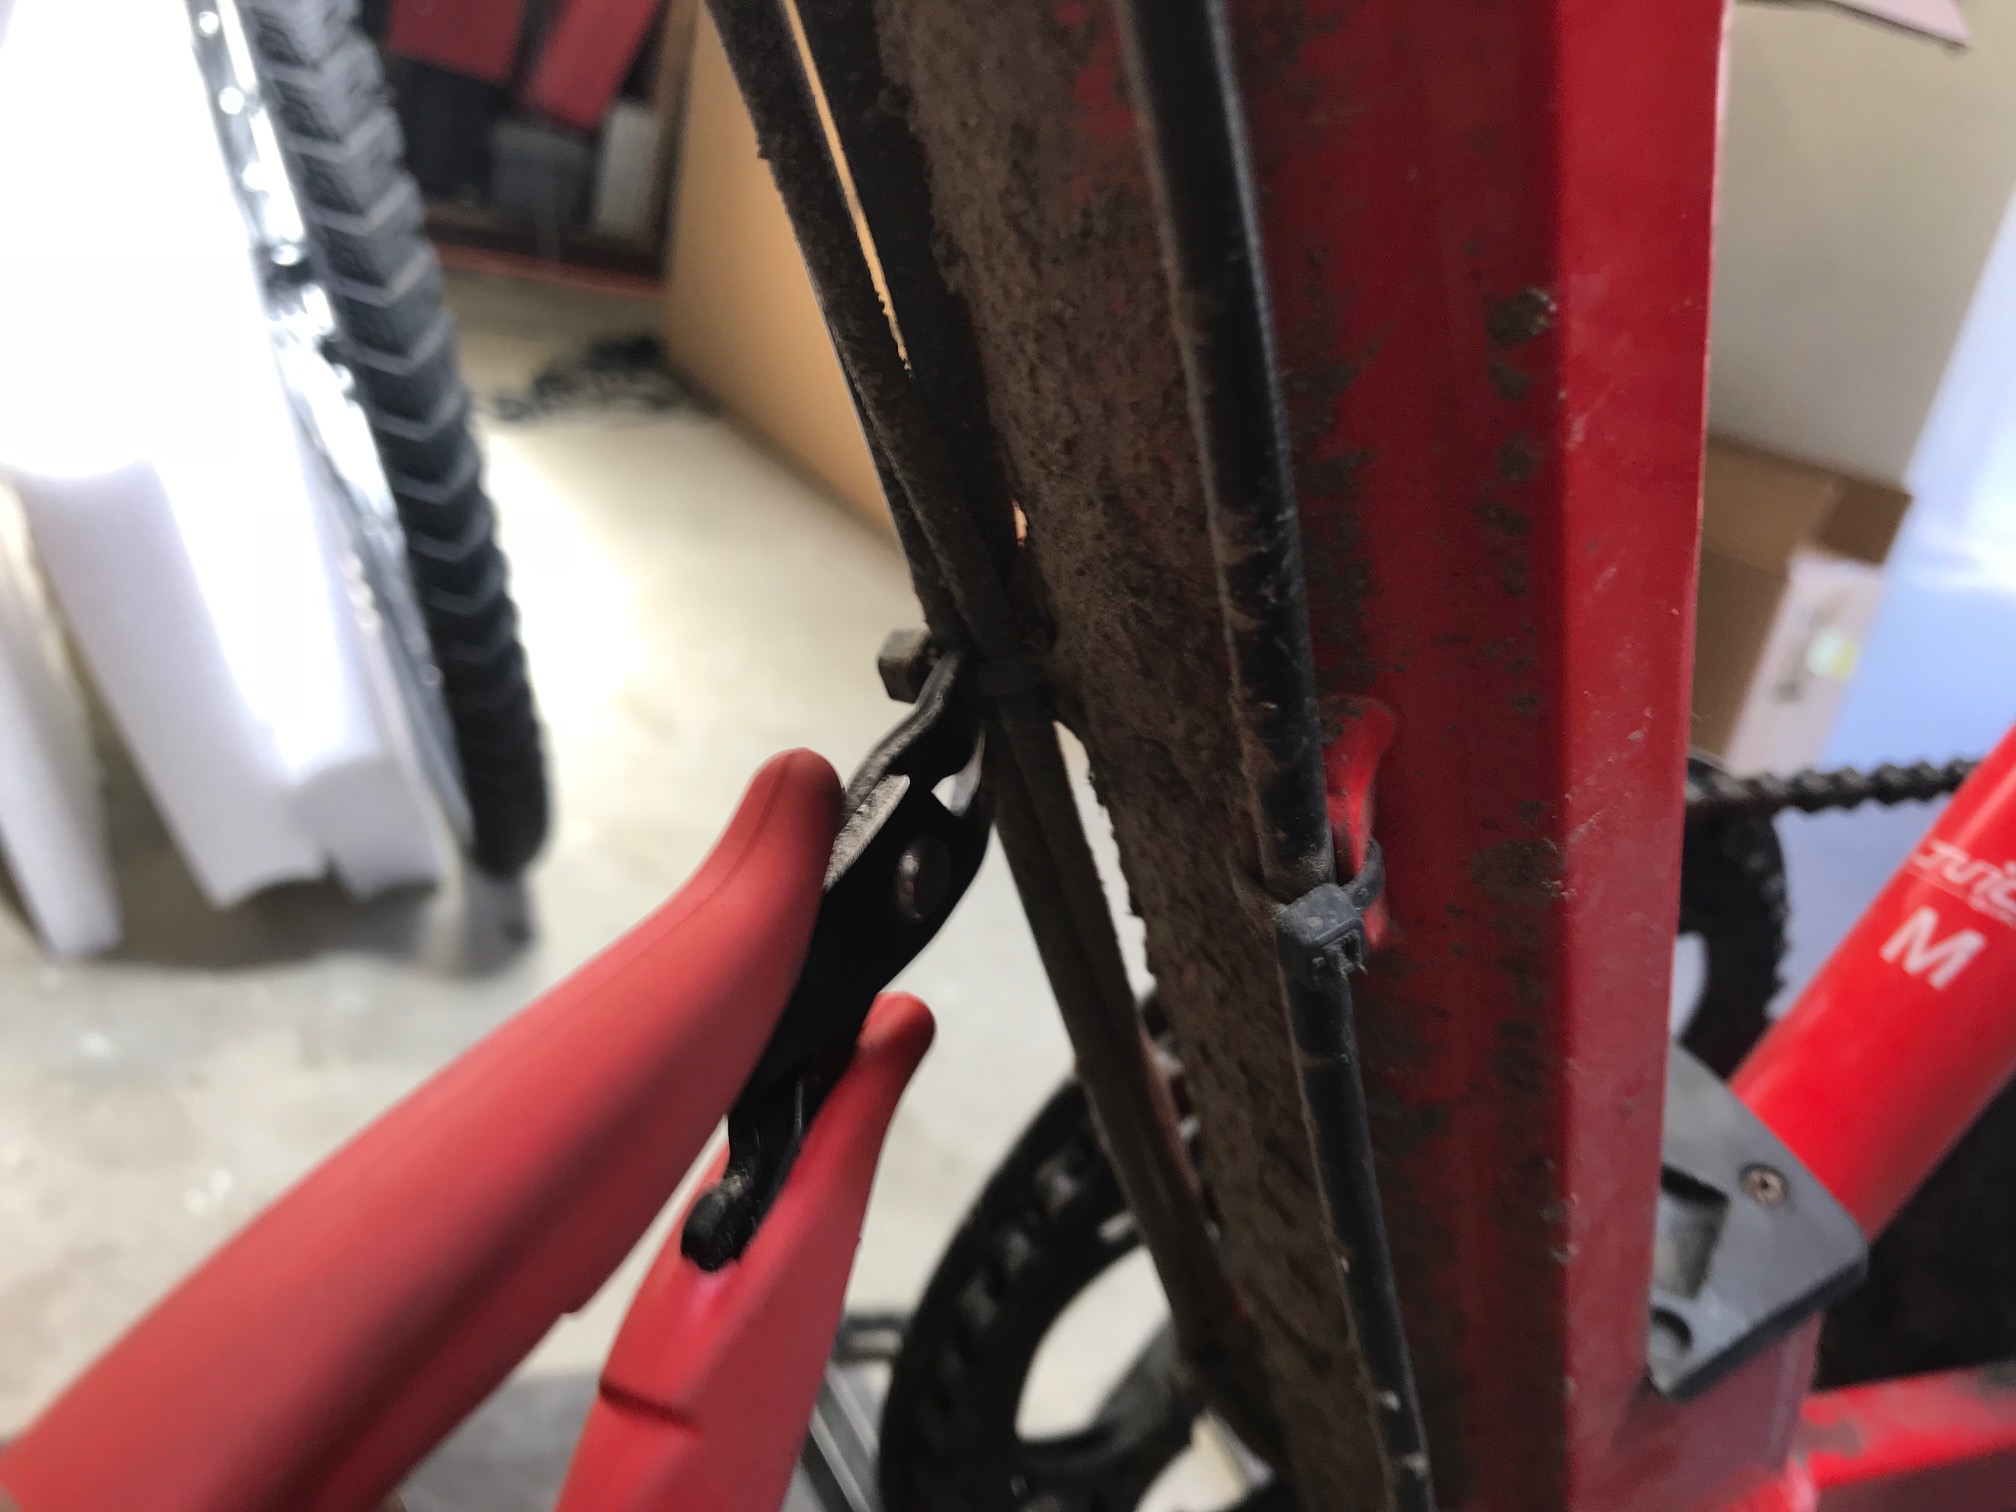
First remove the battery, then cut the cable ties holding the motor wire to the frame, starting at the disconnect near the motor, and going up to where the wire enters the frame.
Next disconnect the motor wire from the motor, and the torque sensor wire from the torque sensor. These just pull apart, but can require some force. Pull on the connector, not the wire. They can be rocked slightly from side to side to loosen, but not so much as to bend the tiny pins inside.
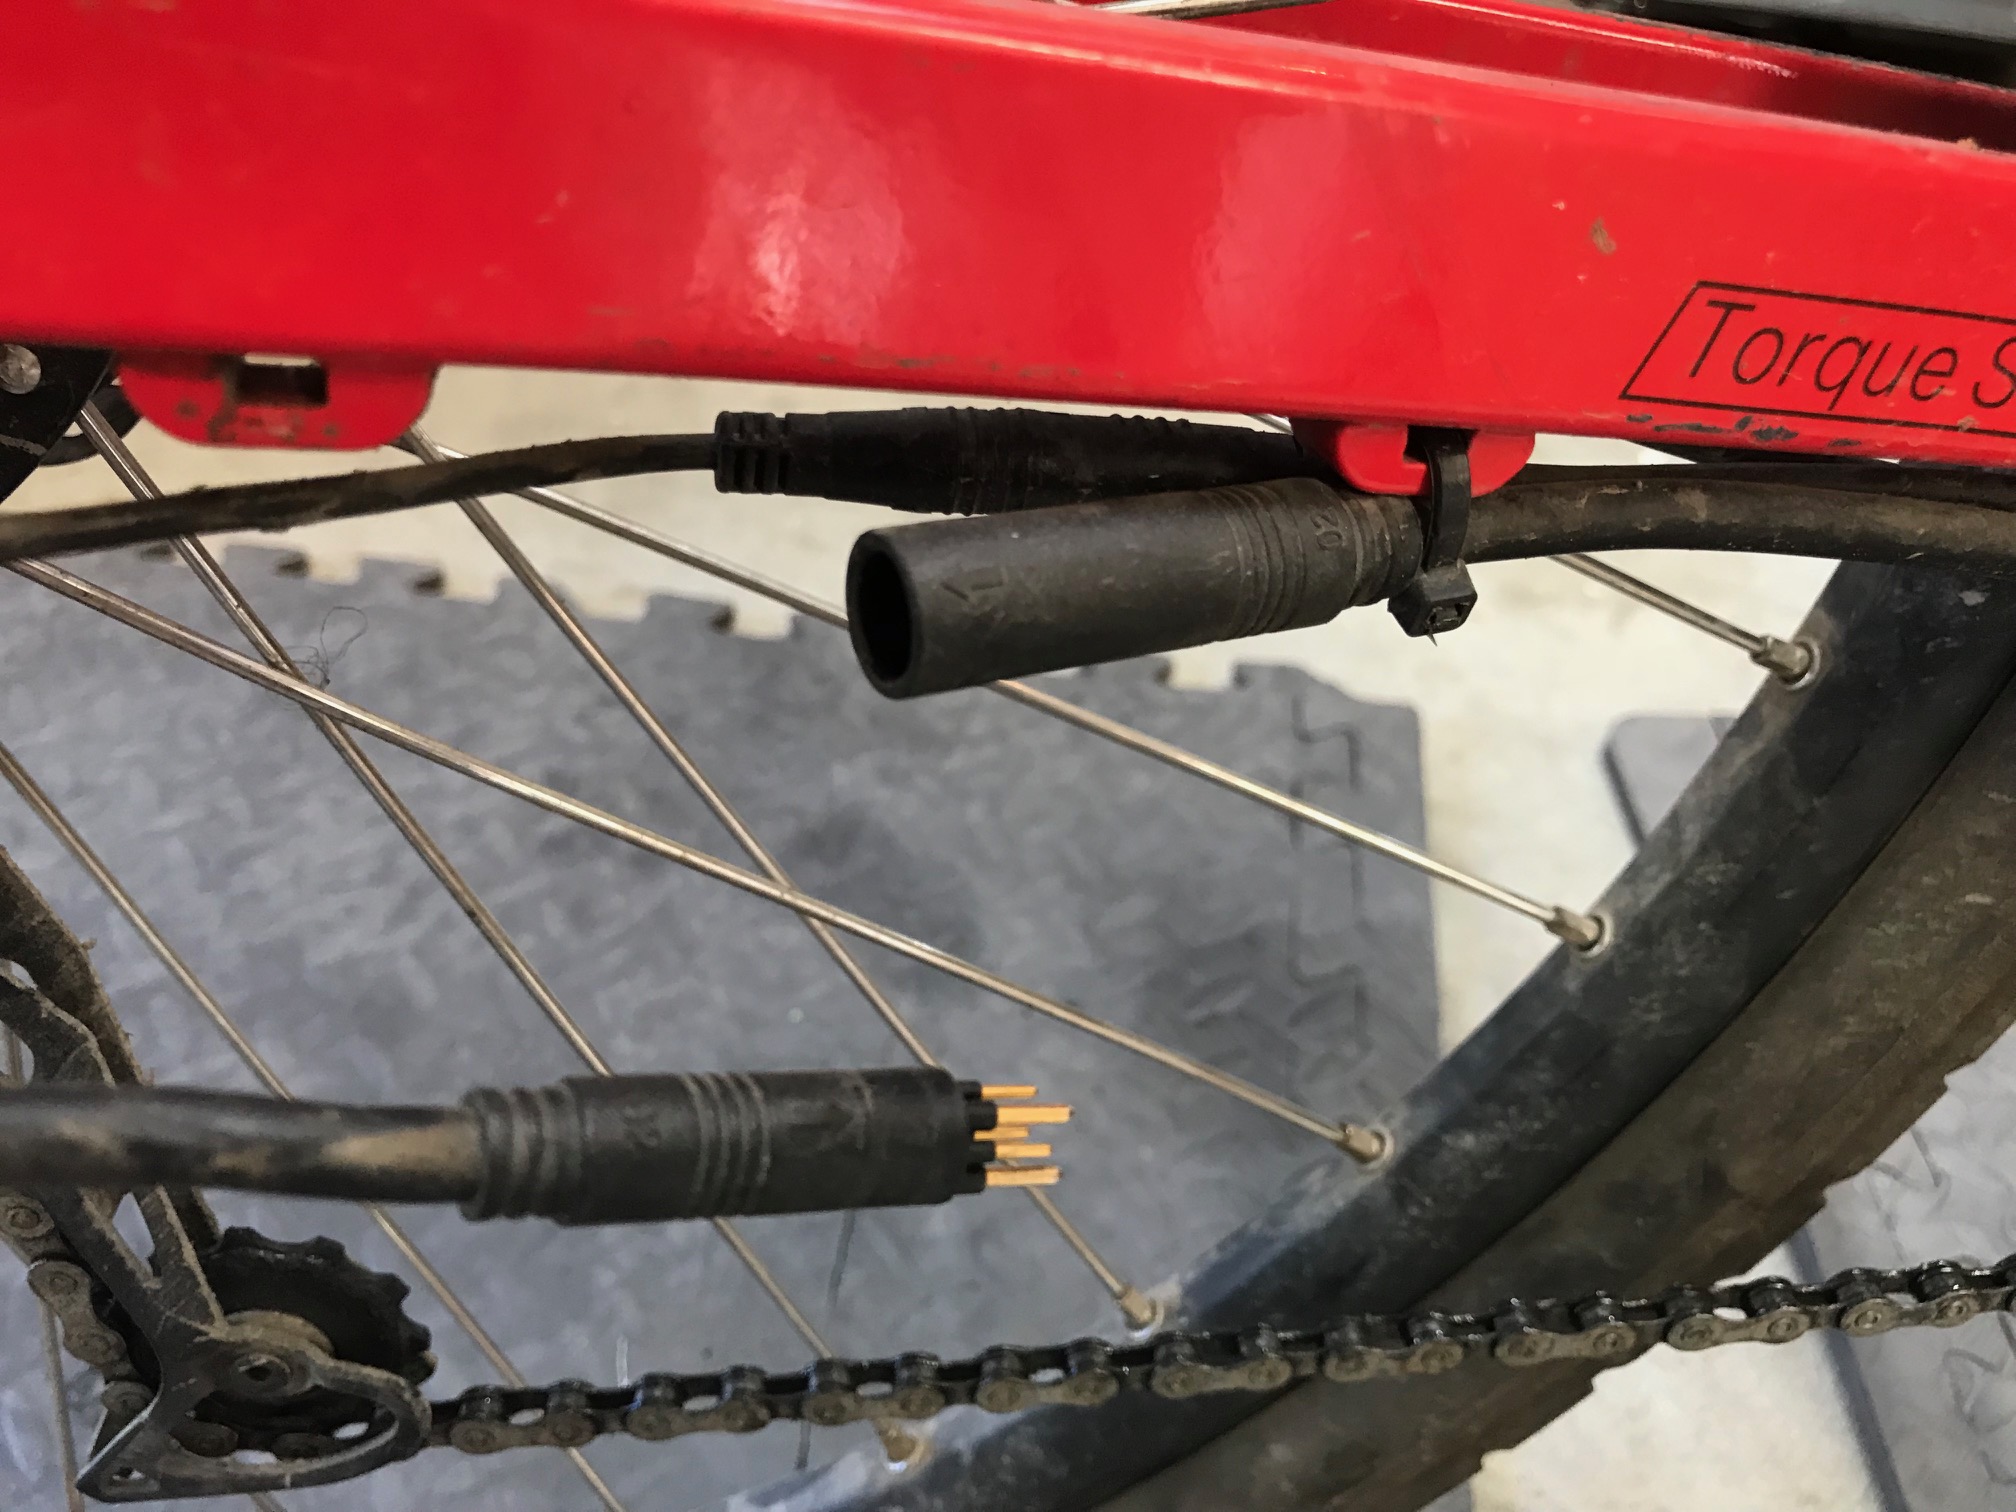
The motor wire.
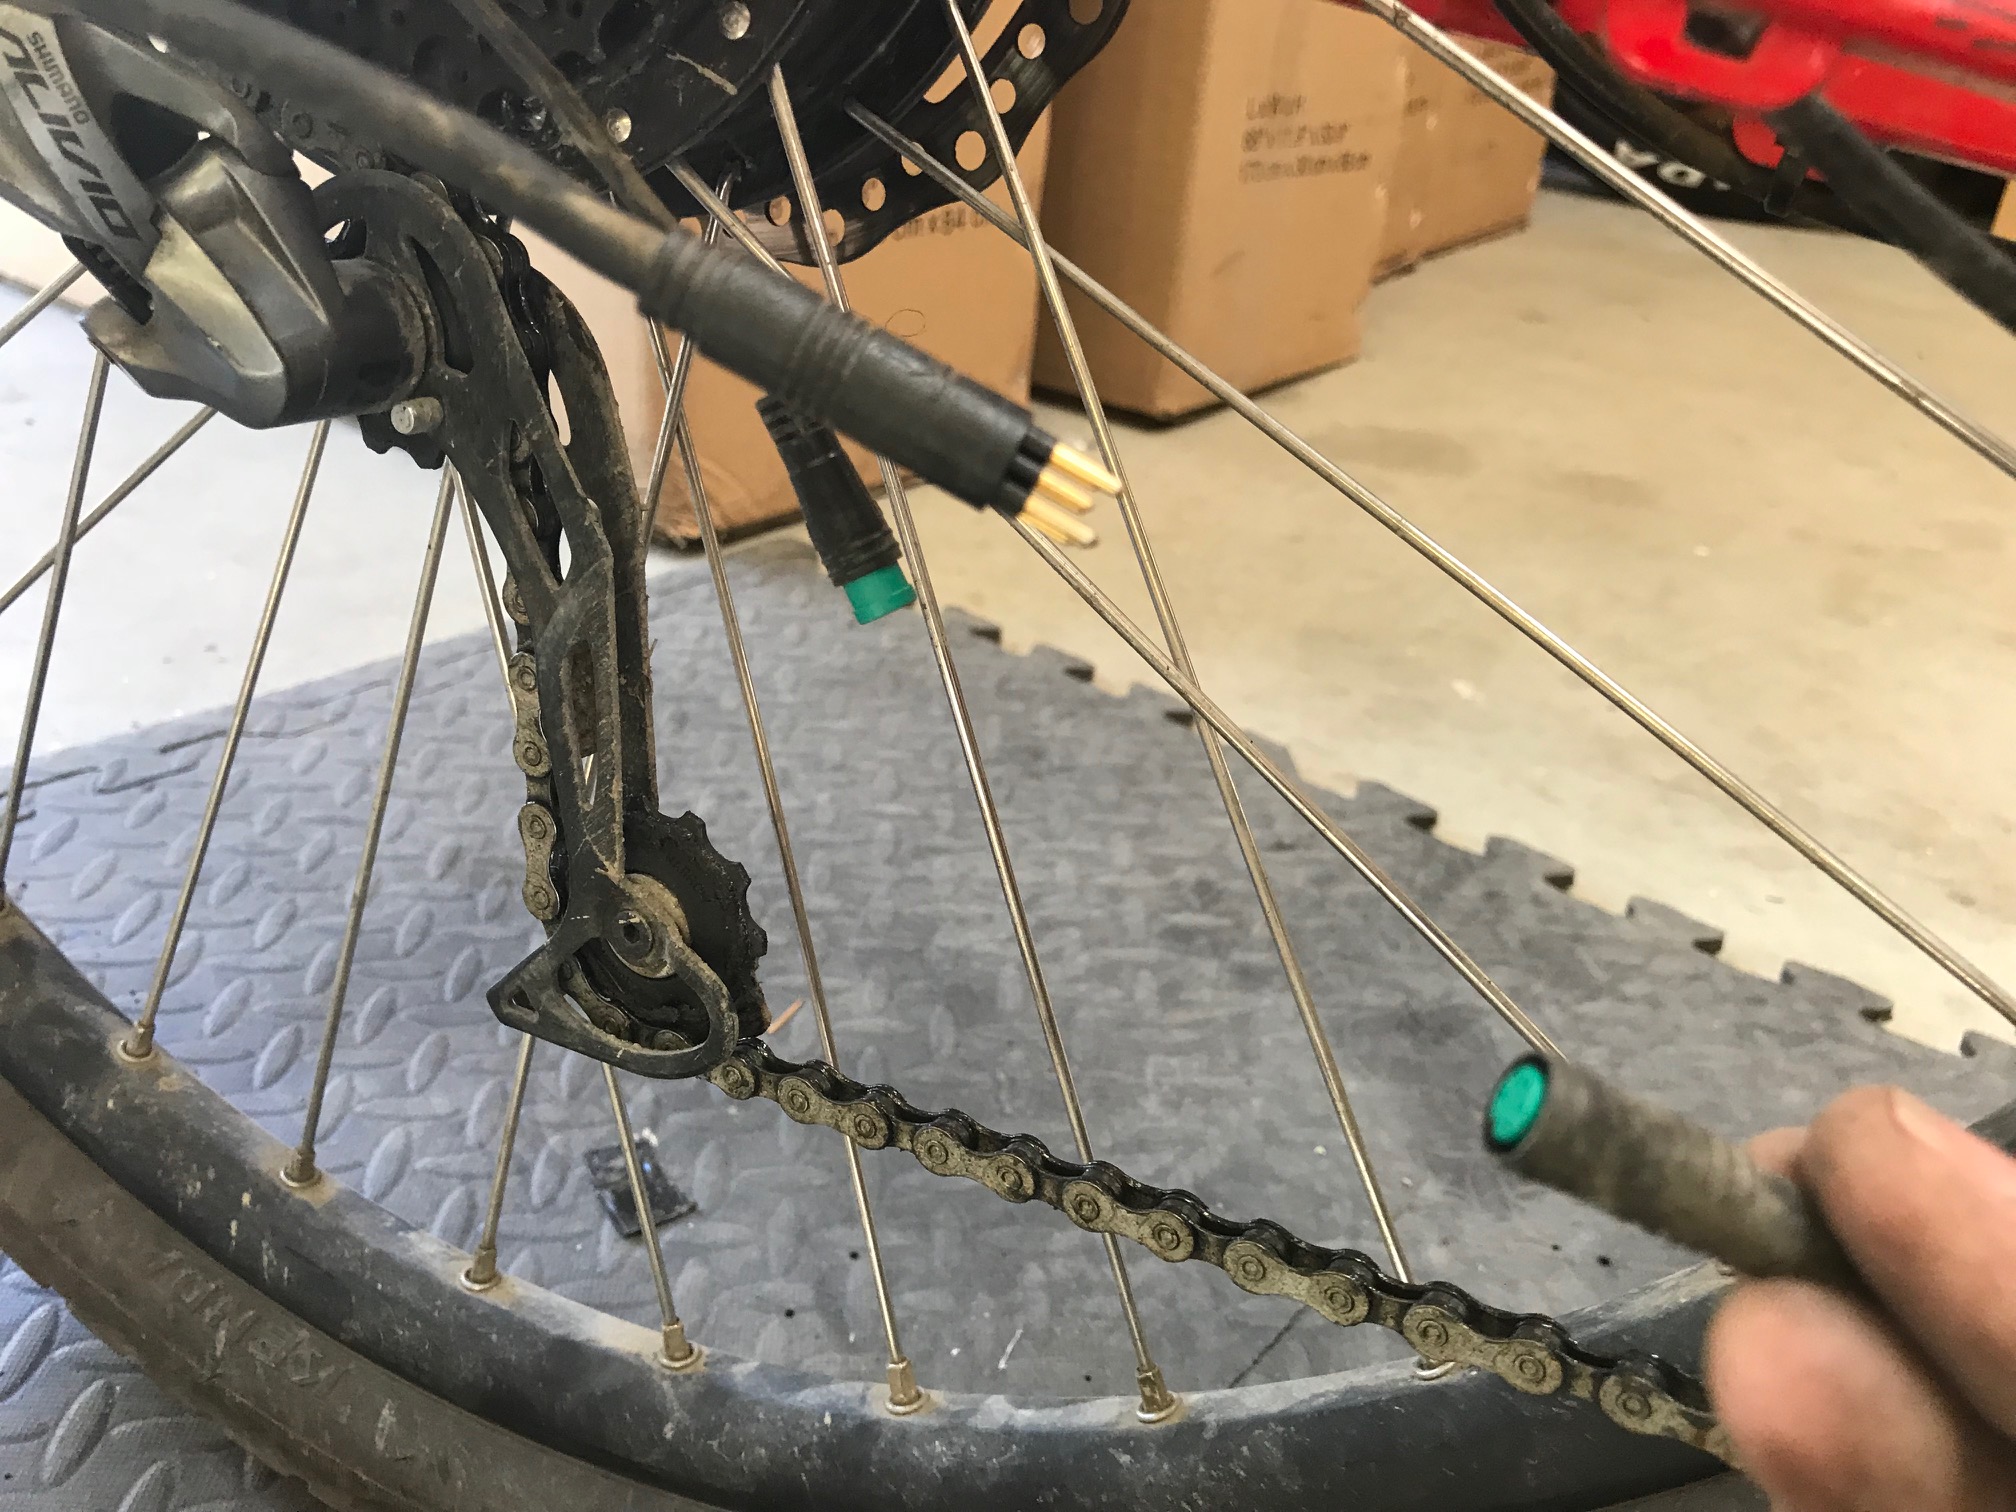
The torque sensor wire.
Next disconnect the controller signal wire from the harness. This is located near the headset, and is pulled apart in the same way.
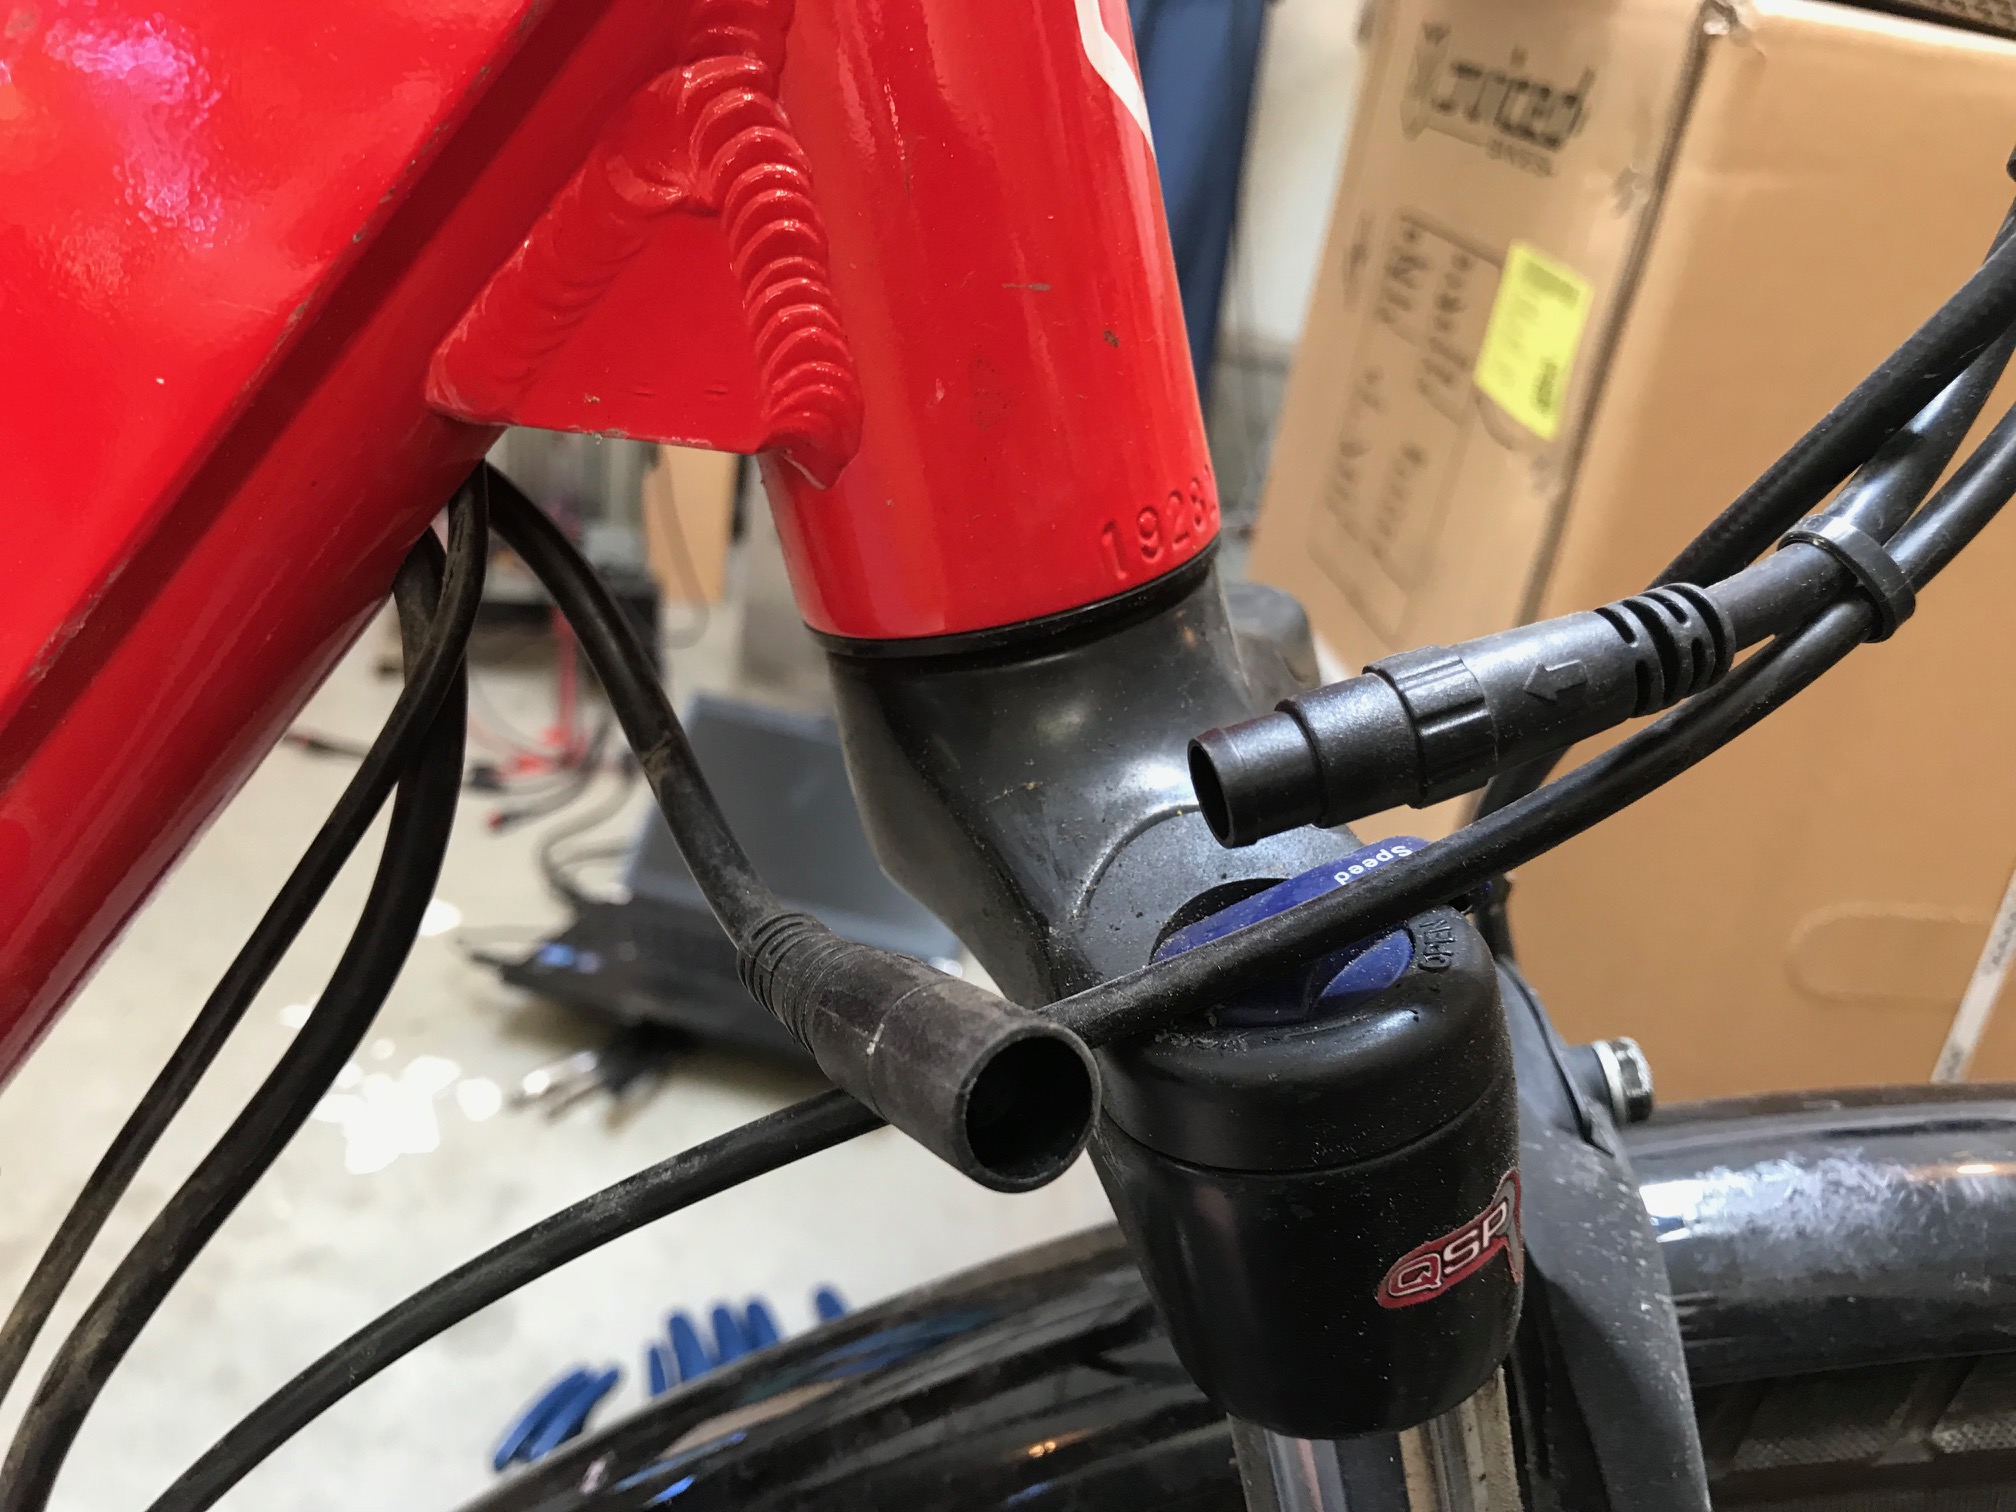
Now remove the upper battery retention bracket. First remove the little plastic cover by taking out the small philips screw near the locking pin.
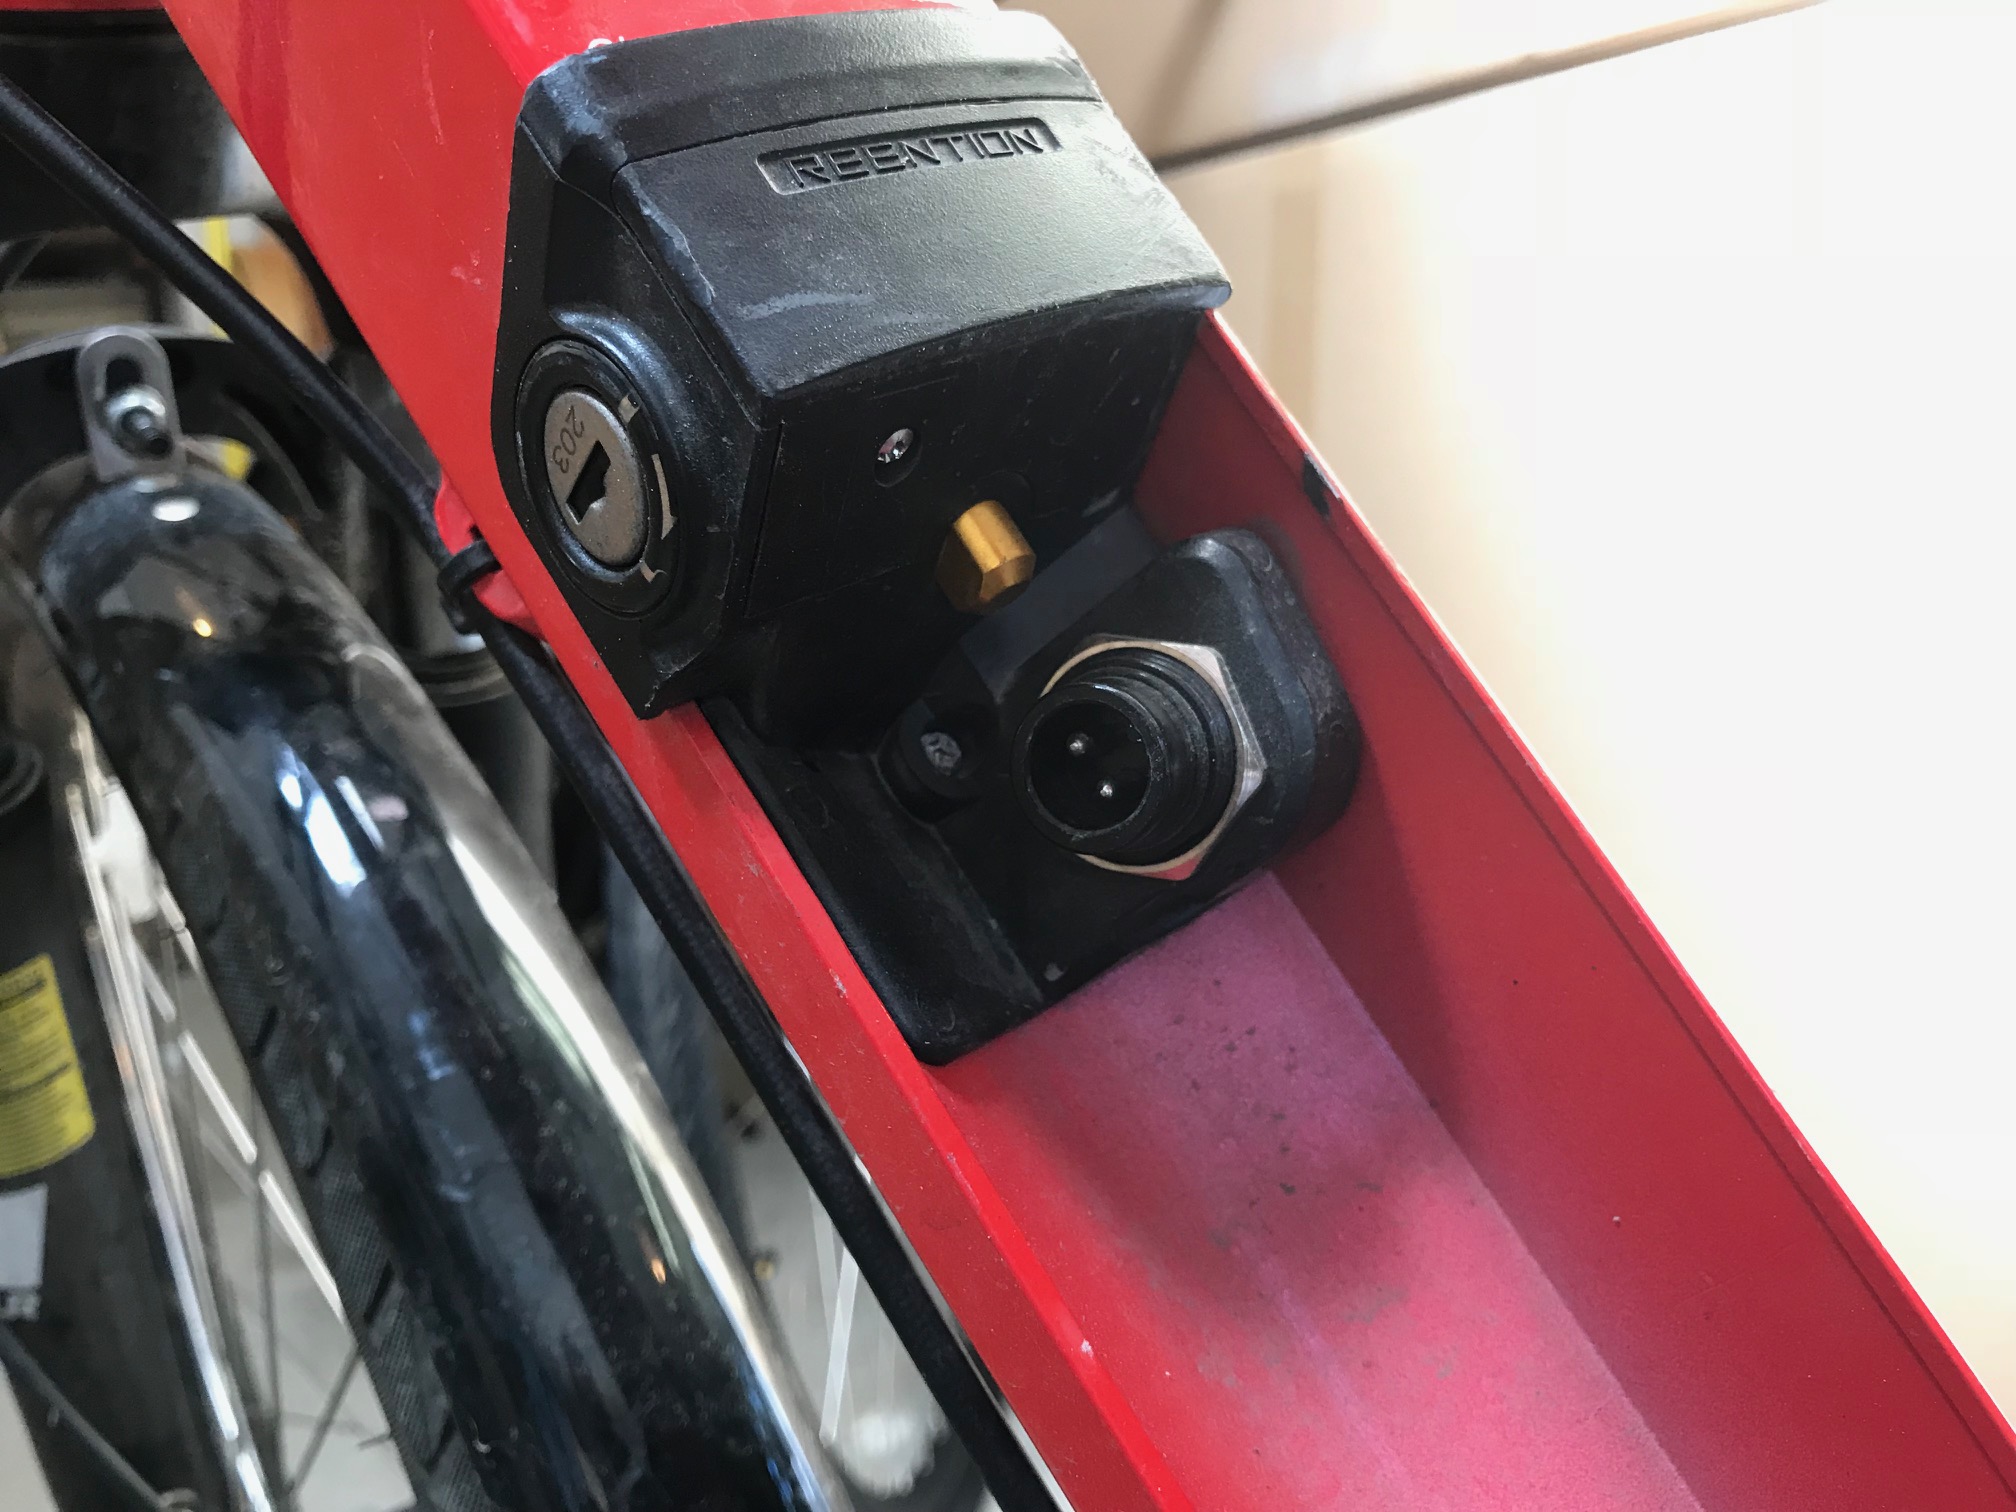
Next remove the one or two Philips screws under the cover.
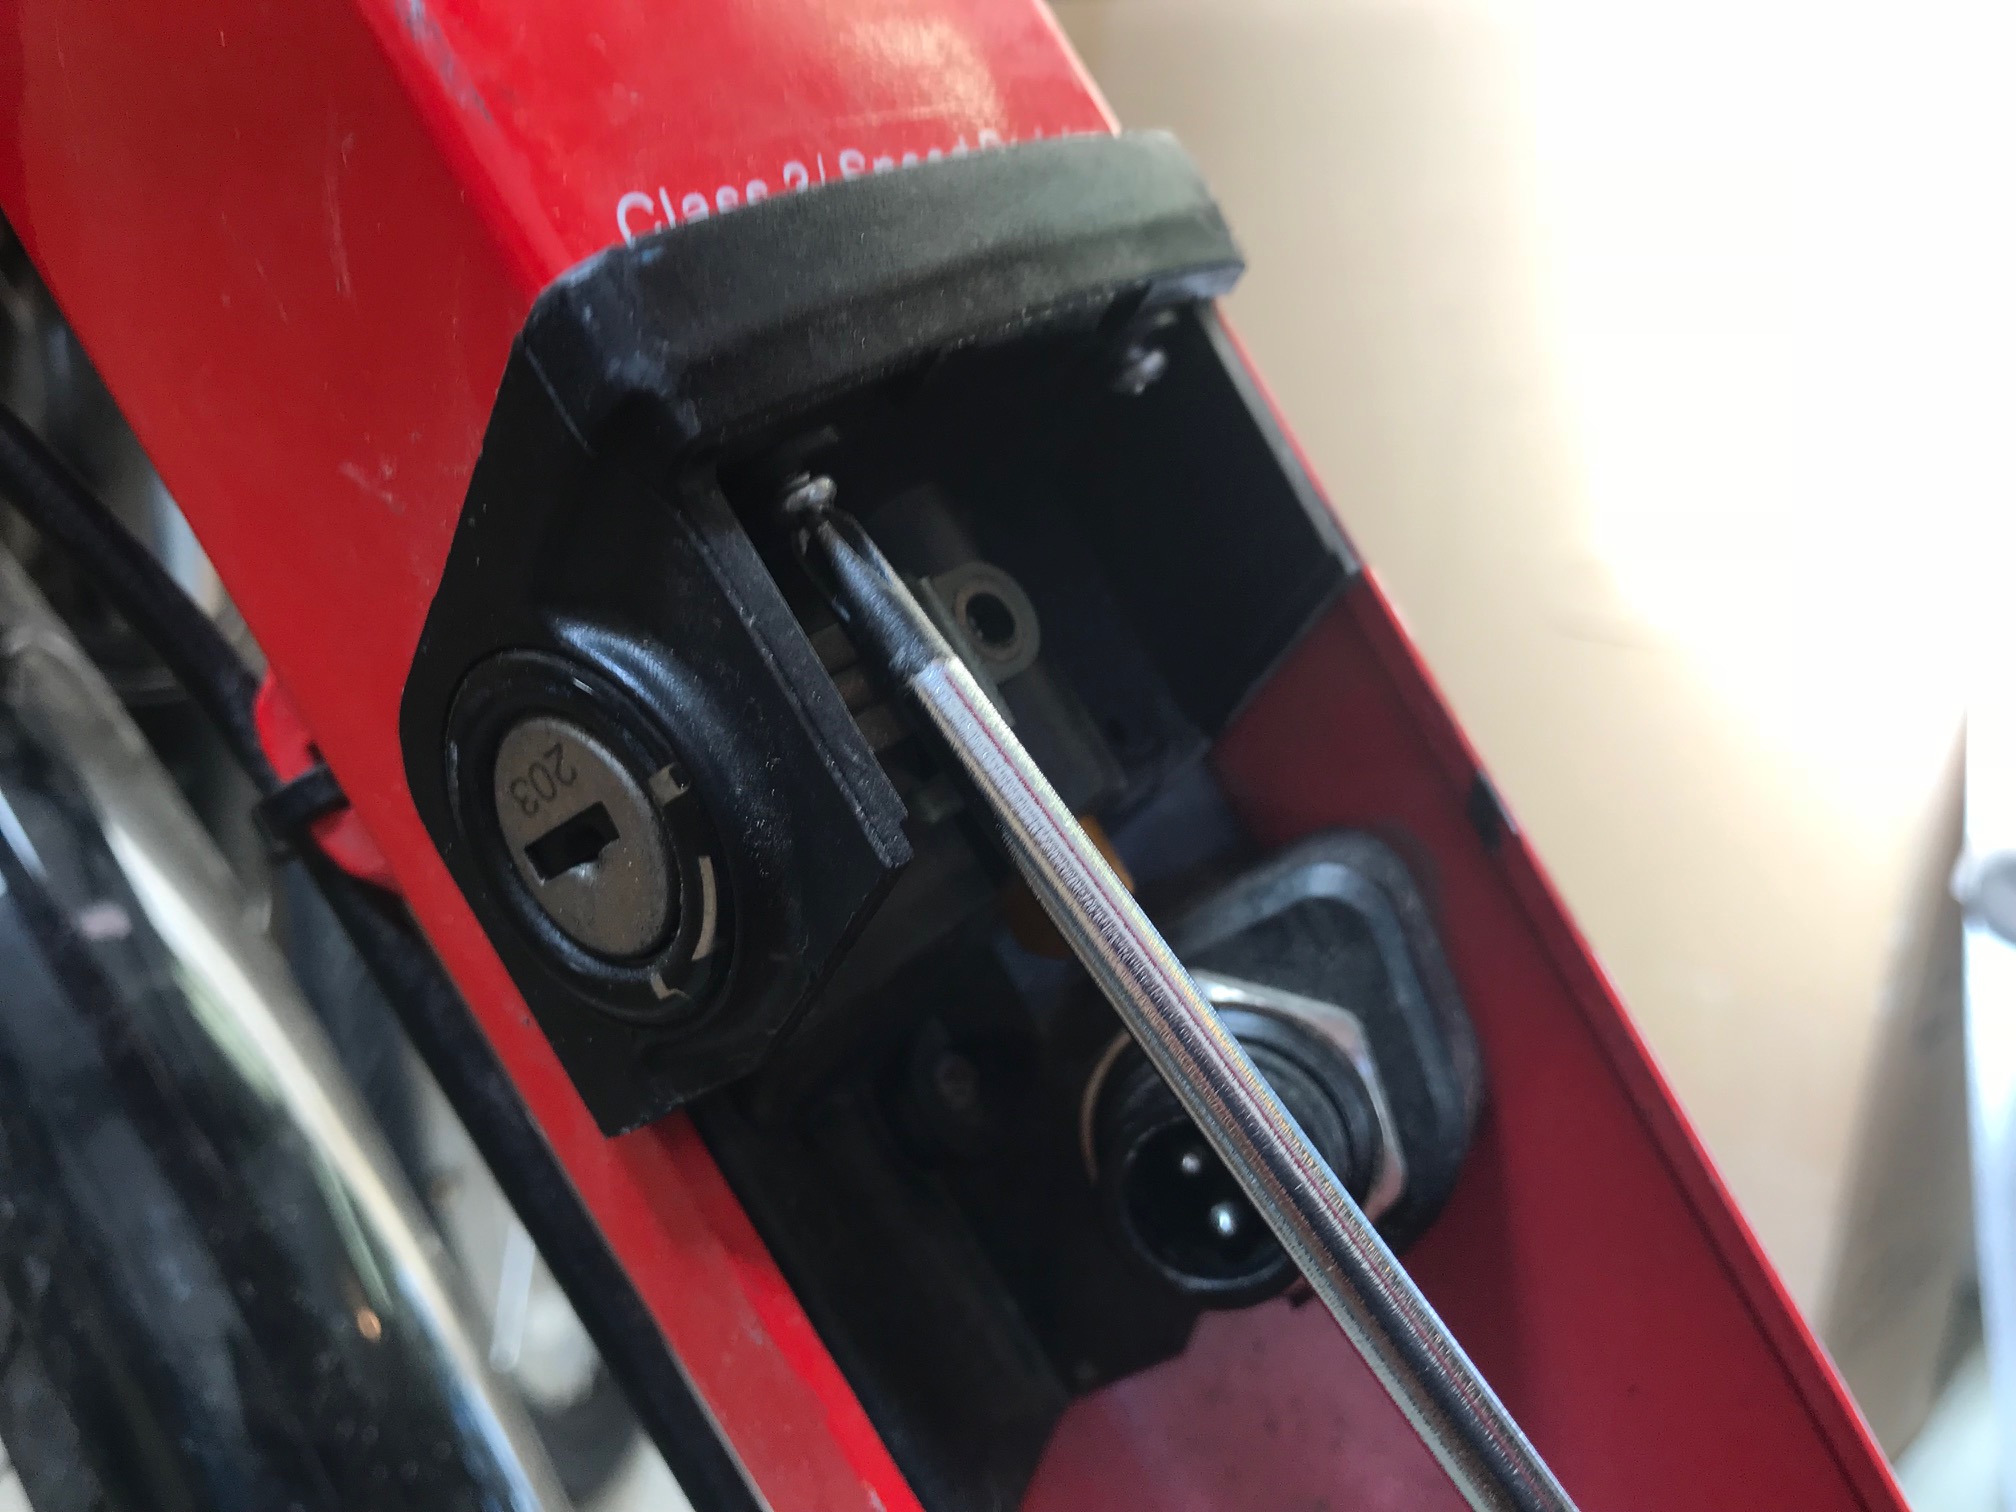
Notice that they may not be fully inserted. Put them back the same way when re assembling. Trying to fully insert them may end up breaking off the head of the screw.
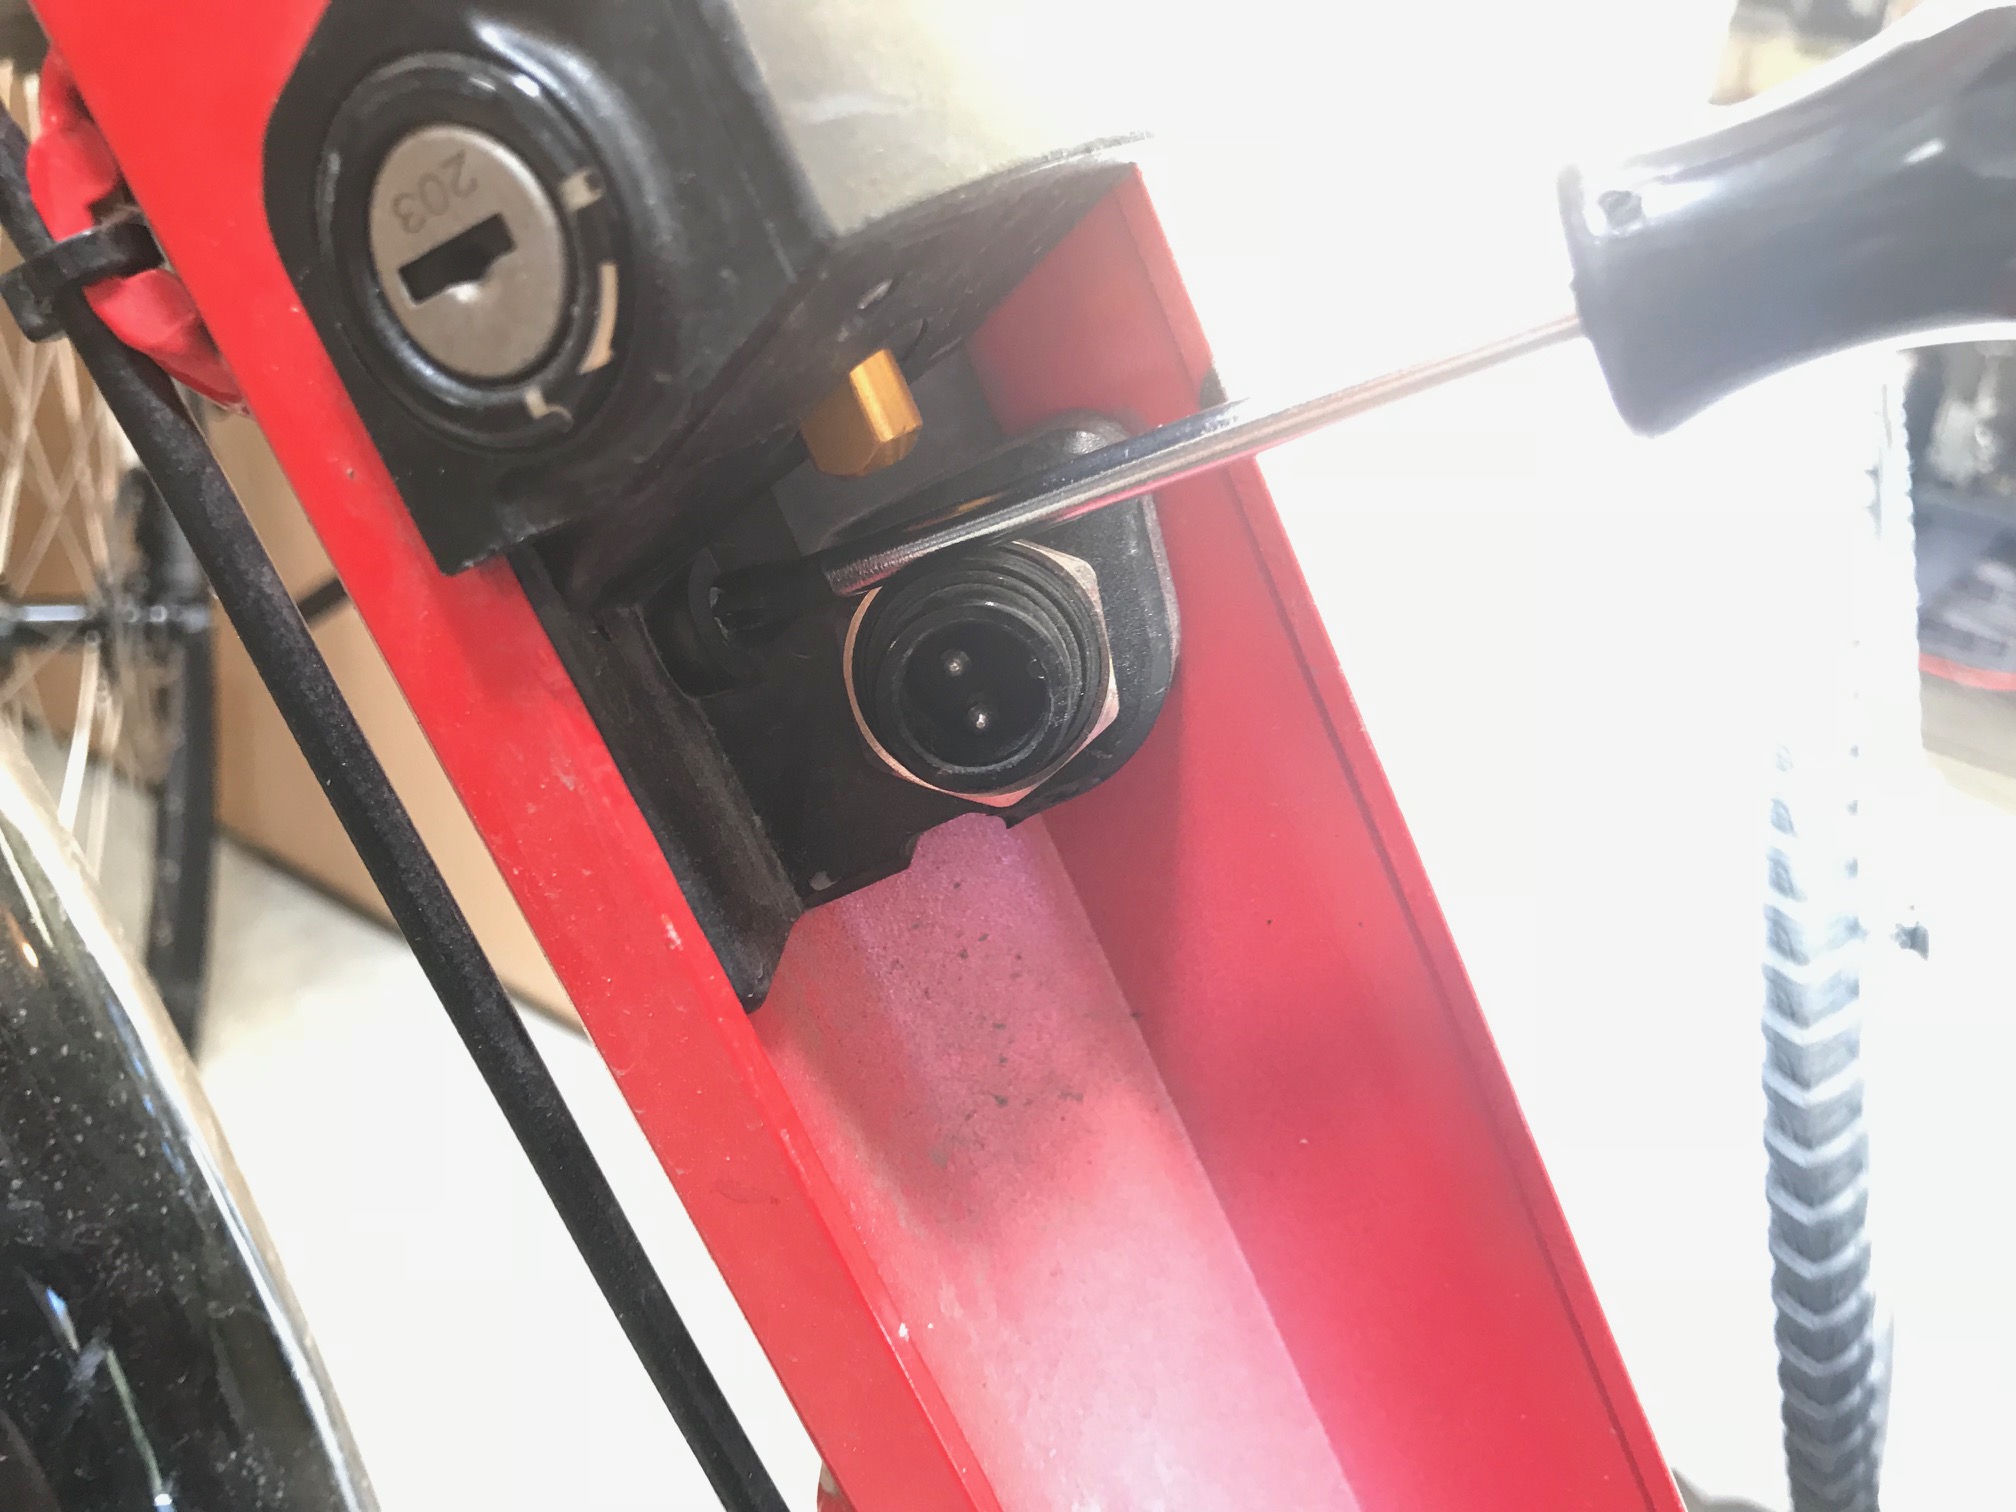
Then remove the machine screw down near the electrical connector.
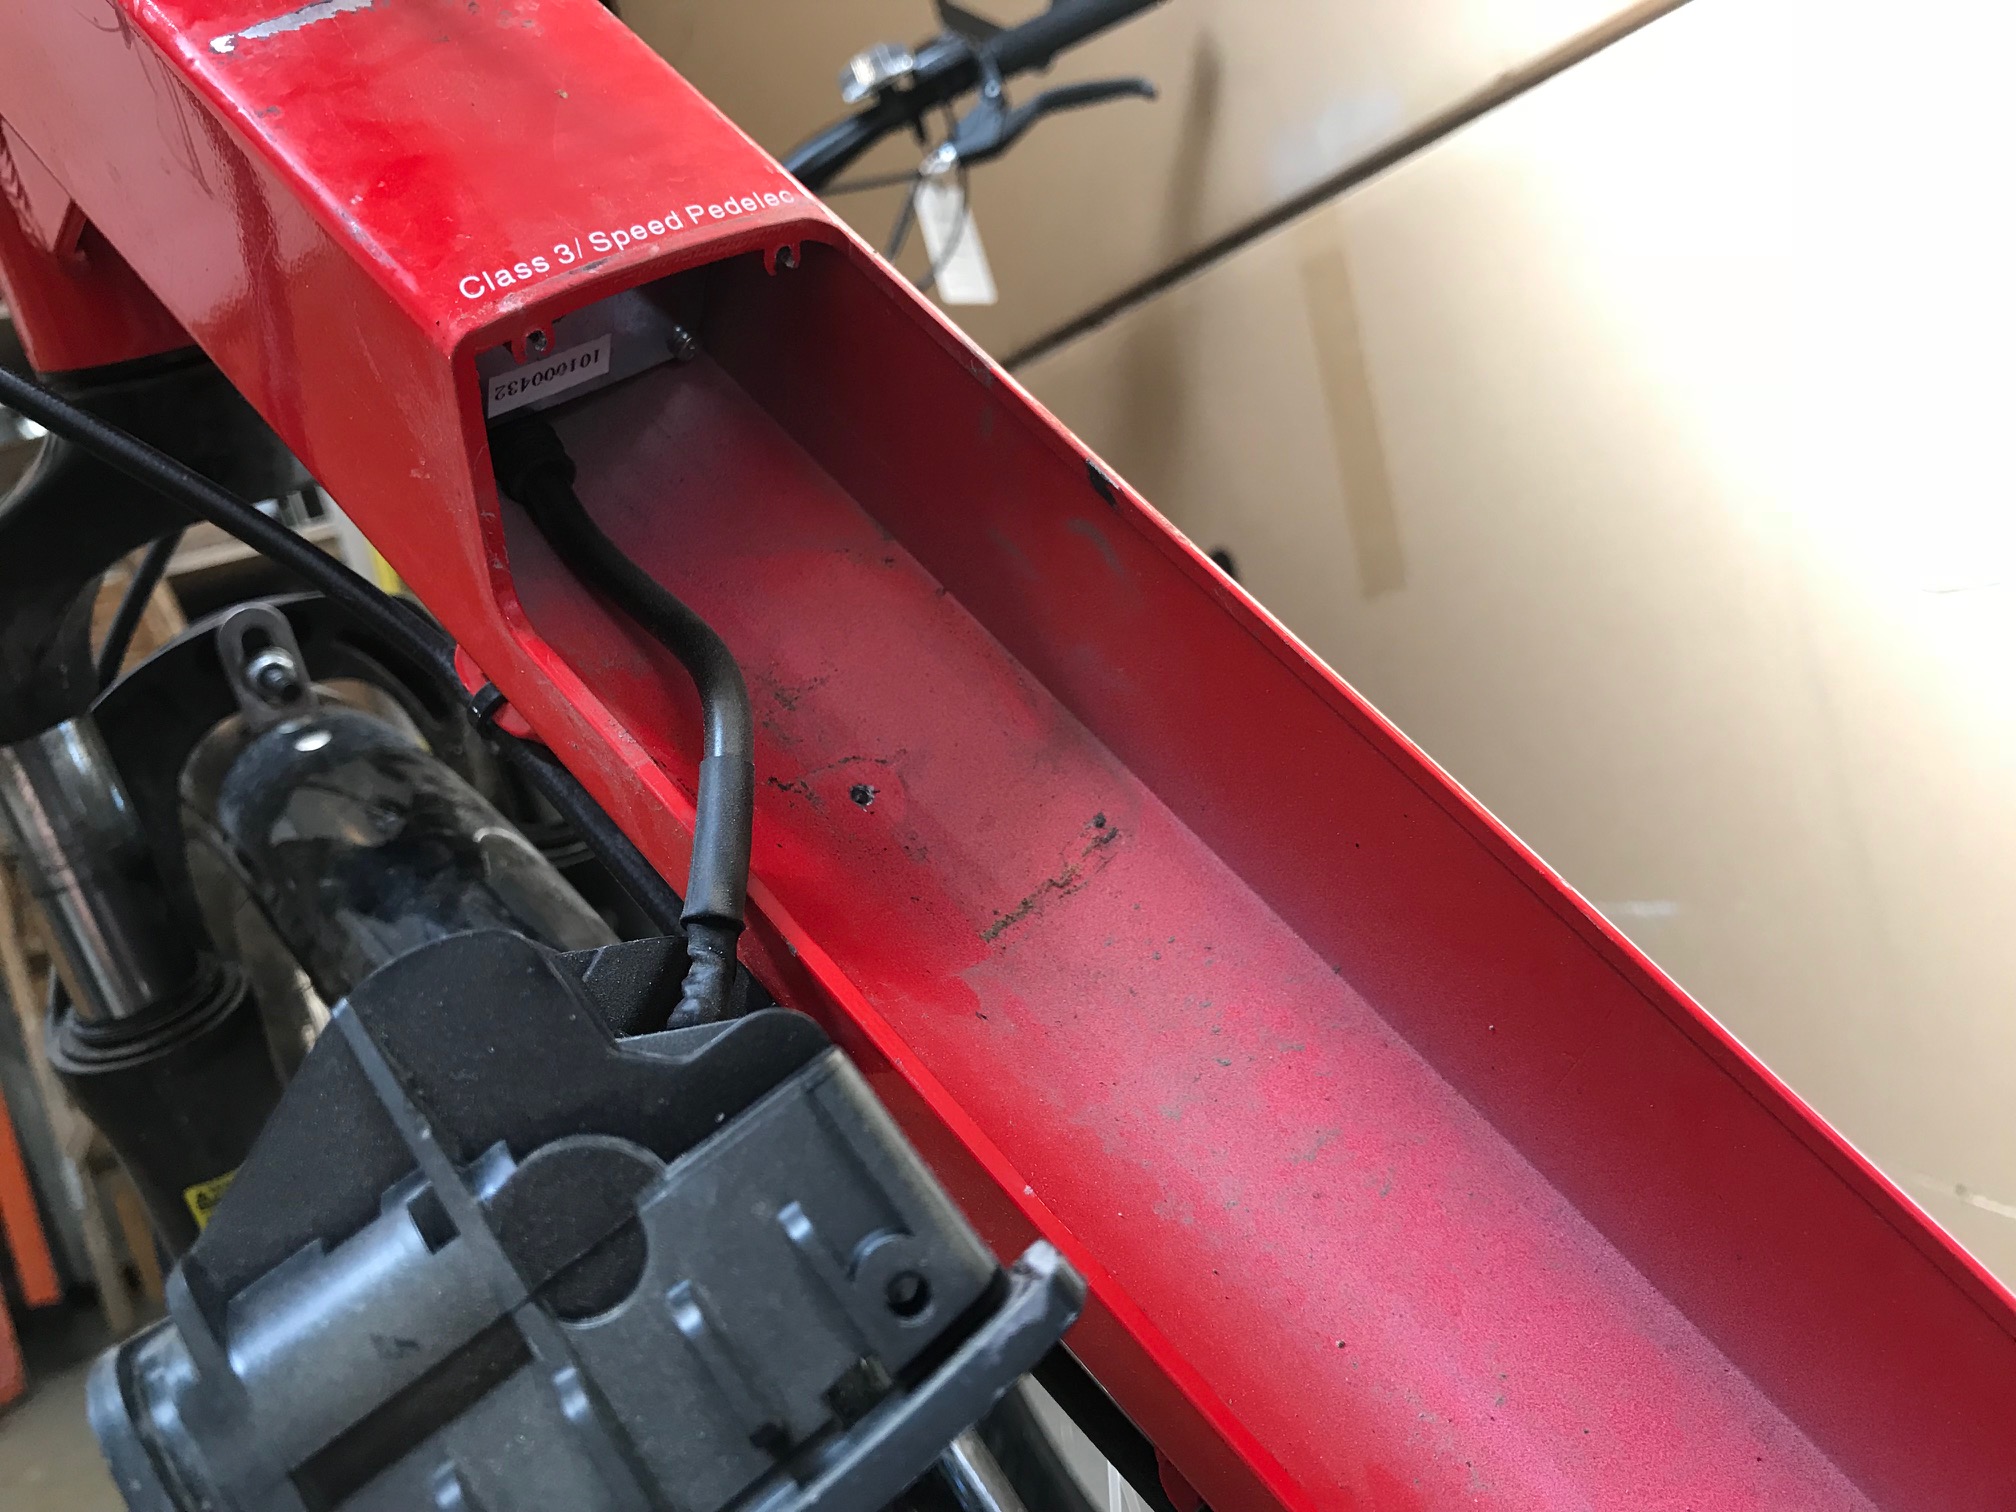
The plastic battery bracket can now be taken off. There will be a wire running to the motor controller, you can pull on this wire to disconnect it, and if this pulls out the controller, that's good, it is coming out anyways.
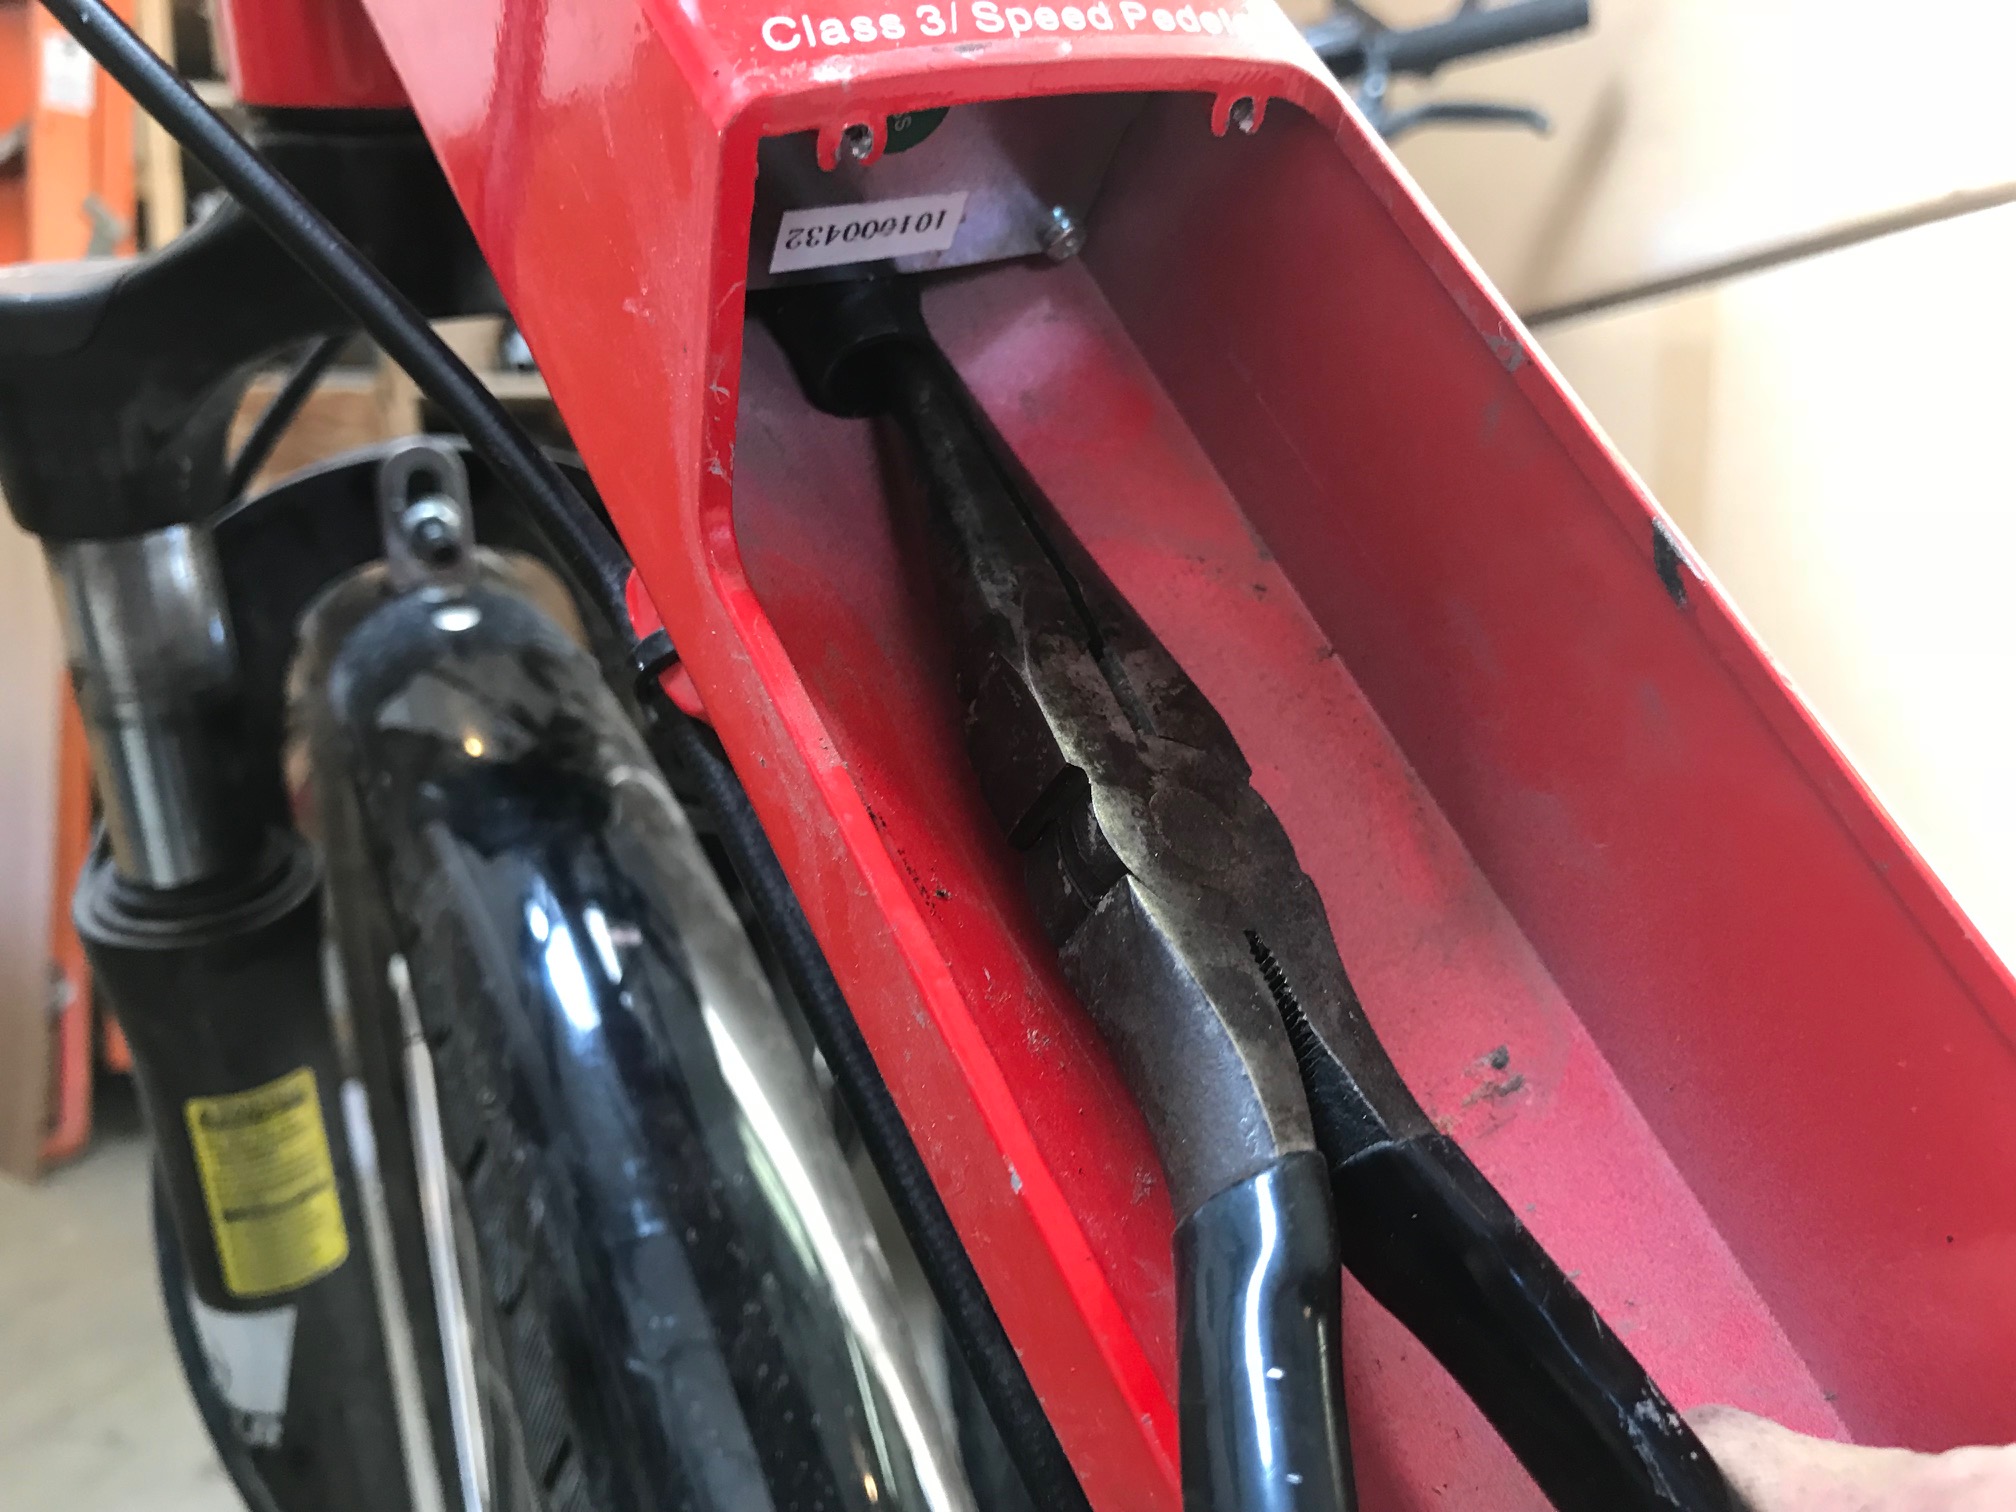
To pull the controller out you can grab the connector and or the controller with a pair of pliers. You may have to get some slack in the wires that go in under the frame behind the headset.
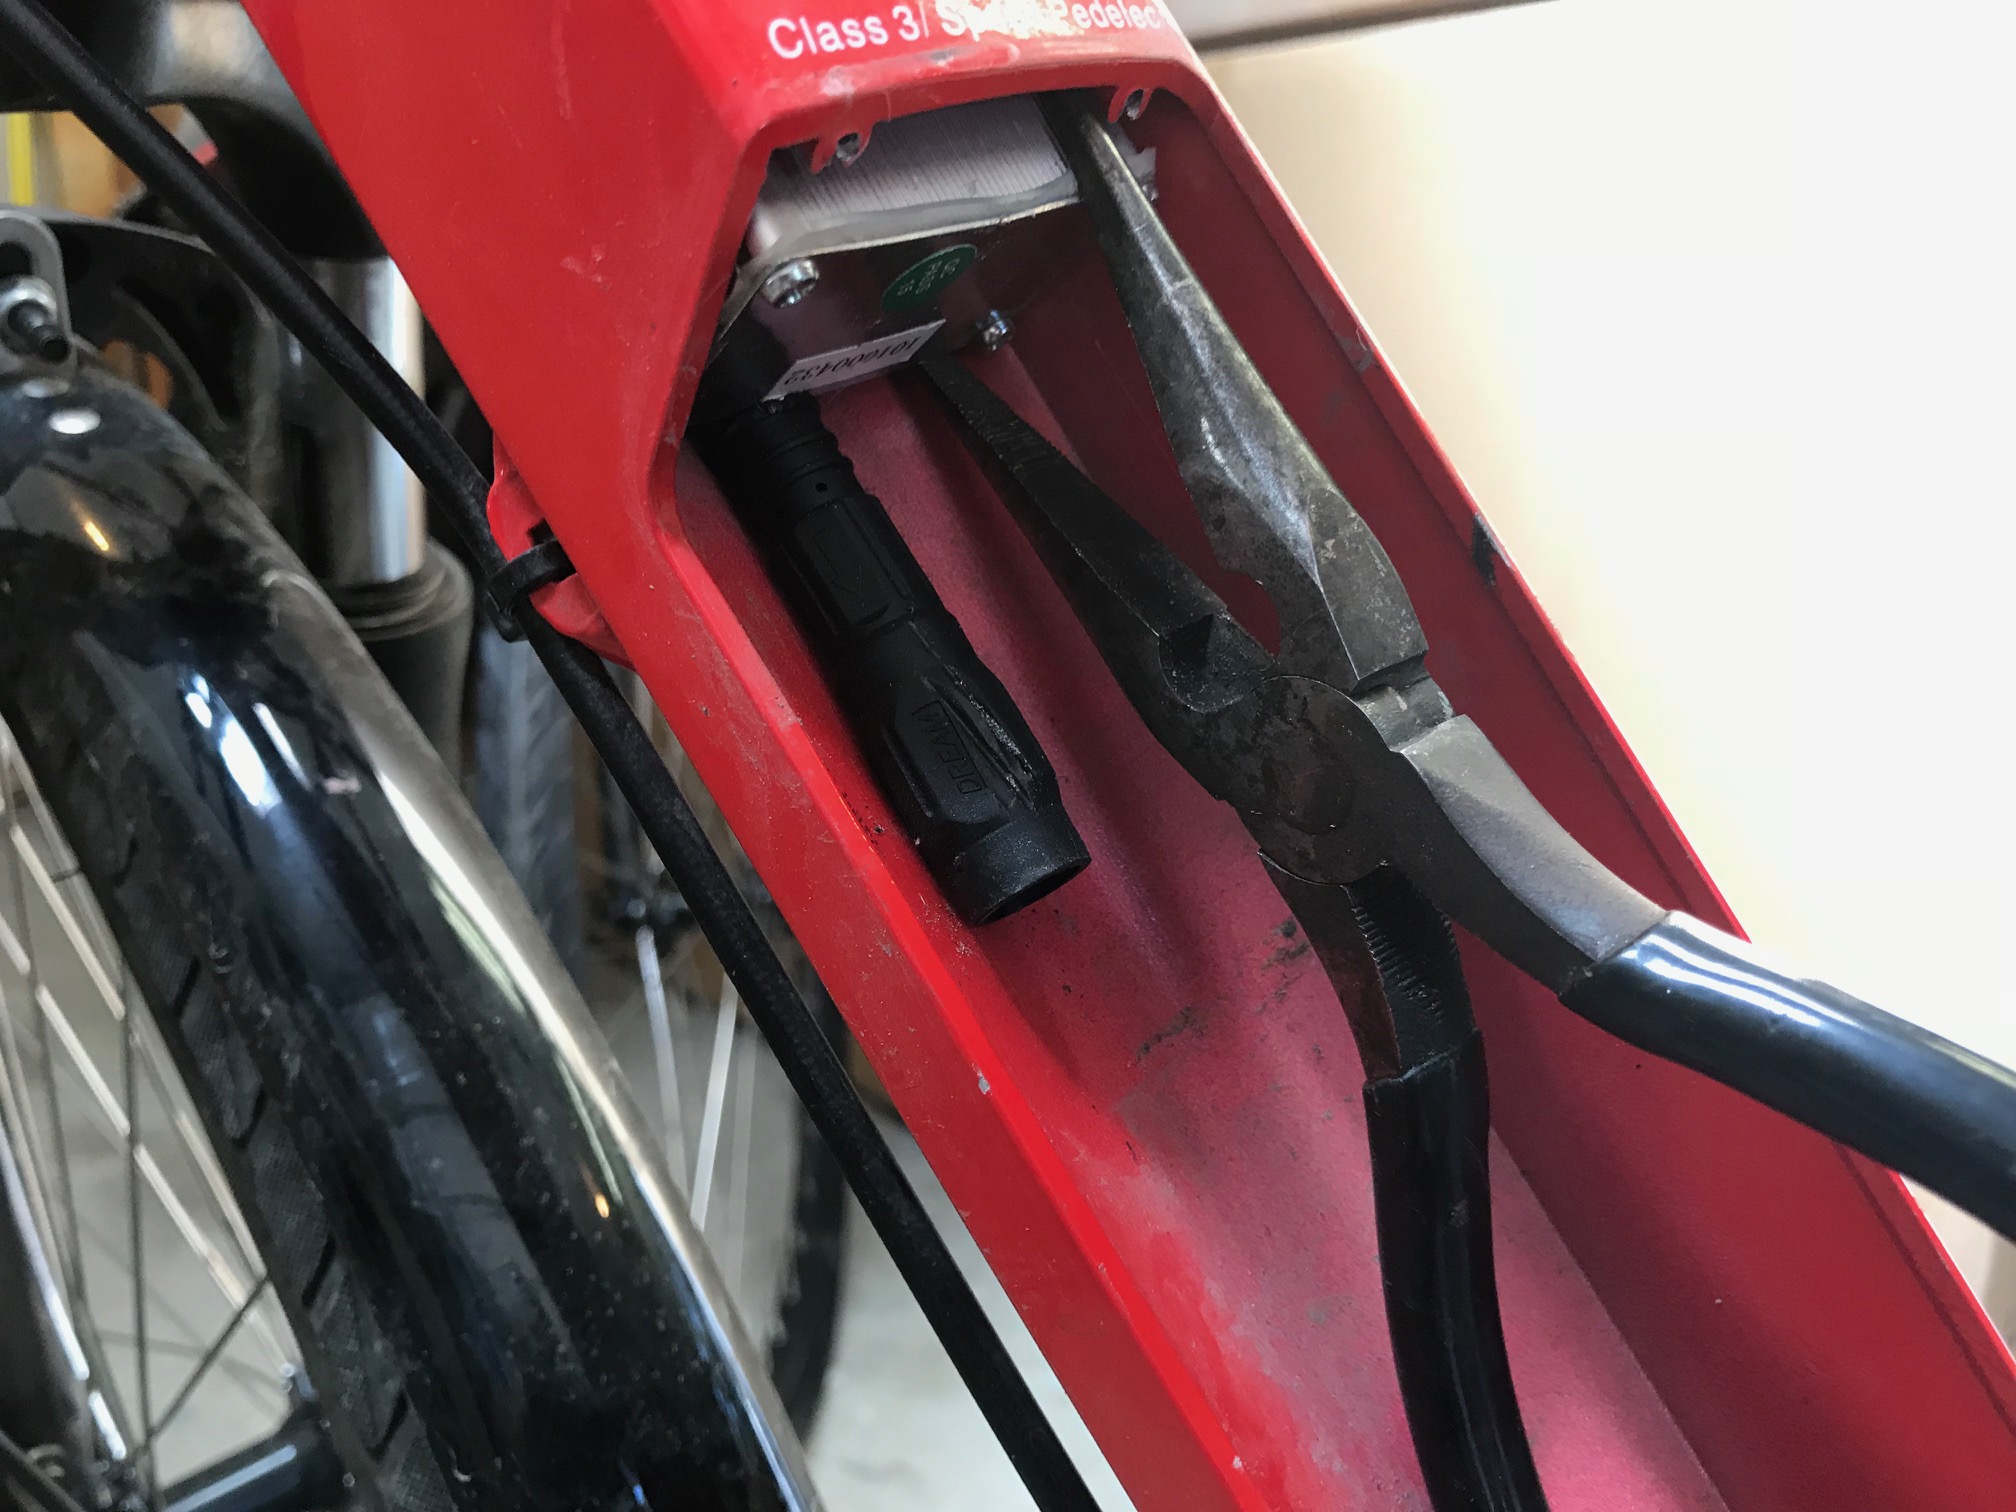
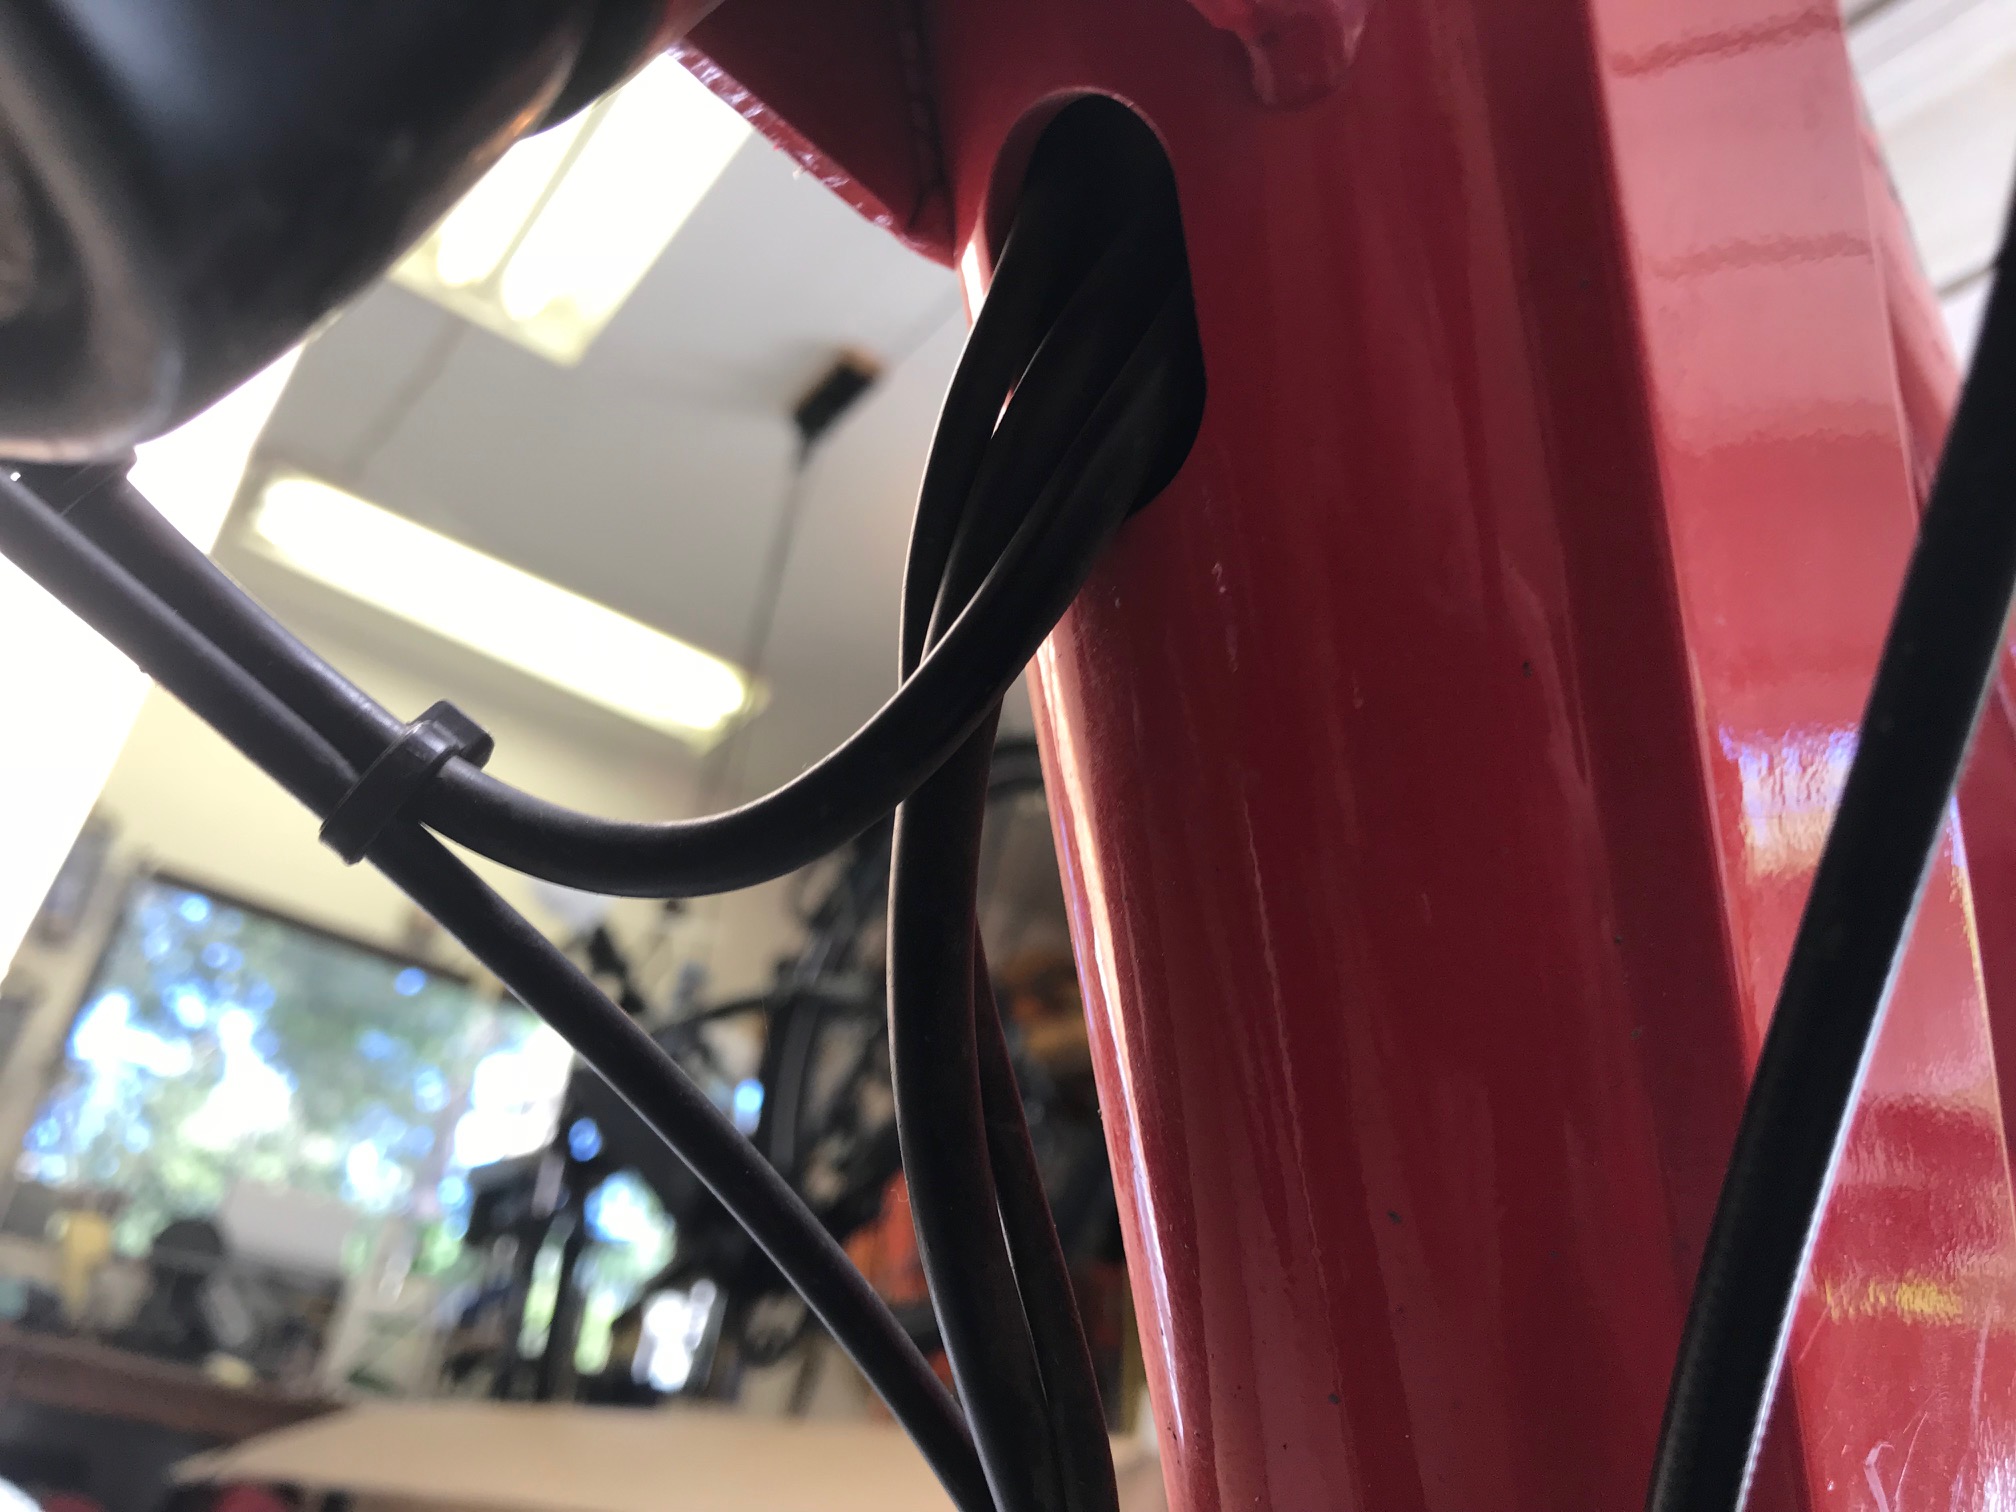
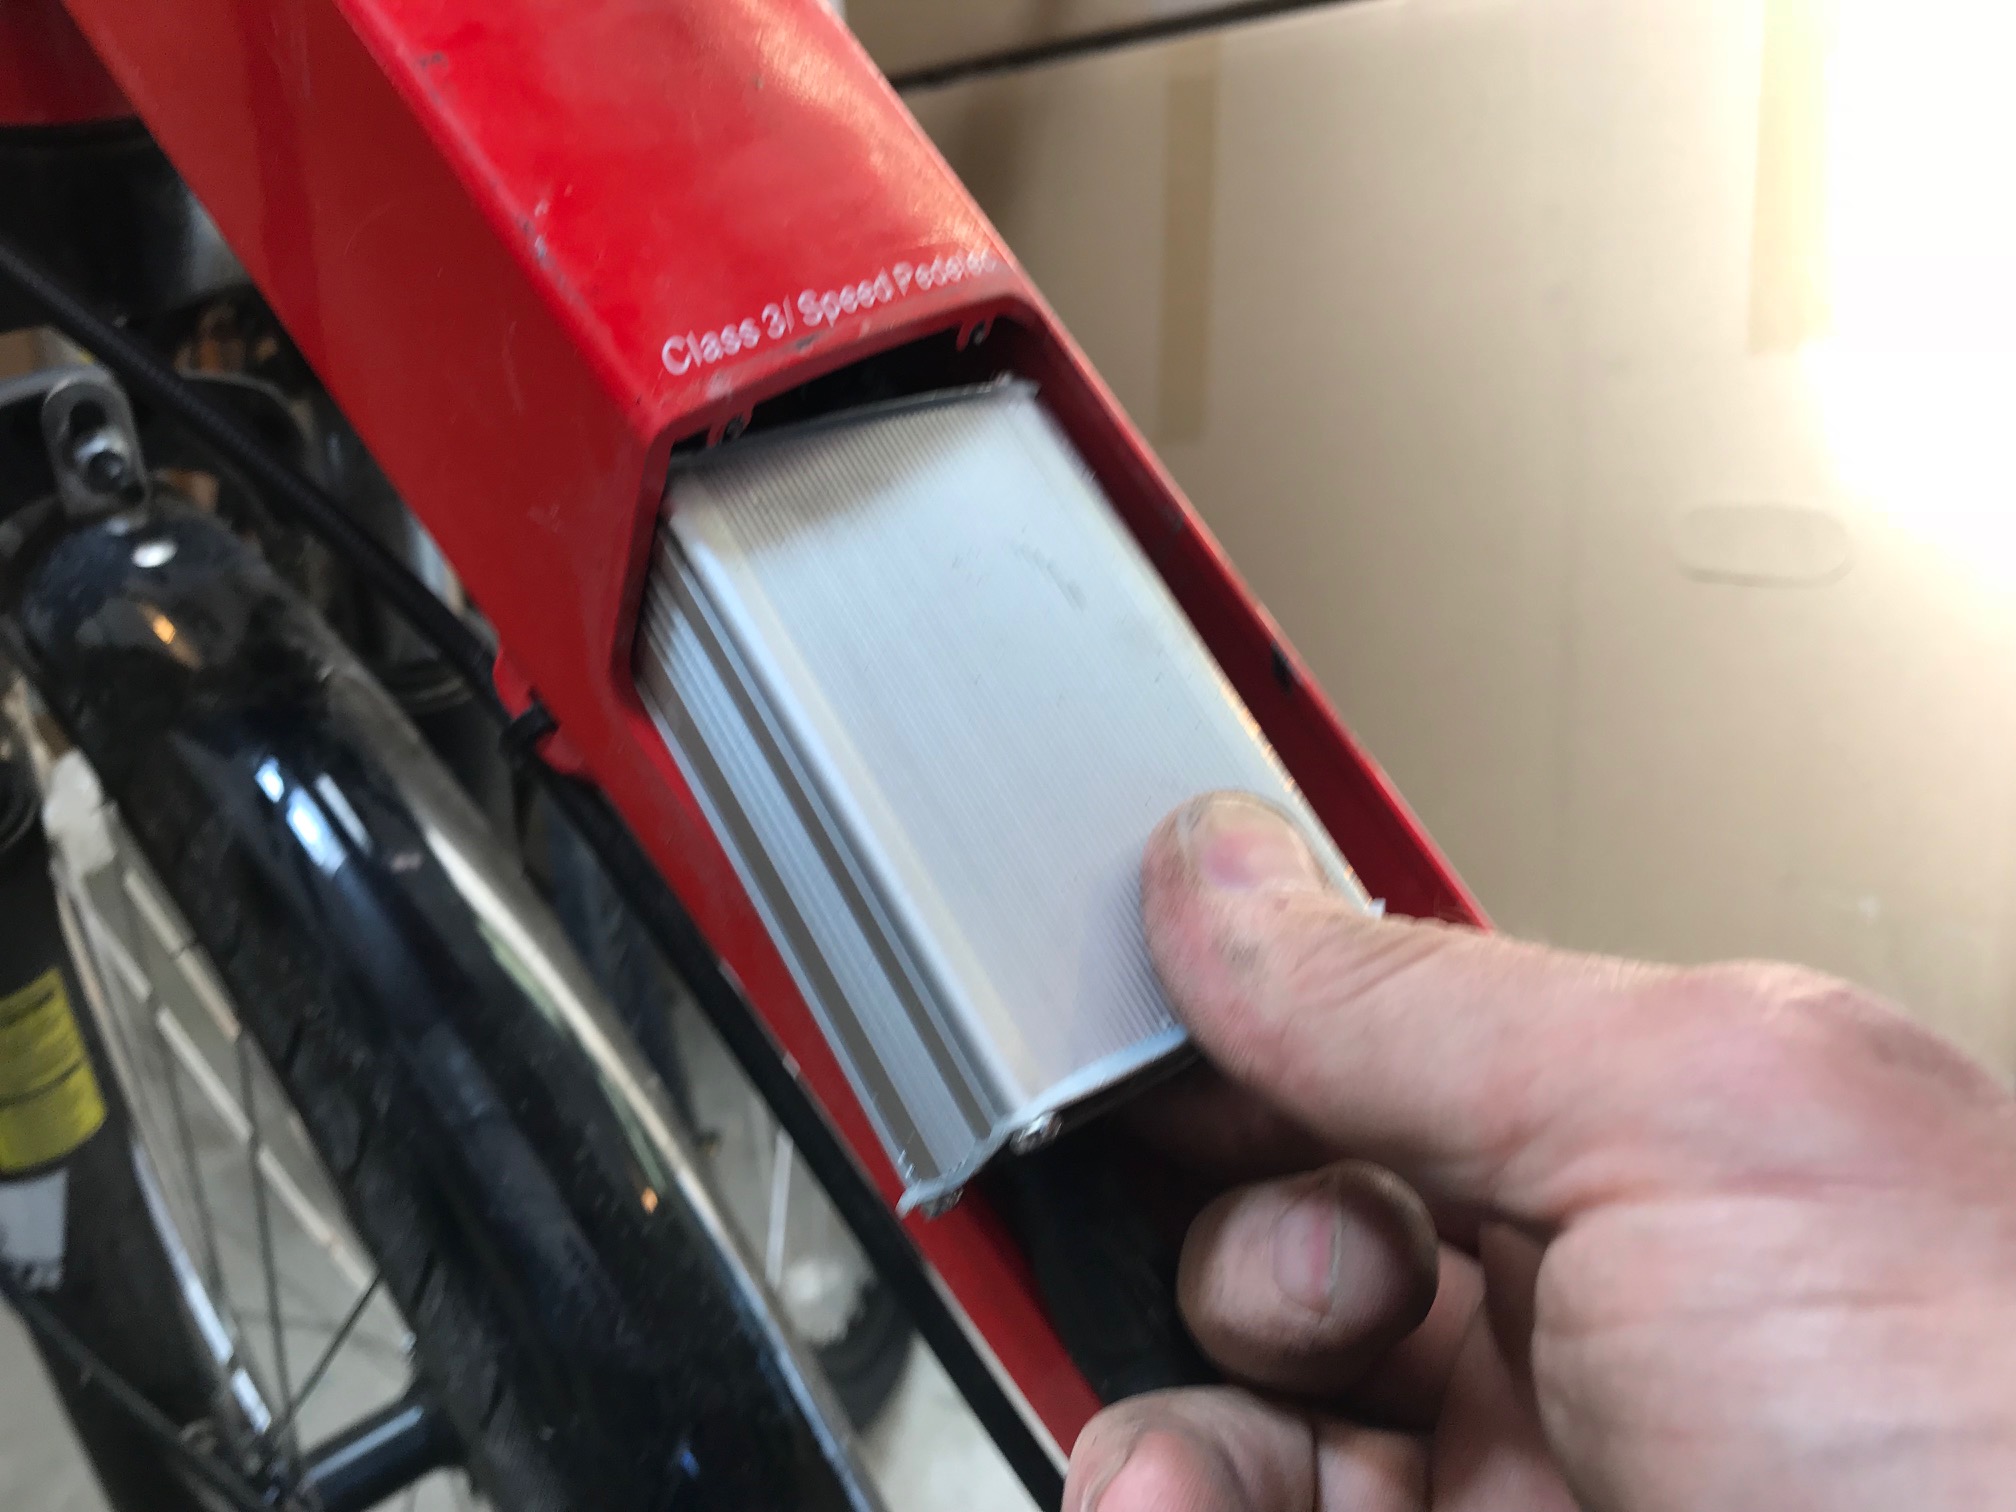
Now hold on before you pull the wires all the way out. You can tape the wires for the new controller to the existing wires and pull the new wires in, which makes it easier to get them through the frame.
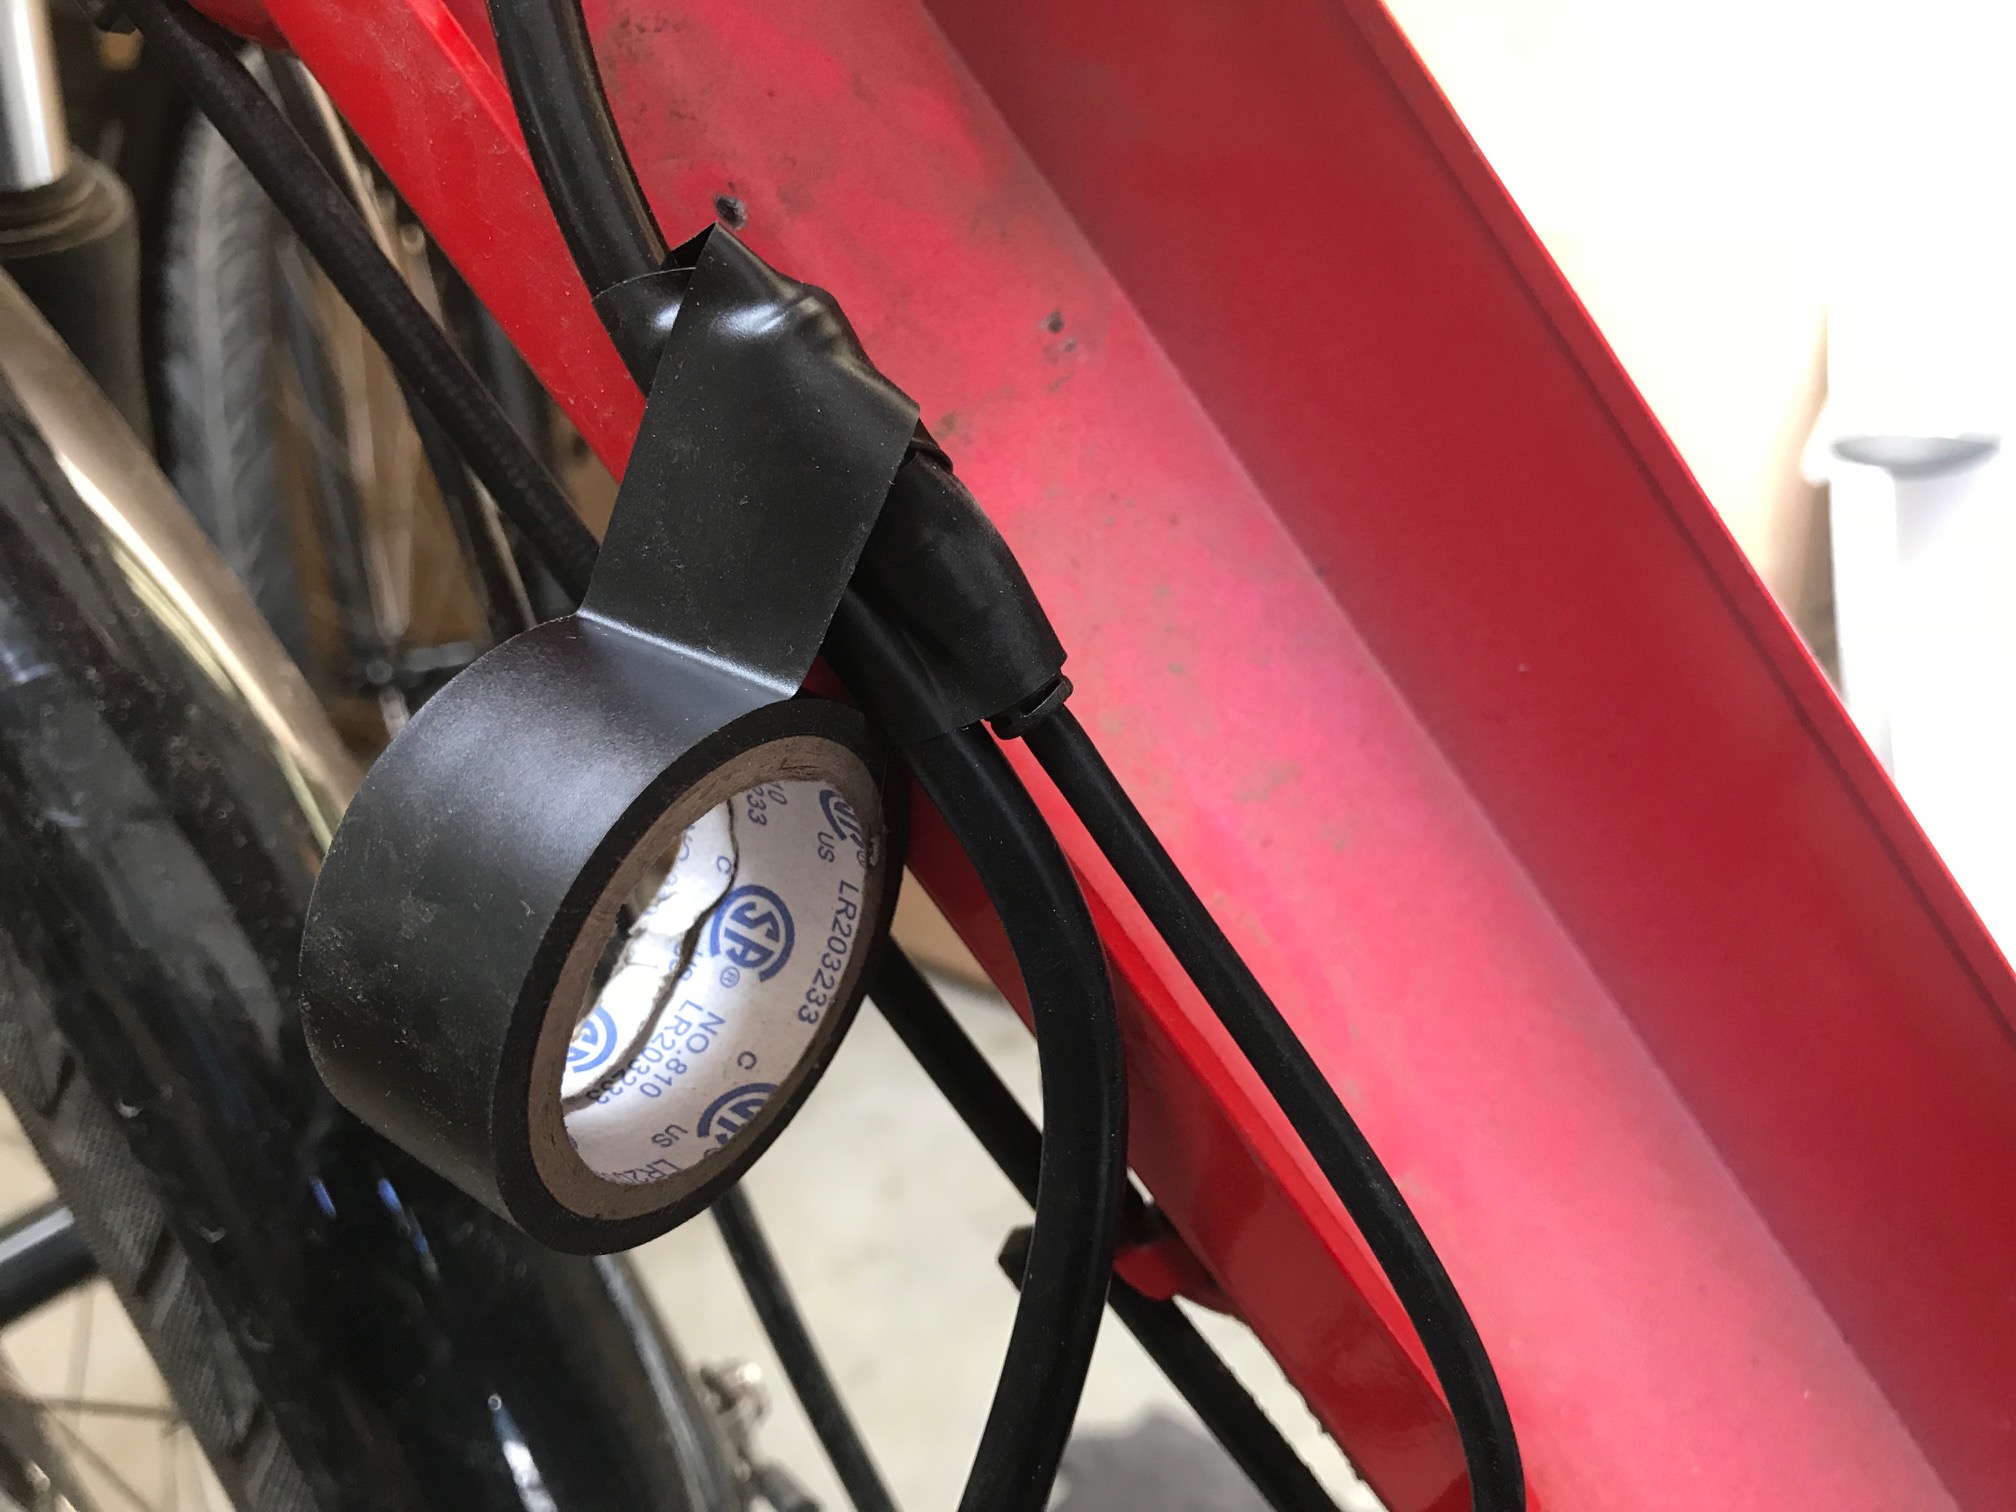
All of the wires go through the frame, except for the one with the yellow connector, it gets folded back and runs under the new controller.
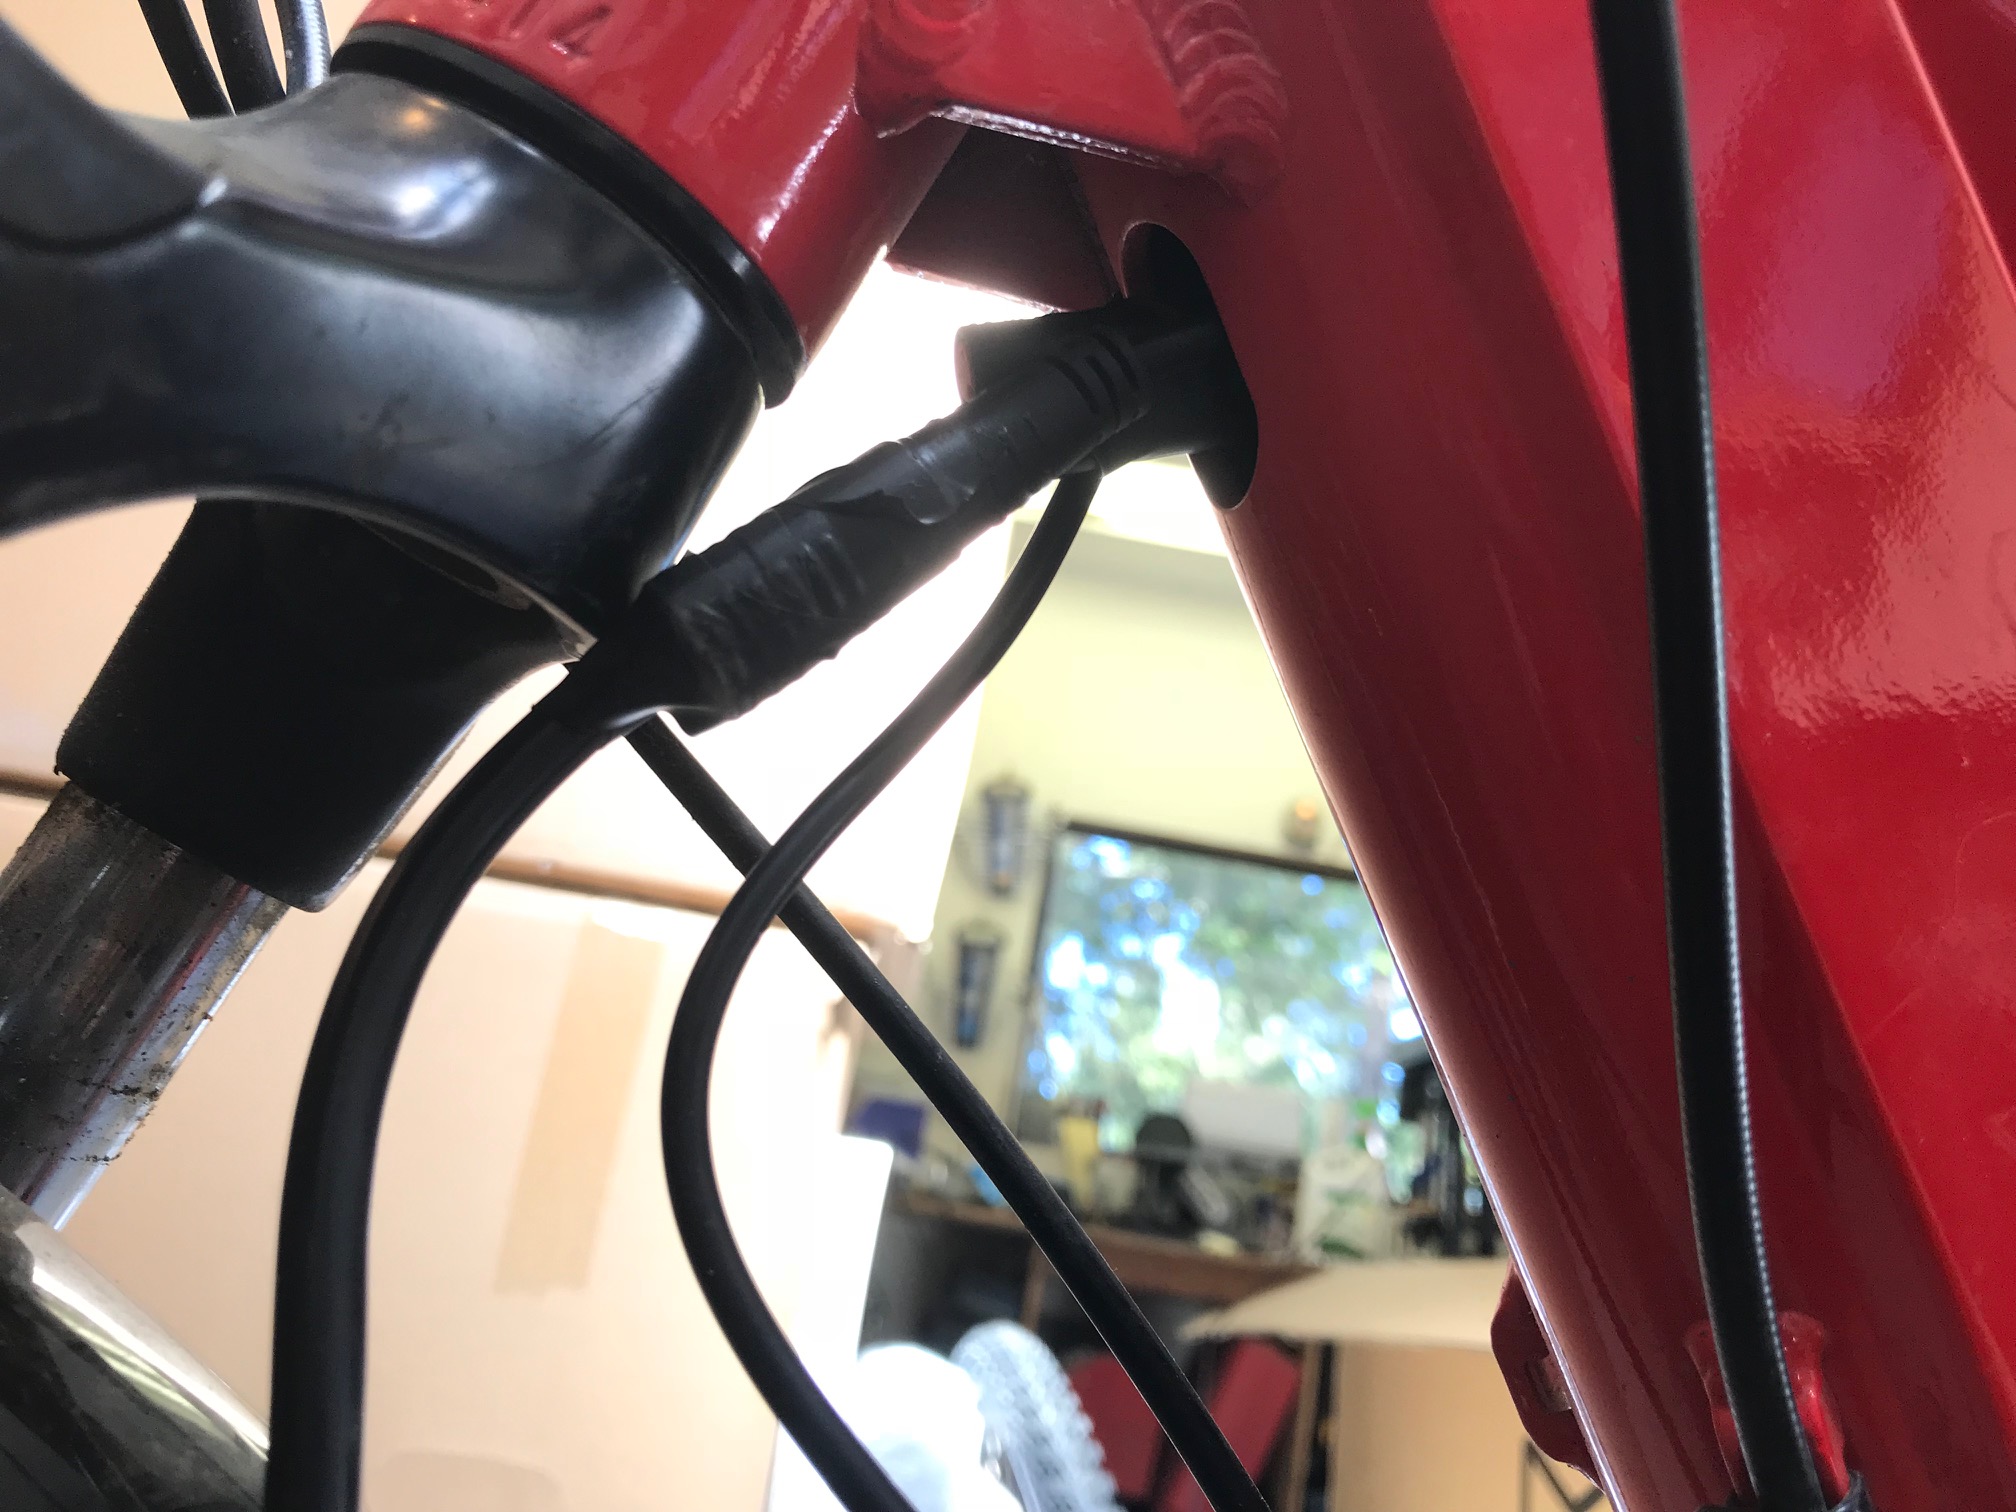
Pulling the new wires in as you pull the old ones out.
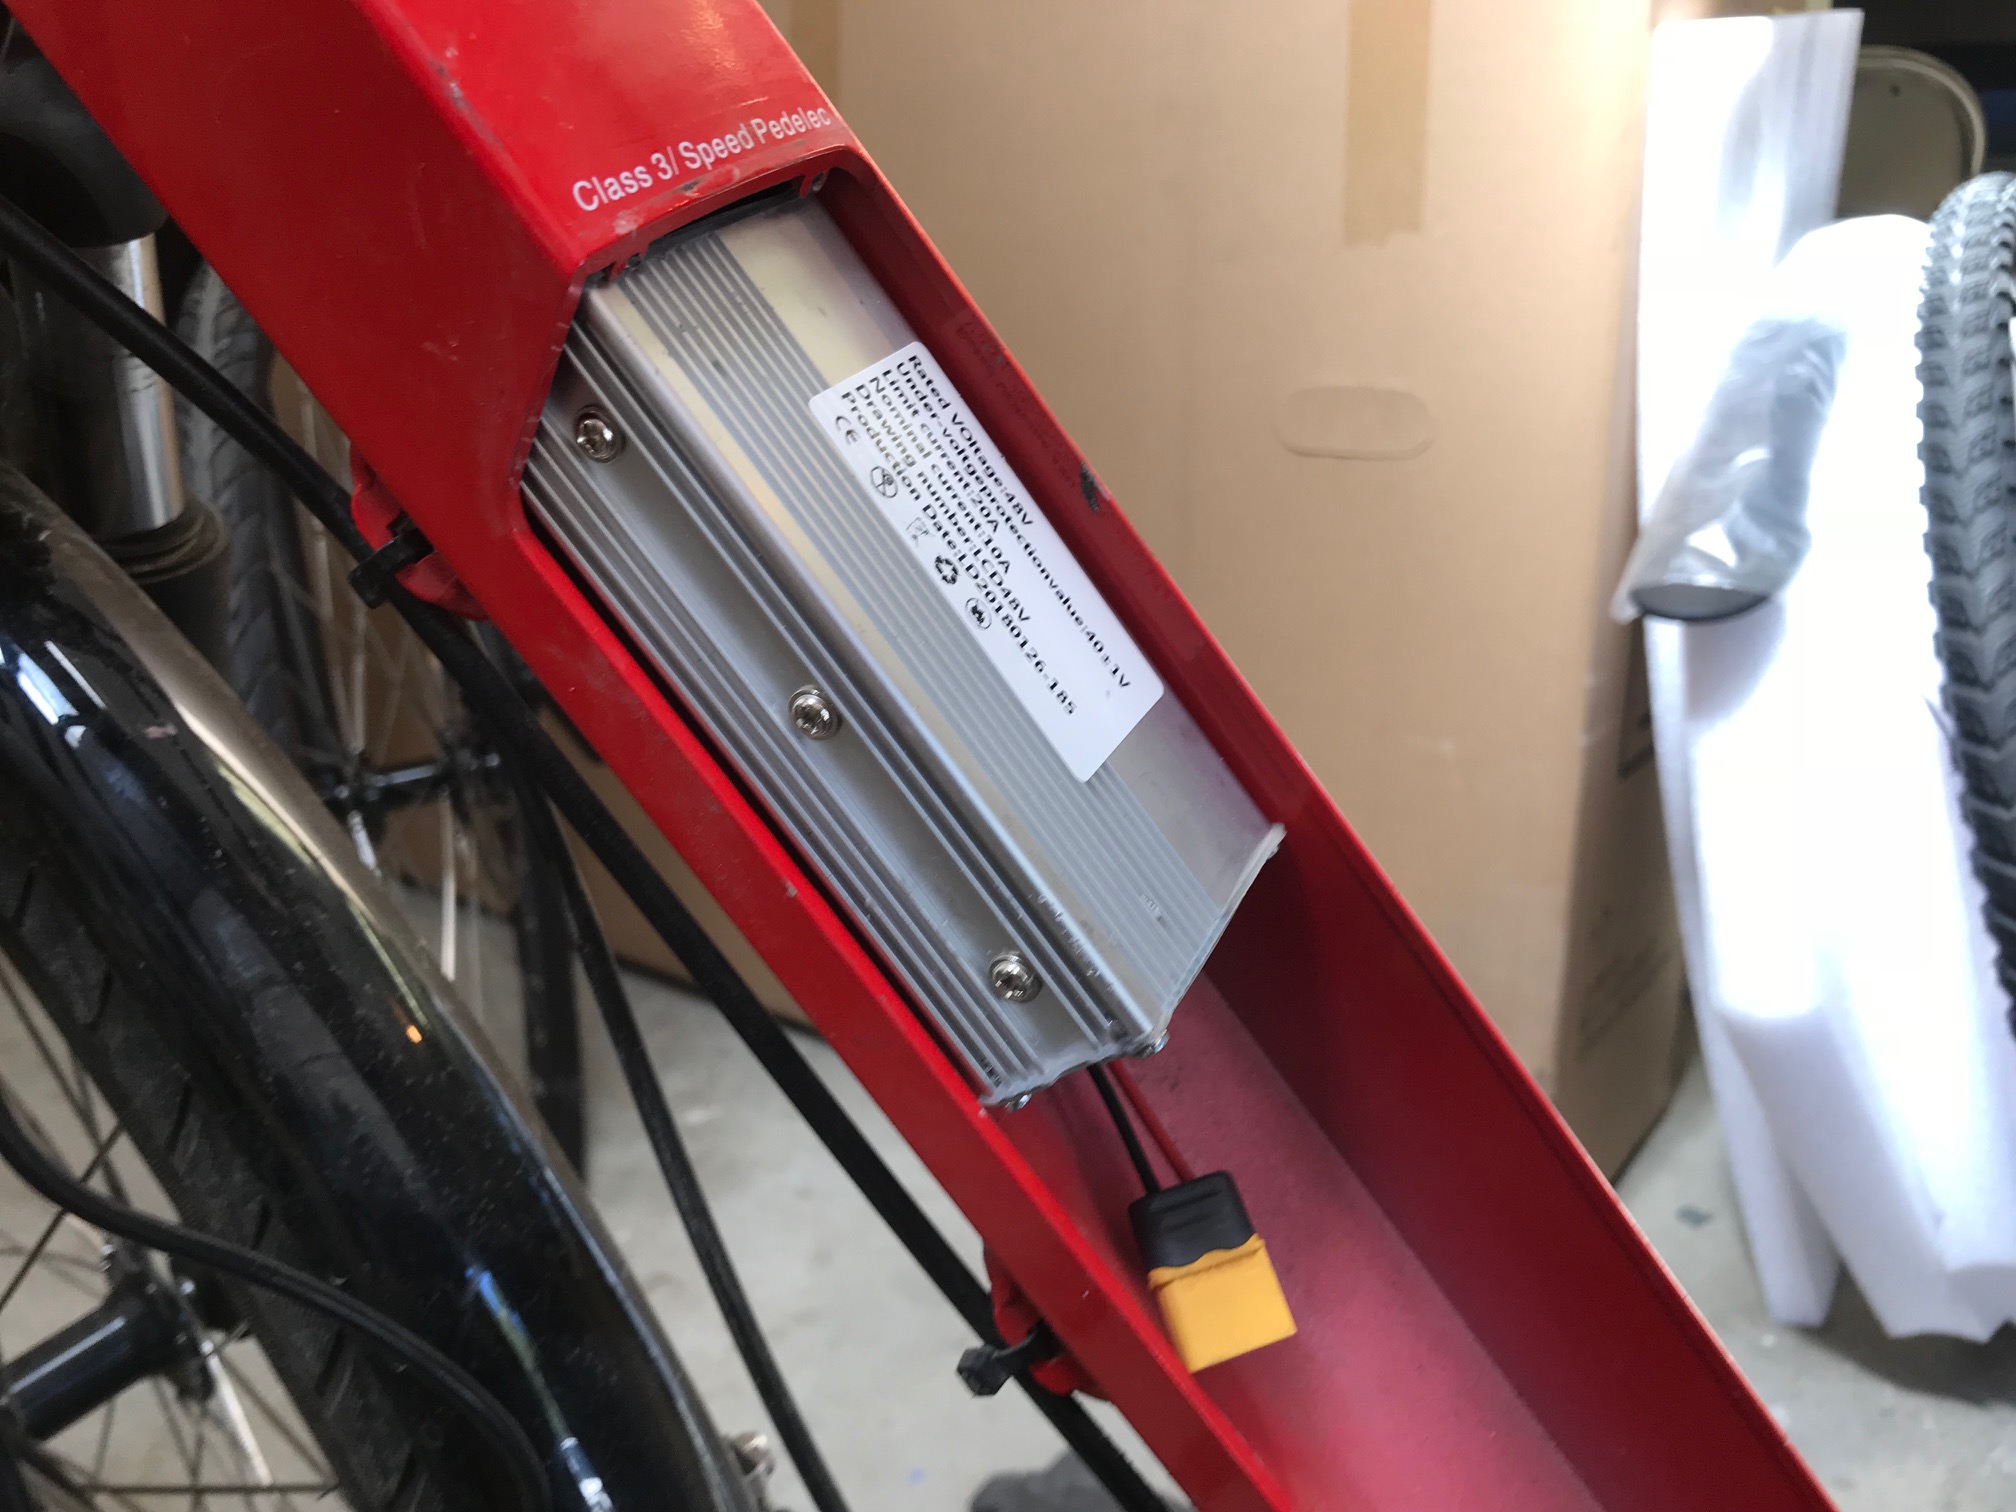
Push the new controller in while pulling the wires out though the frame. If there was a piece of plastic that came out with the old controller, put it back in on top of the new one, it helps with rattles.
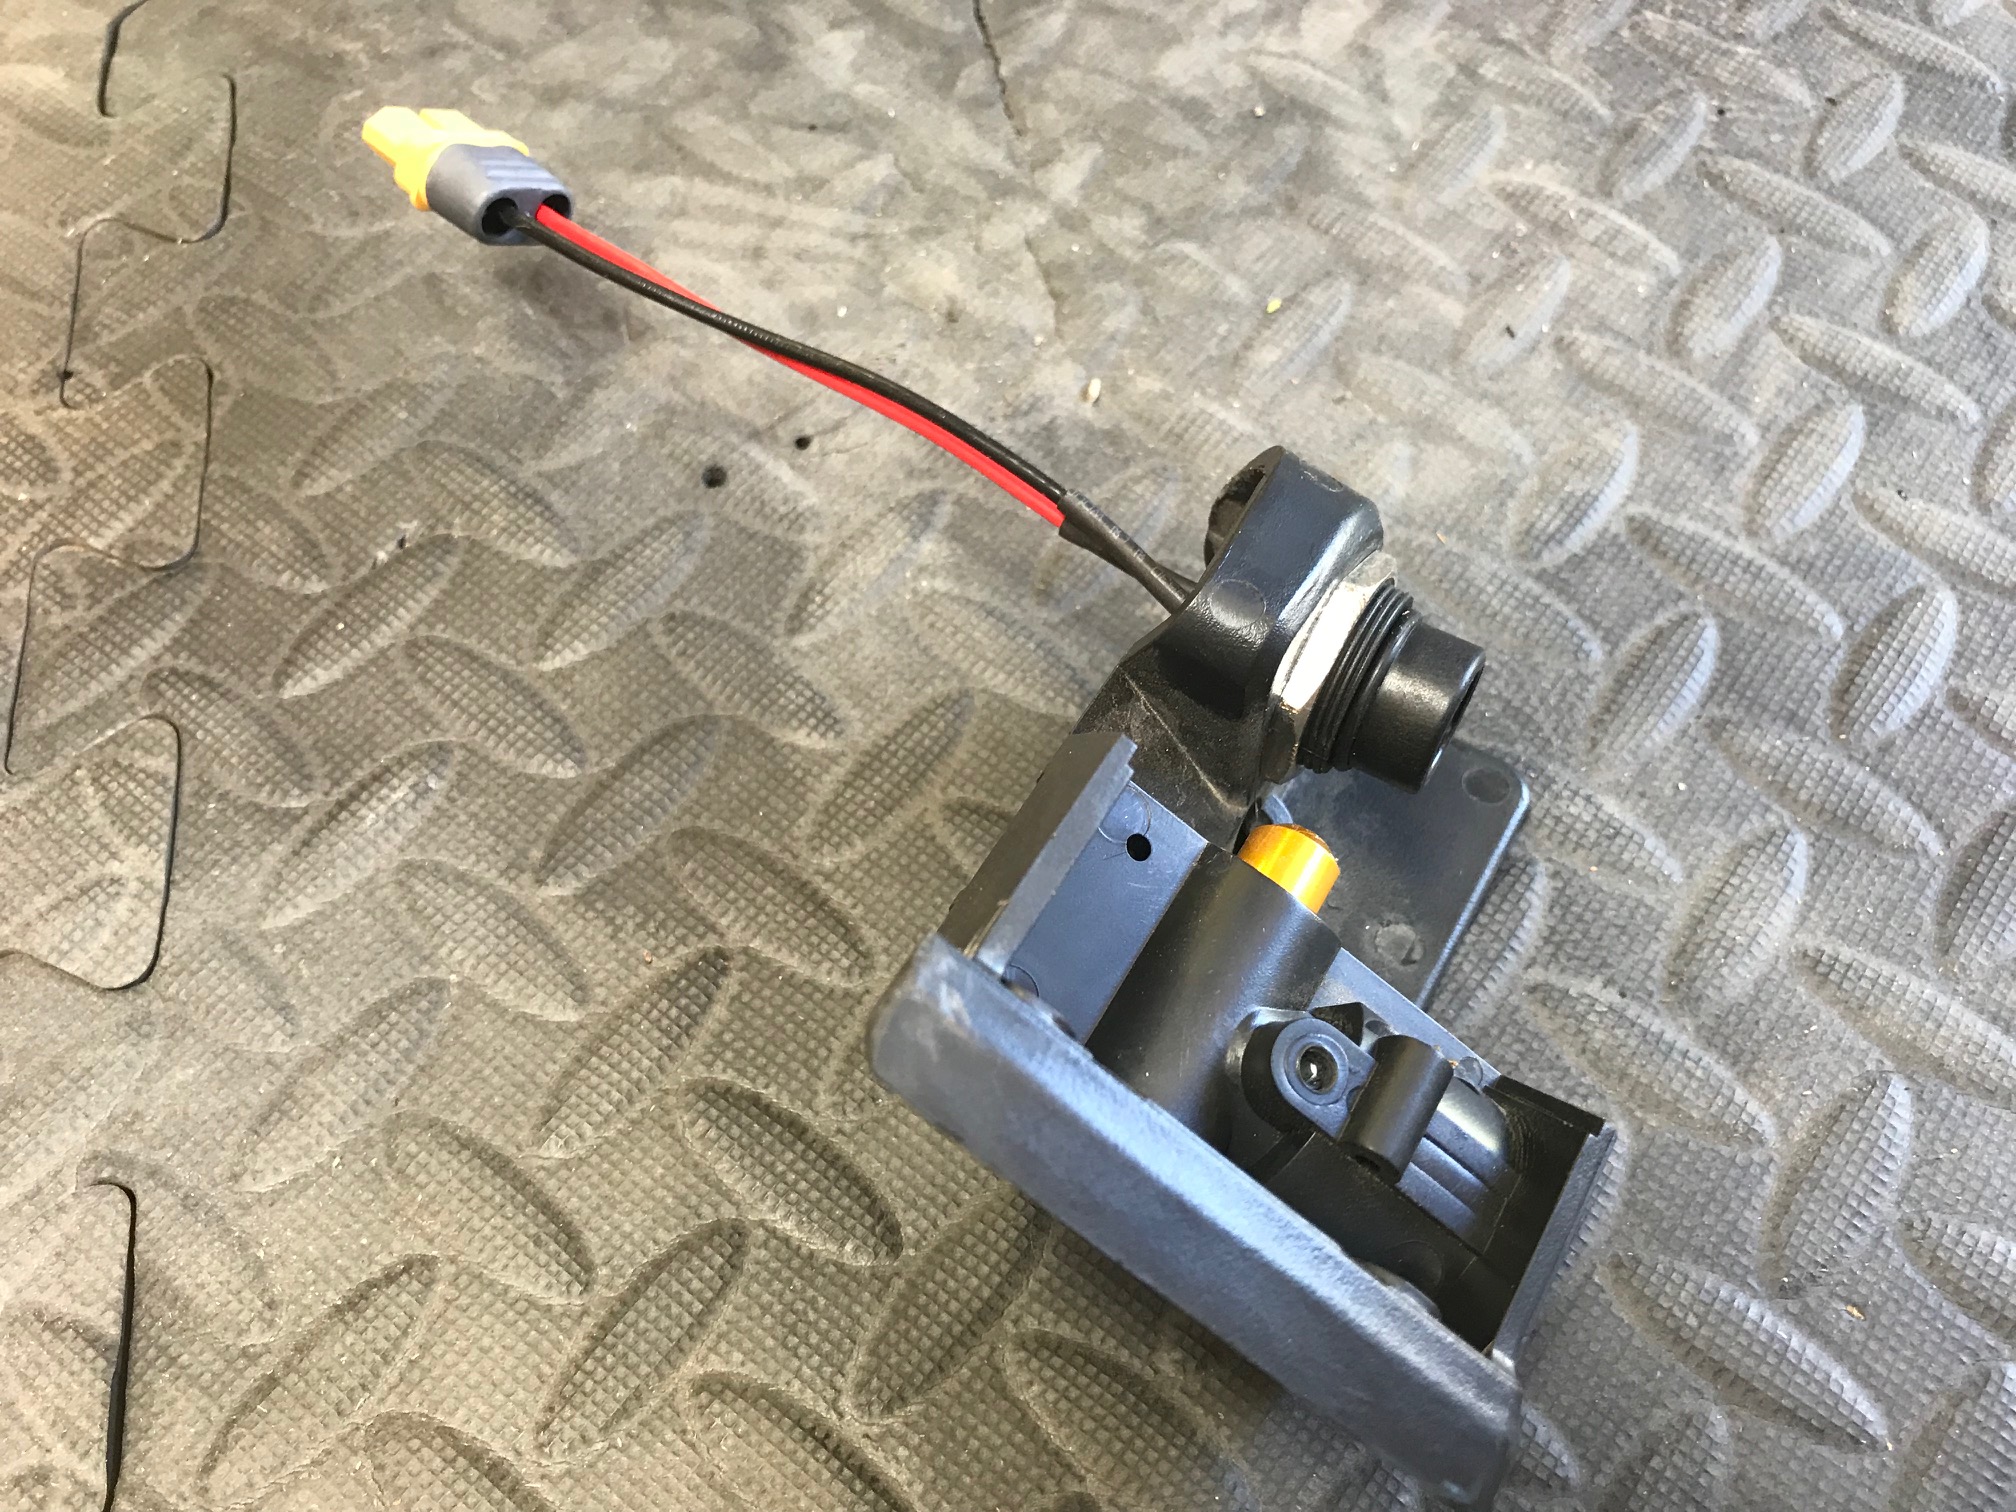
Now you need to replace the electrical connector in the battery bracket with the new one supplied with the kit. I had trouble removing the nut off the the connector, and ended up ruining the old connector. Note that the connector is keyed and will only insert correctly in one orientation.
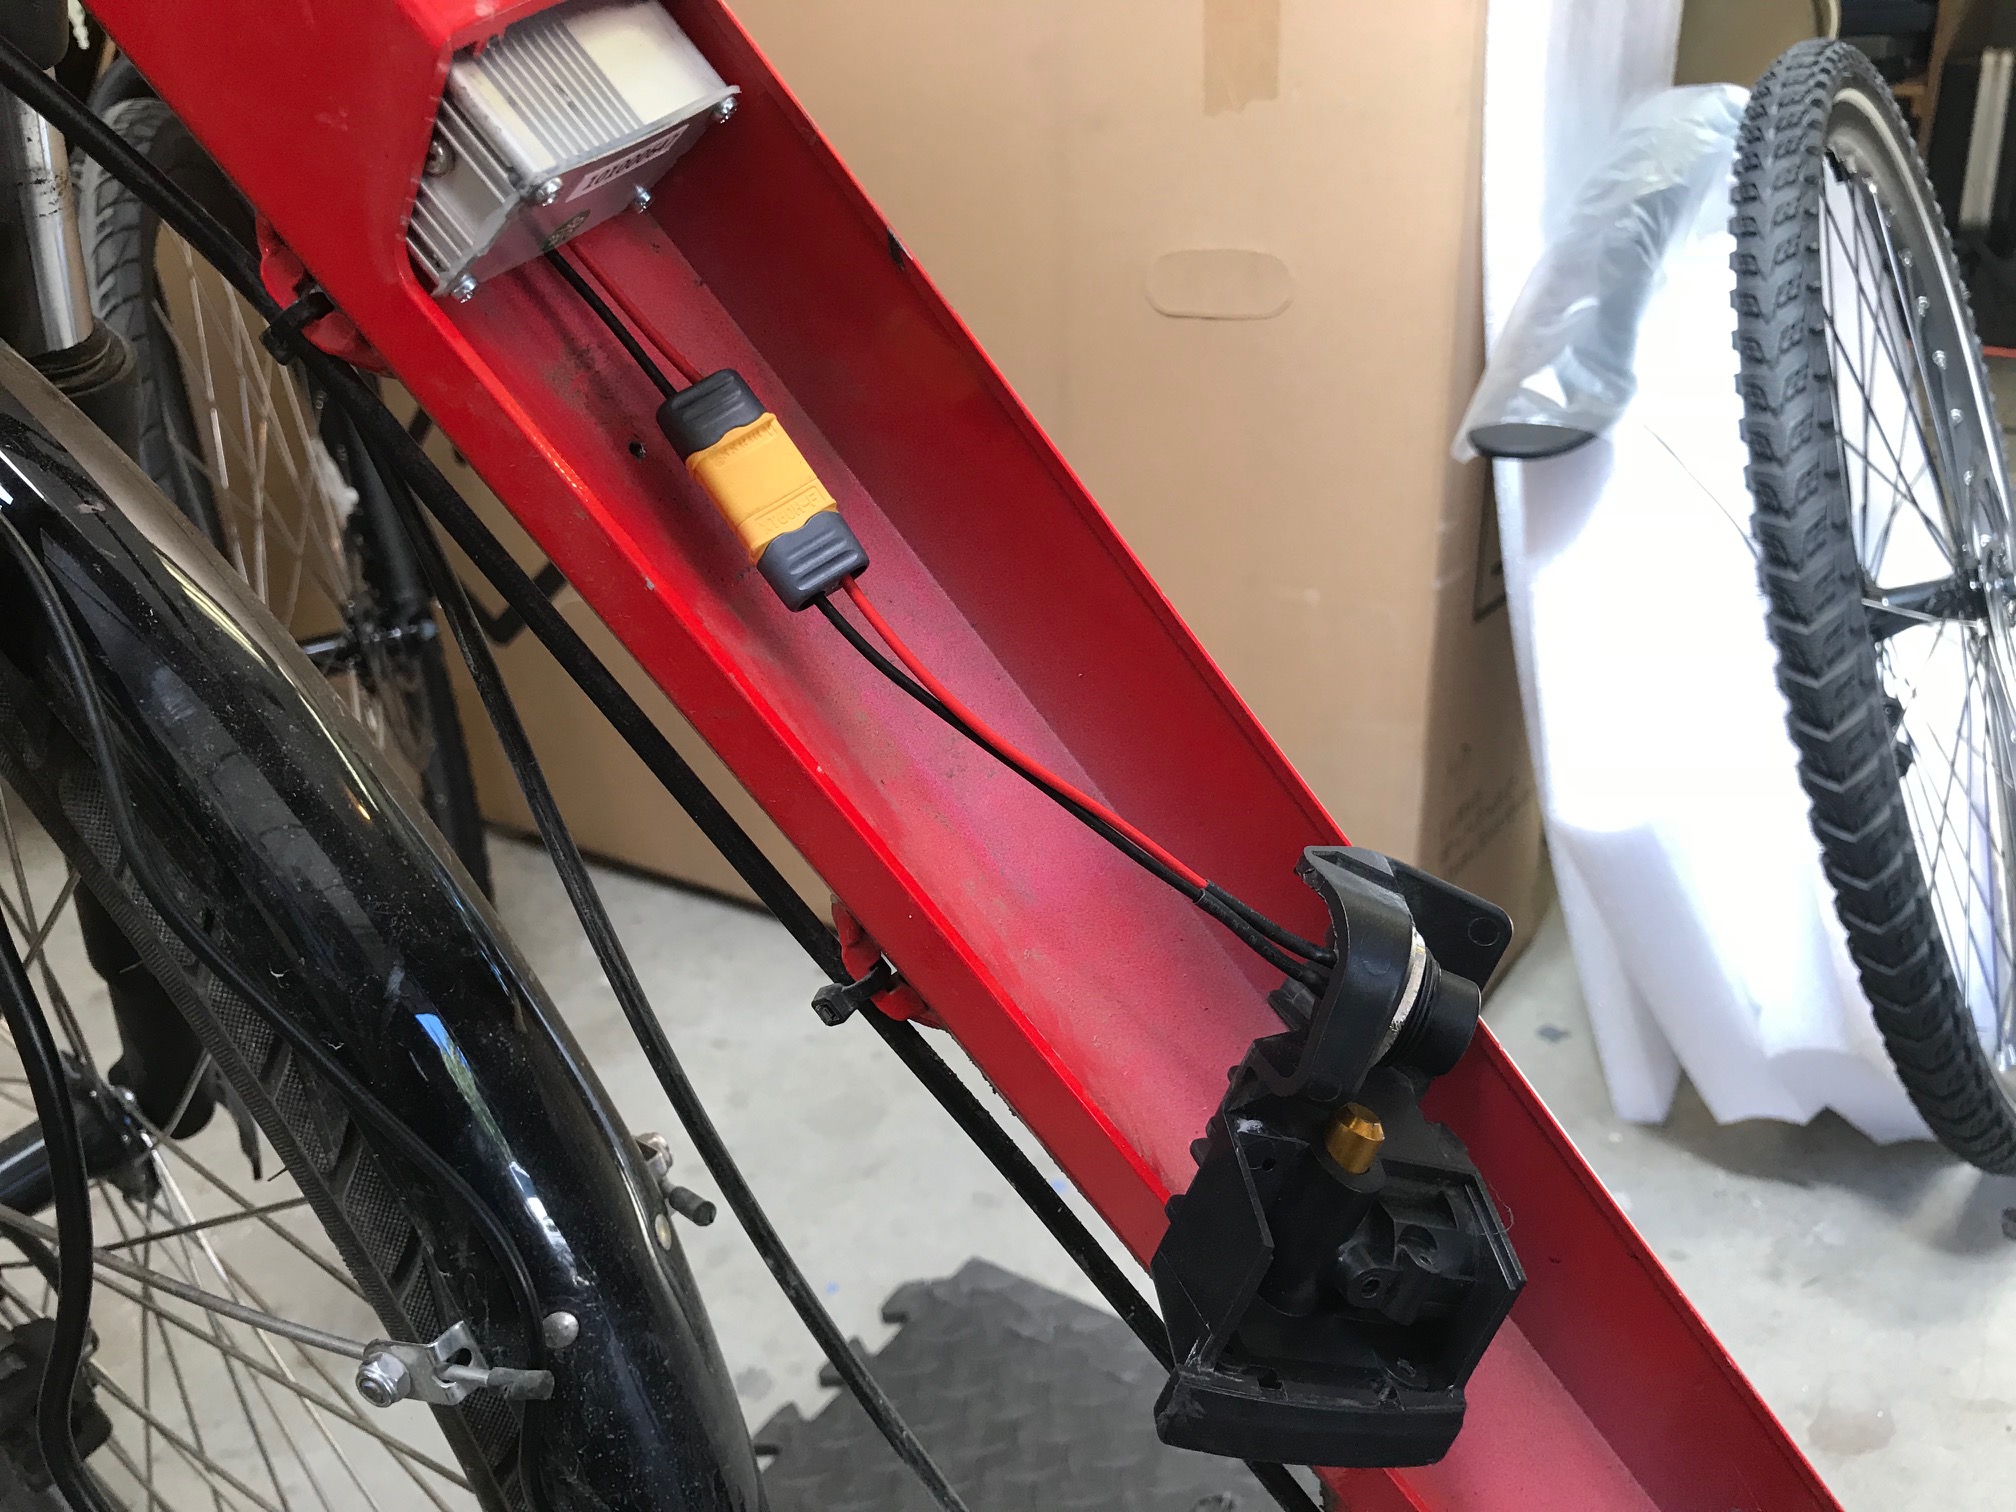
You can tuck the connector under the controller, then re install the battery bracket.
Next re-route the wires to the motor and torque sensor, and cable tie them on. Untwist the wires so that they will lace nicely without twisting. Start at the motor end by re inserting the connectors. Note that they have arrows that help you align the pins, and be careful that the pins are engaging correctly before fully seating the connection, then cable tie the wires snug but not too tight. You can push any excess wire into the frame at the other end.
Be aware that there is a new connector from the controller for the headlight that you may want to leave accessible. The power to that wire is turned on by pressing and holding the + button on the display. It supplies the full battery voltage, and up to 20 watts, so be sure that the light that you use is compatible with 48V or you will get the magic smoke!
Now you will have to remove the old display and install the new one. This can be done without having to slide off the grips and brakes.
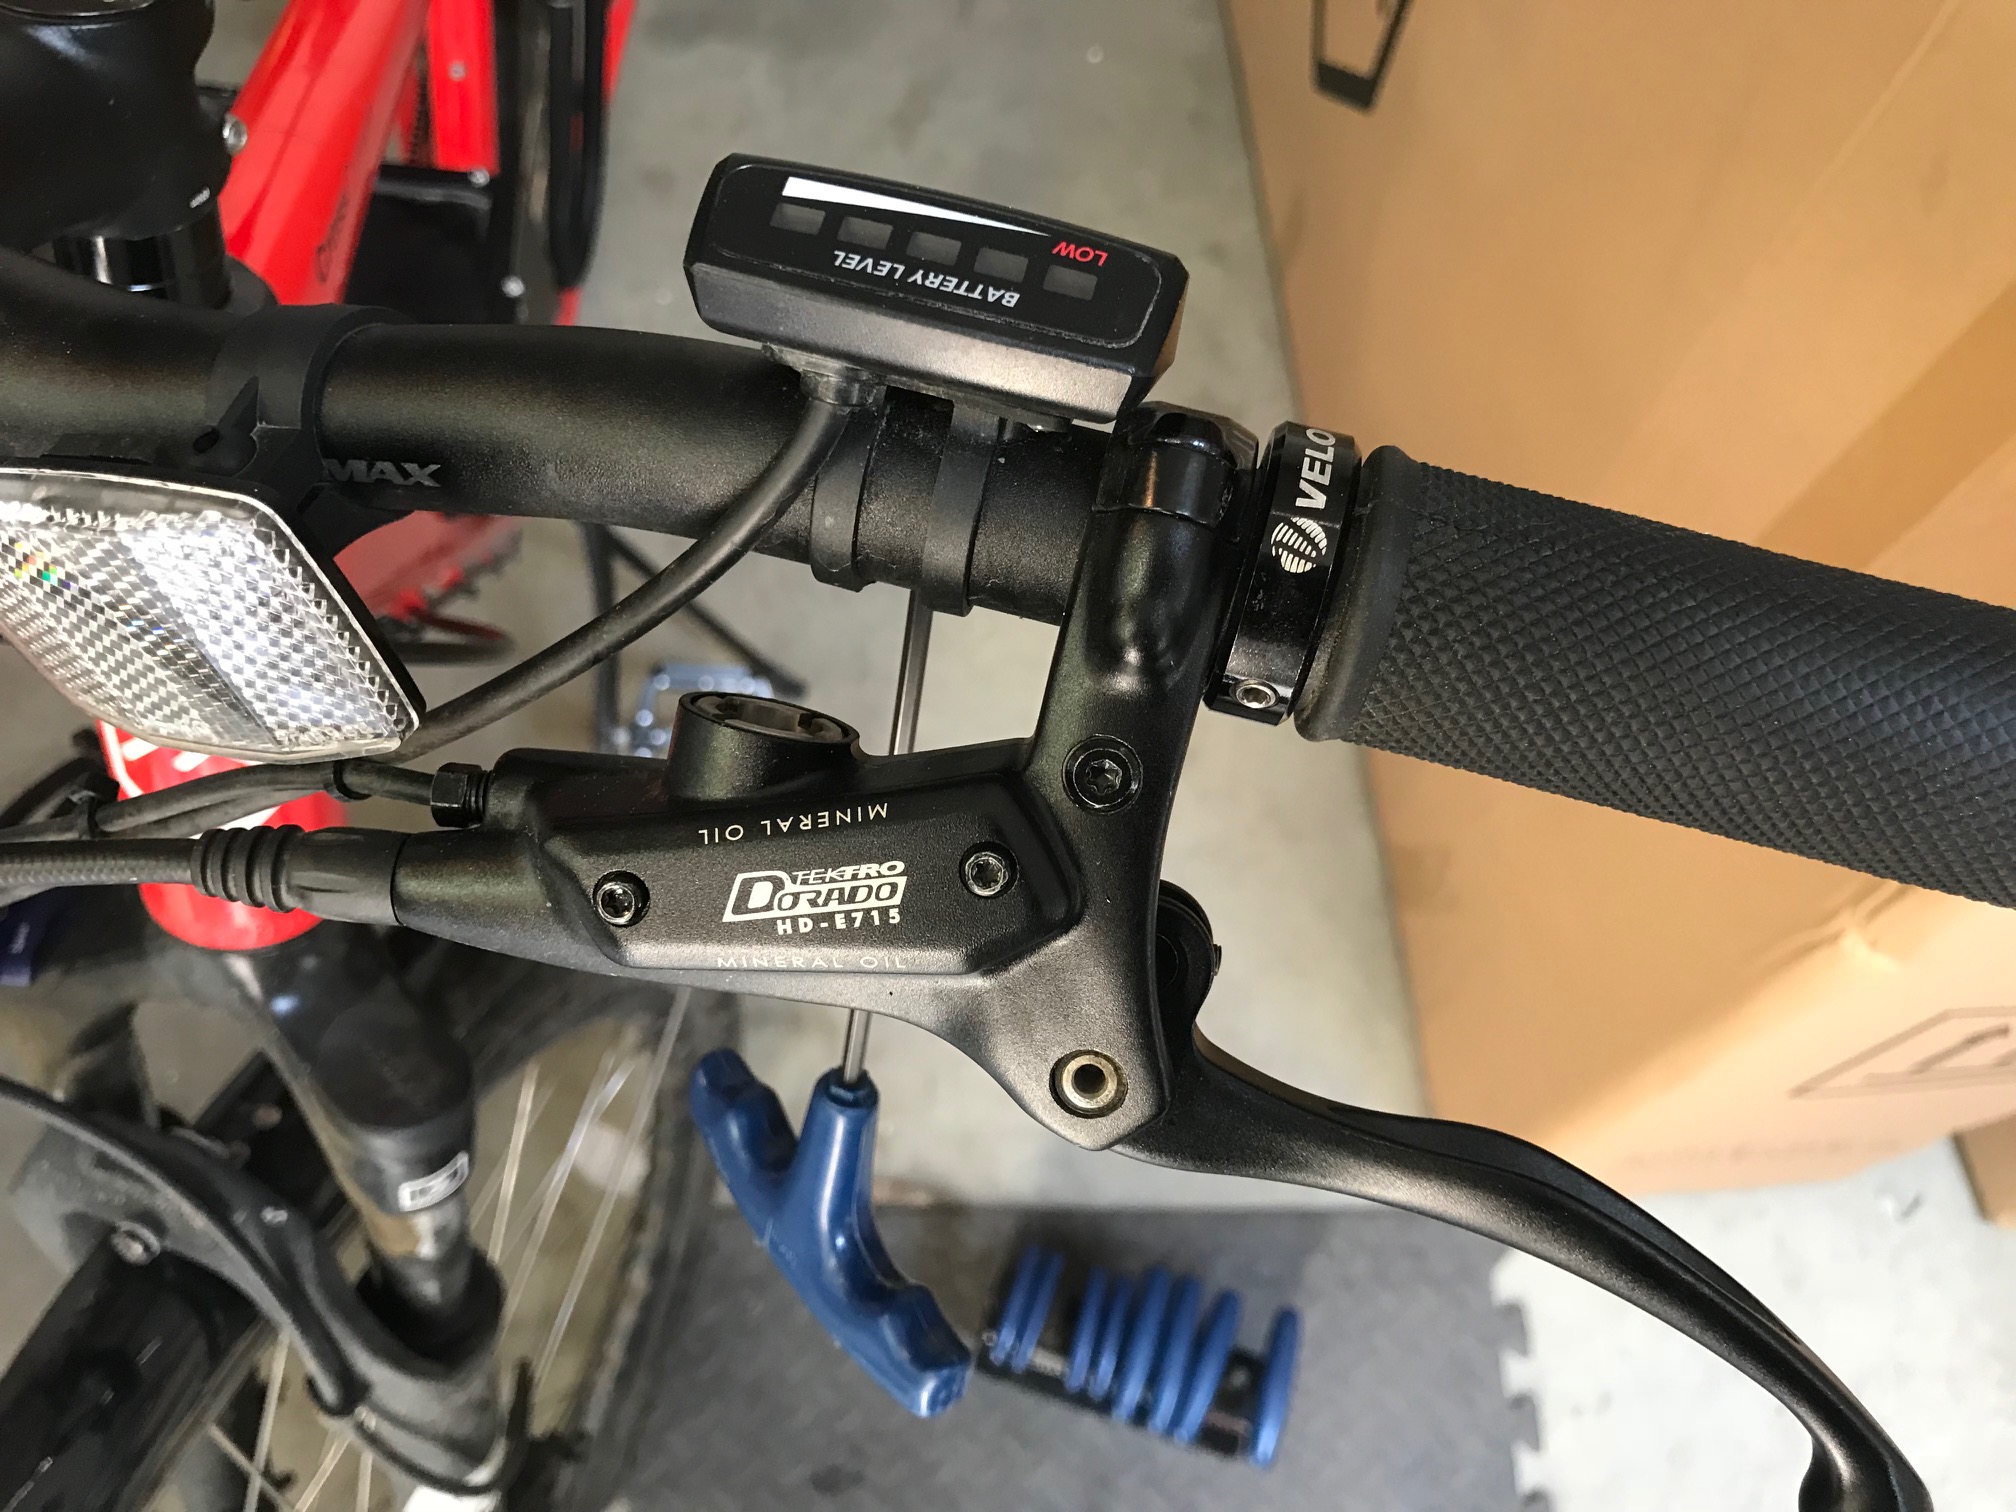
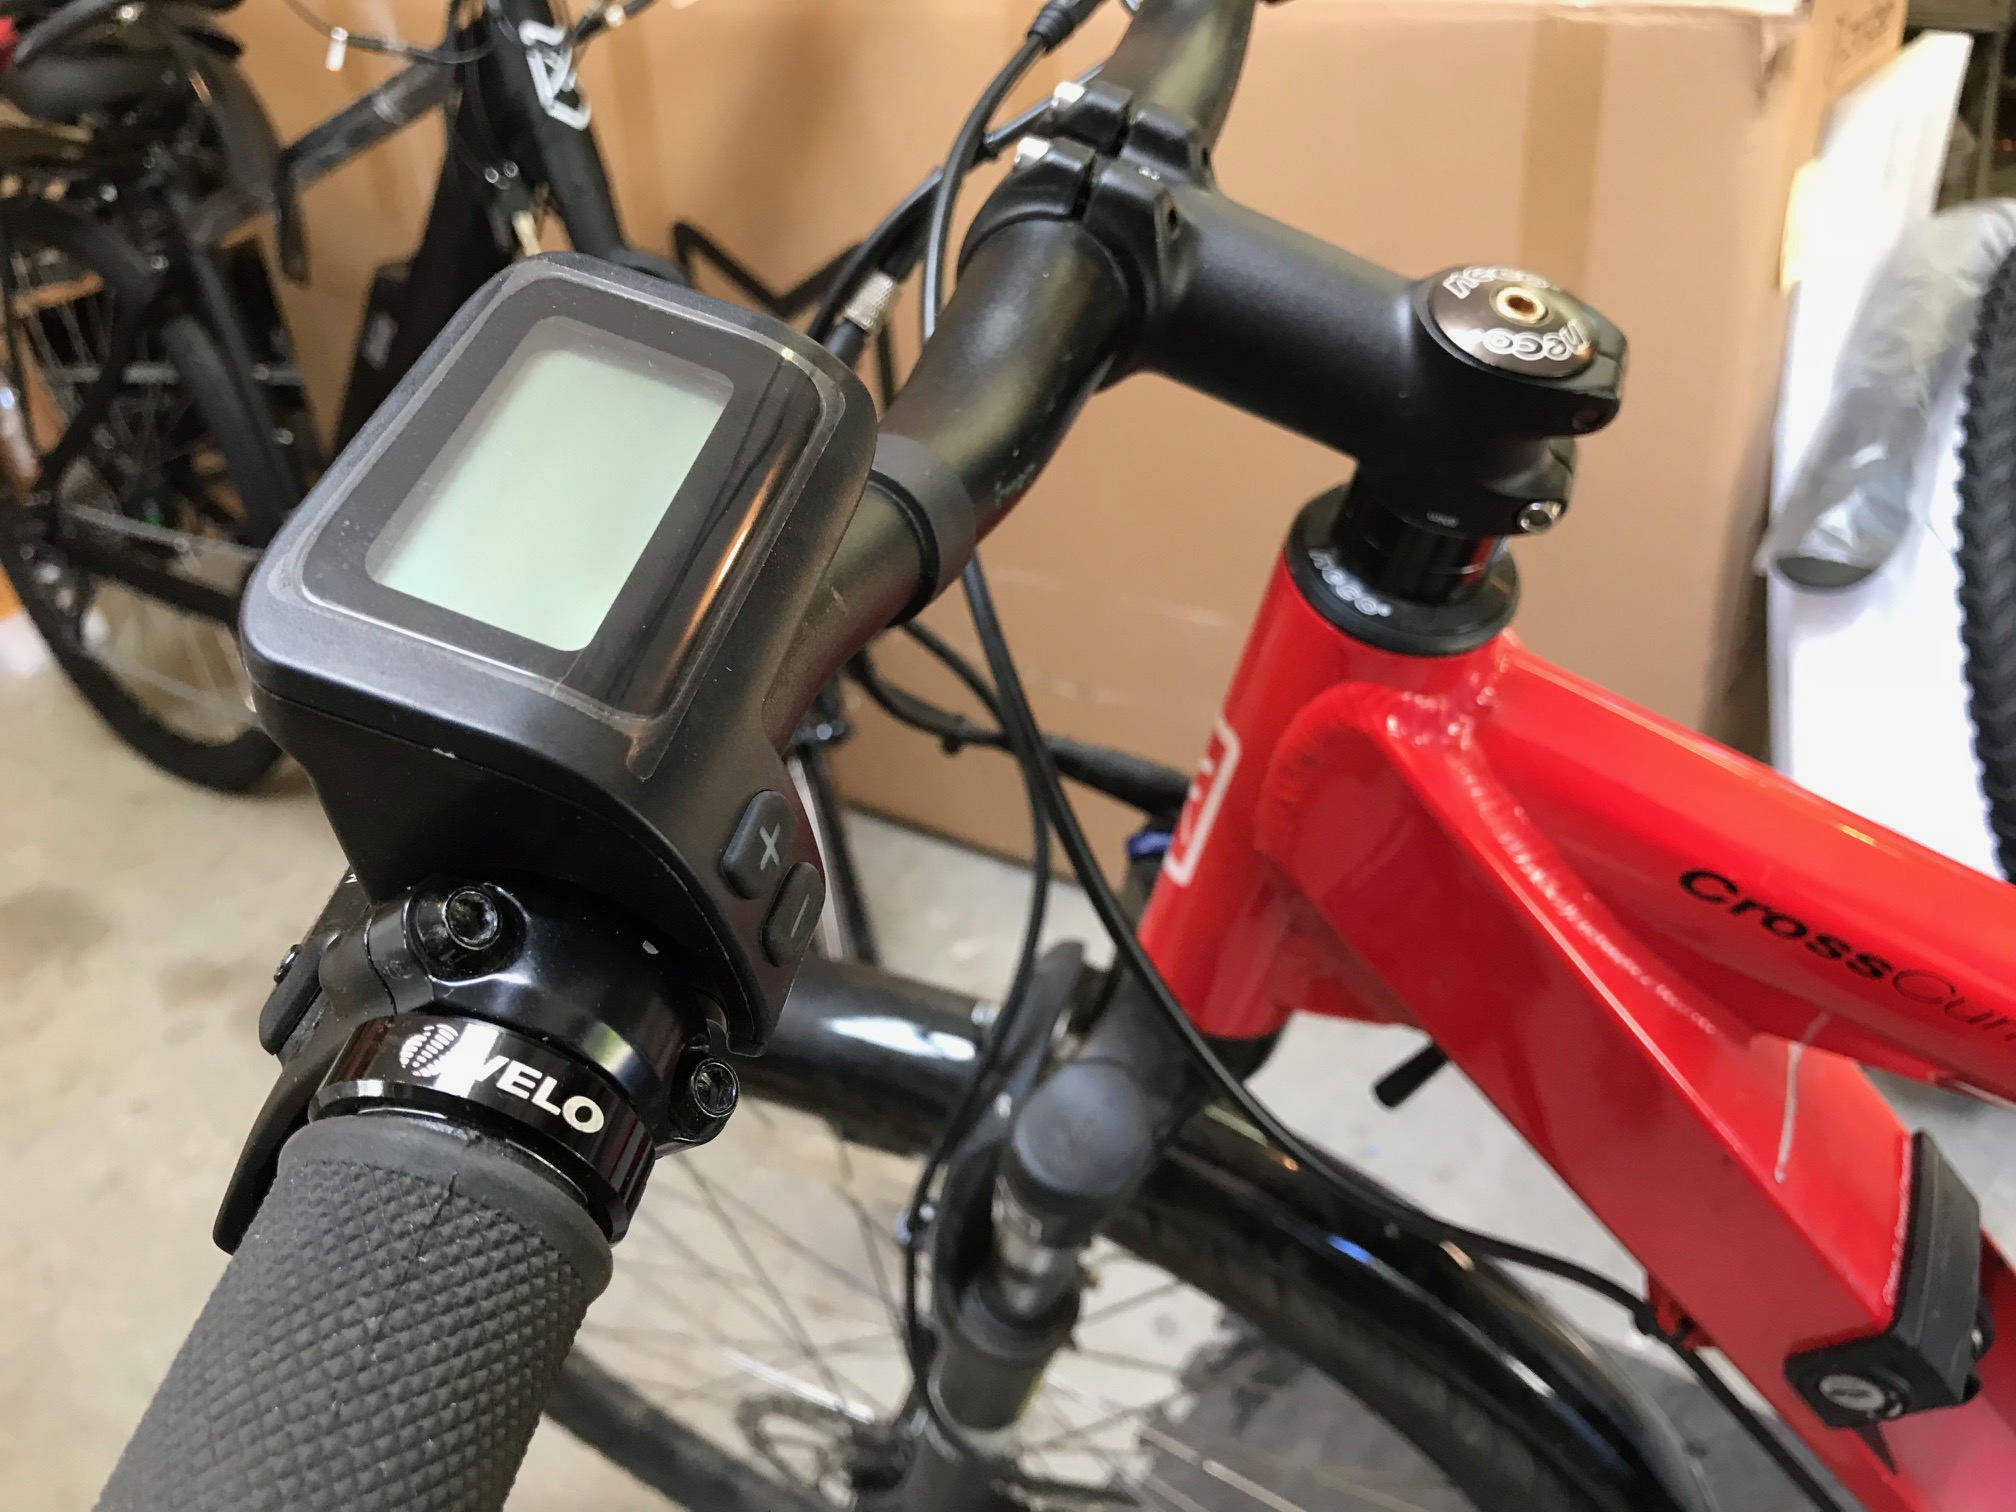
Connect the new display, again noting that the connector has to be oriented correctly. Take a look inside the connector and note the keyway on each side, then carefully insert them and tighten the locking ring. I like to put in a bit of dielectric grease to keep out moisture before sliding the connector together. Don't forget to reconnect the signal harness to the controller as well, it has arrows to show the correct orientation. Trim the wires, and cable ties, and you are done!
Now re-insert the battery and you should be able to turn on the bike by pressing and holding the hidden button on the forward facing part of the display. You can learn all about the functions of the new display here:
Note that to comply with Canadian law you should set the speed limit to 32 km/h and set Ndw to 3 in the display, which locks out the sport mode.
