Replacement battery packs for Juiced U500
2019 Oct 4th
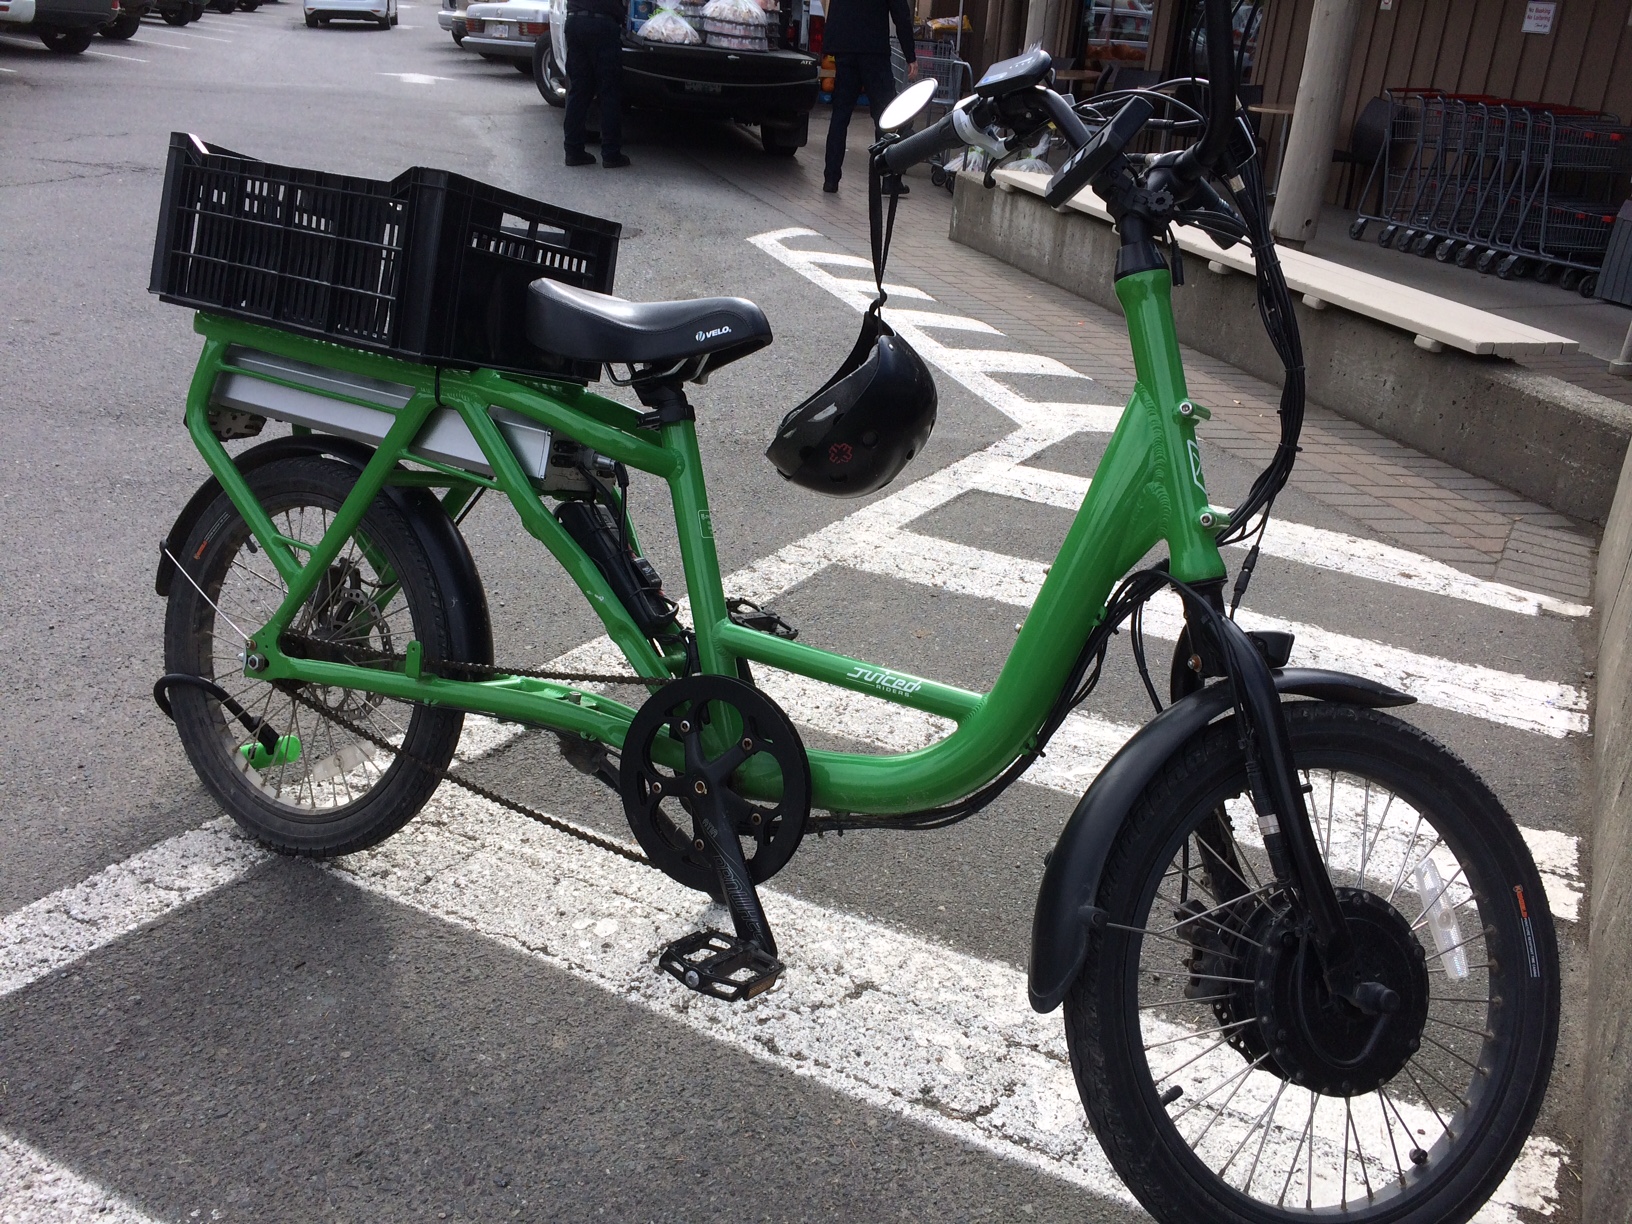
The original Juiced Bike! Back when they were called Juiced Riders, this was their first e-bike, and it remains popular today with a dedicated bunch of owners who appreciate the bikes rugged reliability and great utility.
The later models came with three battery capacities, 15, 23 and 32 ah. The battery is no longer being made, and old stock has run out.
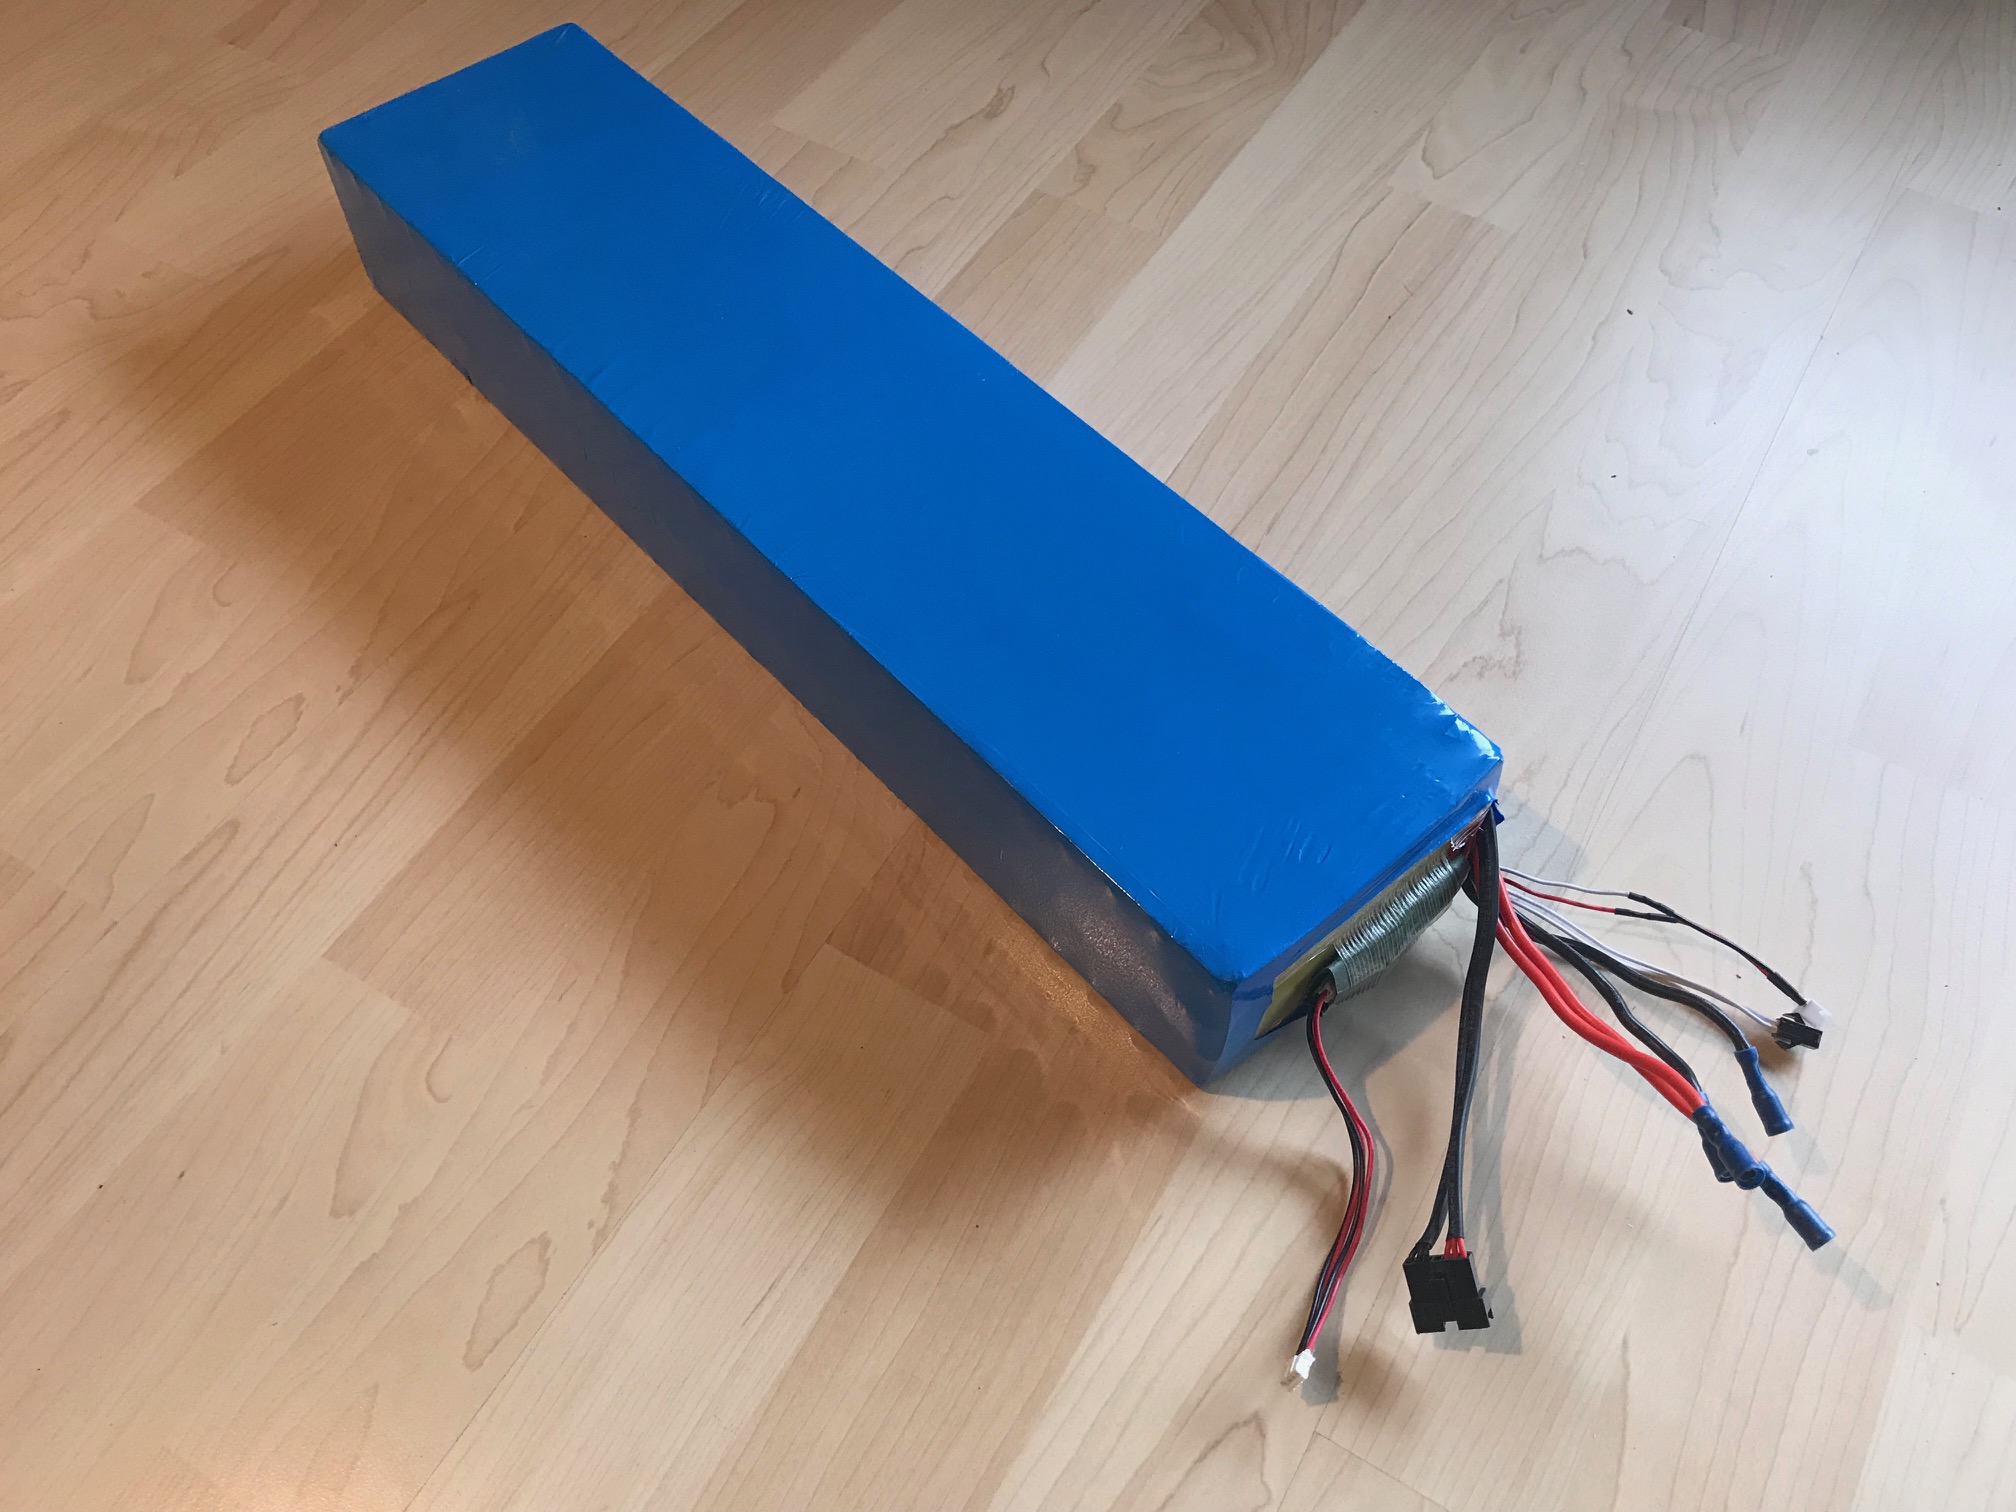
To keep U500s on the road, we are offering a replacement battery pack that will slide into the original case. It has all of the correct connectors, so replacement is plug and play. As always with large lithium batteries, extreme care must be taken in ensuring that the battery is installed correctly, if in doubt, contact your local e-bike shop for installation.
The battery cells are the Panasonic 18650PF, these are 10A rated in a 13S8P configuration, so they will have an easy life in this bike. We even include a new USB board to keep the USB charging functionality.
We have 23ah packs ready to ship at CAD$999.00 plus DG shipping to Canada at 85.00.
For USA customers this translates to about US$855.00 including shipping. If you are in the USA or Australia we will be drop shipping the pack directly from the manufacturer in China.
By Popular demand we have 32ah packs coming at CAD$1499.00, please check the battery listings here if you are interested.
Installation instructions: If you are unsure of any part of this procedure contact us, or visit your local e-bike shop for help. Lithium batteries can be extremely dangerous if not handled, connected and installed properly.
- Turn the battery off, then unscrew the metal ring on the power connector, and pull it off of the battery.
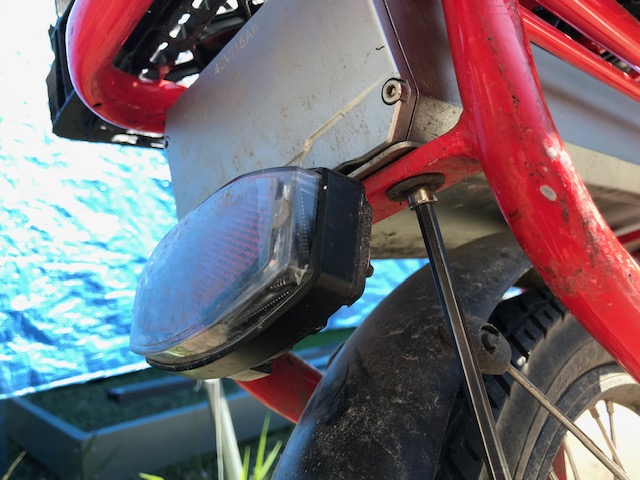
- Unbolt the battery from the bike. There are 4 Allen head screws, you will need a metric Allen wrench set. The bracket holding the tail light will come off as well. Slide the battery out the back of the bike.
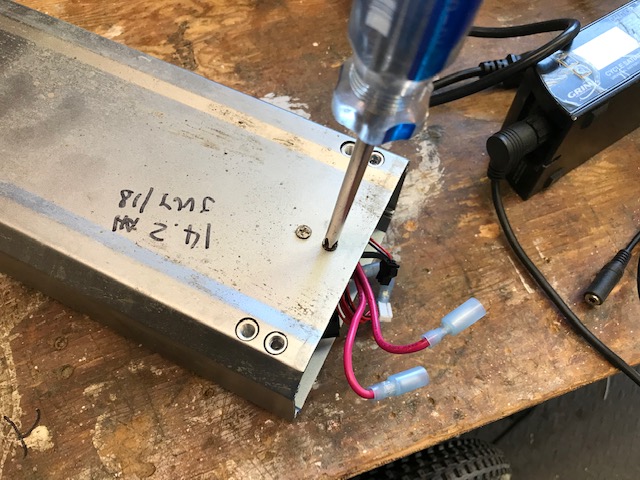
3. Remove the four Allen screws holding the connection panel on.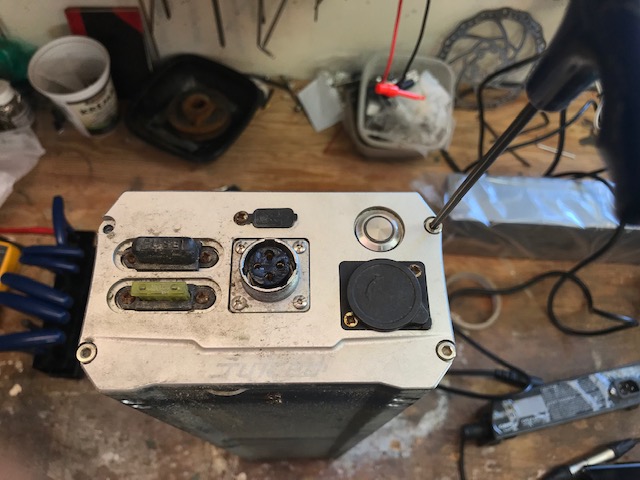
4. Pull the panel away from the case.
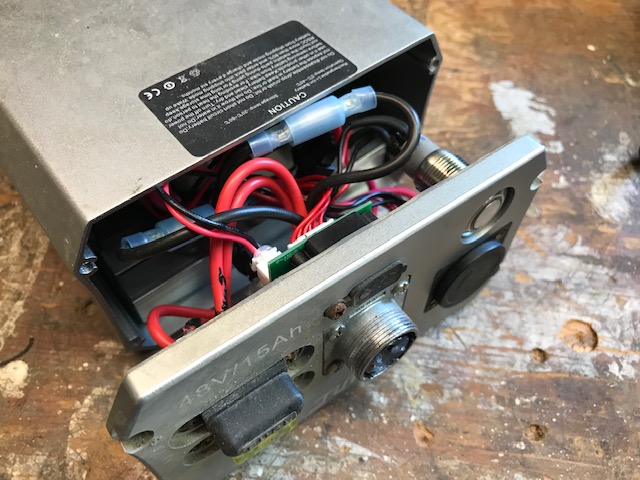
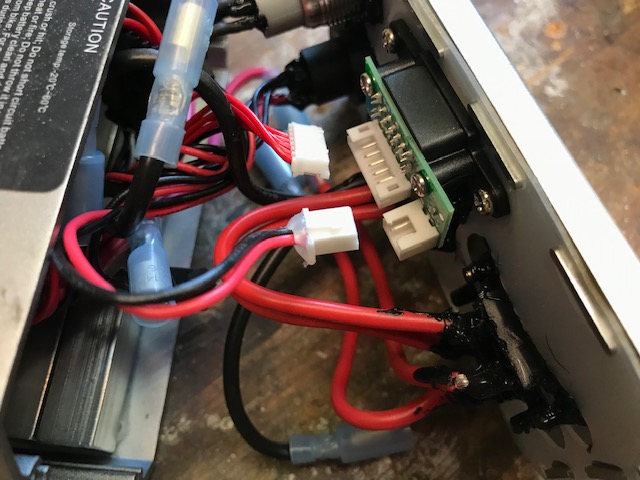
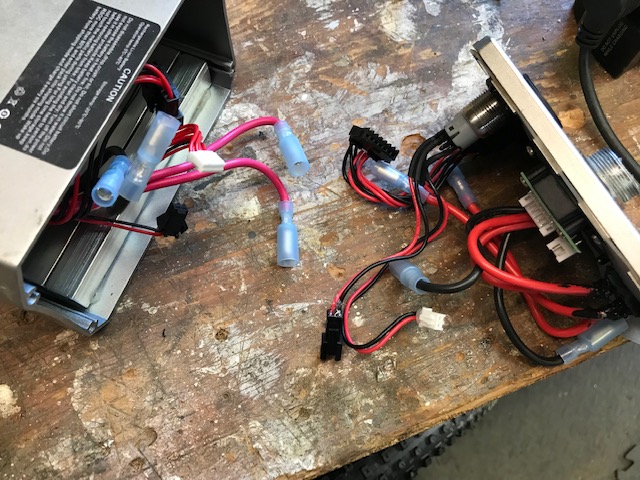
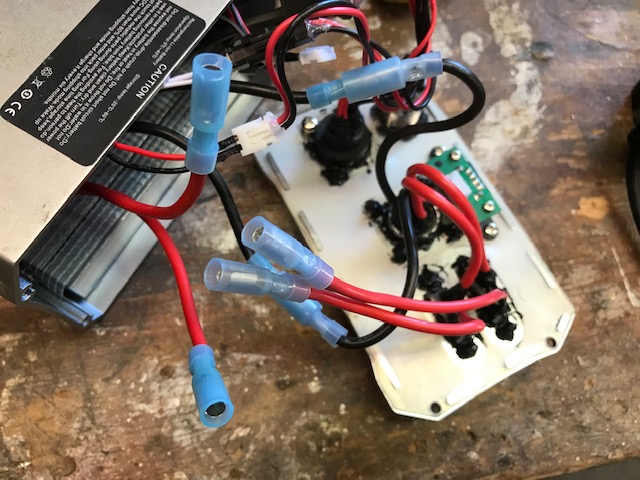
5. Disconnect all of the wires. There are two connections on the USB, two or four main power wires, red and black with in-line bullet connectors, a 7 pin JST in-line connector for the charge wires, and a 2 pin in-line JST connector for the power switch
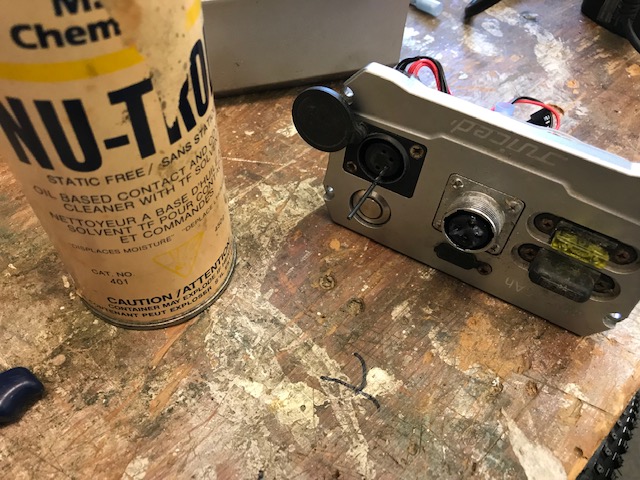
6. Now is a good time to clean the connections on the charge port. These can be a problem if you ride in the rain. Use a small drill bit or steel wire to scrape the inside of the connector, and use some contact cleaner or WD40 to spray into the connector to clean and protect the contacts. Also pull the fuses out and check for corrosion. I use dielectric grease to protect the connections when re-inserting the fuses.
7. Remove the Philips screws on the bottom of the case near the connection panel that hold the aluminum bars on the inside of the case. Remove the bars and grommets from the case.

8. Save any foam pads that are stuck to the old battery pack behind the bars, you will re use these.
9. Now you will be able to slide the pack out of the case.
10. Check the new pack for fit in your case. Stick the supplied foam strips onto the top of the battery if there is enough room for them to prevent rattles. They may not be needed, if not leave them off.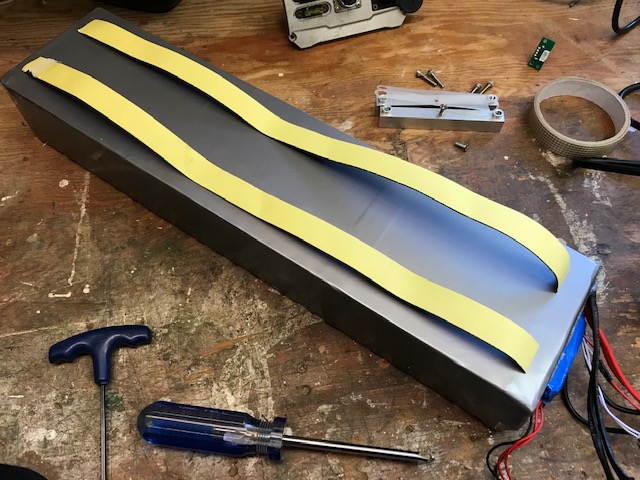
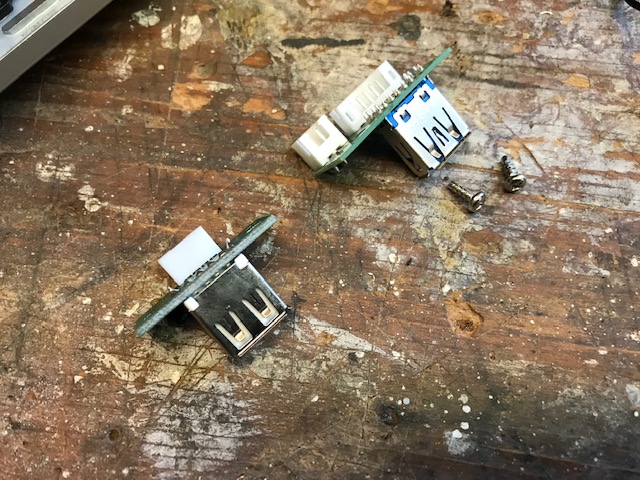
11. There is a small circuit board included with your new pack, it replaces the USB board attached to the back of the connection panel. Two small Philips screws hold it on. Remove the original and replace it with the new one.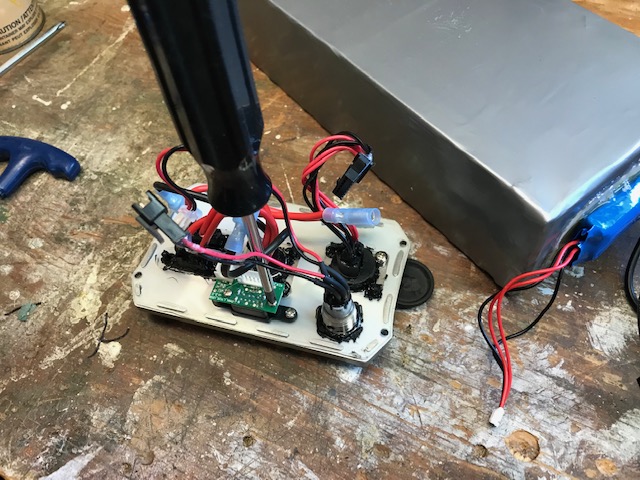
12. Connect all of the remaining wires to the new pack. Red to red and black to black for the large power wires. If your case had only two large power wires, use either of the two red, and either of the two black wires from the new pack, and tape up end the remaining two wires so there is no chance of them shorting. The four conductor wire that comes from the DC-DC converter that is mounted on the end of the new battery connects to the new USB board., the other two 2 conductor wires plug into the switch wires, and the 7 pin JST connector is for the charge port. The connectors only go together one way, be careful to plug them in the right way around.
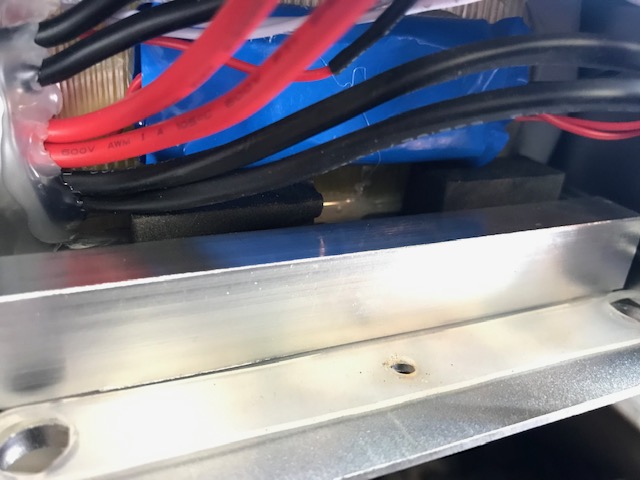
13. Place any foam pads on the new case as they were on the old. under the blue DC-DC converter, not on top of it. These pads hold the battery form sliding around, you don't want to be pushing on the DC-DC converter, but the battery itself.
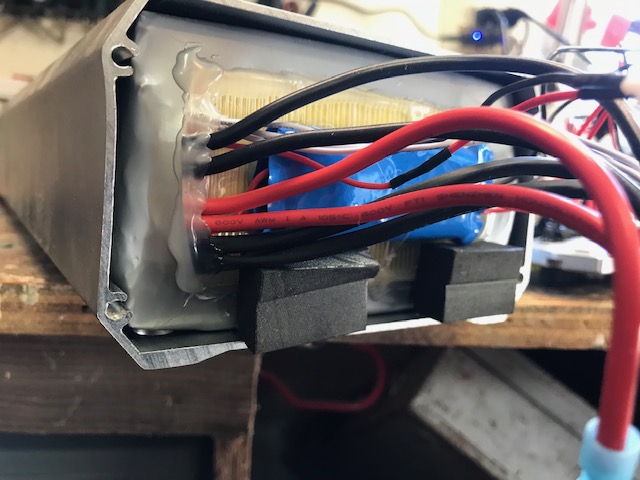
14. Slide the new pack into the case, and replace the two aluminum bars with gaskets in front of the pack. The foam blacks should secure the pack from moving in the case.
15. Test that the power switch activates the battery. The green LED should illuminate around the switch.
16. Replace the connector panel, making sure that the grommet is properly in place to seal against water ingress, and no wires are pinched between the case and the connector panel. Do not over tighten the 4 screws holding the cover, as it will pinch the grommet and squeeze it out. They should be firmly and evenly tightened, just watch the grommet.
17. Replace the battery and tail light, Re attach the case to the bike, and don't forget to re attach the power cable to the battery!